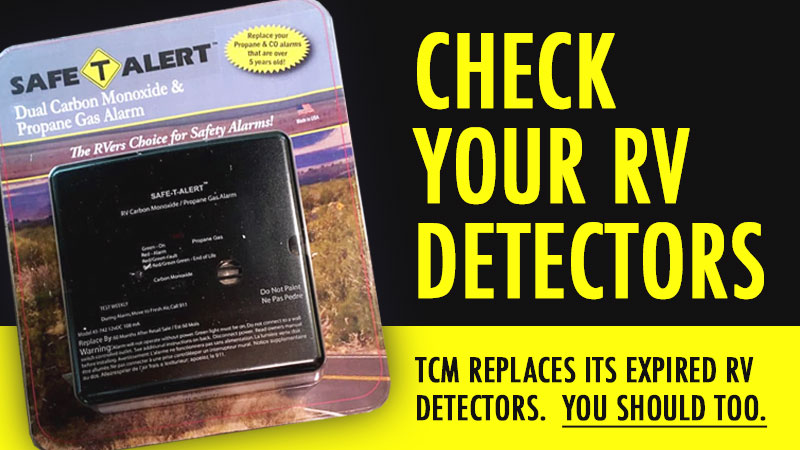
Truck Camper Magazine replaces the carbon monoxide (CO) and propane gas (LP) detectors with a Safe-T-Alert dual CO and LP detector. Here’s how to check and replace your CO and LP detectors. It might just save your life.
Six years ago Angela and I bought a used 2004 Alpenlite 1100 as our personal truck camper. The original manufacturer, Western Recreational Vehicles, tragically went out of business during the Great Recession of 2008 making the camper non-competitive to any current truck camper company. This was key to our choice as it allowed us to own a camper without showing bias. We also really liked the old-school hard side, non-slide floor plan. It suits us.
When we took ownership of the camper, we had a list of everything we wanted to do to make it safe and sound. We replaced the propane tanks (they were expired), clogged propane regulator and stiff propane hoses. We flushed and sanitized the fresh water system and water heater, and replaced the anode rod. We replaced the batteries and checked the wiring, fuse and electrical system. And we replaced all of the detectors; carbon monoxide (CO), propane gas (LP), and smoke detectors.
Of all of those safety items, replacing the CO and LP detectors was the biggest eye opener. We contacted David Buddingh of MTI Industries (Safe-T-Alert) and asked for his advice. For our application, he recommended a Safe-T-Alert 65-541-WT CO alarm and a Safe-T-Alert 40-422-WT LP alarm. Both were ordered. He also told us our current detectors were dangerously out of date.
In the lead up writing the detector installation article, I researched CO and LP issues with RVs. There were a few mentions of propane related fires, but the references to deadly carbon monoxide poising were much more prevalent. It’s a rare occurrence that anyone dies from carbon monoxide poisoning in an RV, but it definitely happens.
The Dangers of Carbon Monoxide
What I found the most disturbing is how carbon monoxide poisoning occurs. In multiple news reports, it’s the generator or engine running in the RV next to the victims that causes the life-threatening situation.
Here’s the scenario: A generator or engine is left running over night and the resulting carbon monoxide gas gets drawn into the RVs and campers near them – through a running Fantastic Vent or air conditioner – and causes serious harm. The sad thing is that this usually happens while the victims are sleeping, and they never wake up.
After reading a dozen or so news articles about actual instances where this has happened, a few patterns emerged. Usually the RVs are dry camping at a crowded event in the summer heat. For example, they’re at a NASCAR race crammed tightly together with other RVs in hot weather conditions.
Without shore power, folks run their generators overnight to operate their air conditioning or CPAP machines. If those generator fumes happen to pool into a RV (theirs or a neighbors), people can die, or suffer terrible injuries. Please be aware of this situation, and avoid it.
Another all too common scenario is leaving a generator to run overnight, again to operate air conditioning or a CPAP machine. During the night, the generator has a problem, or the wind pushes the generator’s exhaust into the air conditioner, or under the RV where it can seep up into the unit. The lesson there is to never run a generator when you’re sleeping.
For more information about the potential dangers of carbon monoxide I recommend reading the Advice page on CarbonMonoxideKills.com.
Fast Forward: 2020
Five years later, it was time to replace the CO and LP detectors in our camper. Once again, we reached out to David Buddingh at MTI for recommendations. This time he advised us to remove the CO and LP detectors and replace them with one CO and LP dual detector.
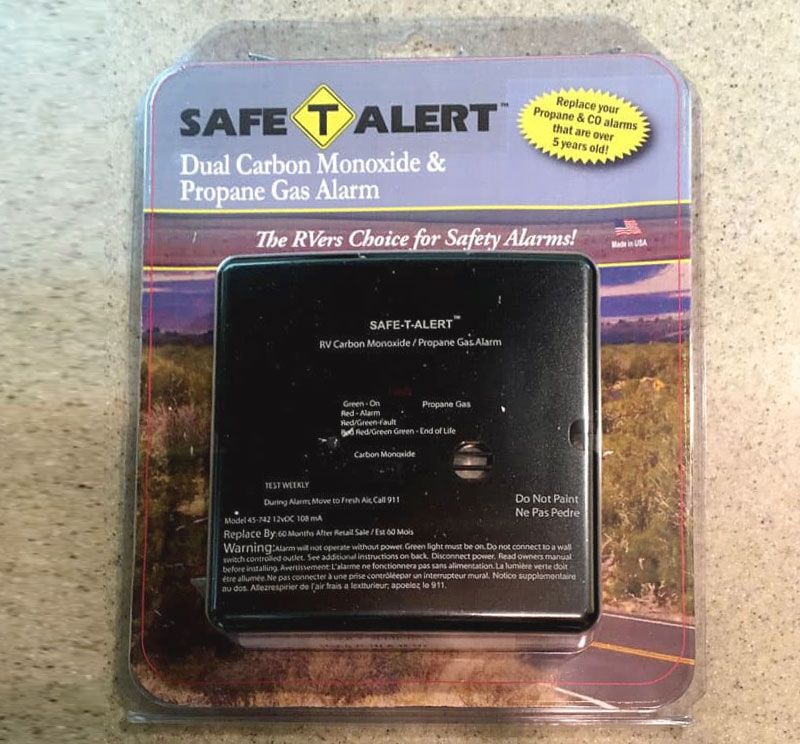
Above: Safe-T-Alert Dual CO And Propane Alarm
This would allow us to remove the LP detector that occupies a space in our dinette. The CO detector is under the step up to the cabover and out of the way. What will we do with the wall space we gained? Who knows, but the idea of going from two detectors to one was too good to pass up.
Installing Detectors: Easy as 1-2-3
Replacing CO and LP detectors is as simple as unscrewing the old detectors, cutting the old detector wire leads to the camper’s wall, splicing those wires to the new detector wire leads and screwing the new detectors back on.
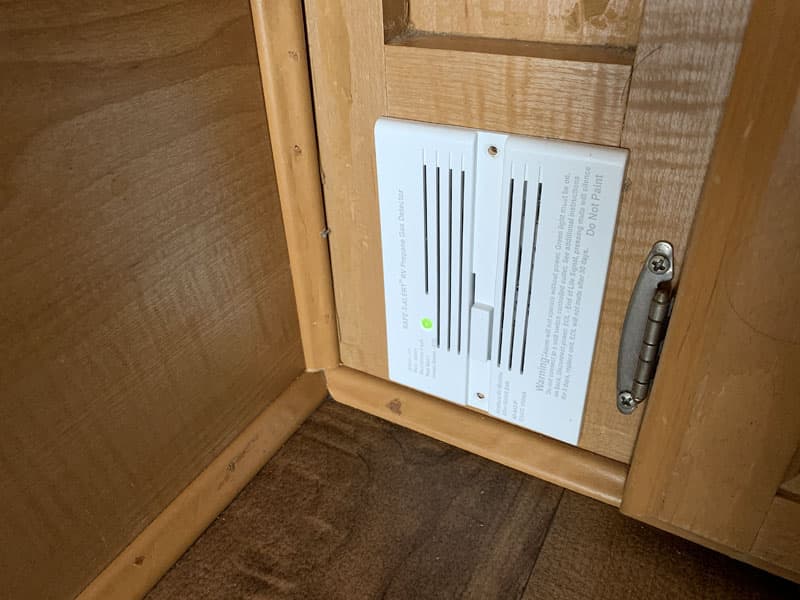
Above: The expired LP detector we replaced with the dual CO and LP detector
The first step was to remove the old detector with a screwdriver. CO and LP detectors are hard-wired to the camper’s 12-volt power. Once the screws were out, the wires connecting the two detectors to the 12-volt system were cut.
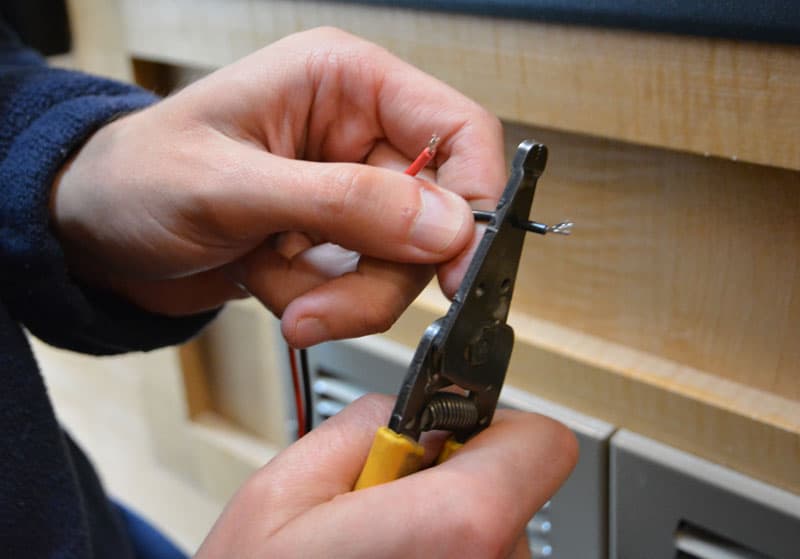
As someone who has wired about a thousand stereo systems over the past thirty-five years, cutting and stripping the wire that connected the CO and LP detectors was quite straight forward.
My trusty wire strippers made the process of cutting and stripping the wire even easier. Given how much wire one finds in a truck camper, a dedicated wire stripper should almost be considered mandatory for anyone who plans to work on their camper.
Of course, scissors can both cut the wire, and – if done carefully – cut into the wire insulation to strip the wire. Either way works, but the dedicated wire stripper sure makes this easier.
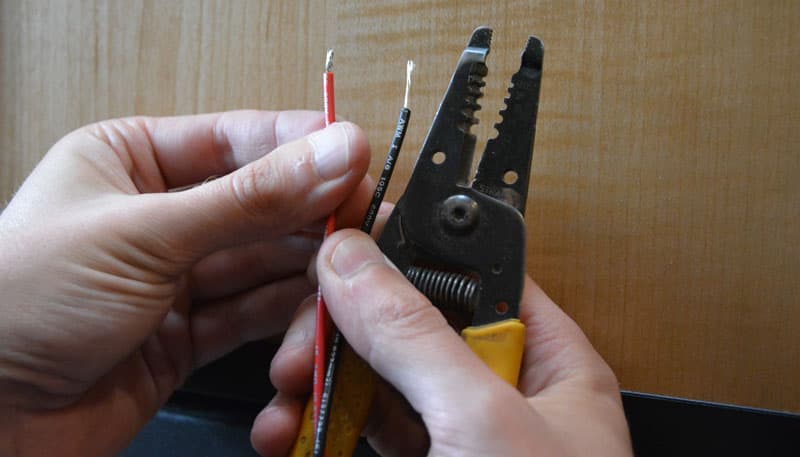
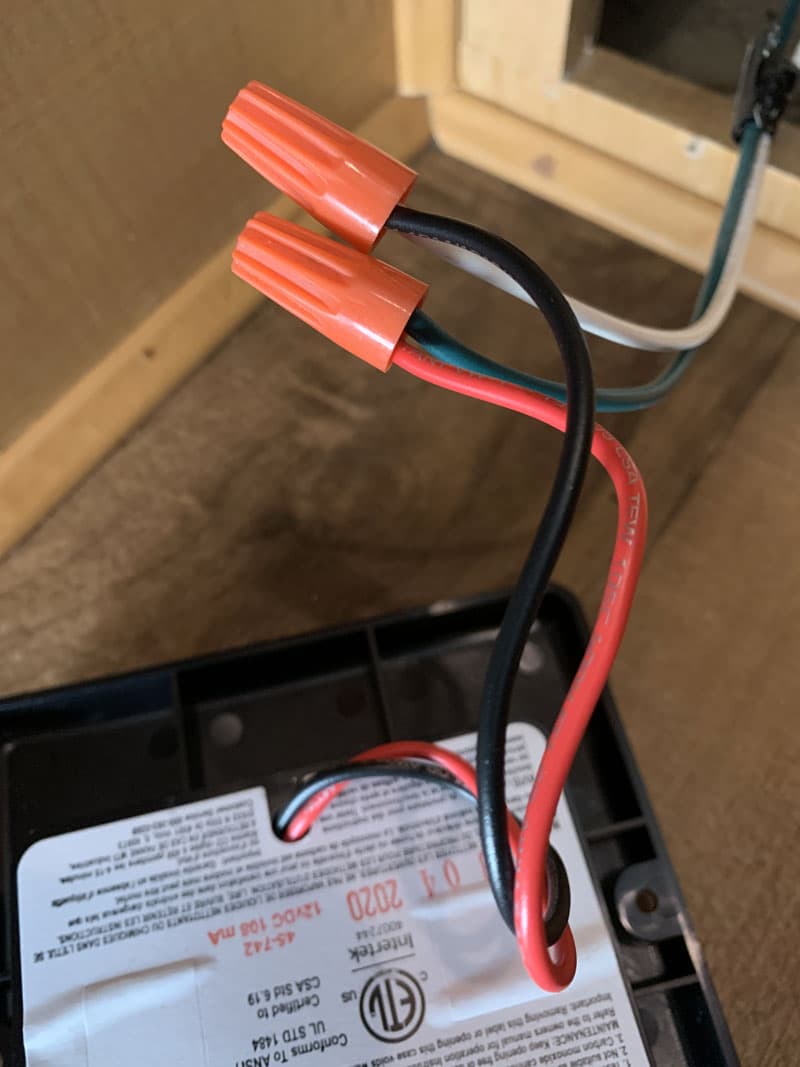
Once the dual CO and LP detector wires were stripped and prepared, we stripped and prepared the wire leads coming from the camper for the detector. The detector ground wires were then twisted with the ground wires from the camper, and fastened with permanent twist-on wire connectors.
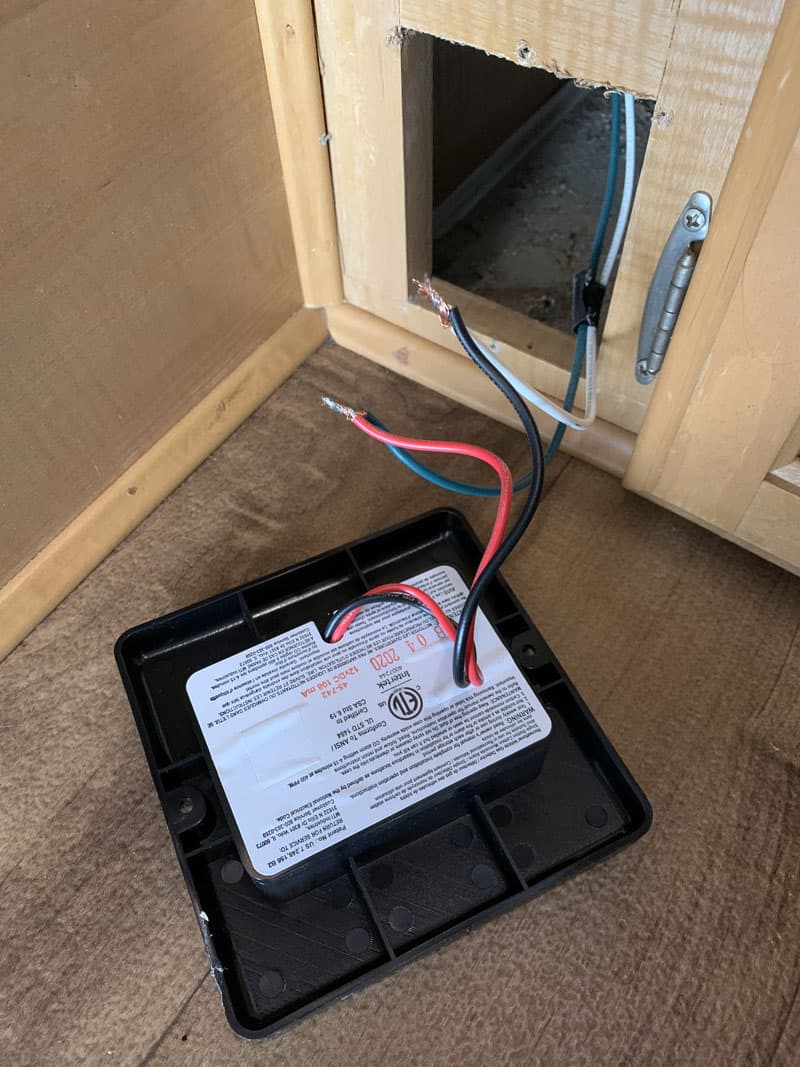
Once the new dual CO and LP detector was wired up, the next step was to install it back into the position where the detectors had been.
The dual detector was a bit larger than the detector it replaced and required a drill to create new screw cabinetry holes. Once that was completed, the unit was screwed into position in minutes.
Something this simple, and this critical, is a no brainer for everyone reading this article. Seriously, please go out and check your detectors right now.
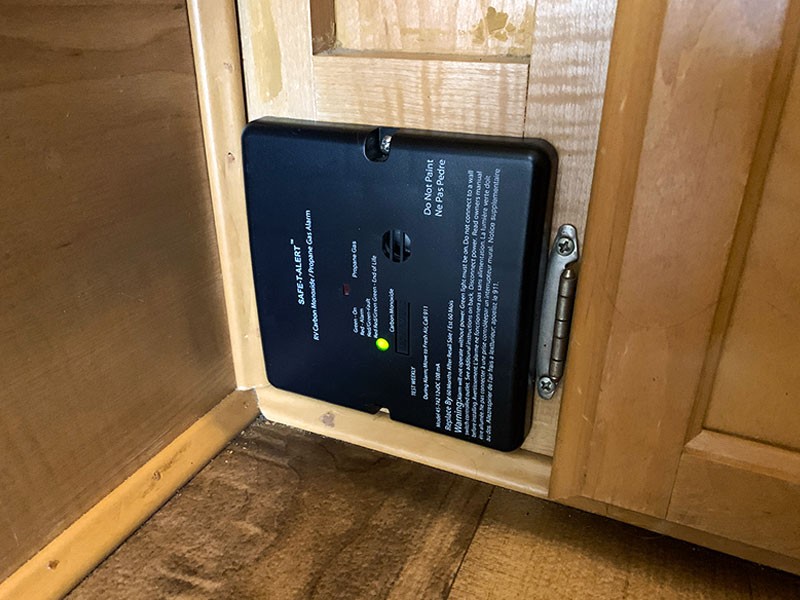
Above: The installed Safe-T-Alert dual CO and LP detector
Angela had the privilege of testing the new detector. With a, “Beep! Beep! Beep!” we were done. It’s not exactly rocket science, but it can save your life and those you care about.
A Note On Expiration Dates
When you look at the back of CO, LP, and smoke detectors, you can clearly see the manufactured dates. In my opinion, this date should be clearly marked on the front of the detectors. Having this information easy to find could not only mean the difference between life-and-death, but also profitable as more folks know to purchase and replace their expired detectors.
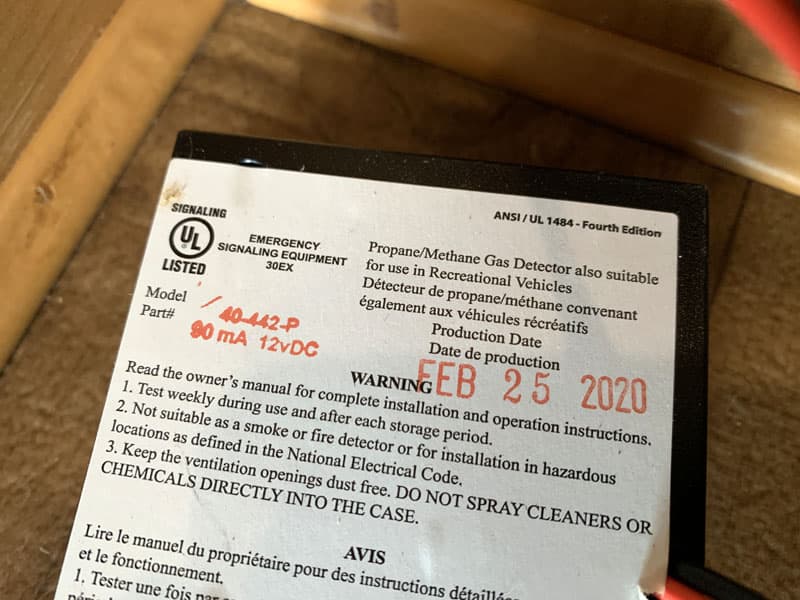
Above: The manufacturing date on the dual CO and LP detector is clearly stated on the back of each detector
I strongly advise documenting the manufactured date (and the resulting expiration date) of your detectors in a highly visible place. Off the top of my head, here are a few ideas on places you can put this information:
The face of the detectors themselves. A simple Sharpie fine-point permanent marker will do, or get OCD with one of those label makers.
The back of your camper jack remote. You’re bound to look under your jack remote now and again, right? I know our jack remote 9-volt battery needs to be replaced annually; a perfect opportunity to think about those detectors.
Inside the dump compartment’s door. You’ve got a moment to think as you dump the stink. What better time to look over your detector’s expiration dates? Any compartment door will do. Find one you frequent, and post this important information there.
All kidding aside, please take a moment to inspect your detectors, find the expiration date, and either write that date down, or replace the detectors, and jot the new detector’s expiration dates someplace you’ll see regularly, and remember to check.
A Really Dumb Way To Lose Readers
Believe it or not, many RVs were not required to have a CO alarm until January of 2005. If your camper was built before 2005, it may not have a CO alarm. LP gas detectors were required starting in October of 1996. If your camper was built before 1996, you may not have either detector installed.
Next time you’re in your truck camper, please check the expiration dates on the detectors, and check the battery in your smoke detector. Push the reset/test buttons on the face of the detectors to make sure the electronics of the device are functional. Test the alarm’s operation after storage, before each trip, and at least once per month during use.
Pushing the test button only tests the electronics of the smoke alarm or LP gas detector or CO alarm. There are cans of smoke to test smoke alarms, cans of CO to CO alarms, and you can use an unlit butane lighter to test a gas detector.
Replace the battery in your smoke detectors annually. If your detectors are out of date, please get them replaced as soon as possible. Besides, fire, carbon monoxide poising, or LP gas explosions would be a really stupid way for Truck Camper Magazine to lose readership.
Please do your part, if not for your own health and well being, then do it for us. We need you alive, having fun in your truck campers, and continuing to read the fine colorful electrons before you.
If you have just recently bought a pre-owned camper, please also read How To Inspect A Used Truck Camper for more tips!


