Factory dinette tables are designed to satisfy everyone, but that’s not you. You need a dinette that flips open, pulls out, angles down, transforms and disappears. You need an extraordinary dinette table. Here are nine.

There are times you may want the dinette to be short and other times bigger. Maybe you want storage along with your table. Maybe you want a circle table instead of a rectangle. Five TCM readers have shared unique ways of changing up the tables in their truck campers. There’s even one reader who found a way to include a keyboard in his table!
Submitted by: Mark Joslin, 2006 Ram 3500, 2005 Lance 1181
We wanted more lounge-ability in our truck camper dinette, but we still wanted to keep our standard dinette. Our 2005 Lance 1181 had a couch option, but we use the dinette as a bed for our kids.
Our modification is fairly simple. We cut the dinette table and made brackets to allow the dinette table to separate – like a table leaf. The pictured table was meant to be a prototype, but it worked so well that we kept it.
I bought a sheet of plywood and cut it to the same dimensions as the original table. I then cut the new table “shelf” to be 8-inches from the wall side. I used a jigsaw so the ends of the permanent piece (against the wall) have rounded edges.
Next I transferred the hardware from the original table to my plywood prototype. I used computer server rack mounting rails (throw aways from work) to be the slides. Finally, I used a pair of table locks that I had left over from a previous project.
The resulting table can be used fully assembled, or just the shelf. With just the shelf, the dinette opens into a lounge-able area with a convenient shelf for beverages, magazines, books, or whatever.
Removing the table is extremely easy. Release the two table locks and slide the table off. The table can be stored in the closet when not needed. The plywood prototype worked so well that I’ve polyurethaned it and we’ve kept it as a final solution.
With the table removed, the dinette area becomes much more comfortable to hang out and relax. It’s also very easy to put the back into its regular configuration.
This mod has been great! It took me six hours to complete this modification and cost me $40. In my opinion, the skill level of this modification is medium.
Submitted by: Tracy and Steve Schuster, 2015 GMC 3500, 2012 Lance 992
Our dining table was a bit too low, especially after adding memory foam to the seat cushions. The table edge was also too far away from me to work or eat comfortably.
I needed a solution that would not only raise the table but also make it closer when I needed it to be without making it impossible to get in to and out of the dinette seat.
We created a box for the base of the table that is about 1 ¾ inches deep, and the approximate size of the original table (24-inches by 30-inches).
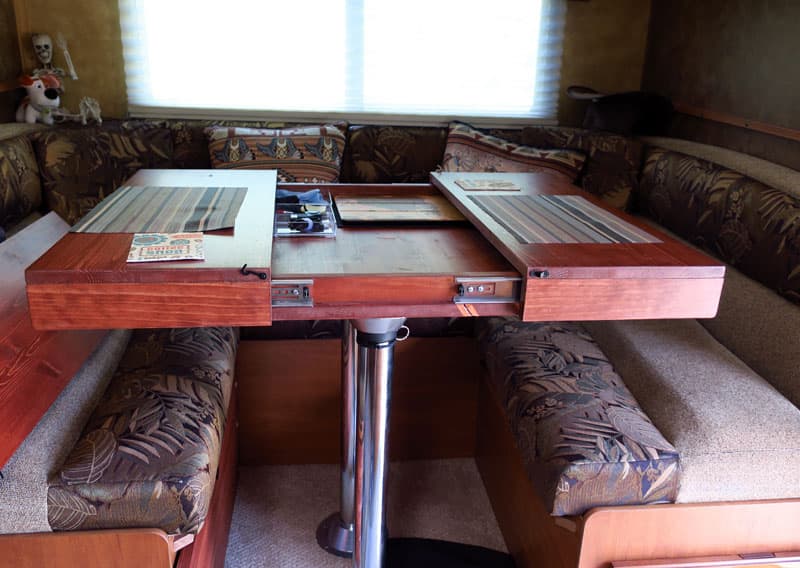
We then ordered two sets of 8-inch long drawer slides and attached them to the sides of the table base box. For the top, we used two 30-inch by 12-inch boards and attached side skirts that serve as attachments for the outer half of the drawer slides.
Finally, we cut a 10-inch and a 12-inch leaf. We have found we don’t use the 12-inch leaf as much. To the leafs we installed rubber bumpers to make them the exact same height as the table top when placed over the box top. To hold the table and leaf in place when in use and traveling, we put latches on all of the edges.

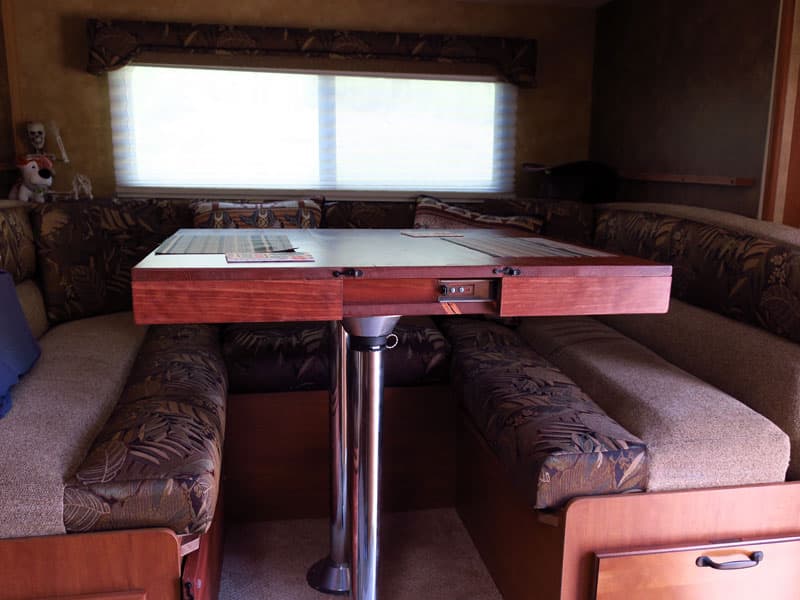
This modification turned out better than we expected! I can put the table as close to me as I need, and my husband is still comfortable on his side. We have much more table space, and the storage created under the table top in the box is perfect for phones, tablets, chargers, placements, and other items.
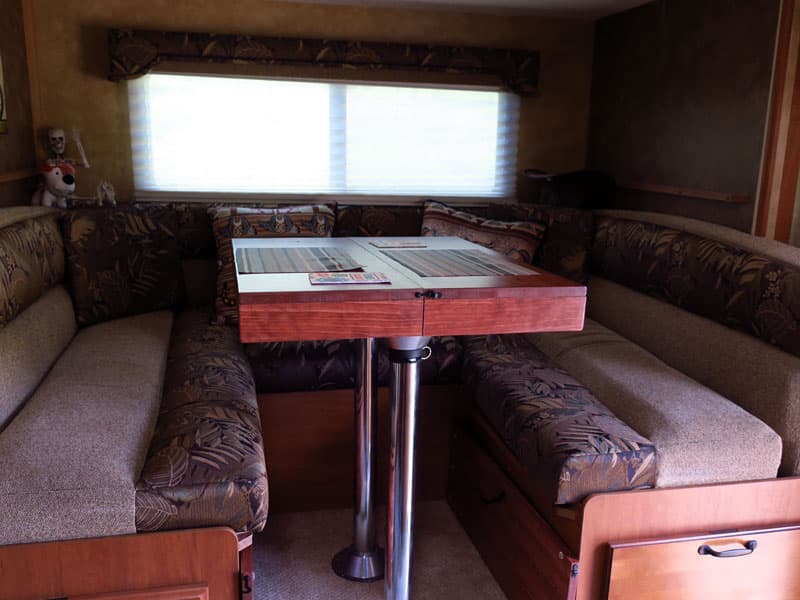
When we want to watch a movie on the iPad on the table, we just take out the leaf and have tons of room to sit and put our legs up on the benches of the U-shaped dinette.
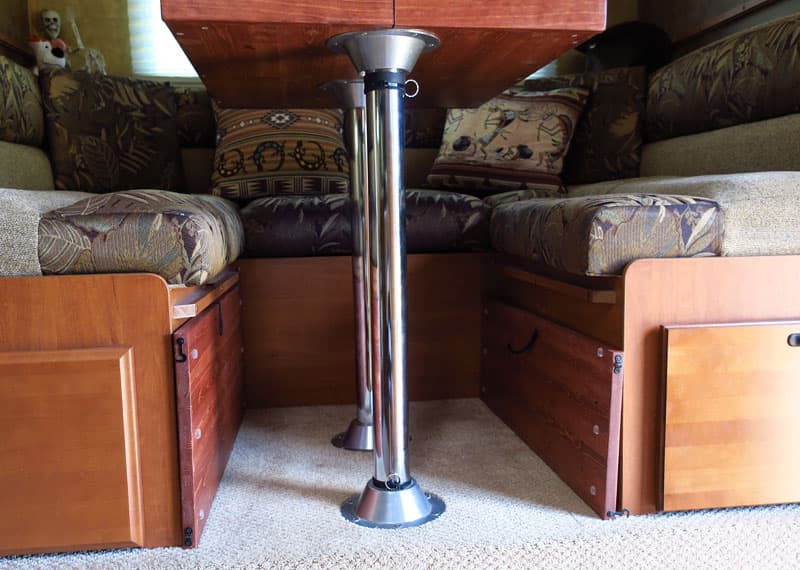
Each leaf stores nicely under the dinette. You’d really never know they are there.
It took me at least twenty hours (including problem-solving and actual construction) to complete this modification and cost me $125. In my opinion, the skill level of this modification is medium.
Submitted by: Mark Siminoff, 2005 Dodge Ram 3500, 2004 Alpenlite Saratoga 935
We are currently traveling our with two children in a truck camper for a full year. A significant chunk of our daily routine is dedicated to education and our homeschooling curriculum, which includes music.
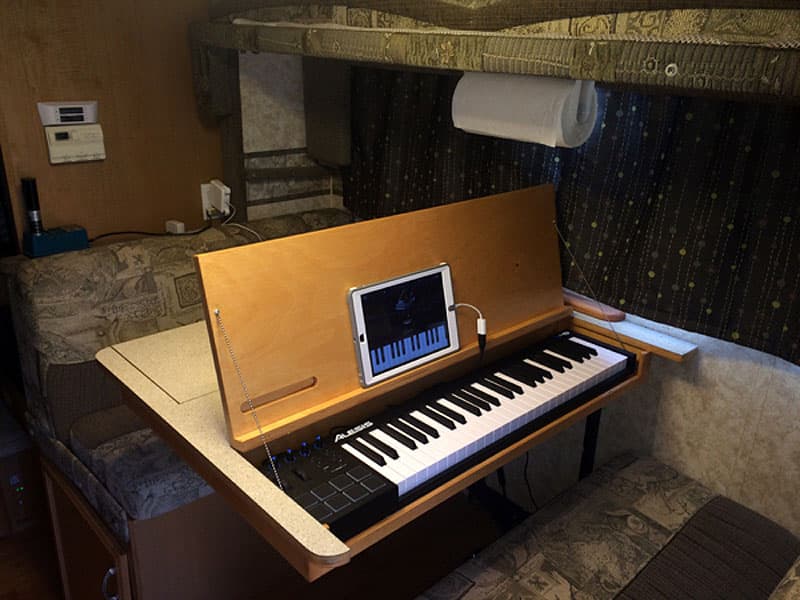
One of the instruments both kids are learning to play is the piano. Of course, it’s no simple task to squeeze a piano into a truck camper. So, as part of the preparation for our trip, I researched compact keyboards and came across the Alesis V49.
This MIDI keyboard is compact enough to travel with us. It has a great feeling keyboard with velocity sensitive keys, is USB powered, and can play on and through our iPad. From there it plays through the truck camper’s stereo speakers, or through headphones.
 |
 |
 |
 |
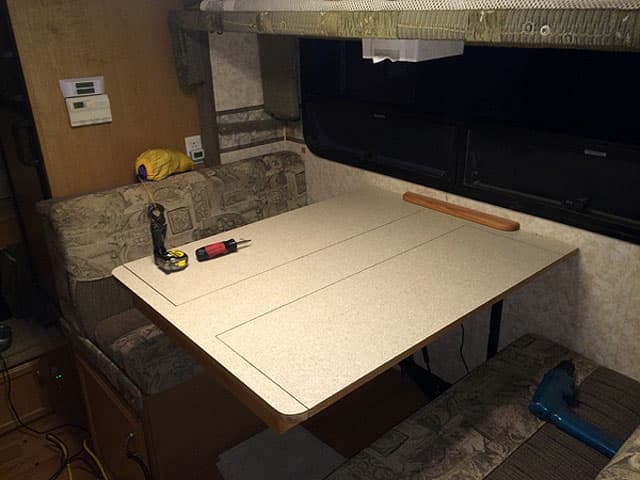
The big challenge, of course, was finding a place in our tiny truck camper to store a MIDI keyboard. After some searching and measuring, I realized that the keyboard was about the same length as the dinette table, so I decided to make a new tabletop with the keyboard tucked away inside of it.
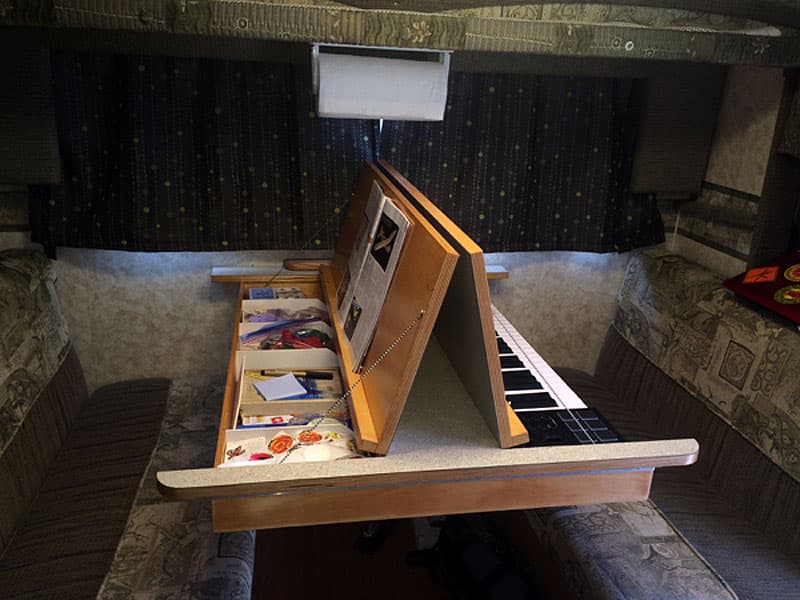
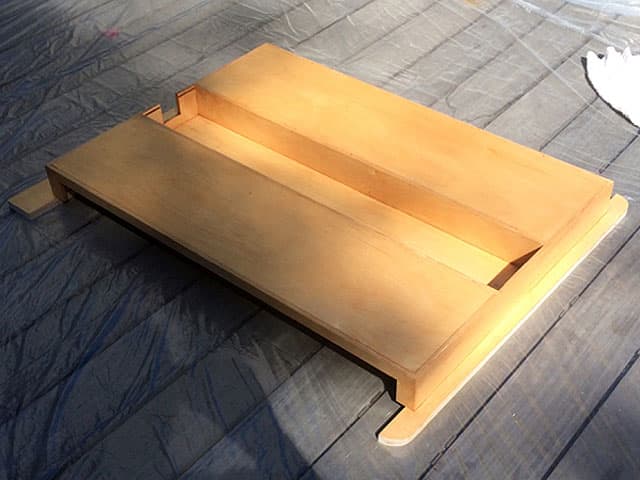
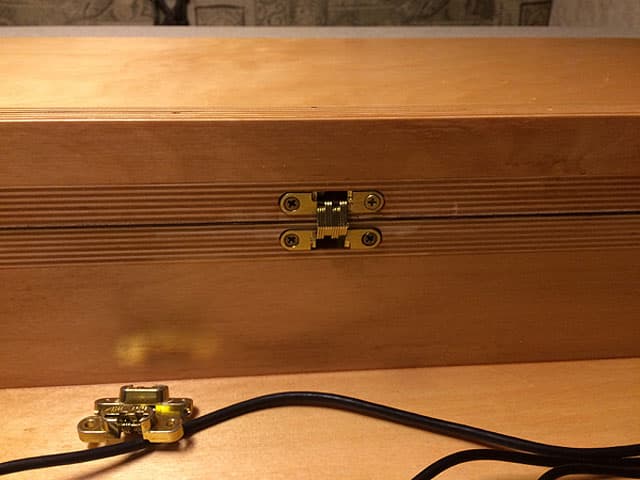
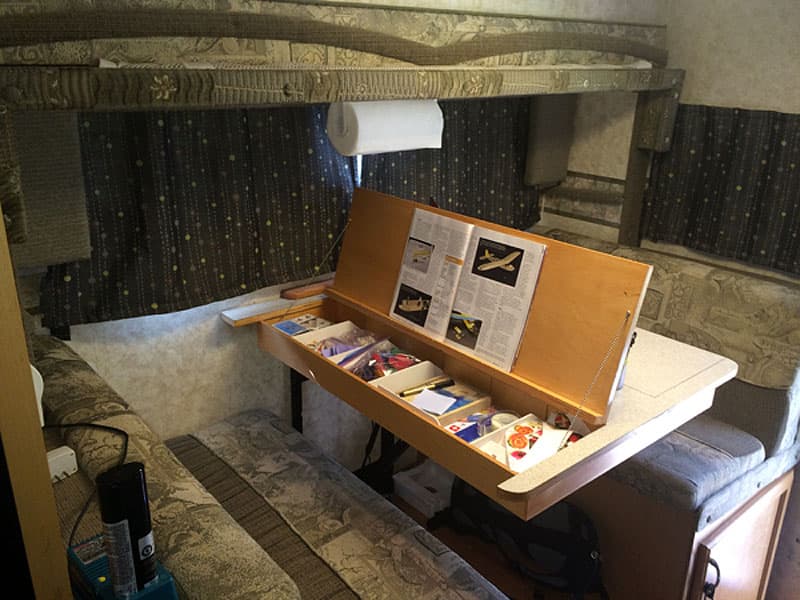
I chose to create two separate storage compartments within the table; one for the keyboard and the other for school and craft supplies. Accordingly, the tabletop has two doors. When open, each door has small ledge which can also be used to support a book, classwork, or an iPad.
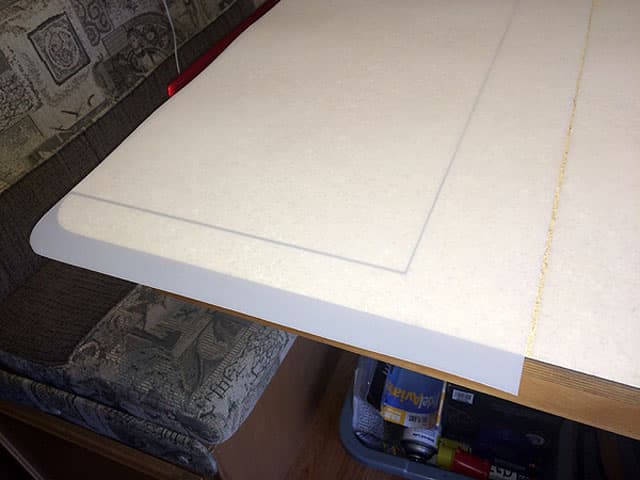
I fabricated the new tabletop entirely from scratch using 3/4-inch 13-ply birch for the top and 3/8-inch 7-ply for the boxes. The top surface is Formica high-pressure laminate and the interior and exterior surfaces have been finished with a durable satin polyurethane and stain.
For times when the kids are working on projects (or meals) that might get messy, I made a pair of 1/16-inch thick LDPE cover sheets that are fitted to the tabletop. When not in use, these sheets are stored behind the dinette’s back cushions.
The whole family uses this table every single day. We eat breakfast, lunch, and dinner on it. We also do home schooling, craft projects, and practice piano lessons. I even composed this Monthly Mod Contest application on it. In the evening, the dinette converts into my daughter’s bed.
This modification took 36 hours to complete and cost approximately $600 including the MIDI keyboard. In my opinion, this mod was hard because I had to ensure that everything would fit.
The entire assembly was designed in CAD (SolidWorks) before a single piece of wood was cut. Creating the table top and boxes required extensive carpentry skills, especially pocketing the hidden hinges. Specialized tools were needed to apply the Formica laminate and polyurethane finish.
Submitted by: Rhonda Nicholas, 2016 Ram 3500, 2014 Palomino HS-8801
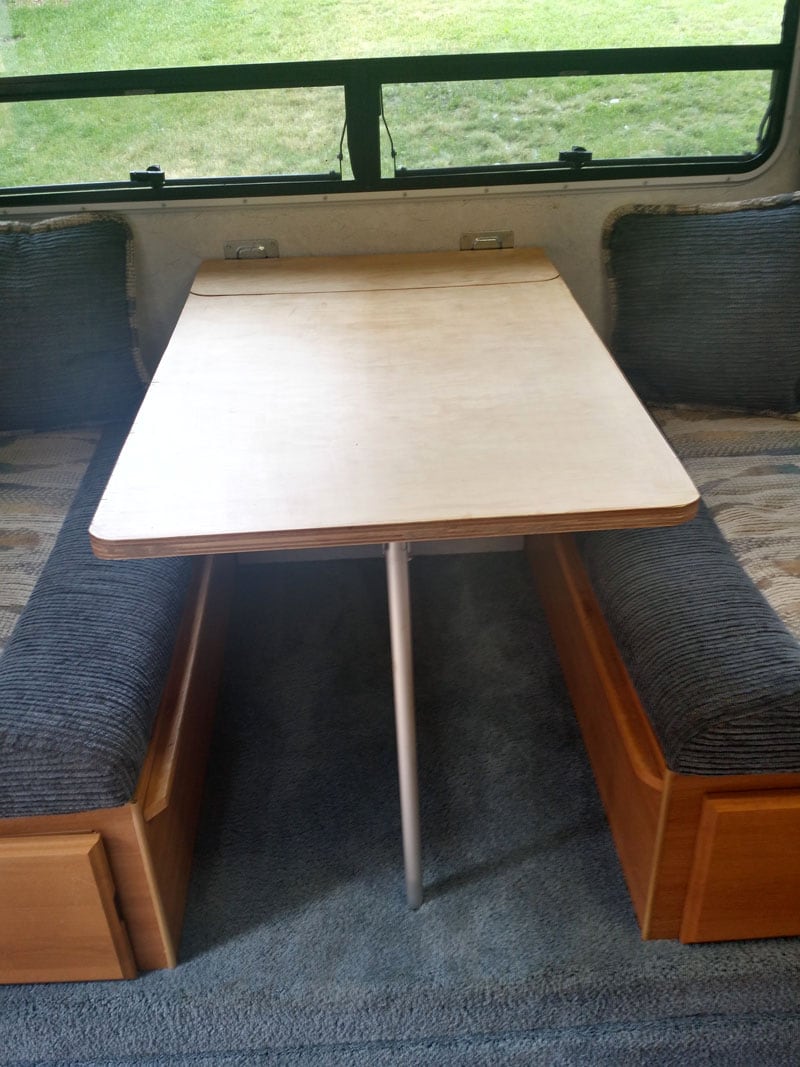
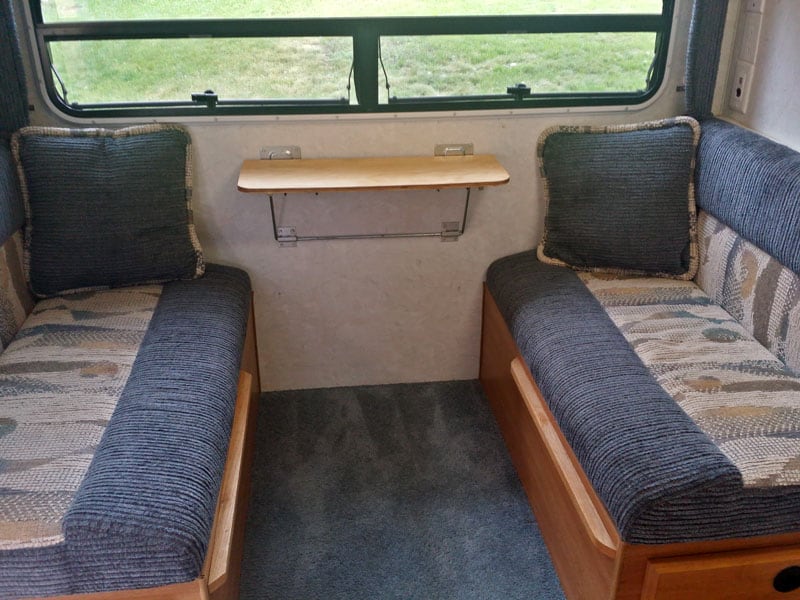
The original dinette table in our Palomino was too wobbly. We modified the table to make it more stable and created more dinette area space in the process.
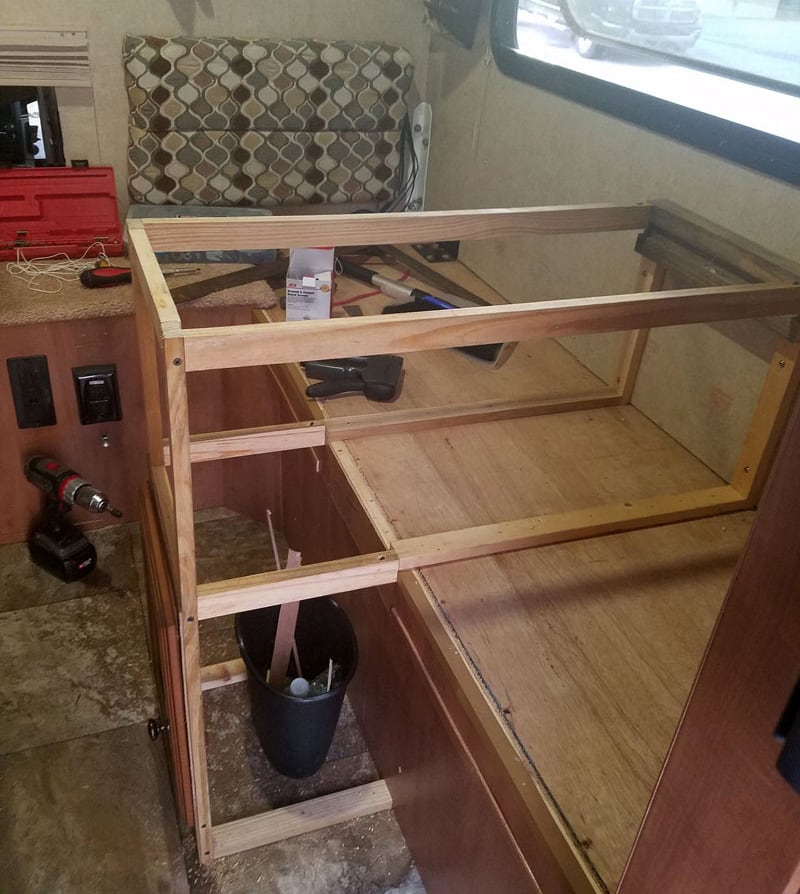
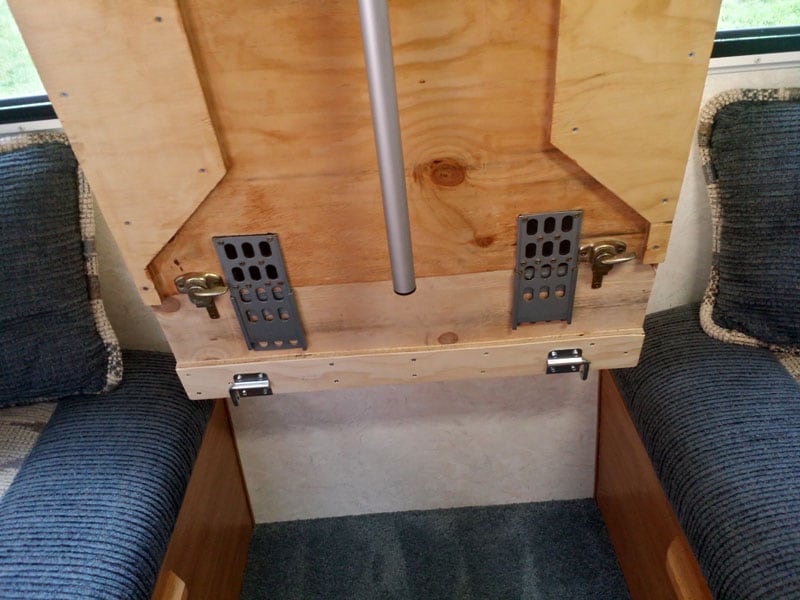
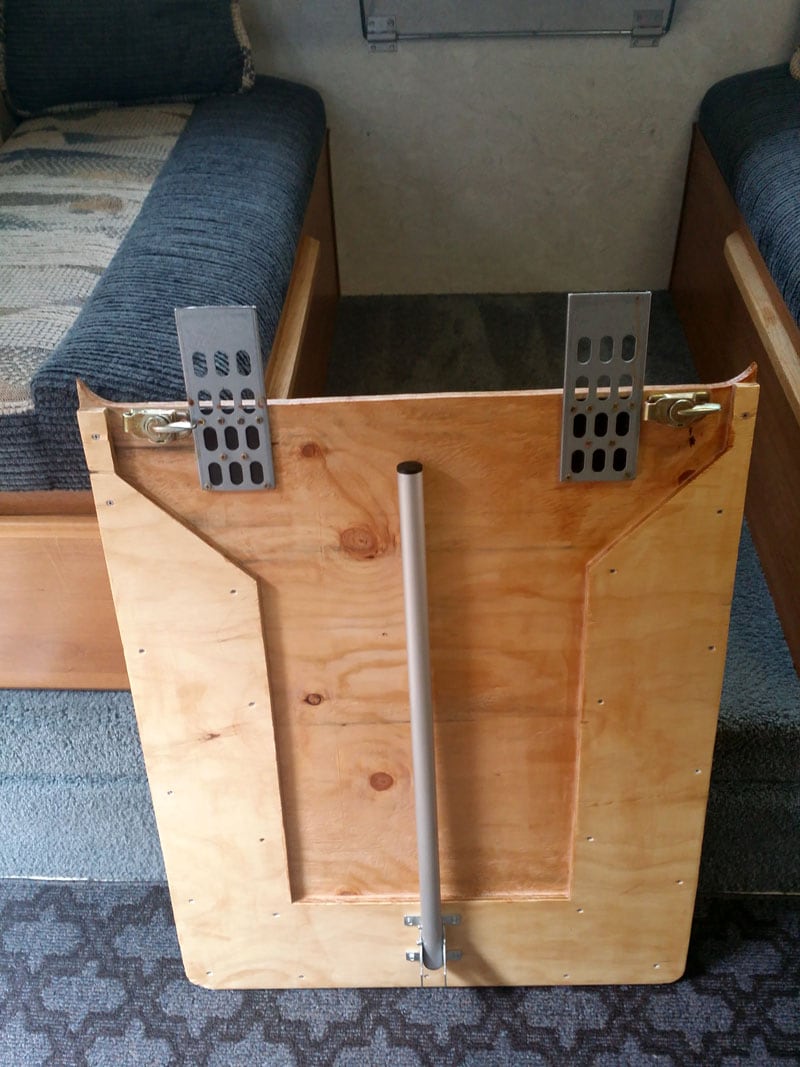
First, we removed the post and built a box for more storage on the floor.
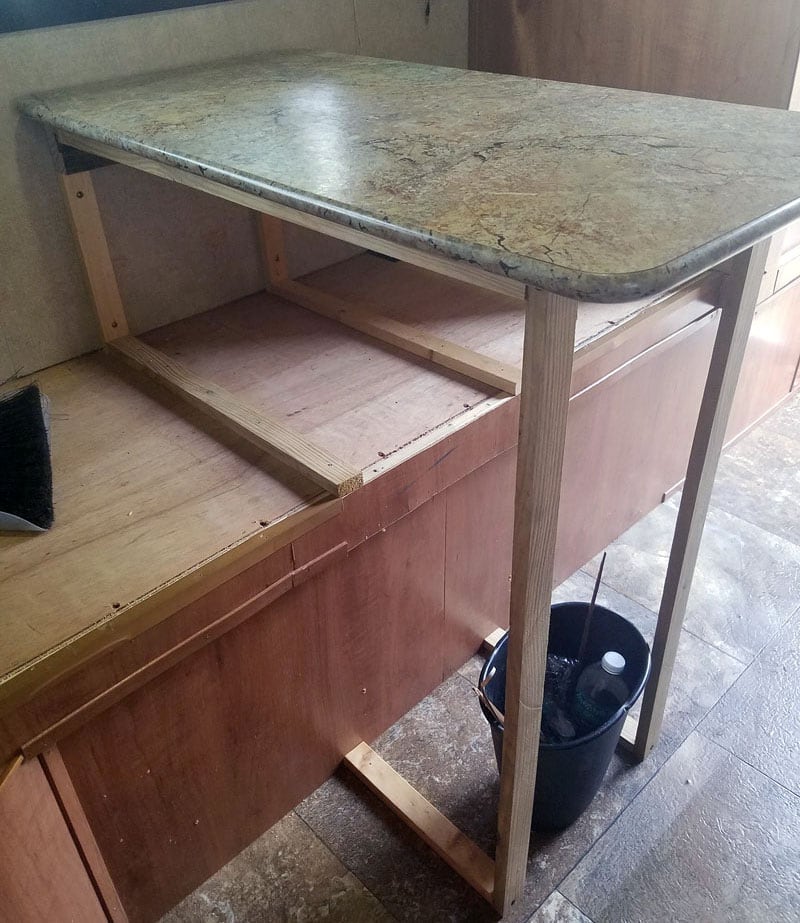
Then we shortened the seats and recovered the cushions.
Next we added storage under the lift top table. The great thing is that we were able to use the original table top and materials.
The dinette is now an awesome space. We don’t need the extra bed area, so this set-up is better for us than the original table.
It took me two days to complete this modification and cost me $50 for the side panels and stain. In my opinion, the skill level of this modification is medium.
Submitted by: Karen and John Dorman, 2012 Ford F150, 2017 Palomino SS-550
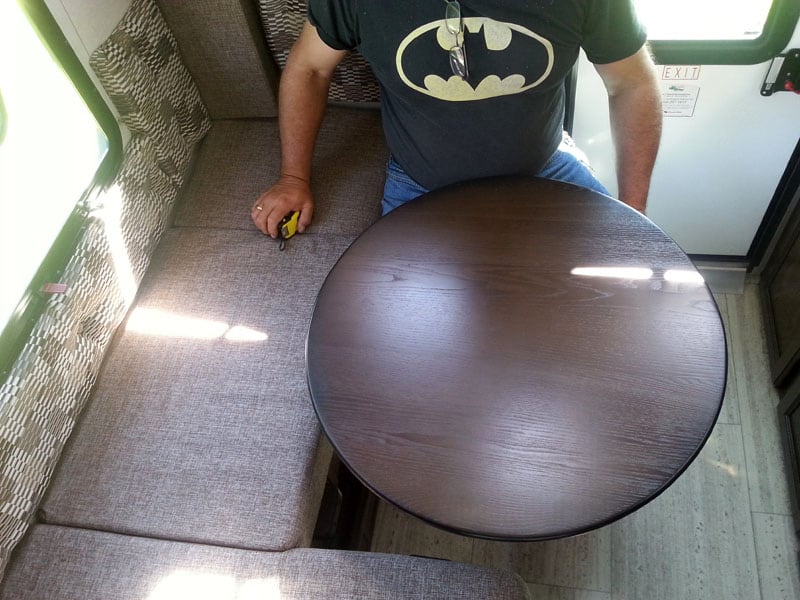
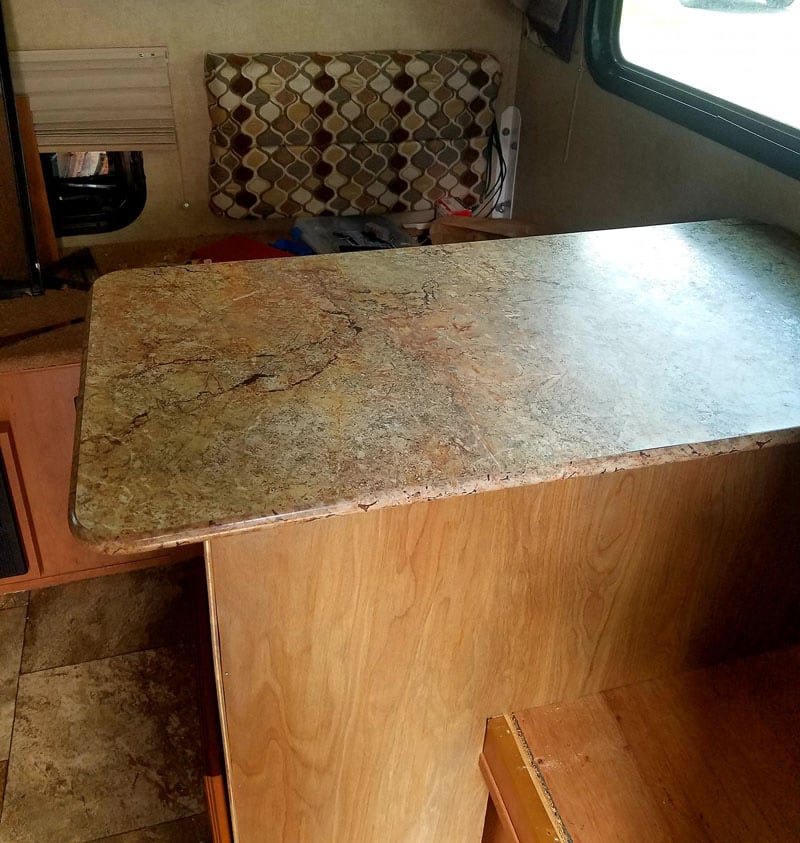
The dinette table that came with the camper was a tight squeeze to sit at. It also stuck out into the kitchen area a bit far and was too low for our liking.
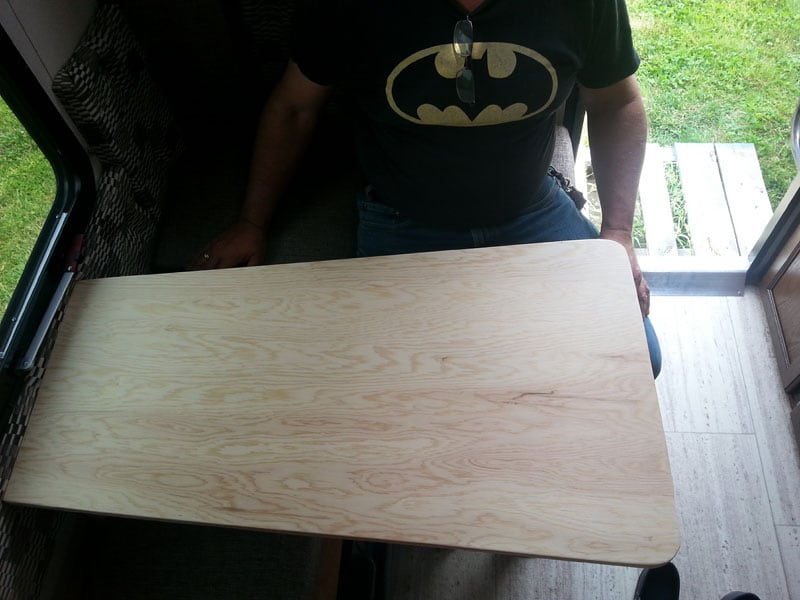
To address these issues, we removed the factory tabletop and replaced it with one that extended to the wall and not into the kitchen.
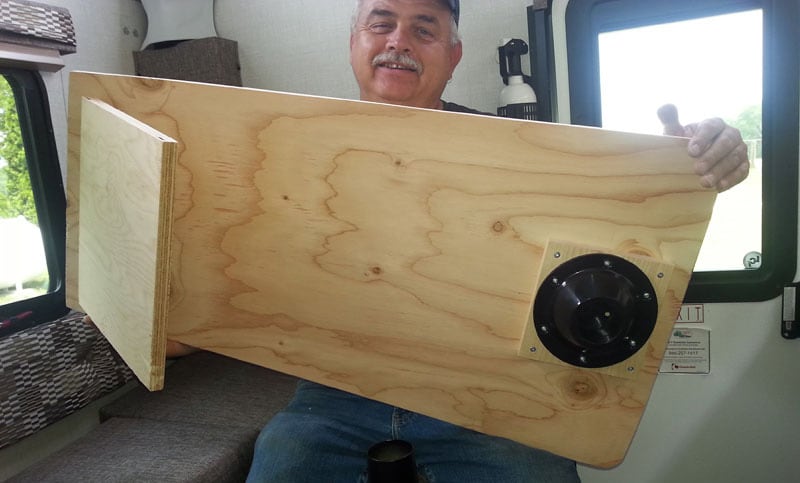
The new table utilized the existing table post and socket-mount attached it to the new tabletop.
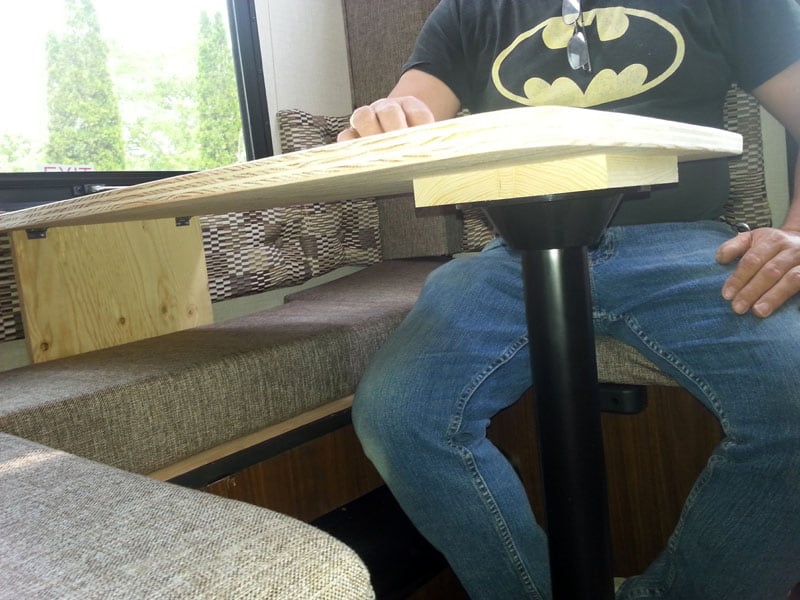
We added a lift to the table to improve the height. We used a plywood board to support the tabletop on the far side. The plywood slides between the cushion and the wall and is hinged to the wood seat.
With the new tabletop installed, there’s now lots of room to pass by the dinette table and use the kitchen counter area. The new tabletop has the same amount of table surface area as the old tabletop and adds a cutlery drawer.
This modification took under two hours, plus the required drying time for stain/urethane. The mod cost me nothing because we had the materials, which would be approximately $20 to $30 to purchase. In my opinion, the skill level of this modification is easy if you have the tools and you know how to use them.
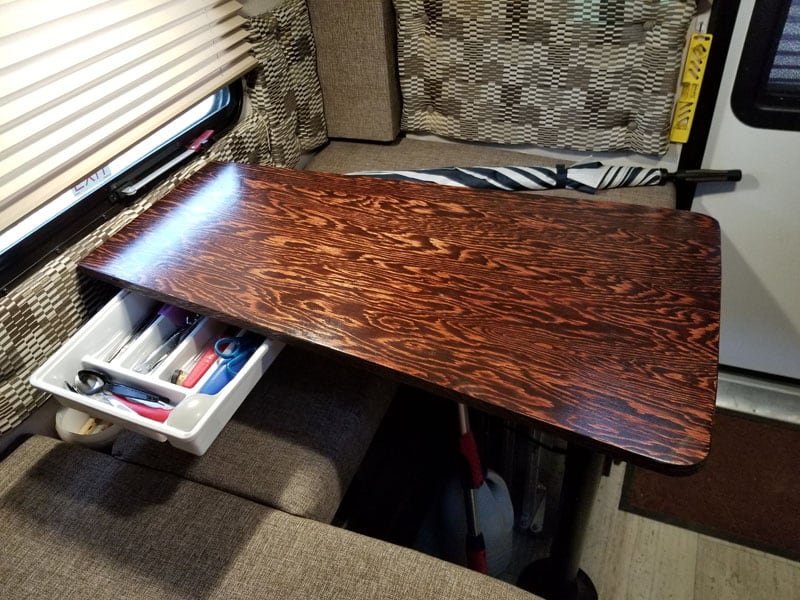
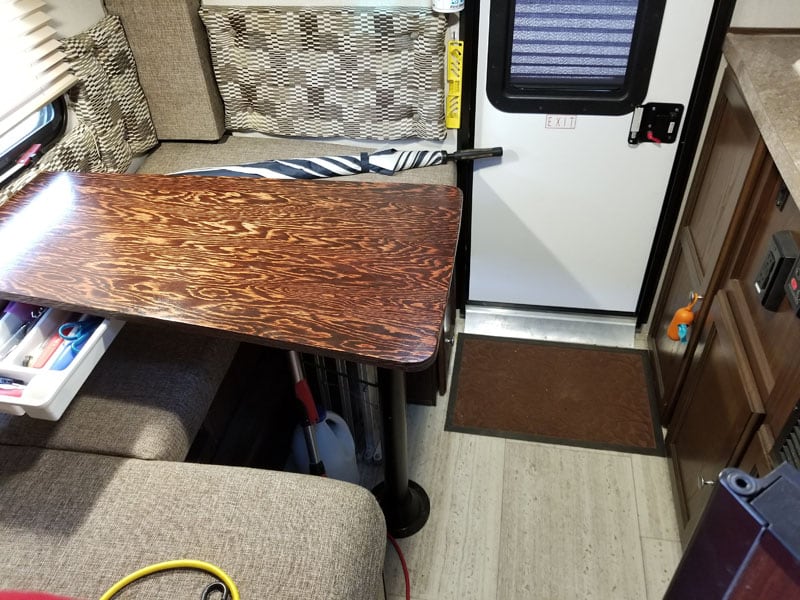
Submitted by: Jeff Dieter, 2013 Chevy Silverado 2500, 1999 StarCraft 952
My wife and I just got into truck camping last year and we were so excited to find a 1999 StarCraft 952. We enjoy the camper but thought we would update it over the winter.
As everyone with a truck camper does, we try to make every inch of space count. We thought having a little more walking space would help.
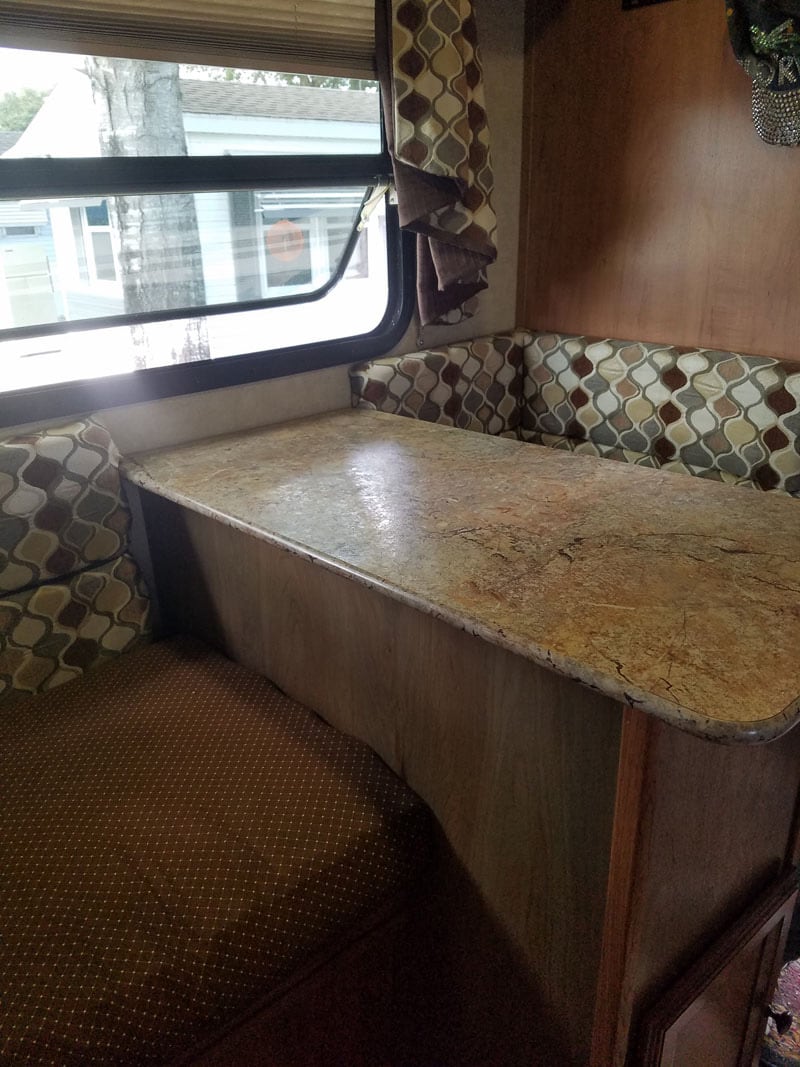
One idea was a drop leaf table which, when dropped, gives six inches of walking space over the original table. We also thought the real wood butcher block would add to the outdoor feel we were looking for. One added benefit was the loss of about ten pounds from the original table.
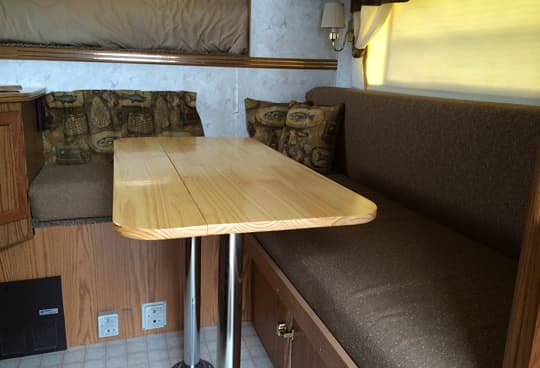
Submitted by: Doug Jenkins, 2003 Ford F250, 2003 Palomino 8801
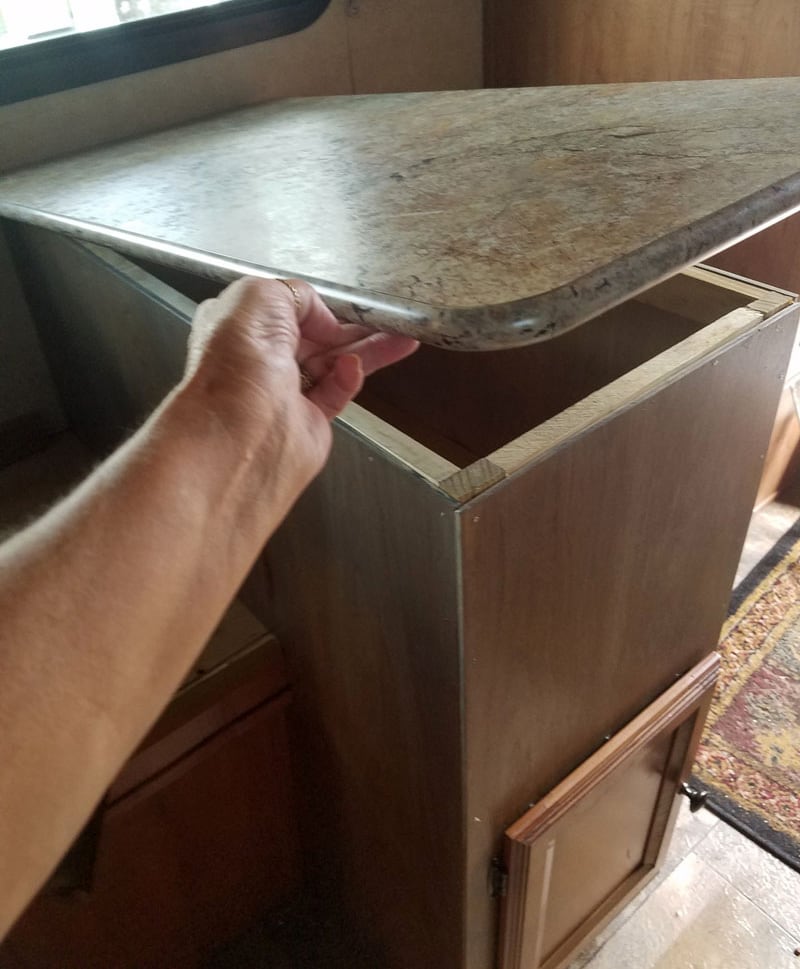
Unfortunately, I don’t have a before photo of the original table that came with the camper. It was rather annoying as it was only approximately twelve inches by thirty inches – hardly enough room for two dinner plates. Plus, it was situated in the already small, galley area behind the sink and stove. We were forever bumping into it. Fortunately, it had an early demise and conveniently broke.
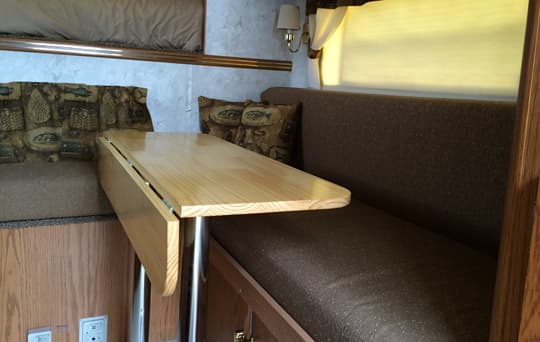
We had just redone our kitchen countertops and we were able to salvage the old bar top section and put it to new use. We just removed the hardware from the broken original table and reattached it to this custom-made tabletop.
It’s perfect for the two of us because it’s steady, secure, and can be easily removed if the dinette is needed for an extra bed. It’s practical and, best of all, it didn’t cost us anything! We can now happily entertain another couple for dinner, cards, or whatever.
Submitted by: Janet Carter, 2006 Chevrolet Silverado 1500, 2001 Sun-Lite
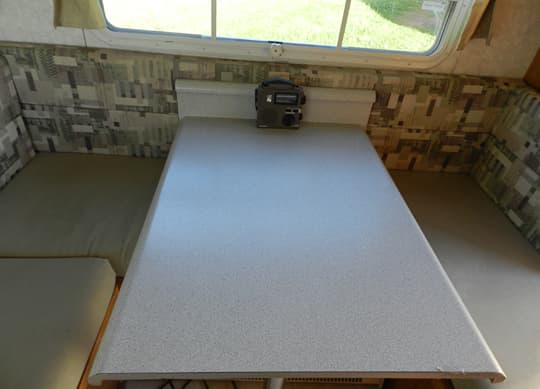
I am a travel writer, so the lack of workspace in my six-foot Sun Lite truck camper was a serious problem. This dinette table was 16-inches by 44-inches, which was too narrow. The table has to be used for cooking and eating as well, so the work surface has to be removable.
I bought a remnant of plywood 24-inches by 31-inches from Home Depot and four 3-inch L-shaped shelf supports. I slipped the shelf supports between the back of the dinette seat and the wall, and then I laid the plywood between them and across the dinette table. My printer sits on the dinette seat beside me.
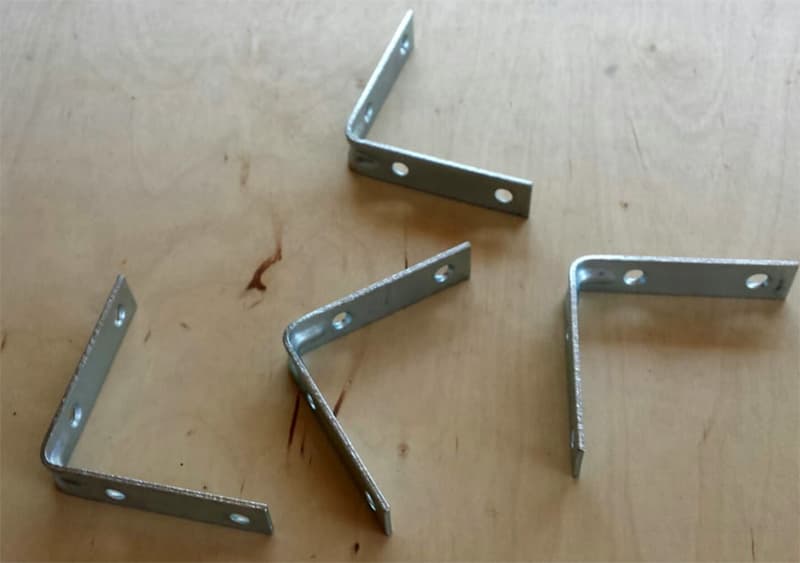
Above: The four shelf supports
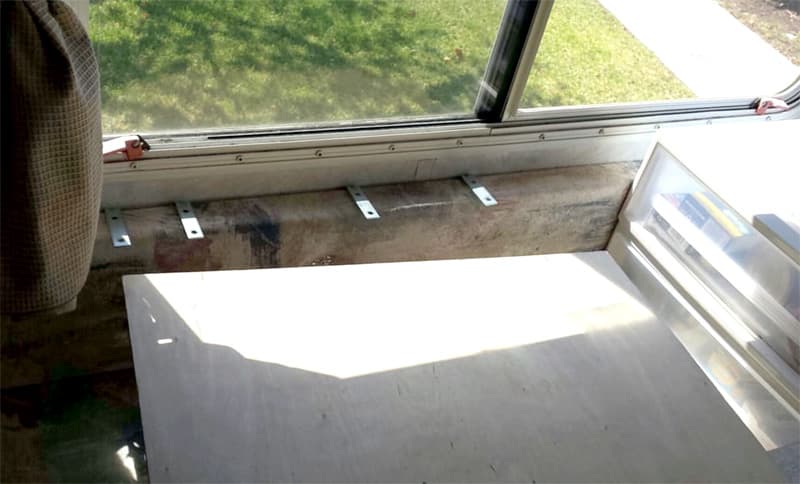
Above: The four shelf supports are put between the back of the dinette and the wall
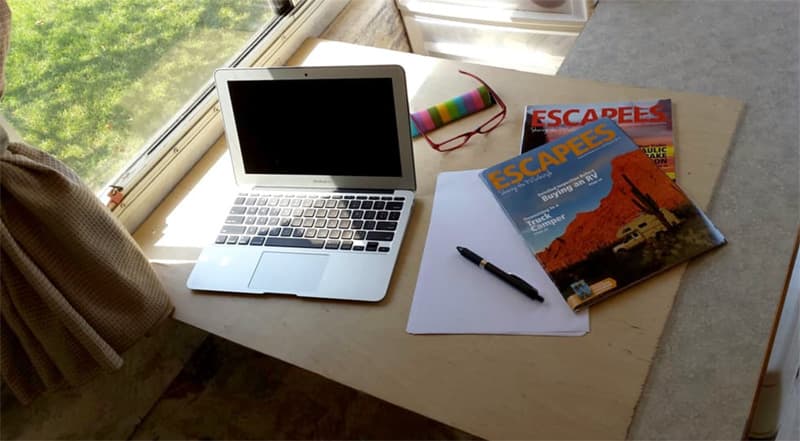
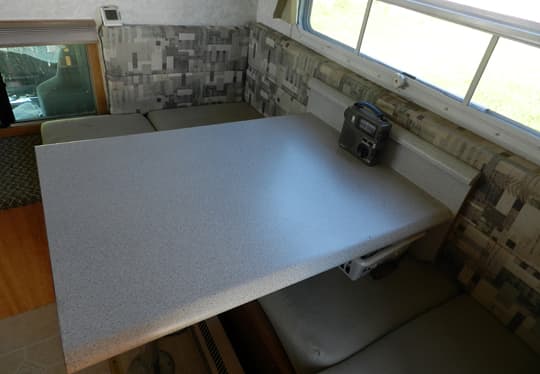
Above: Plywood is laid between the supports the dinette table
This desk works just fine. I store the four-shelf supports in a drawer and slide the plywood underneath my mattress to travel.
This mod took longer to design (after several ideas that didn’t work) than it did to put together. It took one hour to complete and cost about $12 . In my opinion, the skill level of this mod is easy.
Submitted by: Audrey Ruccio, 2008 Ford F450, 2008 Host Everest
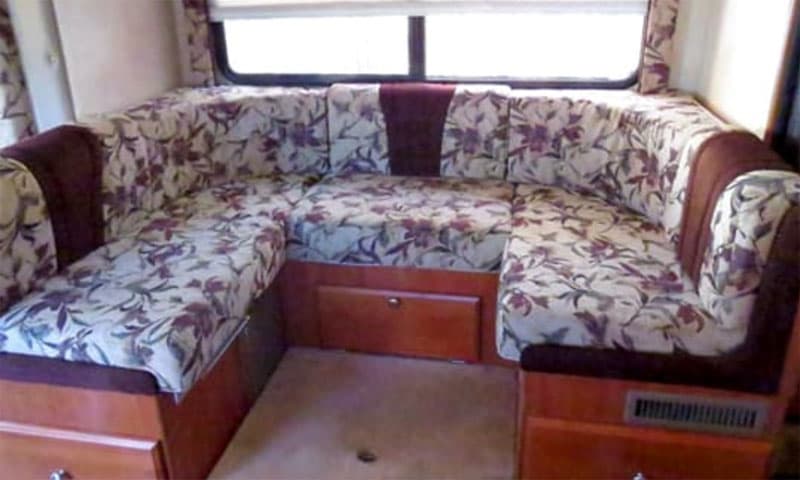
Above: Circular dinette seating without the table, before the modification
The circular dinette seating in our 2008 Host Everest is very nice and comfortable, but the small free-standing table is supported by a single post on the floor. The small table did not have enough room for dinner plates, serving bowls, condiments, and water glasses without the danger of something getting knocked off and landing on the seats. To avoid this from happening, we had to jump up and down during dinner to get things from the kitchen counter.
By removing the middle seat and back cushions of the dinette, we were able to install a large plastic tote topped with a one-inch thick piece of styrofoam and a quarter-inch plexiglass surface to create a 16-inch by 25-inch table extension. As a bonus, the large plastic tote gives us additional storage.
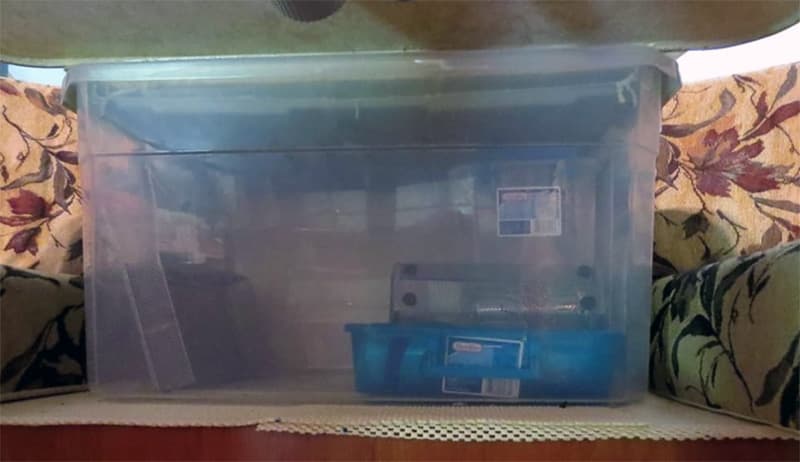
Above: A large plastic tote was placed in between the table and the wall
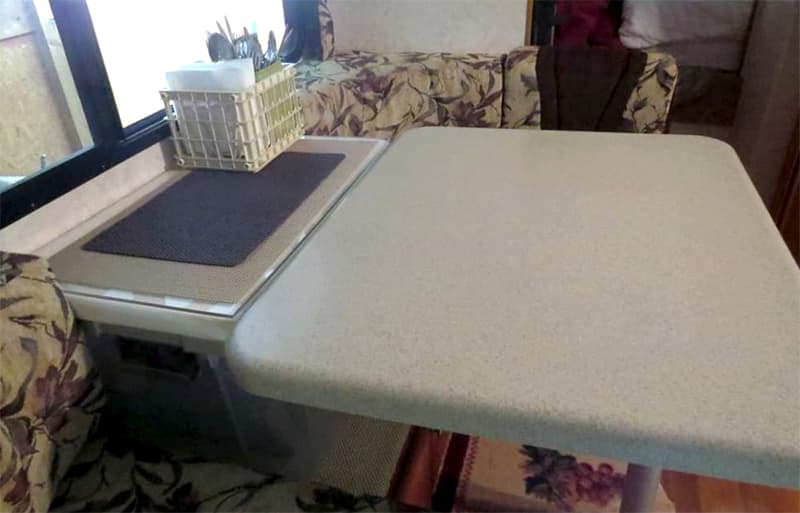
Above: The tote box/table extension is topped with a one-inch thick piece of styrofoam and a quarter-inch plexiglass surface to create a 16-inch by 25-inch table extension
The tote box/table extension has worked beautifully! There is still plenty of seat room for sitting or lounging. The extra storage, with its easy access, has been really helpful, and we love the extra table space.
An added tip: The little basket on the table holding silverware, napkins, and salt-pepper, frees up a large amount of precious drawer space.
It took me less than one hour to complete and cost under $20. In my opinion, the skill level of this mod is super easy!
7 BONUS TABLES: Also, in recent mod entries, feel free to check out Hinged Table To Go With Reclining Chairs, Camper Dinette Table Reconfiguration, Floor Storage Box and Stowable Chess Table, Dinette Table Modification and Storage, Replacement Table With Wall Supports, Poplar and Black Walnut Camper Dinette Table, and TV Tray For The Dinette.
Disclaimer: The modifications above are submitted by Truck Camper Magazine readers. It is your responsibility to make sure that any do-it-yourself modification project you undertake is safe, effective, and legal for your situation.


