Welcome to the third entry in September’s Medium Mod Contest. One Medium Mod will be published in every Email Alert in September. At the end of the month, we’ll hold a reader vote to determine September’s winner. Click here for information about the 2021 Mod Contest, including how to enter.
Edith Horn, Box Elder, South Dakota
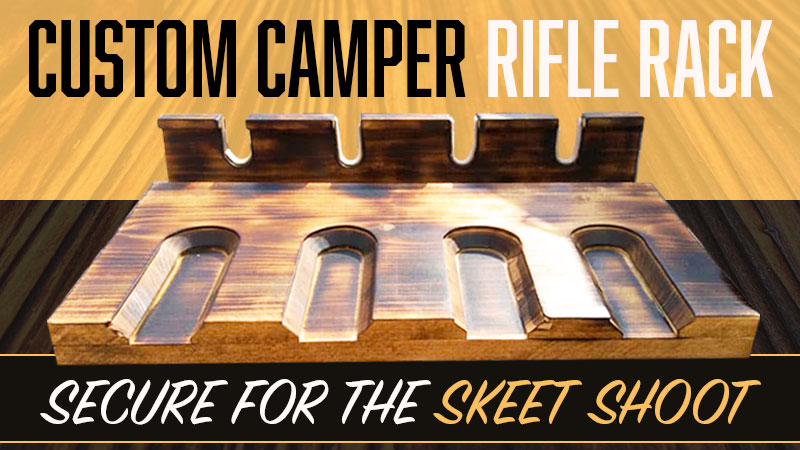
Custom Camper Rifle Rack
2018 Ram 3500
2019 Northern Lite
My friends and I are rifle enthusiasts; skeet shooting or a day at the range. I needed a secure area to store some of my favorite rifles. Up until now, I’ve only carried one shotgun. Now I have room for three more.
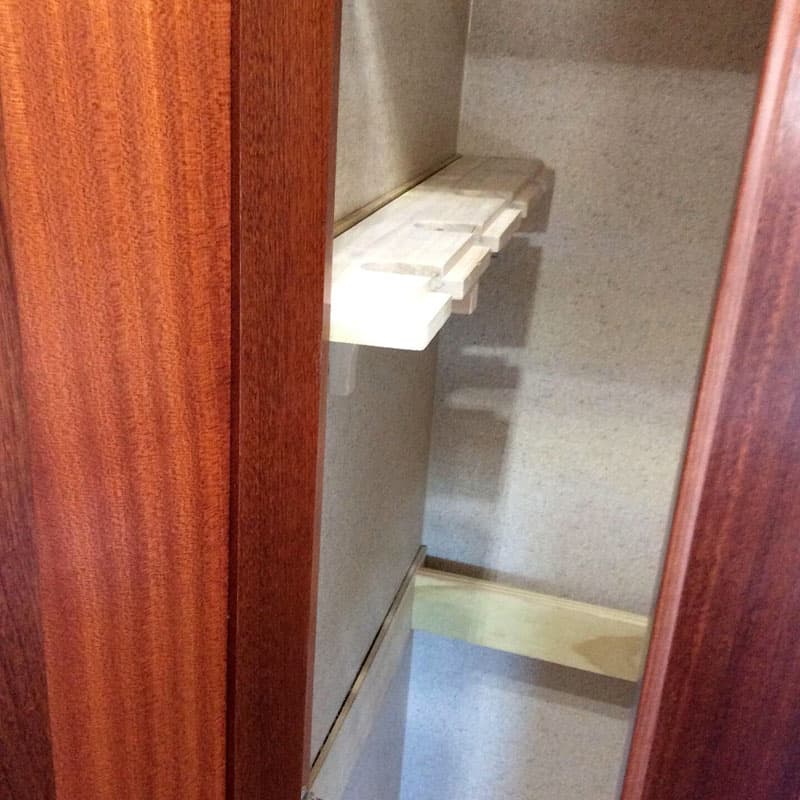
My 2019 Northern Lite 10-2 has a slide-in pantry next to the shower, just behind the dinette. I was tired of my shotgun falling out of the pantry anytime I hit any good-sized bump in the road.

My slide-out pantry was the perfect solution. It was deep enough for four rifles and tall enough to also build in a shelf above, which gives me enough room for all my cleaning supplies.
My son and I began by removing the slide mechanism on the pantry (see above), which was very easy. We removed several screws and the entire thing just popped right out. Then we measured and measured again.
Next, we went off to the local hardware and lumber store. We decided to use good cabinet quality wood; in this case, some beetle kill popular wood. The entire area is 56-inches by 20-inches by 10.5-inches.
We started by gluing four 1/4-inch x 4-inch slats to the back panel in the pantry. Then, we affixed a 1/4-inch panel to fit the entire back wall. This was the base to secure the barrel rack and tie in all support rails.
Above: Dry fitting the barrel rack before the installation of the full wall wood panel
We used the 1/4-inch x 4-inch panels to mount the wall panel and provide additional wood for screws and finish nails so that they wouldn’t penetrate the original wall panels. This way if I ever wanted to return the pantry back to its original configuration, I won’t have any holes in the space.
We fitted two 1-inch x 10-1/4-inch solid poplar boards for the buttstocks and ammo storage and created a frame support out of 1-inch x 1-inch that was cut from solid 1-inch x 4-inch boards. That is to support the shelf that sits over the rifle rack at the top of the pantry area.
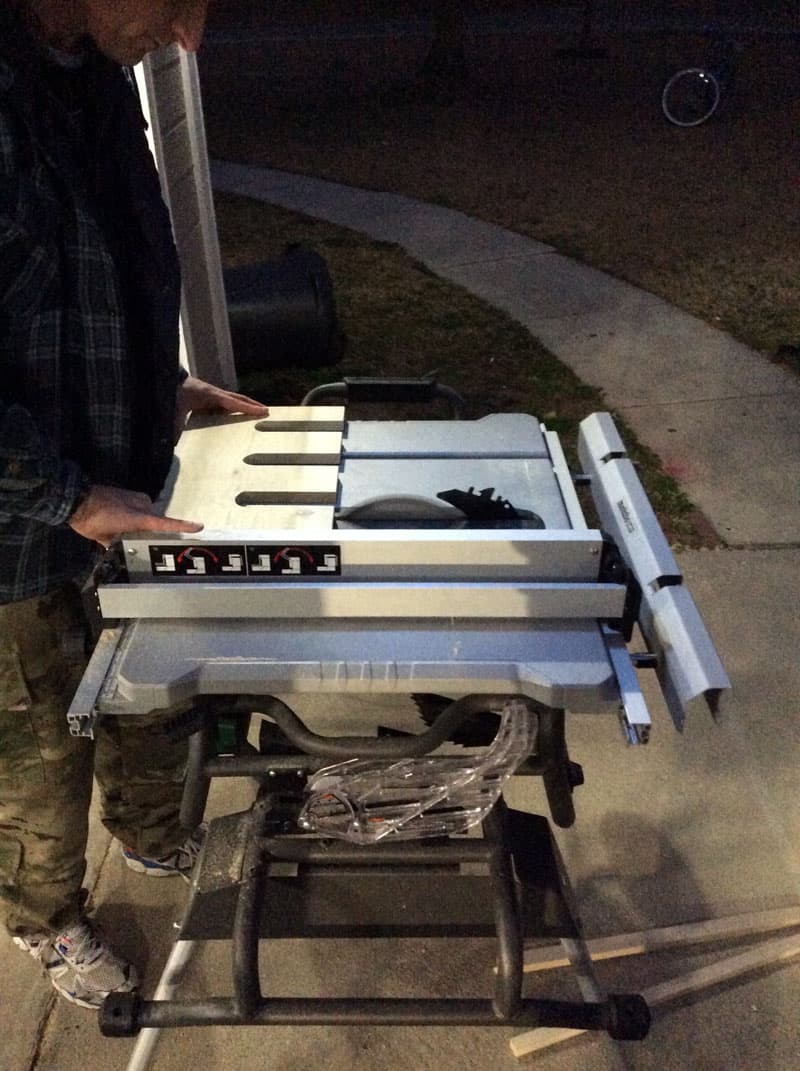
Above: Cutting out the slots for the rifle butts on my son’s table saw.
Above: After the cuts were complete, he used a miter saw to add a decorative finish.

Above: We mounted the butt stock holder to an additional 1-inch block of wood to protect the original panel’s wood in the camper and gave the rack a nice finished look

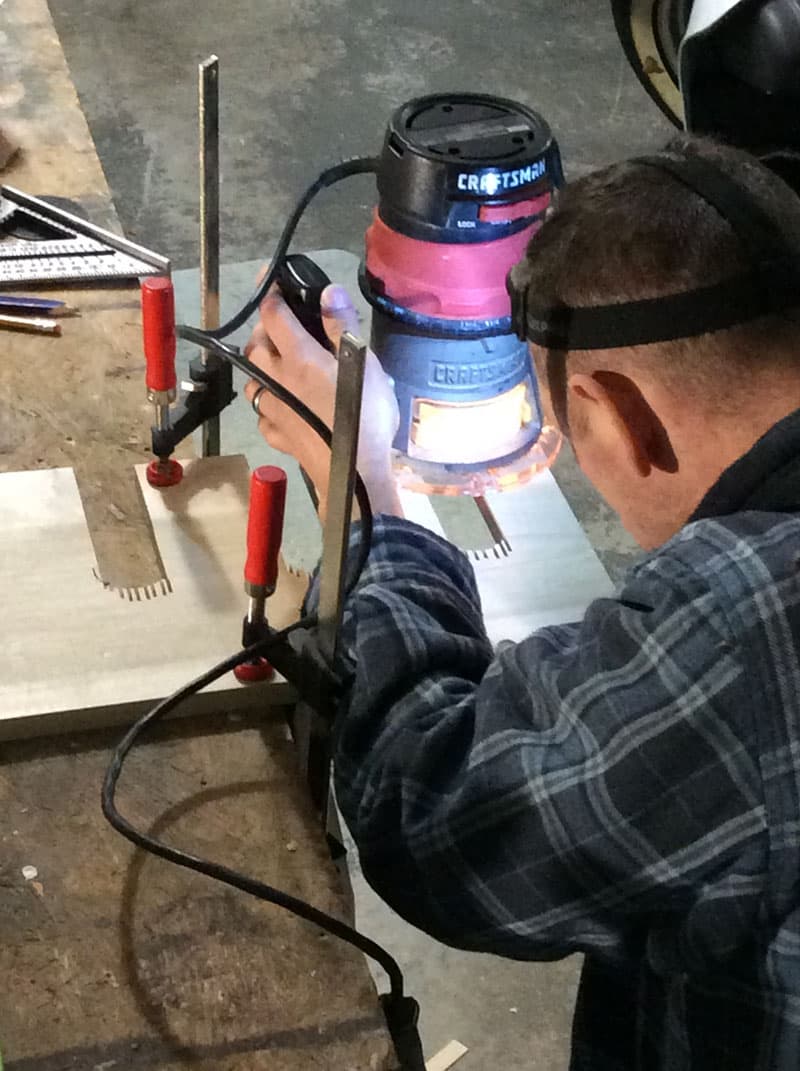
Above: Both my son and I took turns using the handheld propane torch to add a Japanese traditional wood finish

I sanded the rack with 120-grain sandpaper and applied a Japanese Shou Sugi Ban finish. It was really fun to do. The finish was applied to all of the wood.
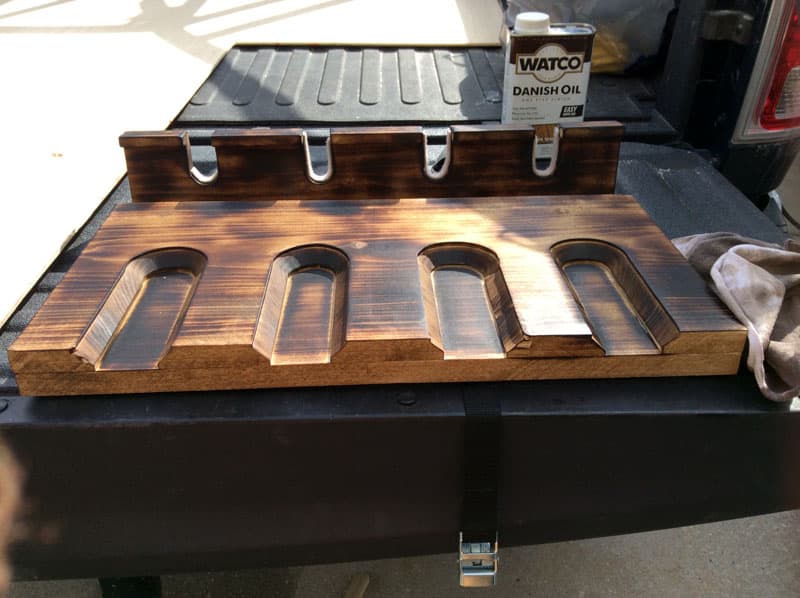
I completed all the wood with an oil stain finish.
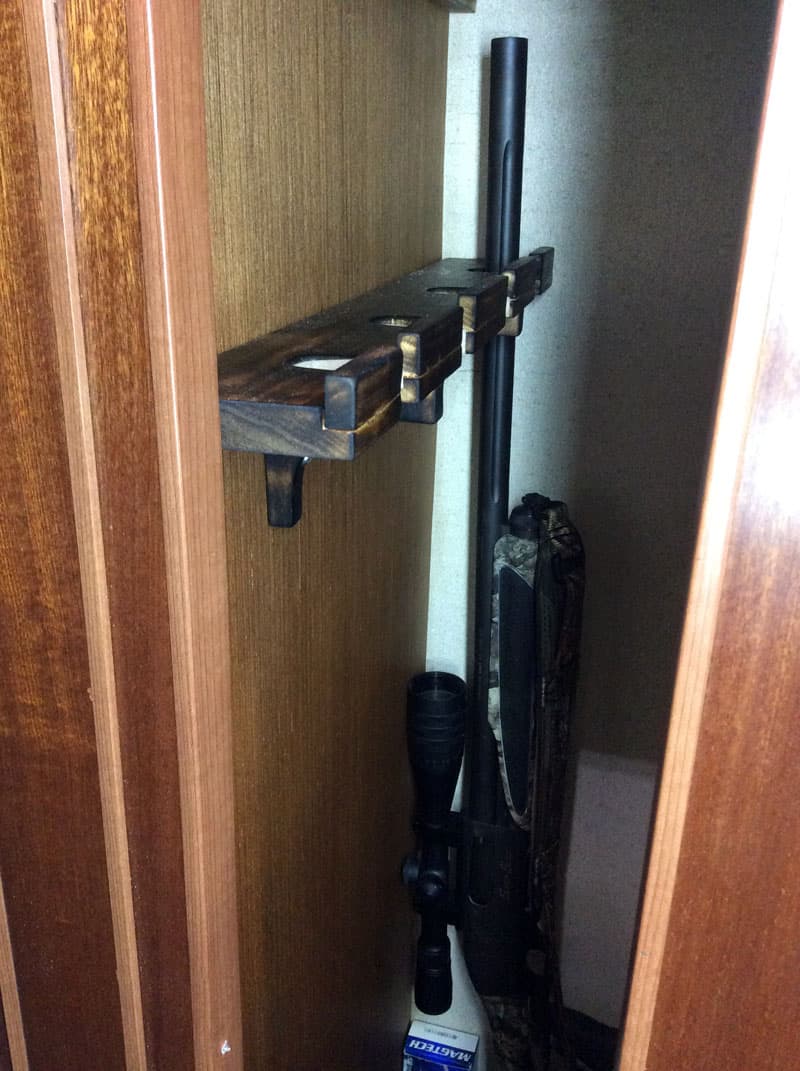
Above: I really love the contrast. I also placed some felt so the barrels wouldn’t rub against the wood.

Above: I created a space to store ammo just behind the butt stock rest.
All materials were purchased at Lowe’s. I used a 1 1/4-inch x 4-foot x 8-foot panel wood sheet ($38), two 1-inch x 14-inch x 20-inch cabinet wood boards ($5.49), four 1-inch x 4-inch by 6-foot boards ($7.85), and boxwood screws #6 1 1/4-inch ($4.65). We already had 5e 120-grain sandpaper and wood oil stain.
The rack is beautiful and extremely functional. As I write this, I’m heading out to visit some of my friends for some target and skeet shooting fun.
It took me 16-hours to complete this modification and cost me $85.03. In my opinion, the skill level of this mod is medium.
Disclaimer: The modifications above are submitted by Truck Camper Magazine readers. It is your responsibility to make sure that any do-it-yourself modification project you undertake is safe, effective, and legal for your situation.
Enter Your Mods Now!
If you’d like to enter a modification you’ve done on your truck camper, click here. You can enter as many mods as you want, at any time. Good luck mod makers!


