Welcome to the fifth entry in April’s Medium Mod Contest. One Medium Mod will be published in every Email Alert in April. At the end of the month we’ll hold a reader vote to determine April’s winner. Click here for information about the 2021 Mod Contest, including how to enter.

David Romero, Shreveport, Louisiana
Adding 12-Volt Ignition Probes To A Stove
2017 Ram 2500
2017 Cirrus 820
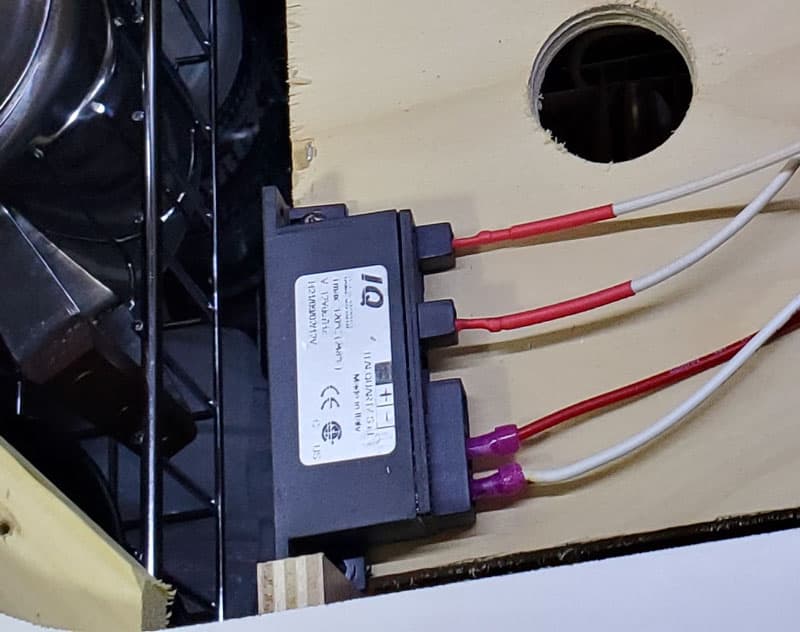 I purchased an igniter module for my stove off of eBay. I suspect any two probe 12-volt igniter module will work as this is a generic build.
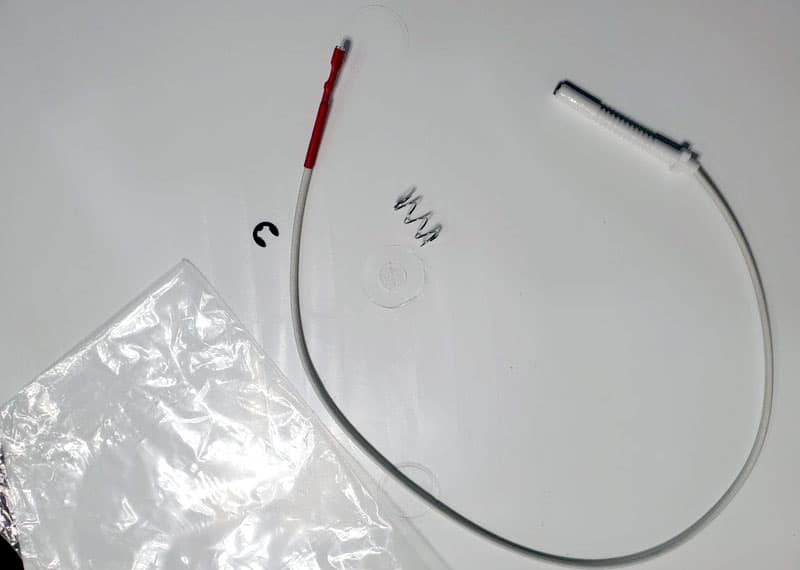
Next, I purchased some universal igniters that could be adjusted for height. These were obtained off of eBay as well. They were a little long, but I made them work.
The igniter came with a tension spring and one snap ring. Normally that could work since there is a shoulder on the ceramic igniter to use with the spring for tension. You will see that I had to add another snap ring as these are rather long.
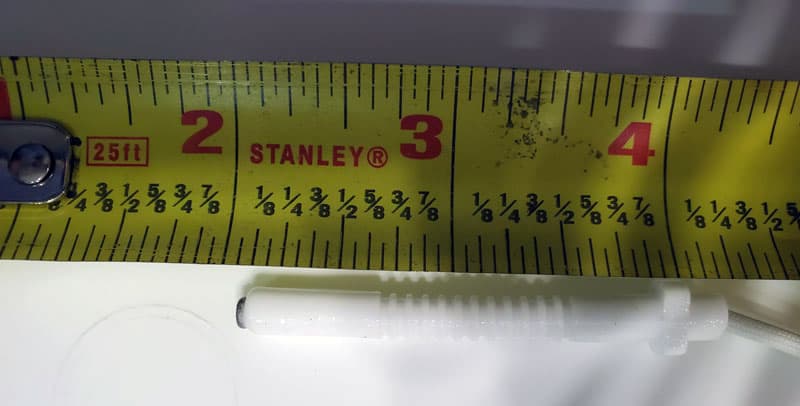
Above: Almost 2-inches long.
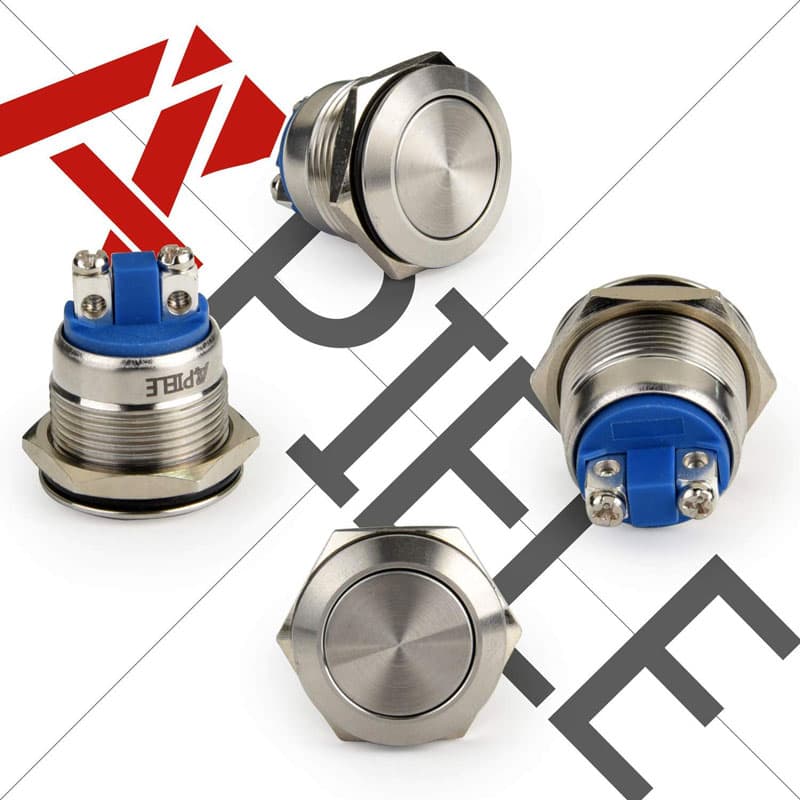
I purchased the momentary switches off Amazon.
I had to pull out the cooktop. This was very easy to do because four screws hold down the cooktop, one in each corner. Remove the plastic grommet, unscrew and lift up cooktop.
Now before you do all of this, remember to shut off propane tanks. I detached both tanks to ensure I would not have a problem. Then detach the propane hose that is attached to the cooktop.
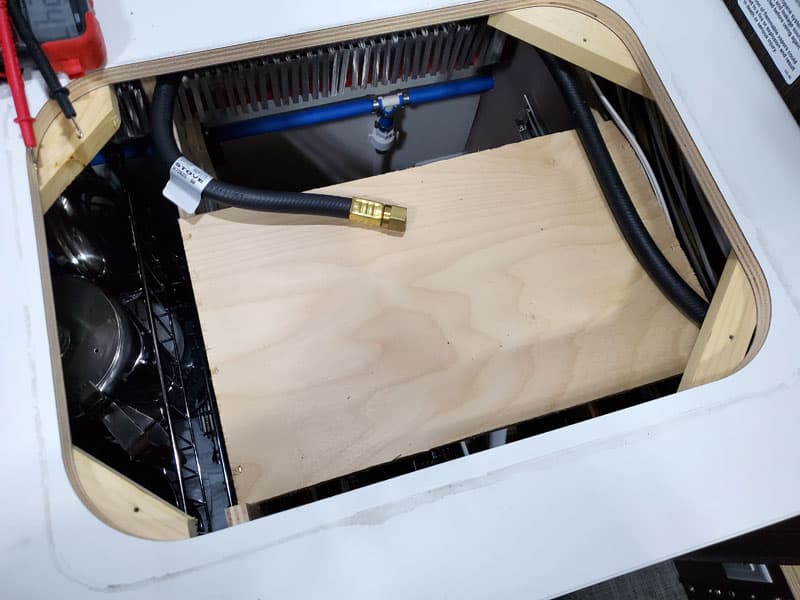 In the picture above is the hole I am left with. You can see the propane hose and the piece of plywood that covers the underlying drawer.
You can also see in the top of the photo above the under counter radiator from my Alde Heating system. To the left you can see my pull out drawer system.
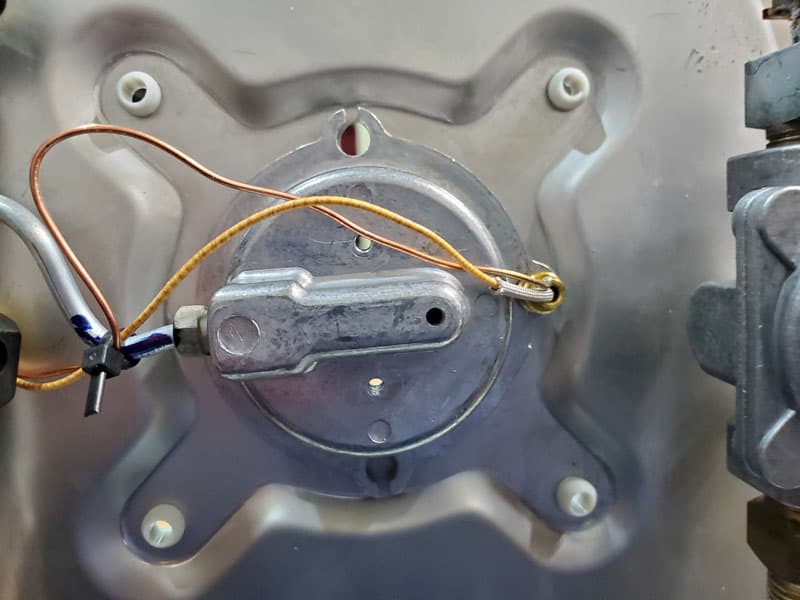
I used the round metal hole to guide the drill bit through the base of the cooktop.
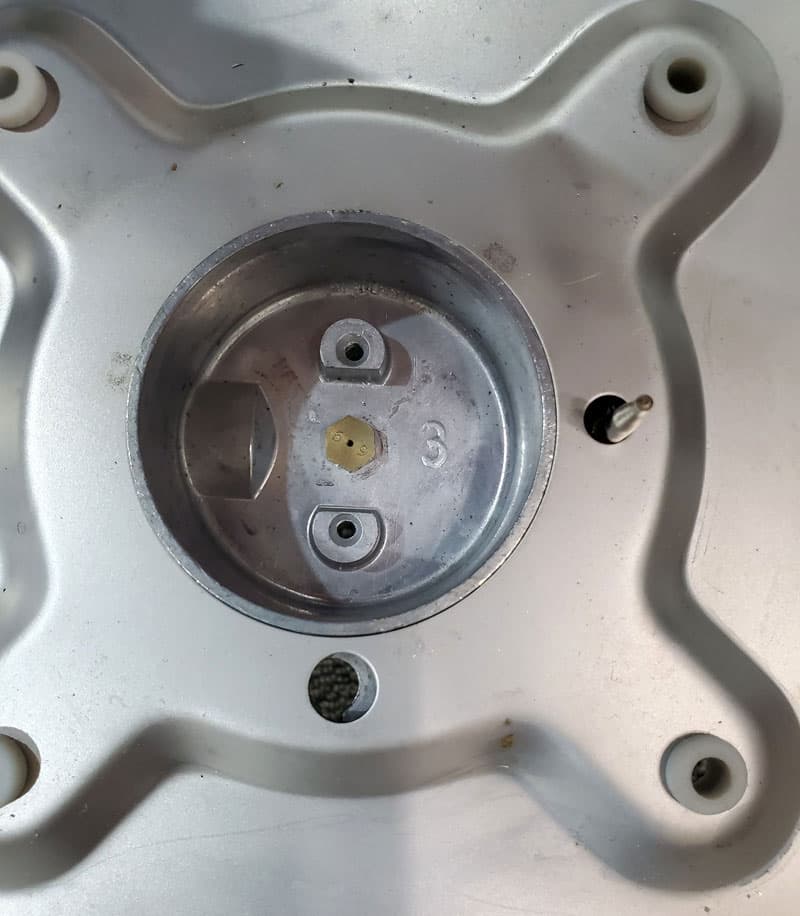
You can see the hole from the top.
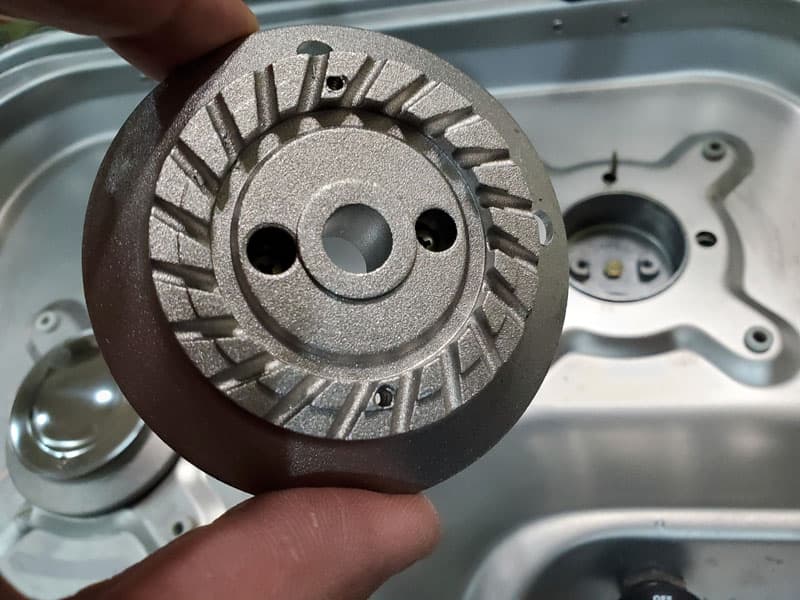
Then, I screwed the burner’s head back down to the cooktop and proceeded to drill through the side of the head to allow the igniter to run through the head like the temperature probe does.
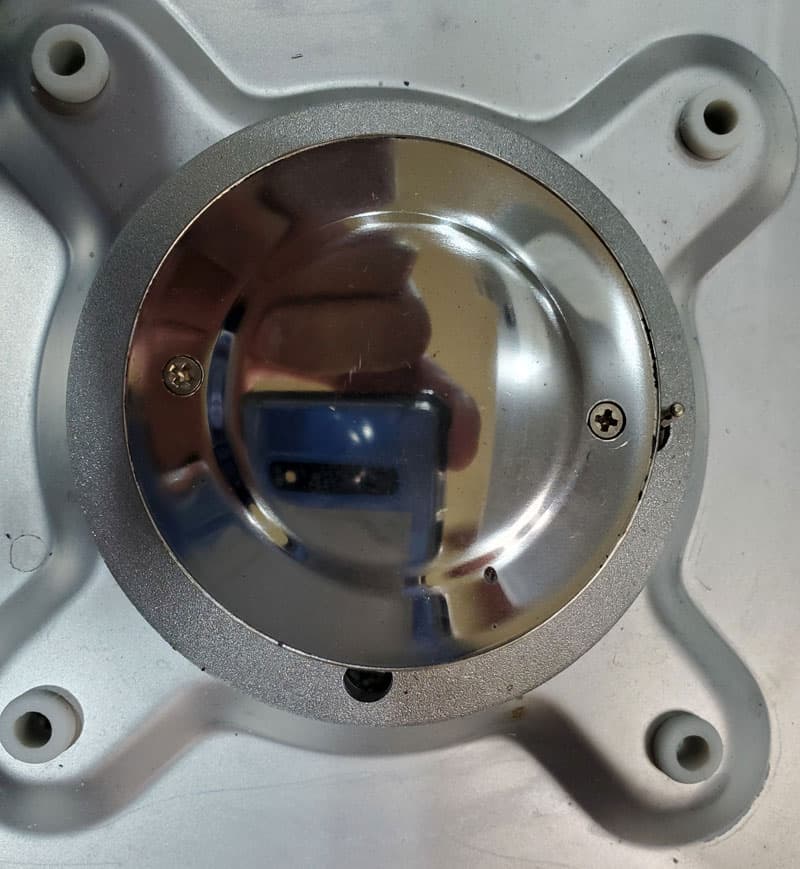
The test fit showed that I needed to file some material away from the burner’s cap to allow the probe to stand by the cap. I used a round file to notch out the area on the burner’s cap. You will see this in a later photo.

Above: Prepping the igniter’s probe.
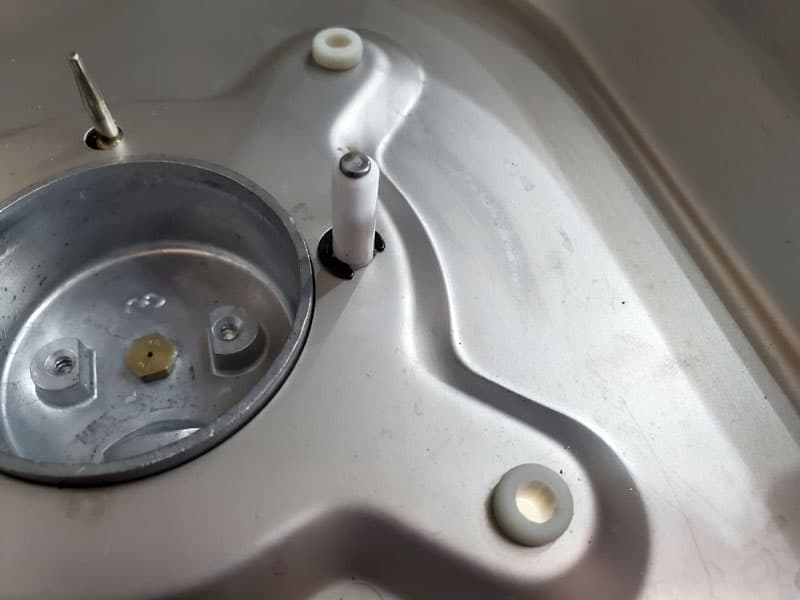
Above: Snap ring holding the igniter.
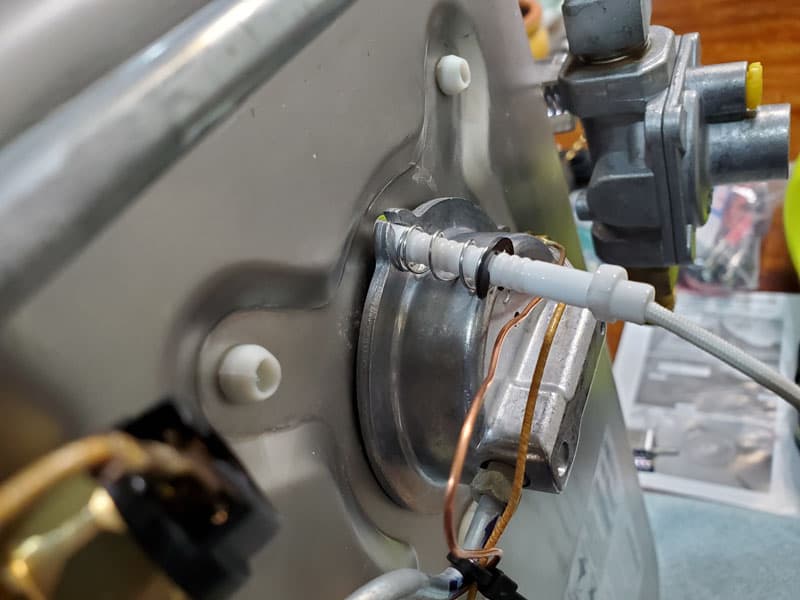
A spring and snap ring holds the igniter in tension and in place. I adjusted the tension by moving the snap ring on the igniter’s ceramic rings up and down until the tension seemed firm.
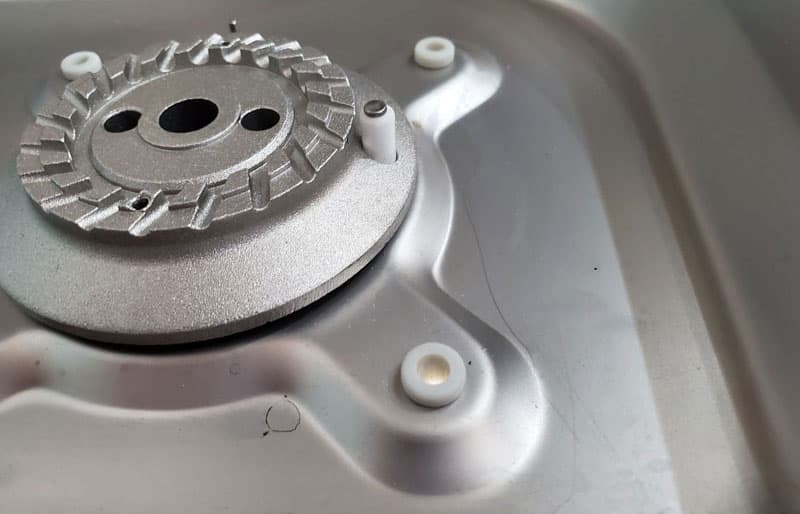 Above: Test fit the burner, everything lined up well.
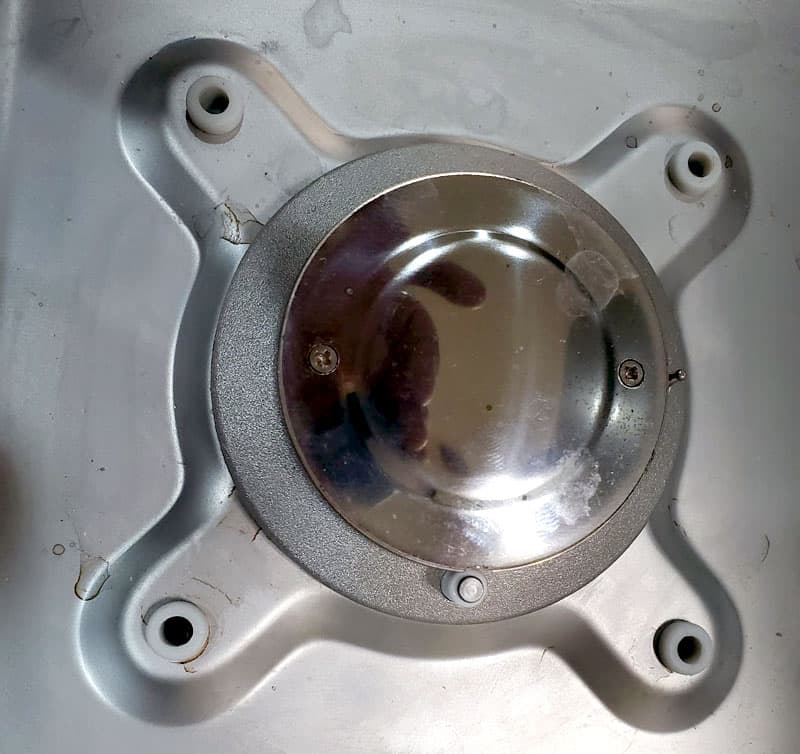
Above: Finished probe installed.
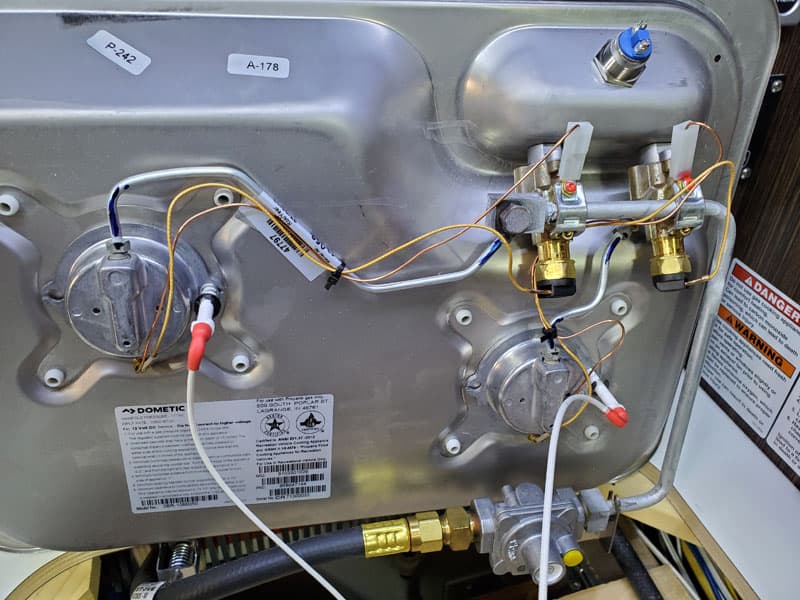
For safety, I added some heat shrink to the bottom of the igniters at the end. This held them in a curved position so that they do not get kinked.
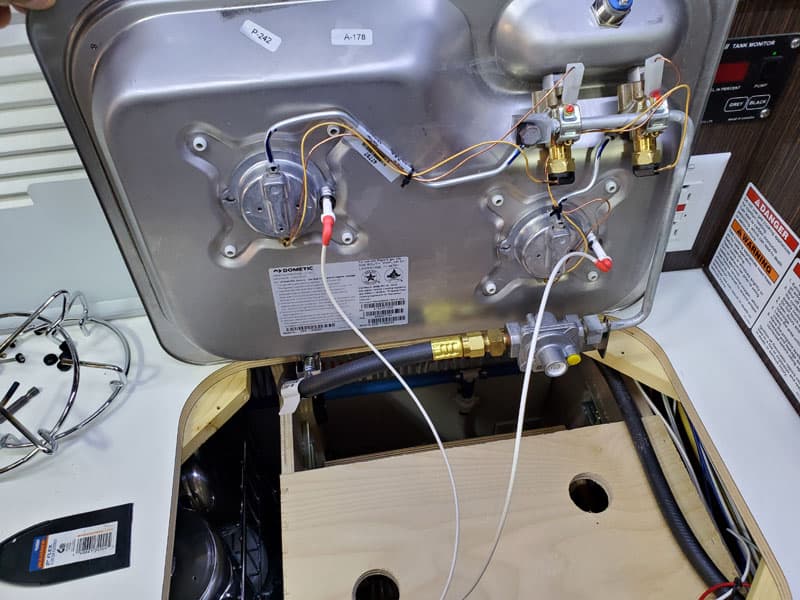
I had to drill holes in the plywood that covers the drawers as the igniters I bought, as I had mentioned earlier, are a little long. They do not protrude through the plywood, but they do set just inside the hole of the plywood.
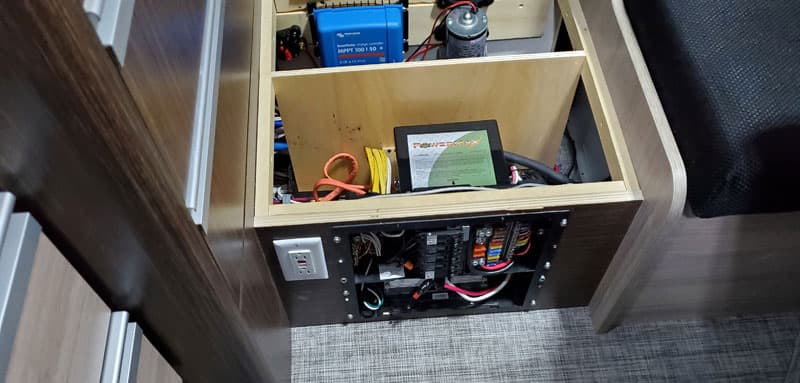
Above is the step up to the truck camper’s overcab bed. It houses the electrical distribution panel. This is where I pulled a 12-volt fused source and ran the wiring up to the cooktop area. It is quite easy as the area from this point to the cooktop is a convenient path to pull wire.
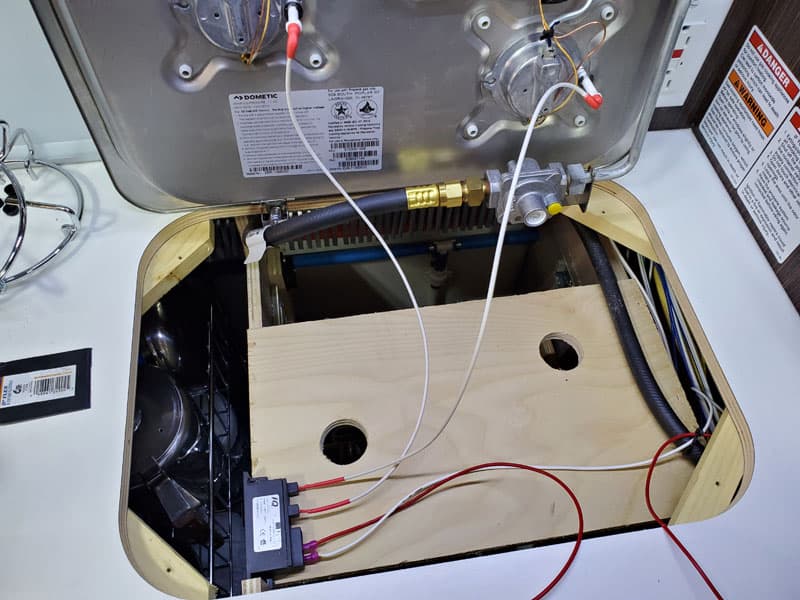
Above is the finished drop in. With the gas line reconnected, I just need the left wire to the igniter module and the live wire on the left to attach to the momentary switch.
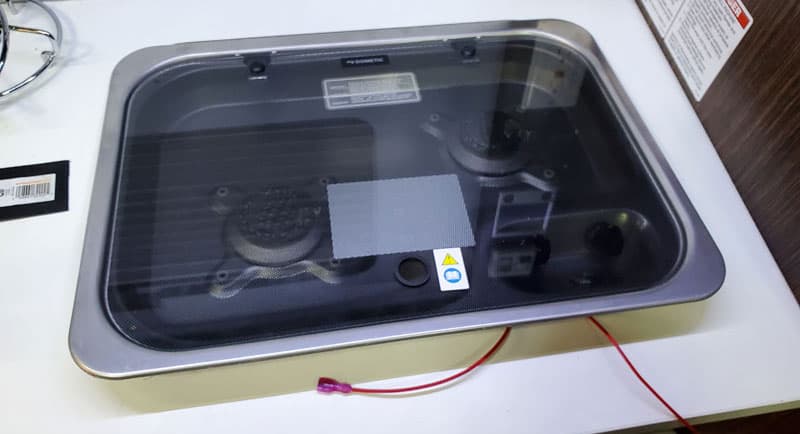
You can see the momentary switch in place in the cooktop. I added in the gas valve area.
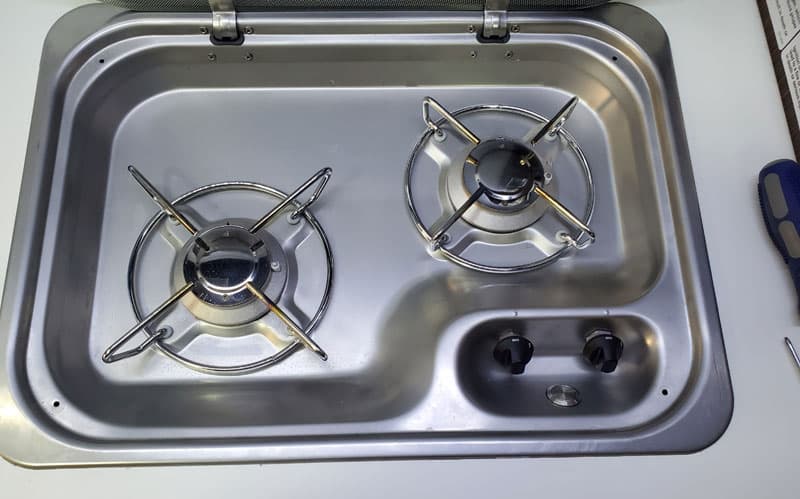
I connected everything and then set tape around the unit. As I proceeded to use pure clear silicone to seal the edge, I actually lifted the cooktop and laid down a nice thick bead of silicone. Then I proceeded to run down the four corner screws with the plastic holders.
![]() Next I cleaned away any excess silicone. A nice clean counter without excess silicone to catch the dirt is necessary to me.
Next I cleaned away any excess silicone. A nice clean counter without excess silicone to catch the dirt is necessary to me.
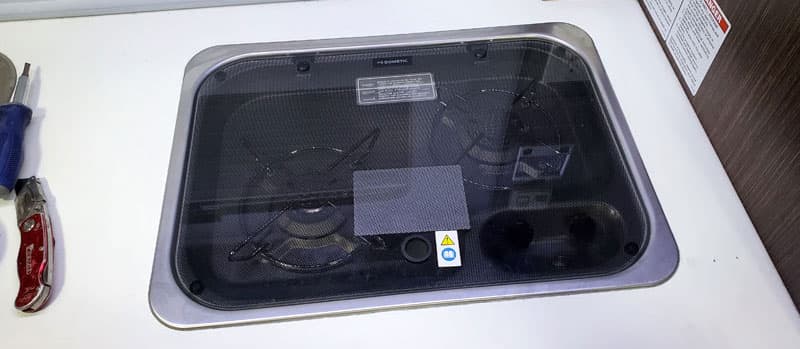
Now we have a clean install and the igniters work great. It’s a fair amount of work for a little convenience. I know my wife is very happy with this upgrade. I like to bring a smile to her face, and that makes it all worth it.
I estimate it took me about three hours in total. I did this over a period of a couple of days because I had to wait for the items to arrive.
The total cost was $25 for the igniter module, $10 for two stainless steel water proof switches, and I only used one. I purchased three ceramic igniters for $7 dollars. So, it was under $45 for everything.
I suspect this is a moderate mod in difficulty because it does not take any special skills, just a little patience and blind faith when you begin drilling holes.
Disclaimer: The modifications above are submitted by Truck Camper Magazine readers. It is your responsibility to make sure that any do-it-yourself modification project you undertake is safe, effective, and legal for your situation.
Enter Your Mods Now!
If you’d like to enter a modification you’ve done on your truck camper, click here. You can enter as many mods as you want, at any time. Good luck mod makers!
