Welcome to the fourth entry in June’s Mini Mod Contest. One Mini Mod will be published in every Email Alert in June. At the end of the month, we’ll hold a reader vote to determine June’s winner. Click here for information about the 2022 Mod Contest, including how to enter.

Bob DiMauro, Middletown, Connecticut
Fluorescent to LED Light Conversion
2005 Chevrolet Silverado 3500
2004 Lance 1121
I wanted to replace two fluorescent strip lights in my camper with LED models, but the cost was exorbitant.
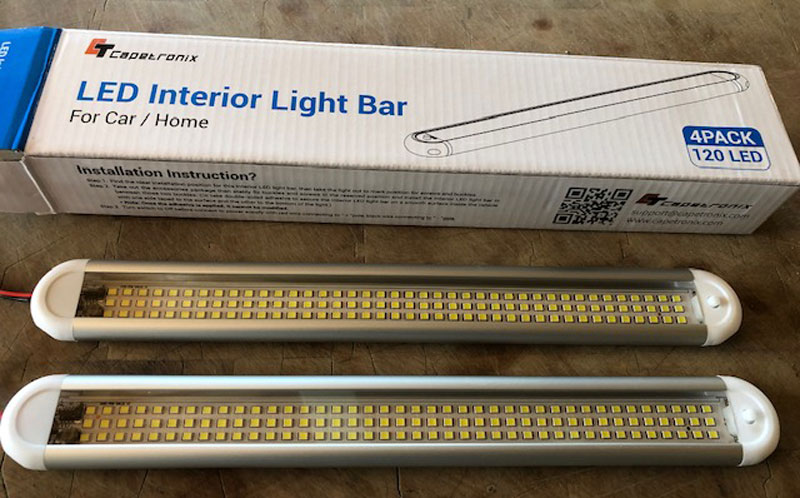
Instead, I purchased a four-pack of 12V LED interior light bars to install inside the existing strip lights.
I removed the strip lights from my camper, drilled the rivets out of the backing plate of each, and removed the bulb holders, ballast covers, and ballasts.
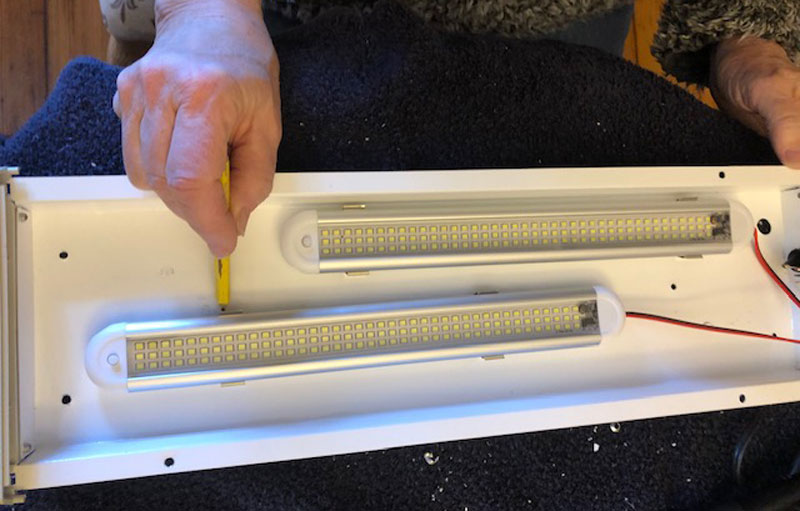
I removed all innards except for the switch and switch wire, cutting the wires long enough for reuse at a later step. The new bulbs each came with two brackets, which I installed onto the bulbs. I positioned the bulbs on the old fixture and marked the bracket locations.
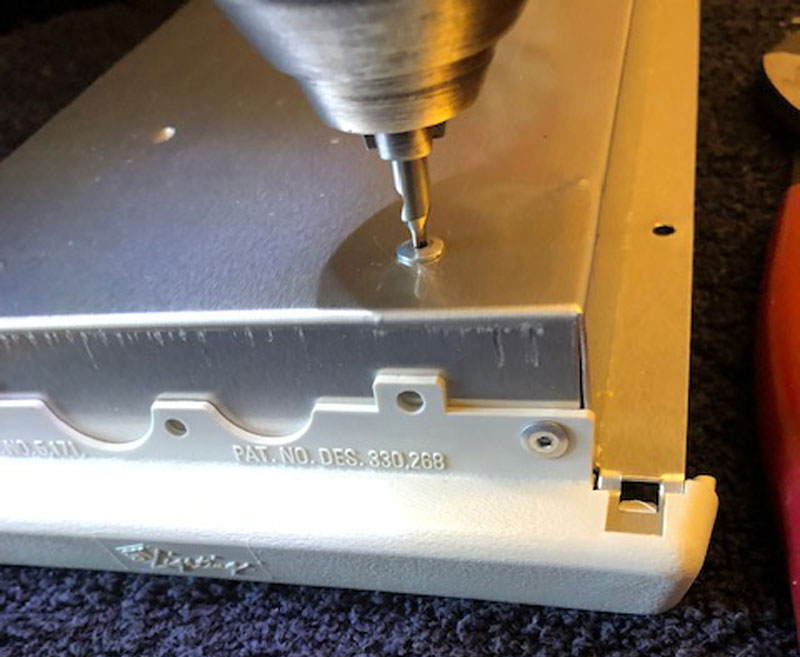
After removing the brackets, I punched starter holes into the aluminum fixture and screwed the brackets on using supplied screws. You could also use a rivet gun to do this if you have one.
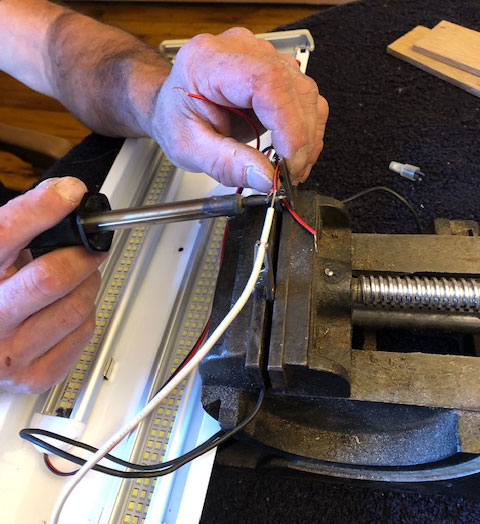
I then connected the red wires on both bulbs side by side and soldered them together. Then I repeated the process for the black wires. I soldered the black wire that remained on the fixture switch to the red bulb wires that were joined after first sliding a piece of heat shrink onto the black wire.
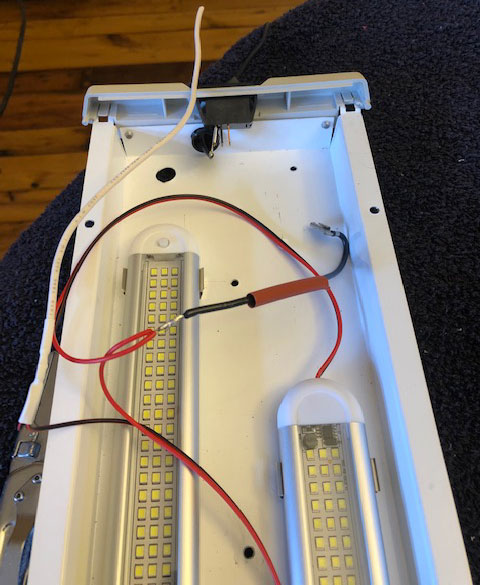
Next, I attached the white ground wire which was leftover to black bulbs wires with heat shrink and soldered.
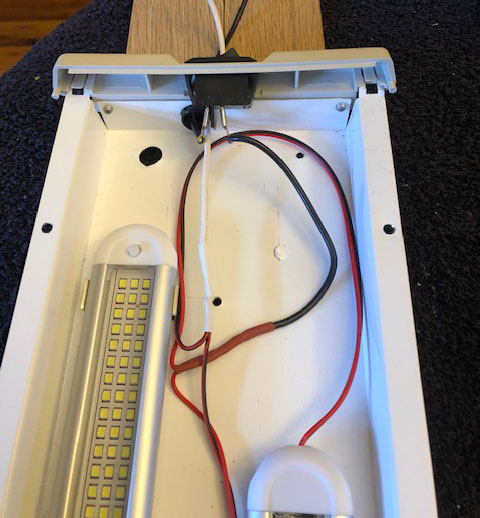
Once cooled, I heated the shrink wrapping. I fed the white wire back through the fixture hole to the outside, installed the fixtures back into the camper, and reattached white and black camper wires. I made sure both bulbs in each fixture are set to the ON position so that I can use the original switch to turn them on at the same time.
The lights look great and this will result in a bit less drain on my batteries.
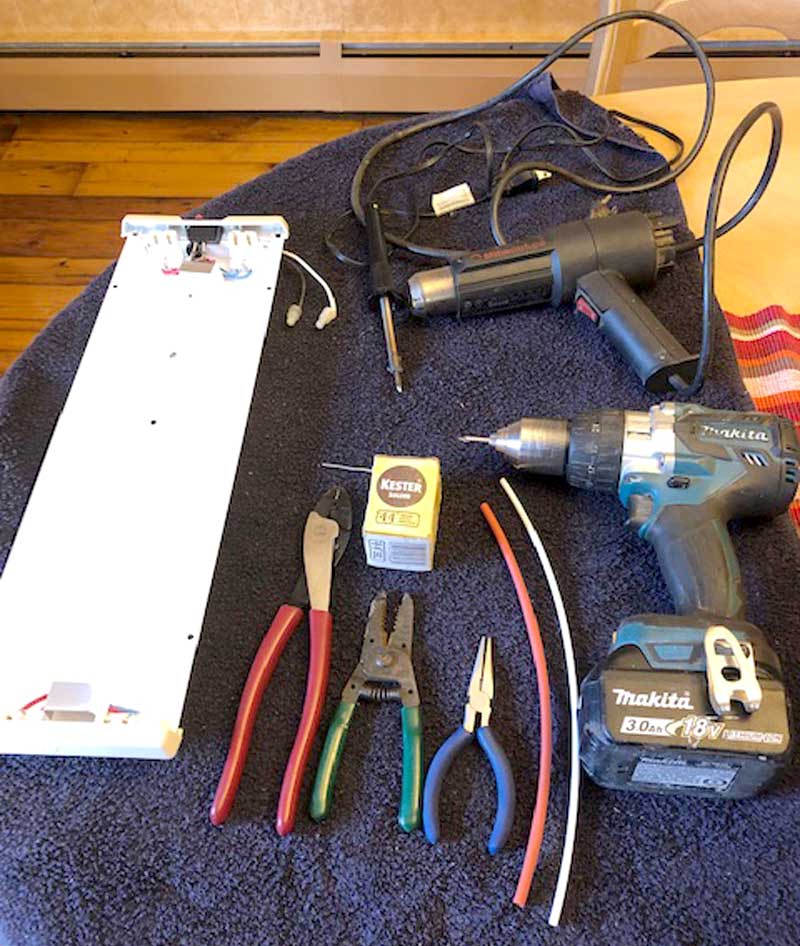
For materials, I used one four-pack of 12-volt LED interior light bars from Capetronix on Amazon, which had ON/OFF switches. The four-pack cost $25. For the heat shrink, which I already had on hand, a box on Amazon is less than $8.
In addition to the above materials, I used a wire cutter/stripper, needle nose pliers, screwdriver, heat gun, soldering iron/gun, center drill or drill bit, and drill.
It took me one hour to complete this modification and cost me $25. In my opinion, the skill level of this modification is easy.
Disclaimer: The modifications above are submitted by Truck Camper Magazine readers. It is your responsibility to make sure that any do-it-yourself modification project you undertake is safe, effective, and legal for your situation.
Enter Your Mods Now!
If you’d like to enter a modification you’ve done on your truck camper, click here. You can enter as many mods as you want, at any time. Good luck mod makers!


