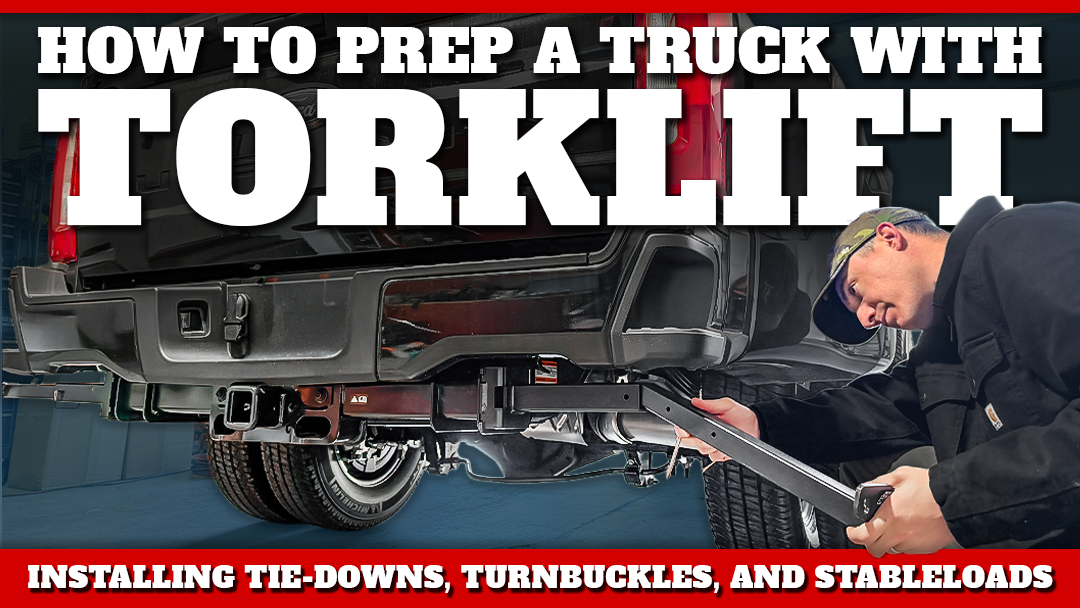
In this article, we walk through how to prepare a Ford F-350 for a truck camper using Torklift International tie-downs and suspension products. With the help of Torklift how-to videos and a couple family members, we handled the installations ourselves. Let’s wrench.
Three months after placing our order, we took delivery of a brand new Ford F-350 XL. Just two weeks later, we were scheduled to pick up a demo truck camper. If this truck was going to be camper-ready by then, we would have to prepare it ourselves.
As you may have read in TCM Debuts 2026 Ford F-350, every option on this truck was selected with one purpose in mind—safely hauling truck campers. Naturally, that philosophy carried into our choice of hardware used to keep a camper secure on the road. For that job, we turned to Torklift International.
Celebrating its 50th anniversary this year, Torklift’s name has become synonymous with truck camper tie-downs, turnbuckles, steps, and hauling accessories. Chances are, if you’ve spent any time around truck campers, you’ve seen Torklift products in action.
Our mission was straightforward: install Torklift International’s TRUE Frame-Mounted Tie-Downs, assemble SpringLoad XL Turnbuckles, and add Upper Overload StableLoads to help engage our overload springs. The bigger question was whether a few reasonably handy people armed with standard tools and instructional videos could pull it off before we needed to leave for our camper installation.
How would everything perform after 5,000 miles of real-world truck camping? We’ll get to that at the end.
There are two primary ways to secure a truck camper to a truck: internal tie-downs and external tie-downs. The demo camper we’re borrowing for 2026—which we will be announcing soon—requires an external tie-down system.
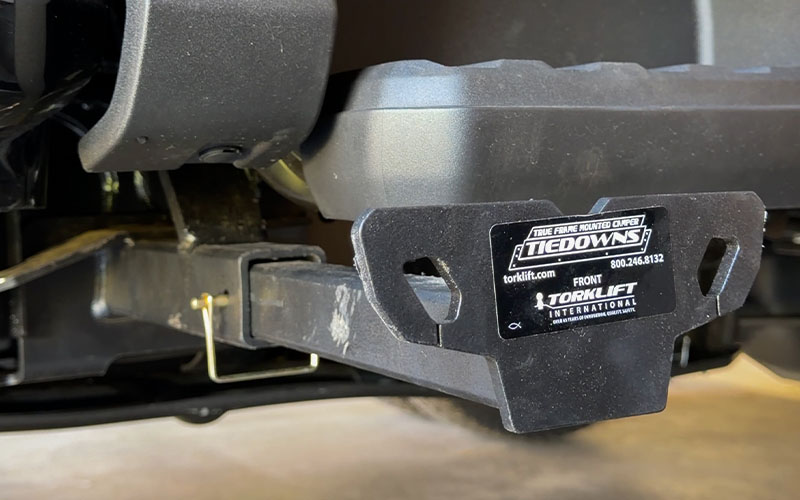
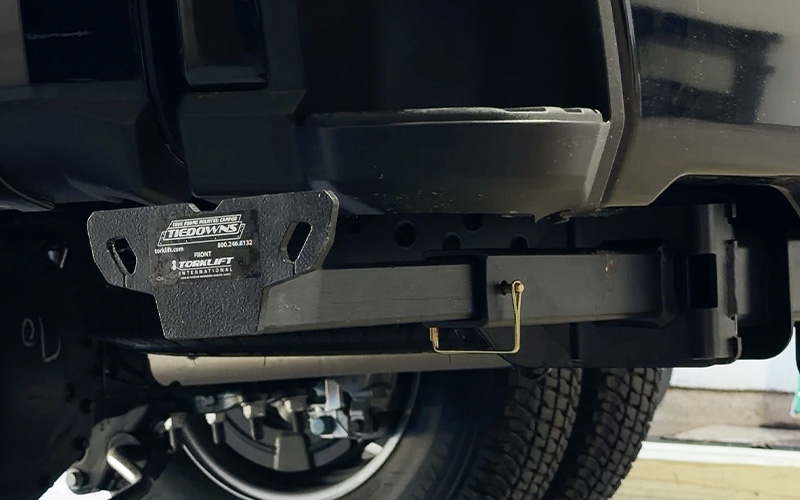
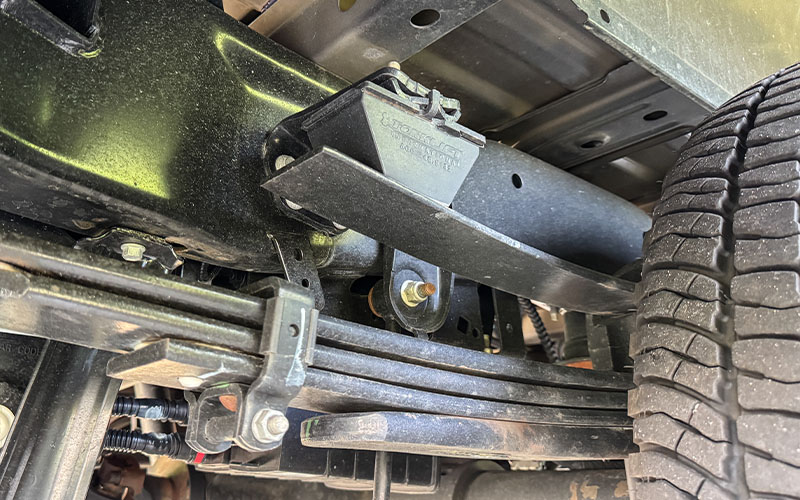
Completed front TRUE Frame-Mounted Tie-Down
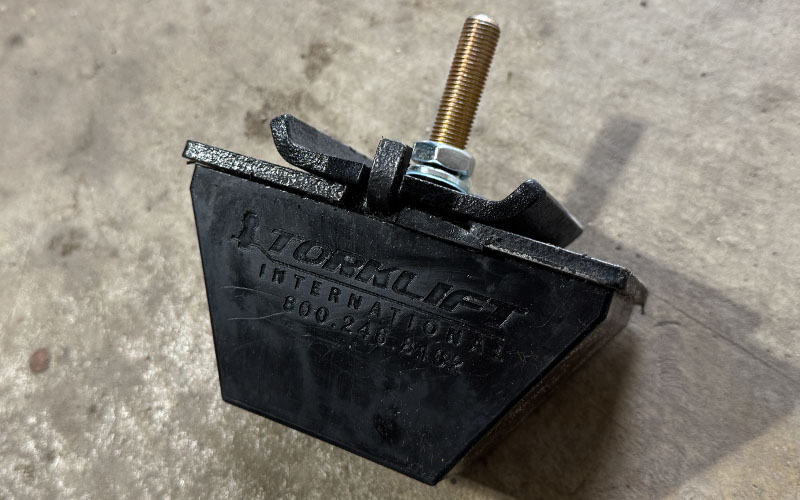
Torklift’s TRUE Frame-Mounted Tie-Downs utilize four independent tie-down points that bolt directly to the truck’s frame without any drilling. Paired with SpringLoad XL turnbuckles, the system’s internal springs help determine the perfect tension to secure your camper while adding some dampening on the road. Combined, this tie-down and turnbuckle combination will allow us to mount and demount our camper with ease.
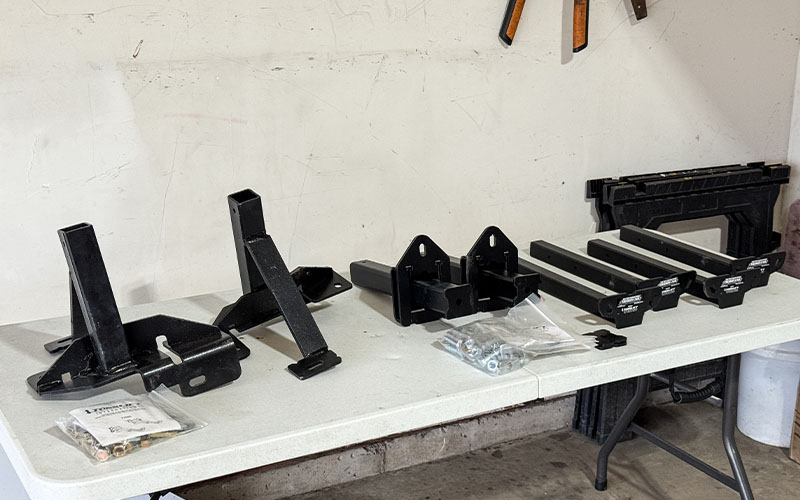
Front and rear TRUE Frame-Mounted Tie-Down hardware
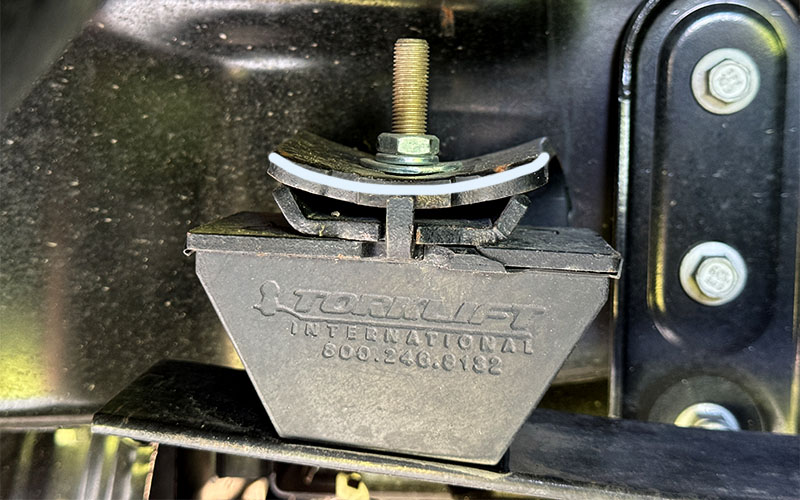
Beyond securing the camper, we wanted to add a quick suspension upgrade to help smooth out the ride for our upcoming cross-country trip. Torklift’s Upper Overload StableLoad’s engage the factory overload springs earlier, helping reduce sway, body roll, and porpoising while carrying a truck camper.
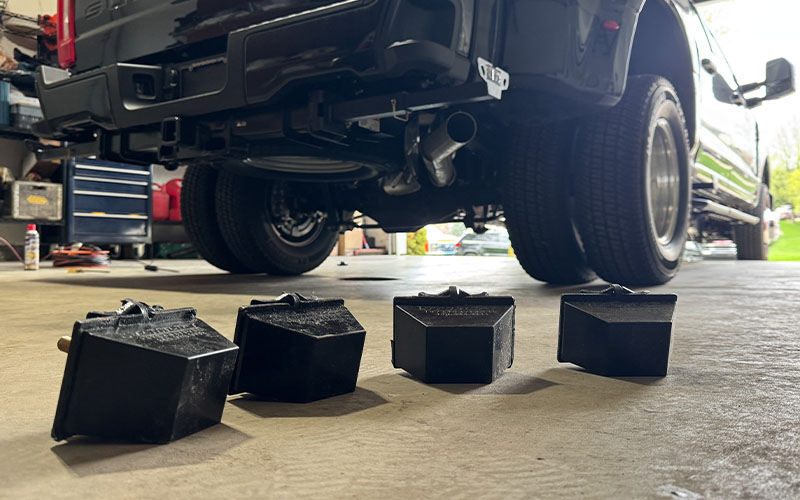
Upper Overload StableLoad hardware
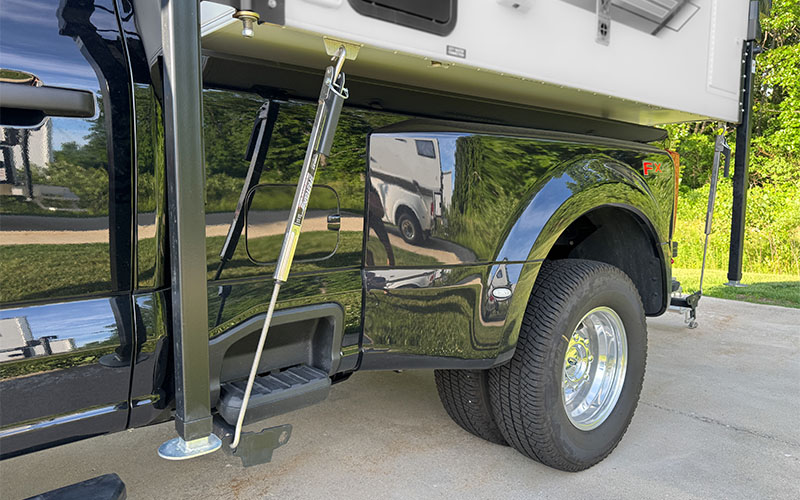
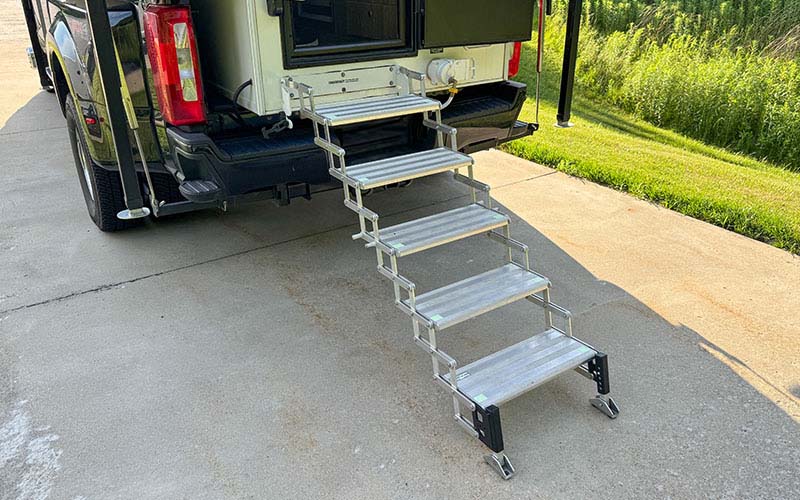
Last but not least, we had to solve how we’d get in and out of the camper as the camper we were picking up doesn’t have built-in bumper steps. If two people are entering and exiting this camper on average ten times per day for half the year, that’s 3,650 entries and exits! We needed something quick, easy, and stable. Torklift’s GlowStep and Stow N’ Go fit the bill.
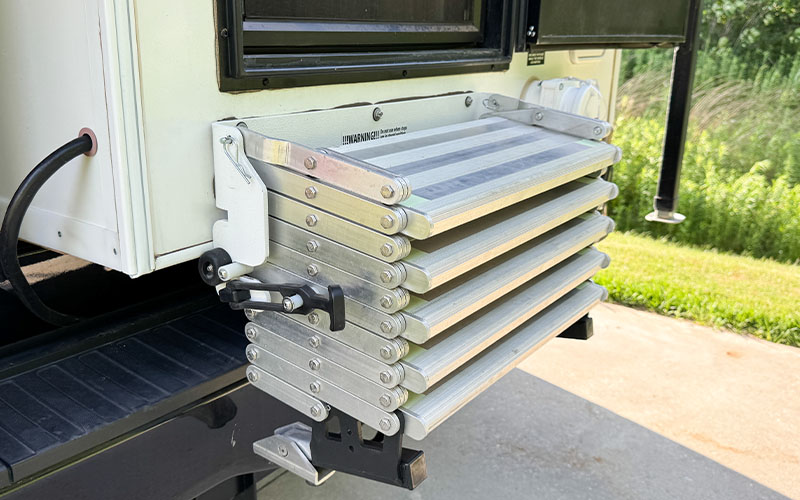
GlowStep and Stow N’ Go installed on a camper
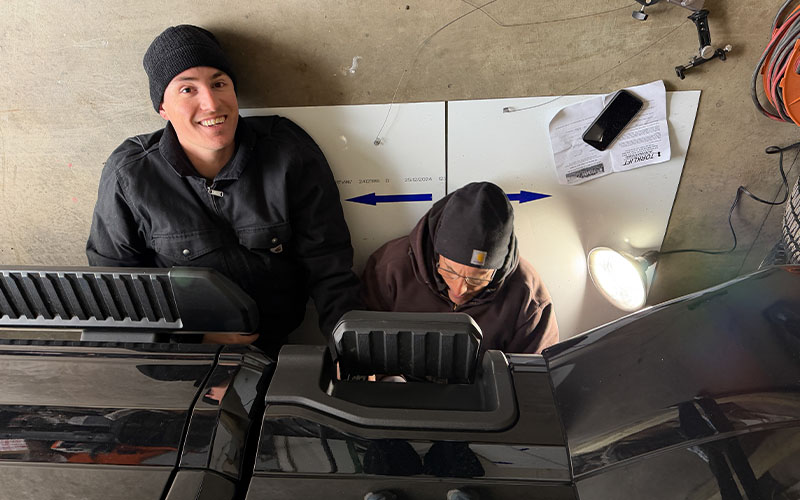
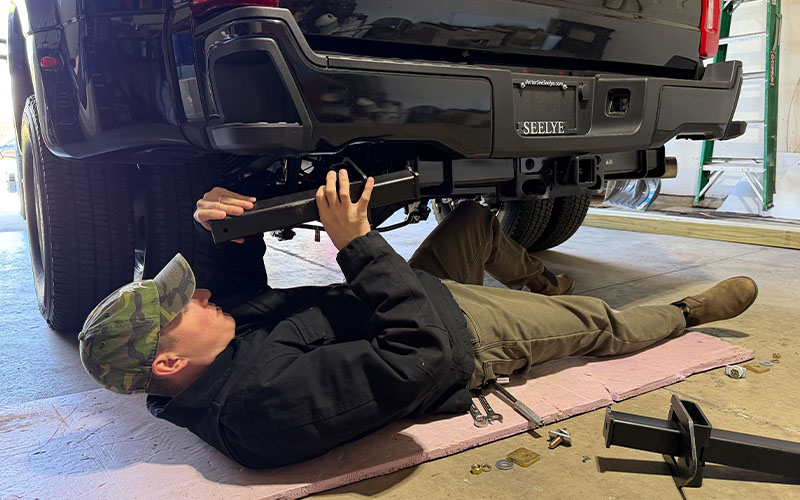
On a rainy April day in southwest Michigan, I cleared out the garage, backed in the truck, and recruited my dad, Craig, for installation duty. Sarah handled photography and helped us stay on track with Torklift’s how-to installation videos for when we reached the inevitable, “Wait, does that look right?” moments.
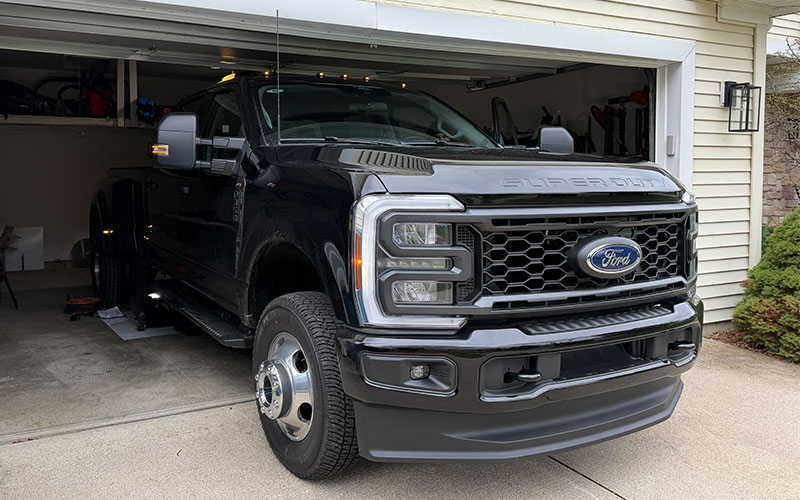
The whole truck wouldn’t fit, but the garage kept us out of the rain.
Combined, my dad and I have about the same mechanical credentials as an aging shop dog. However, we do have experience building things, fixing things, and occasionally creating solutions that probably shouldn’t work, but somehow do.
Armed with basic hand tools and Torklift’s installation videos, we figured we’d either finish the job or create a memorable learning experience. With no backup plan and the camper installation day quickly approaching, there was no other option but to get it done.
Torklift’s TRUE Frame-Mounted Tie-Down system consists of front and rear frame-mounted brackets. On this truck, Torklift designed the system to work with existing holes in the Ford F-350 frame, meaning no drilling. The tie-downs being a bolt-on solution gave us the confidence to tackle the install with the tools we had on hand.
My dad suggested we start with the front tie-downs because they looked like the most challenging part of the project. If we could install those, we figured the rest would probably fall into place.
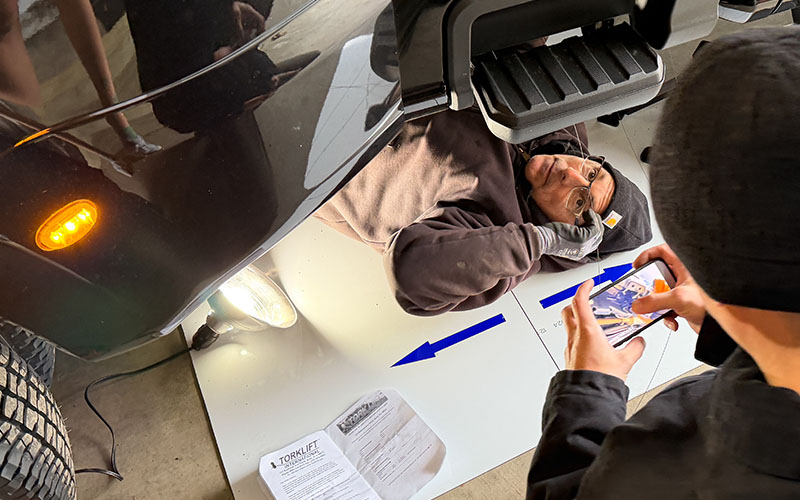
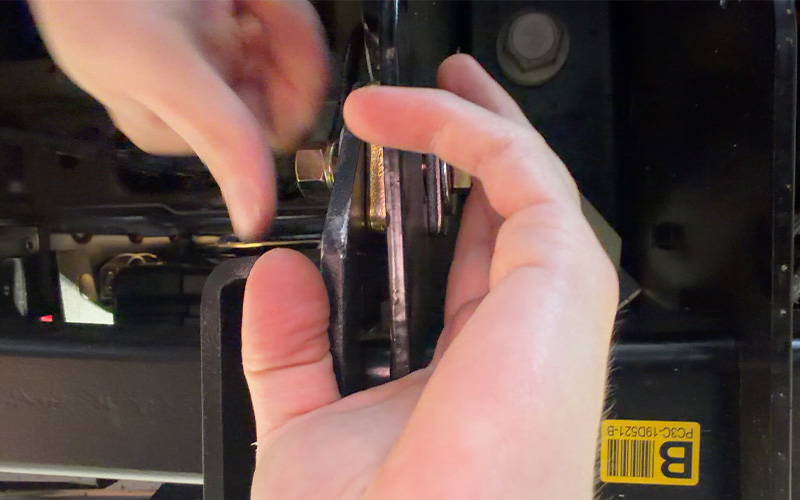
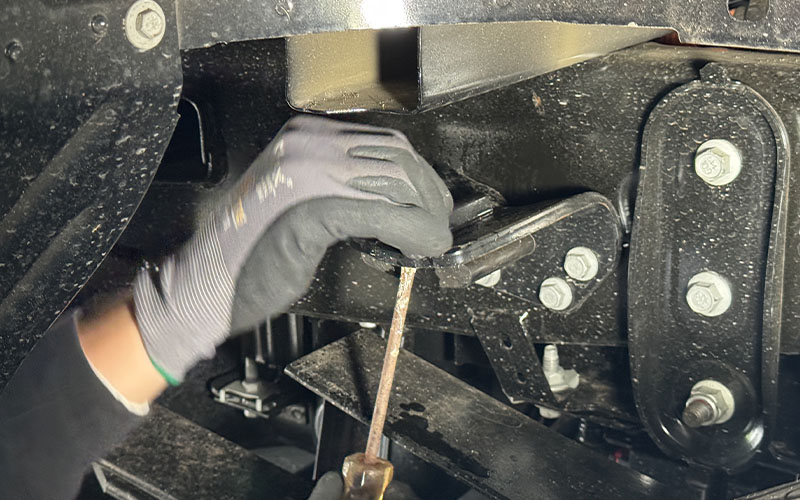
The installation begins by fishing hardware through the truck’s frame using the supplied wire leaders. The trickiest part was figuring out which holes corresponded to each piece of hardware. After watching the installation video a few times and doing a test fit, everything started to make sense.
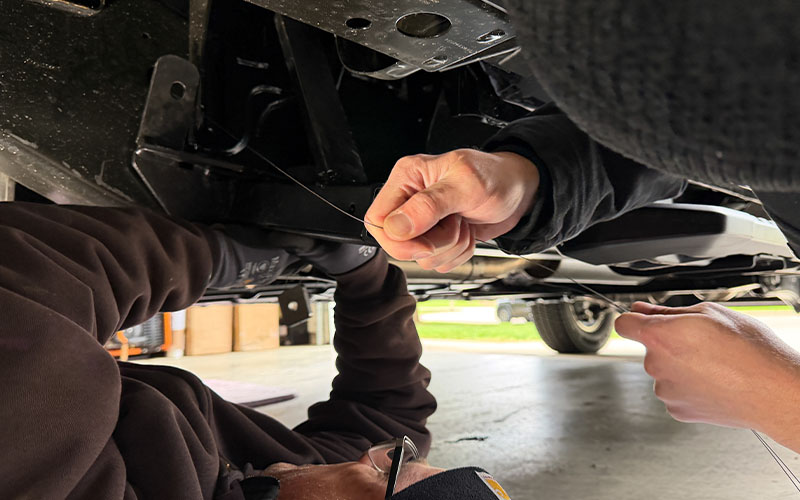
One tip: mark the appropriate frame holes with chalk or a paint marker before threading the hardware.
While Torklift’s installation video shows a technician performing the install solo, I was grateful for a second set of hands. Holding a steel bracket in place while simultaneously lying under the truck and lining up hardware isn’t impossible alone, but it’s considerably easier with help.
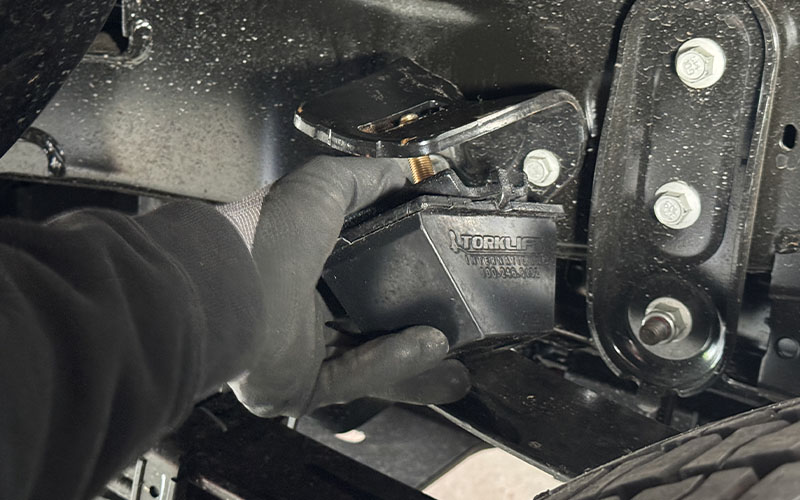
As we tightened everything down, we discovered another useful lesson. Tightening the hardware gradually in a cross pattern helped the bracket seat evenly against the frame and prevented one side from pulling tighter than the other. This was crucial to get the lower bolt to seat properly.
When we finished installing the second front tie-down, we stepped back and admired our work. I was pleased to see that the tie-downs tucked discreetly under the truck. More importantly, our confidence level went from “hopefully this works” to “we’ve got this.”
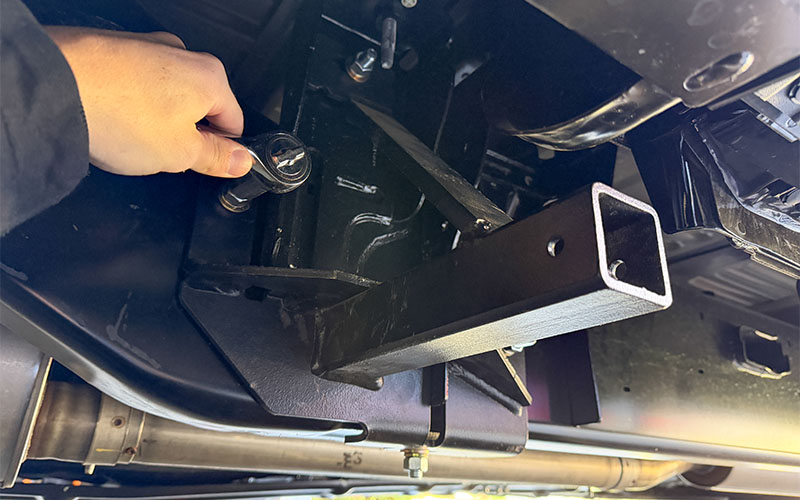
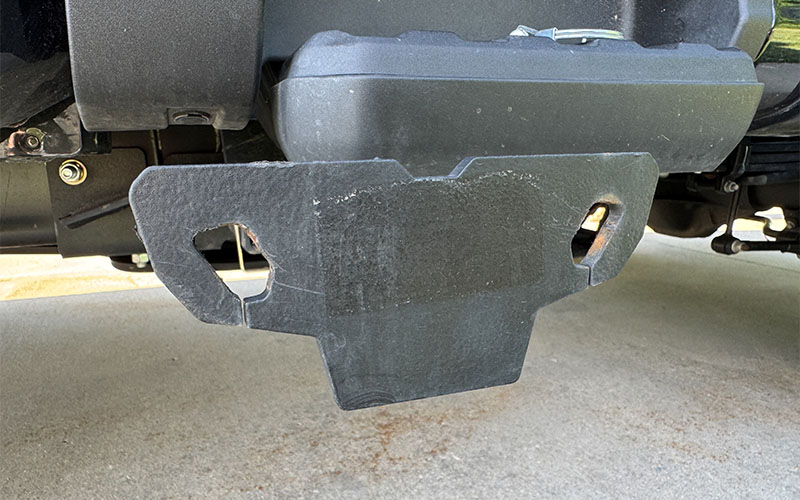
Compared to the front brackets, the rear tie-downs were remarkably straightforward. Torklift uses the factory hitch assembly as the mounting point. The tie-down slides into openings on either side of the hitch, aligns with the mounting hole, and secures with a single bolt and spacer assembly.
There was a little fumbling involved—as there always seems to be when working underneath a truck—but installation went smoothly. The built-in locating notch made positioning foolproof, and the spacer eliminated any gap between the tie-down and mounting point.
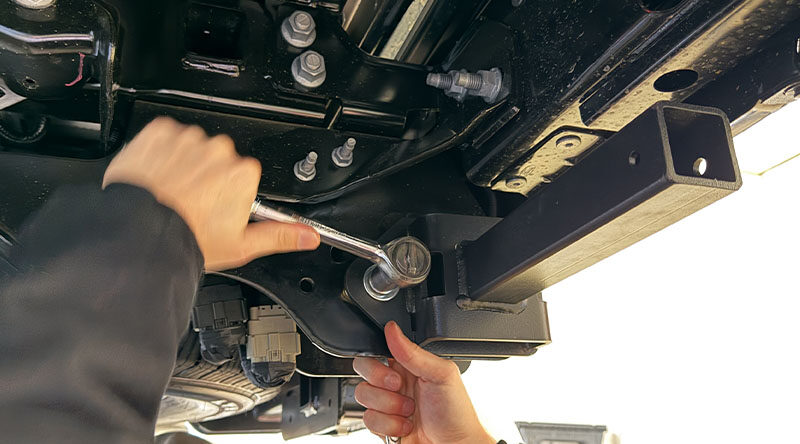
Using nothing more than a socket and crescent wrench, we had both rear tie-downs installed in about twenty minutes. Just like that, the truck had the foundational hardware needed to carry a camper.
Preparing the Torklift SpringLoad XL turnbuckles was without a question the easiest part of this process. The turnbuckles come in two main pieces—the external housing and the threaded internal piece.
Torklift’s instructional video walks through the process in just a few minutes. Using a rubber bushing, square nut, and lock nut, the components combine to create an adjustable turnbuckle capable of accommodating a wide range of truck-to-camper spacing.
My only suggestion is to have either a clamp or an extra set of hands available when tightening the lock nut. It’s certainly doable alone, but the process becomes significantly easier when someone can help hold things steady.
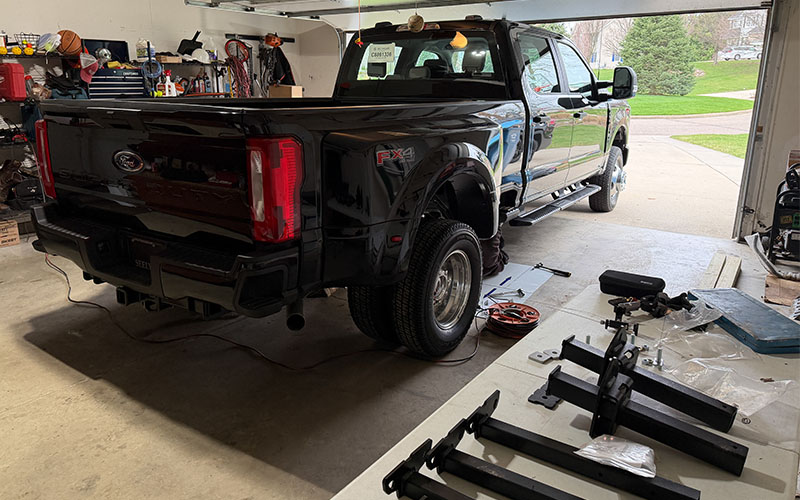
The final project in the Hyde garage was installing Torklift Upper Overload StableLoads. This is one of the simplest suspension modifications available for a truck, but since it was my first experience with suspension upgrades, I wasn’t entirely convinced it would be easy.
The first step involved removing the factory rubber bump stops. This turned out to be the most stubborn part of the entire installation.
My brother, Kevin, and I attacked each bump stop with screwdrivers, Vise-Grips, and a small crowbar. What ultimately worked was a healthy amount of WD-40 and slowly working the underside rubber corner through the mounting hole.
I had hoped to preserve the factory bump stops. The bump stops had other plans.
Torklift’s installation video shows that some trucks require lifting the frame to create enough clearance for the StableLoads. Fortunately, our truck had enough space as-is, possibly due to the Camper Package. If your truck sits differently, a jack may be required to create additional room.
Each StableLoad secures with a single bolt. A pass-through socket would have made the process easier, but we managed with a crescent wrench after discovering our sockets weren’t deep enough. By the fourth StableLoad, we had the process down to a science.
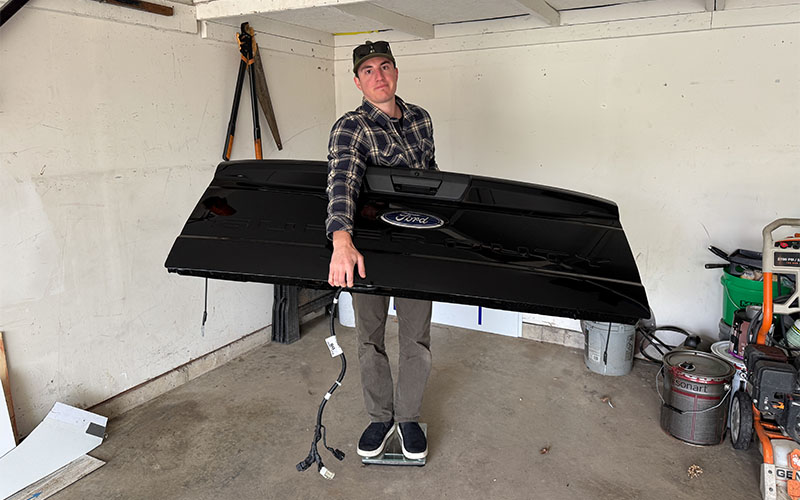
There was only one thing left to prepare for a camper installation: remove the tailgate. After disconnecting three attachment points for the backup camera and lock, the tailgate lifted right off. Naturally, I weighed it for future payload calculations. The result? Thirty-eight pounds.
When I shared that number with Gordon, his response was something along the lines of, “Fords are made from aluminum soda cans!” Ram guys…
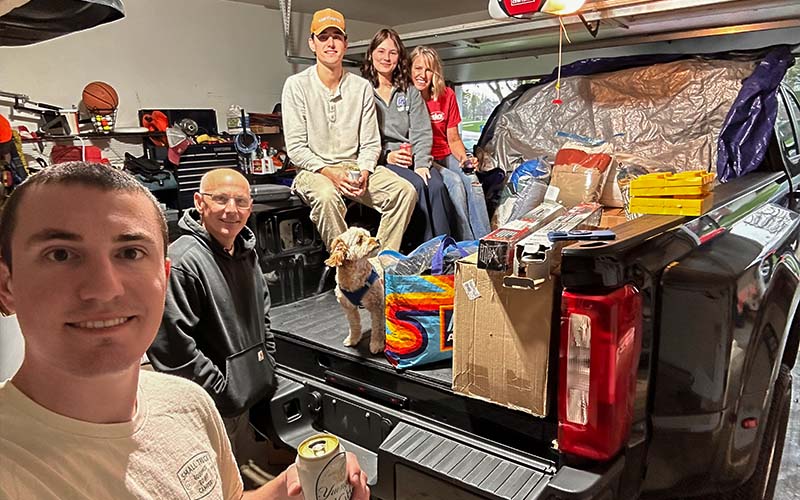
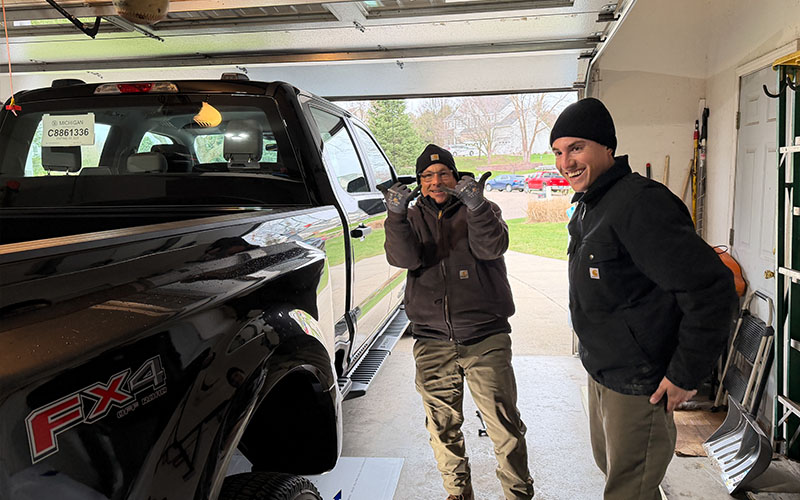
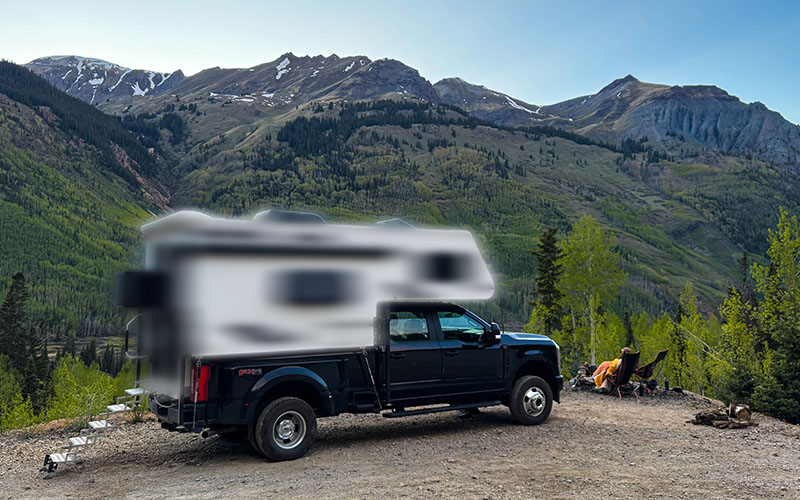
With the hardware installed, our truck was officially camper-ready. Sarah and I packed enough gear, clothing, and supplies for a three-month trip, covered everything with a tarp in anticipation of rain, and enjoyed a celebratory beer with family while sitting in the truck bed. A few hours later, our alarm clock rang at 3:30 a.m. for the drive to Cedar Falls, Iowa. Hint, hint.
Since leaving Michigan in mid-April, we’ve crossed ten state lines, traveled everything from interstate highways to rough backroads, and logged more than 5,000 miles with a camper in the bed. Along the way, I’ve made a habit of checking hardware, inspecting connections, and paying attention to anything that might loosen or shift.
The biggest takeaway? The camper hasn’t moved. Not an inch.
Some of that credit belongs to proper camper fitment and the rubber bed mat underneath, but the Torklift tie-down and turnbuckle system has done exactly what it’s supposed to do. Once secured, the camper has simply stayed put.
The front and rear tie-downs have been uneventful in the best possible way. After roughly 2,500 miles and again after 5,000 miles, I crawled underneath the truck expecting to find at least something that needed attention. I couldn’t get a turn on any bolt.
The only thing I’ve noticed is minor cosmetic scratching where the turnbuckles contact the tie-down inserts. Those scratches have created a few small spots of surface rust, but nothing that couldn’t be solved with a quick touch-up if appearance is a concern. For owners looking to avoid steel altogether, Torklift also offers aluminum Talon tie-downs. If you’re tight on payload, you may want to choose Talons for the weight savings—30% to 50% depending on the application.
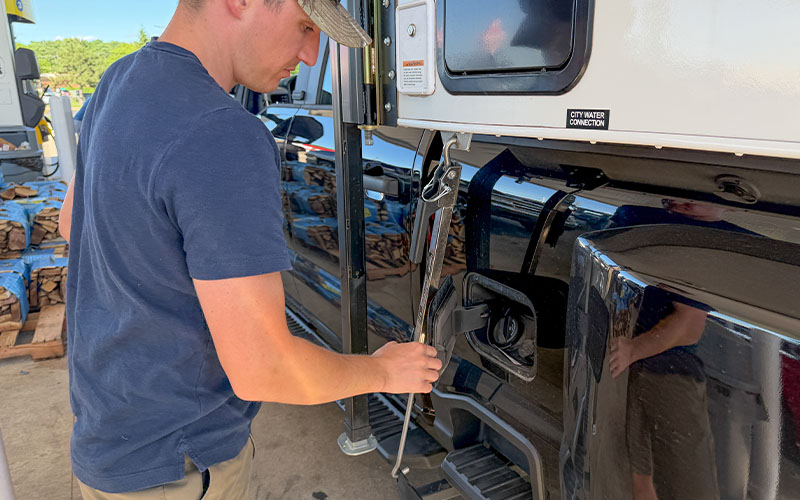
One unexpected part of ownership has been the driver’s-side front turnbuckle. On our setup, that turnbuckle needs to be removed every time we visit the gas station because it blocks the fuel door. The upside is that I’ve become extremely efficient with the FastGun system and can remove it in just a few seconds.
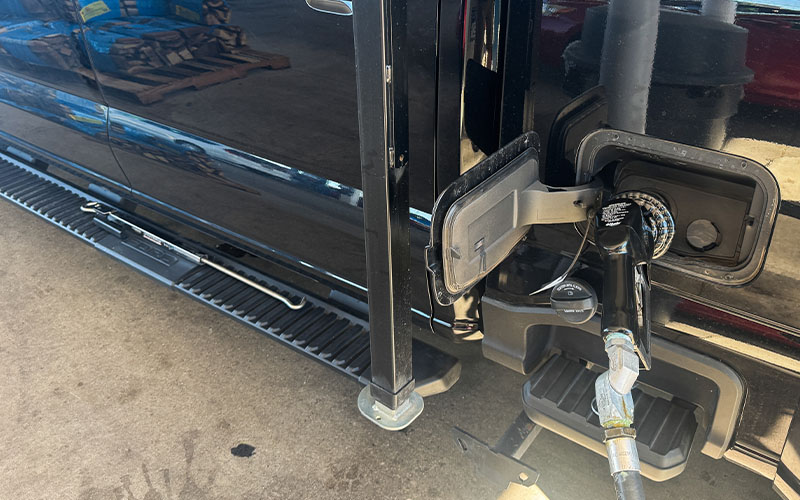
My bigger concern is accidentally leaving the turnbuckle behind at a gas station. To avoid that possibility, I place it on the driver’s running board. So far, the turnbuckle and I have not parted ways.
As for the SpringLoad XL turnbuckles themselves, they required exactly what Torklift recommends: periodic checks. During the first several thousand miles, I was able to add a few turns on the thread as the camper and hardware settled into position. These days, checking turnbuckle tension has simply become part of my walkaround routine, especially after a rough road.
The StableLoads were the only component that needed any meaningful attention. After roughly 500 miles, I noticed a small amount of play in the mounting hardware. The cause wasn’t the StableLoads themselves, but Ford’s U-shaped bump-stop bracket. The washer had gradually conformed to the shape of the bracket, creating a little extra slack.
After one particularly rough road in Missouri, I grabbed a wrench and found I could tighten each StableLoad several additional turns. Nothing had moved significantly out of place, and nothing appeared damaged. Still, I was glad I caught it early, and the StableLoads have remained secure ever since.
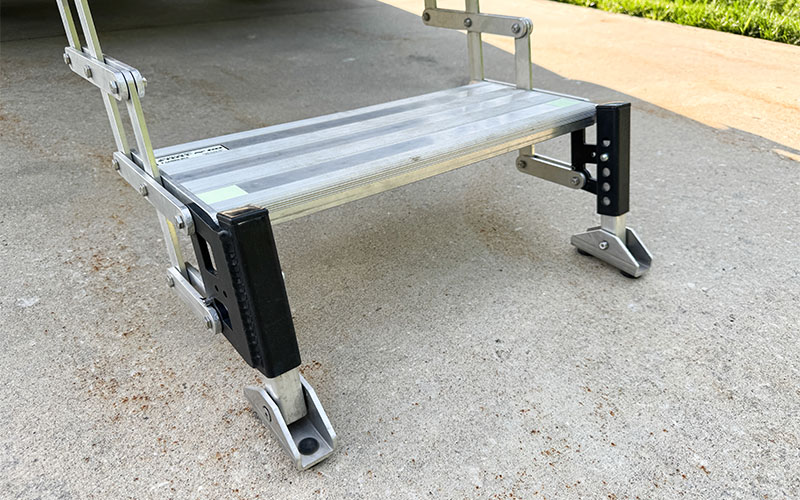
Finally, there’s the system I interact with the most—the GlowStep and Stow N’ Go. At this point, setting them up has become a one-handed operation that takes a few seconds.
The scissor steps deploy quickly and the All-Terrain Landing Gear has been adjustable enough to stabilize the steps at every campsite we’ve visited.
Life on the road already comes with enough systems to monitor, from battery levels and water tanks to propane fills and dump stations. After more than 5,000 miles, the entire Torklift system has largely faded into the background—and that’s right where I want it.
The project required a little patience, but none of it was beyond the reach of an average truck camper owner. If you can follow instructions, turn a wrench, and occasionally rewind a YouTube video three or four times, you can tackle these installations yourself.
More importantly, doing the work gave us a deeper understanding of the truck and the systems supporting our camper. If something ever needs attention on the road, we know what we’re looking at because we installed everything ourselves.
As for what camper ended up on the truck and where those 5,000 miles took us, you’ll have to stay tuned. You have the clues to find out, but the in-depth story is for another time.


