Welcome to the seventh entry in April’s Medium Mod Contest. One Medium Mod will be published in every Email Alert in April. At the end of the month, we’ll hold a reader vote to determine April’s winner. Click here for information about the 2023 Mod Contest, including how to enter.
Charles Coushaine, Punta Gorda, Florida
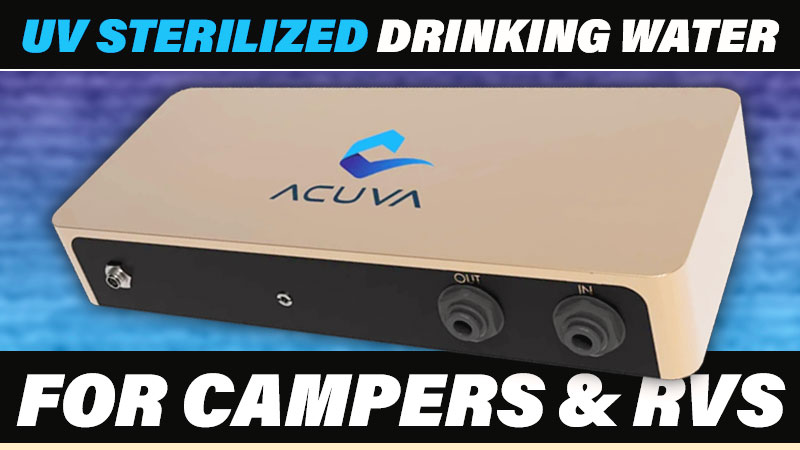
UV Sterilized Drinking Water for RV
2001 Ford F-350
2012 Chalet DS116RB
Phase II of the water purification system for my camper was in preparation for our trip to Baja, Mexico. For this mod, I will show you how to install a UV sterilization faucet at our kitchen sink that uses a charcoal filter combined with a special 12-volt UV sterilizer to assure my water is 99.9999% pure and safe to drink.
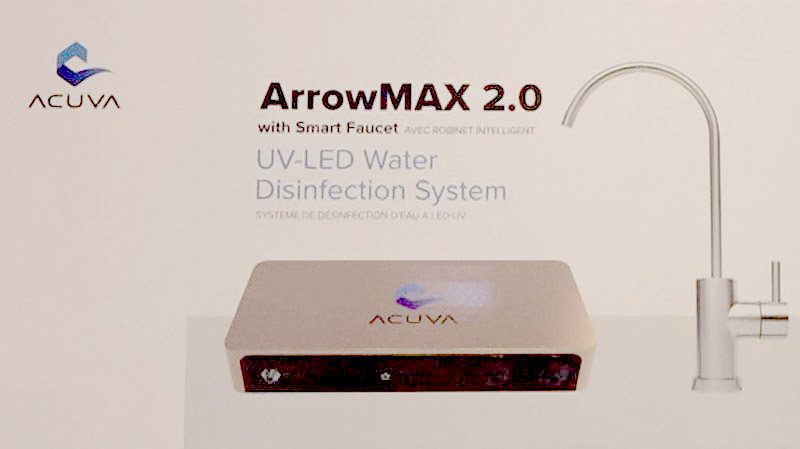
Although I had already installed a triple filter for water going into my fresh water tank, I still wanted extra assurance of safe drinking water at the kitchen sink. To achieve this, I purchased an ACUVA ArrowMax 2.0 UV water purification filter system. This was specifically designed for boats and RVs and runs off 12-volt. This is a secondary water faucet at your sink that is just for drinking, and taps off your existing water feed line.
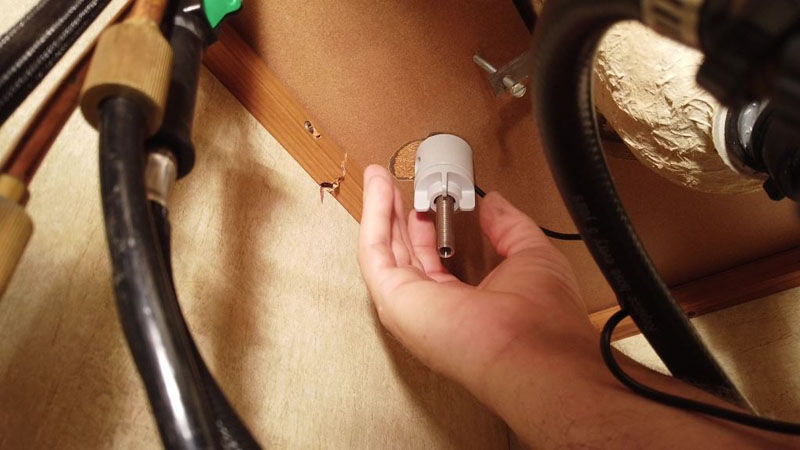
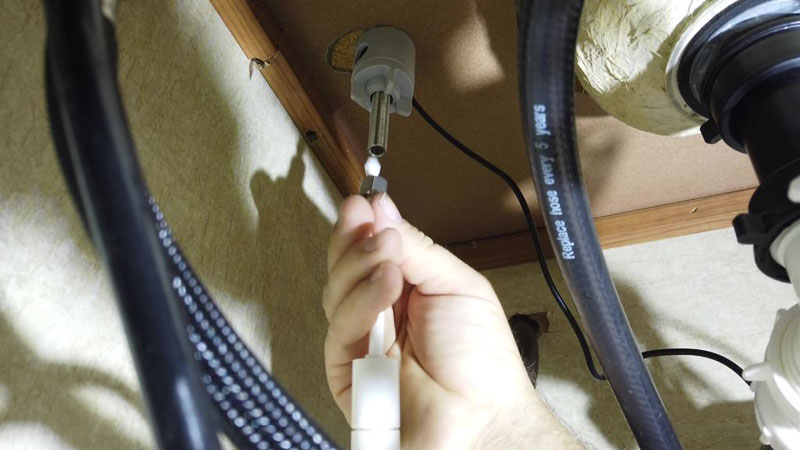
The installation was quite easy. You first drill a 3/4-inch hole through your countertop where you want this secondary faucet. You then tighten it in place with some special hardware from underneath.
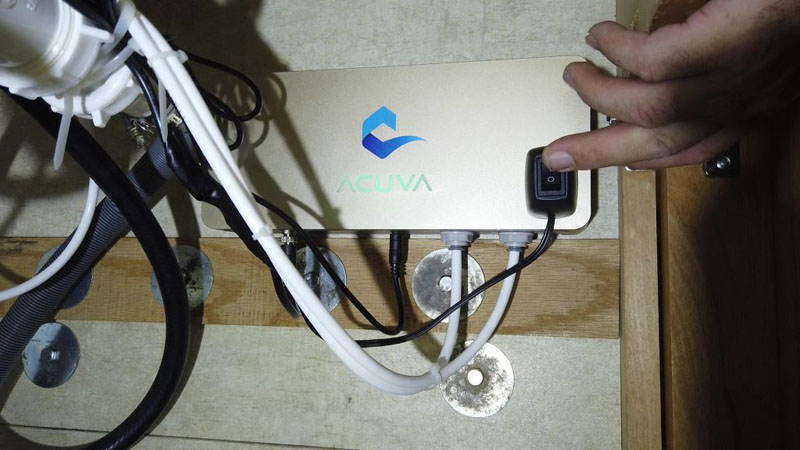
The main unit is a relatively small rectangular box with a rear mounting bar. This bar is screwed onto a wall close to the secondary faucet. Besides using screws to mount this bar, I also added a piece of 3M permanent double-sided tape to help secure it to the thin walls of our RV. This helps with dampening vibrations while traveling down the road. On an adjacent wall, I mounted the included charcoal filter using their supplied mounting hardware.
Once everything was mounted, water lines needed to be run. First I tapped off the PEX water lines running to the sink faucet with the supplied Sharkbite type T. From there, I ran a 1/4-inch hose to the filter and then to the input of the main UV box. Another line was then run from the output to a flow restrictor to the bottom of the additional sink faucet. That finished the water install.
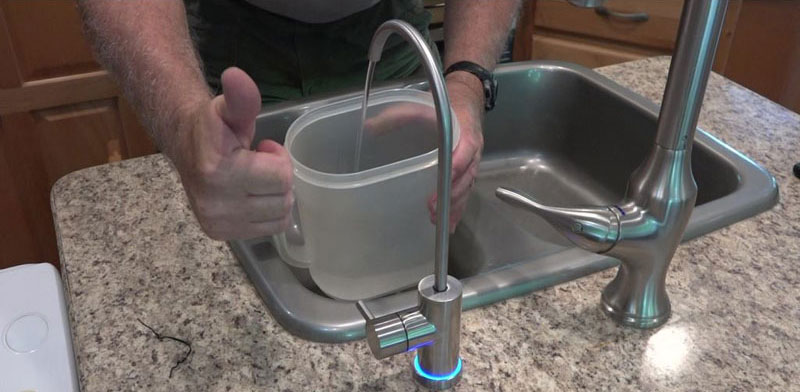
Next, 12-volt power needed to be run from our RV to the main UV box. Then the electrical cord from the additional sink faucet was run to the main UV box and was plugged in. This powers the blue ring at the bottom of the faucet as a visual indicator that the system is working. The install of the system was complete.
Watch this video to see the complete installation:
Note: This system uses 9-watts of power when working and sterilizing the water. When OFF and in standby mode, it draws 0.1-watts. Although this is quite small, I also added an ON/OFF switch to completely shut off this system when my camper is in storage for any length of time.
When I turn the water ON at this new drinking water faucet, the main box glows blue and a ring around the base of the faucet glows blue. These indicate that the UVs are working and the water is sterilized.
I love the simplicity of this system. It is lightweight and runs on 12-volts so can be used when boondocking. Although the water throughout the United States is quite good, the assurance of this system to provide unlimited clean drinking water wherever we travel is a nice peace of mind, especially when traveling in Baja, Mexico. No more bottled water for me.
Acuva- ArrowMax 2.0 UV-LED Water Purifier, Under Sink Water Filter System with Smart Faucet, Universal Power Supply
SPST Rocker Switch with 11.8″ Cable
3M Scotch Extreme Mounting Tape, 1 by 60-Inch, Black
It took me four hours to complete this modification and cost me $500. In my opinion, the skill level of this modification is medium.
Disclaimer: The modifications above are submitted by Truck Camper Magazine readers. It is your responsibility to make sure that any do-it-yourself modification project you undertake is safe, effective, and legal for your situation.
Enter Your Mods Now!
If you’d like to enter a modification you’ve done on your truck camper, click here. You can enter as many mods as you want, at any time. Good luck mod makers!


