Welcome to the third entry in October’s Mega Mod Contest. One Mega Mod will be published in every Email Alert in October. At the end of the month we’ll hold a reader vote to determine October’s winner. Click here for information about the 2022 Mod Contest, including how to enter.

Lucien Langlois, Berlin, New Hampshire
Two Comfortable Seats For A Non-Slide
2012 Ford F-250
2004 Lance 1025
Our modification was created for improved creature comfort. Being snowbirds and spending the winter in Arizona means the days are warm. Still, when the sun sets, the temperature drops. Retreating into the truck camper for the evening, one has to have comfortable seating.
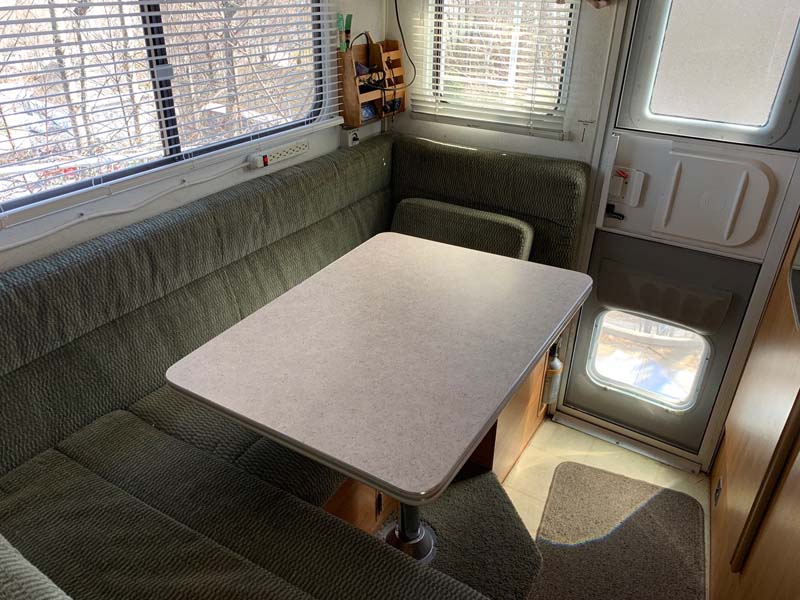
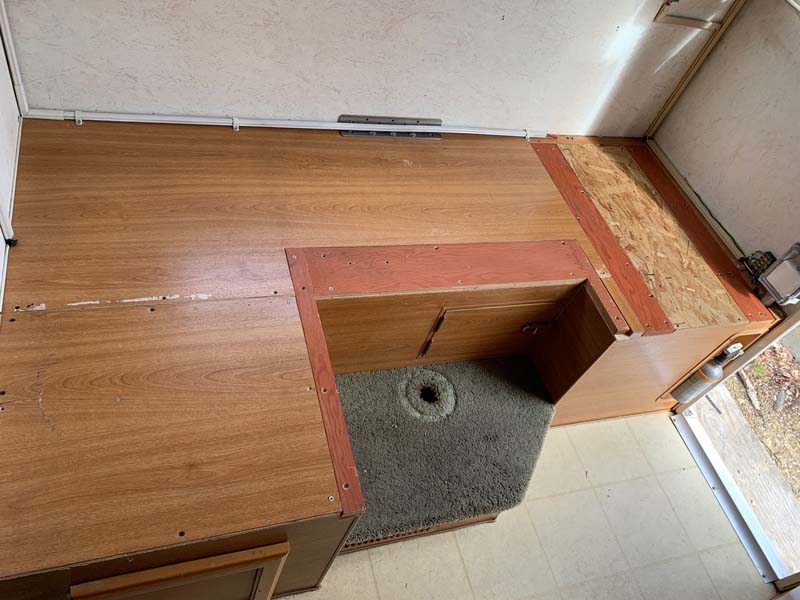
Above: Existing Dinette, time for an upgrade
The cushions from 2004 Lance were worn, flat, and had low back support. We were simply uncomfortable. Looking at the many dinette mods presented in Truck Camper Magazine, I was challenged. Those mods were all in truck campers with slide-outs. Our 1025 Lance didn’t have a slide, so there is not much wiggle room for your legs.
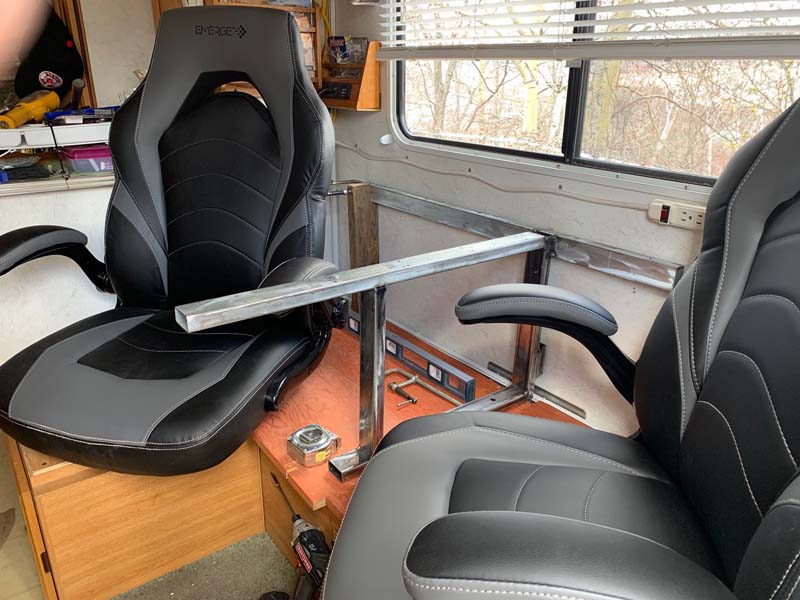
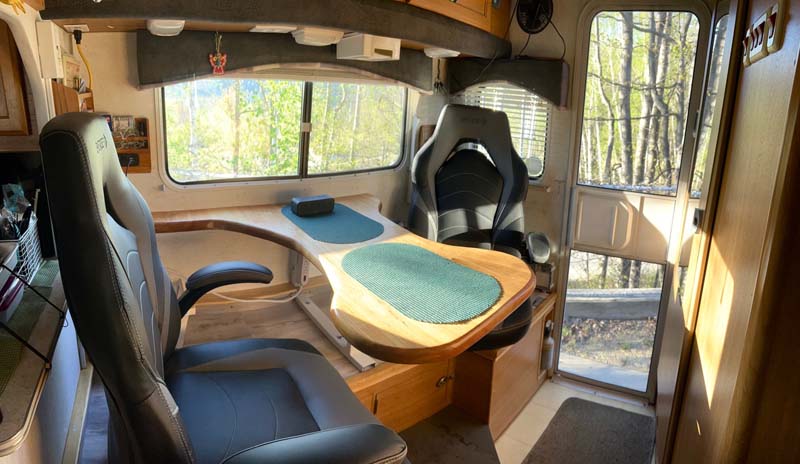
For months I was looking for the perfect high-back chairs. All were low back. Then, by chance, walking into Staples, I spotted two high-back chairs priced on sale for $159 each. I didn’t hesitate and bought both. Ironically a day later they were $259 each. Once they were found, it was a gamble to see if I could design a table that would work with them.
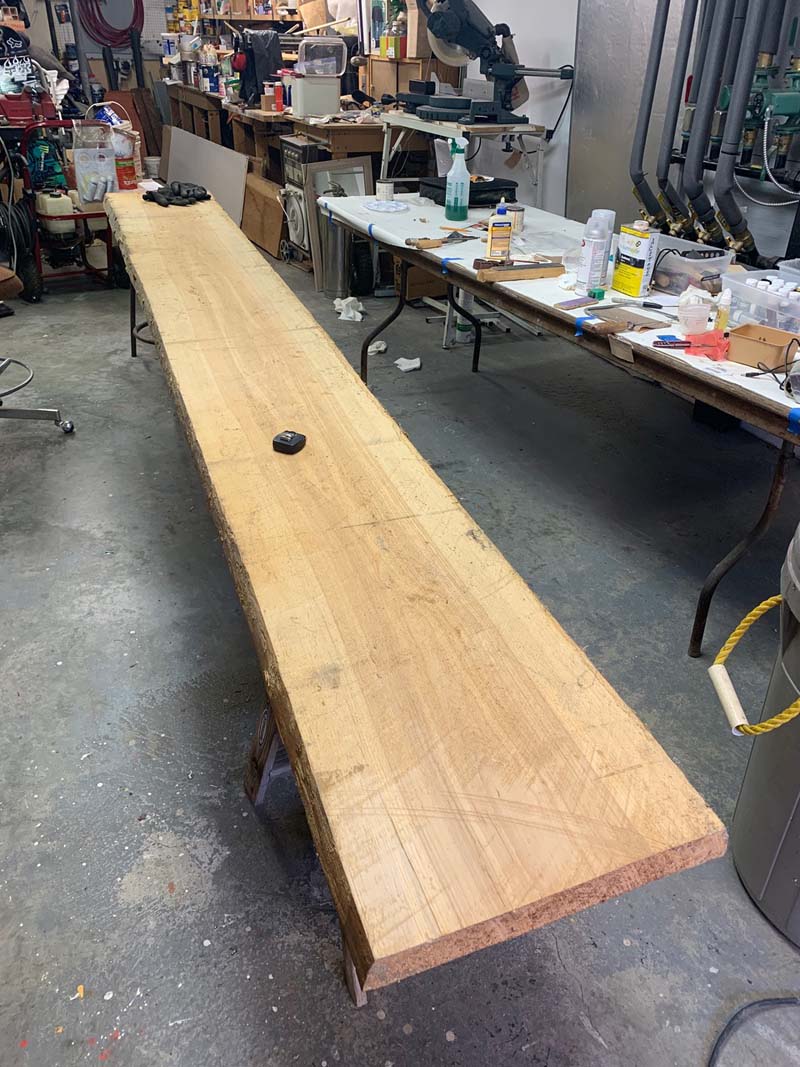
Above: Valuable 2-inch thick Birch Slab ready for a new life as a tabletop
First, the bottoms of the chairs were discarded. I used 8×8 swivels and fabricated an aluminum baseplate that bolted directly into the factory chair base mounts.
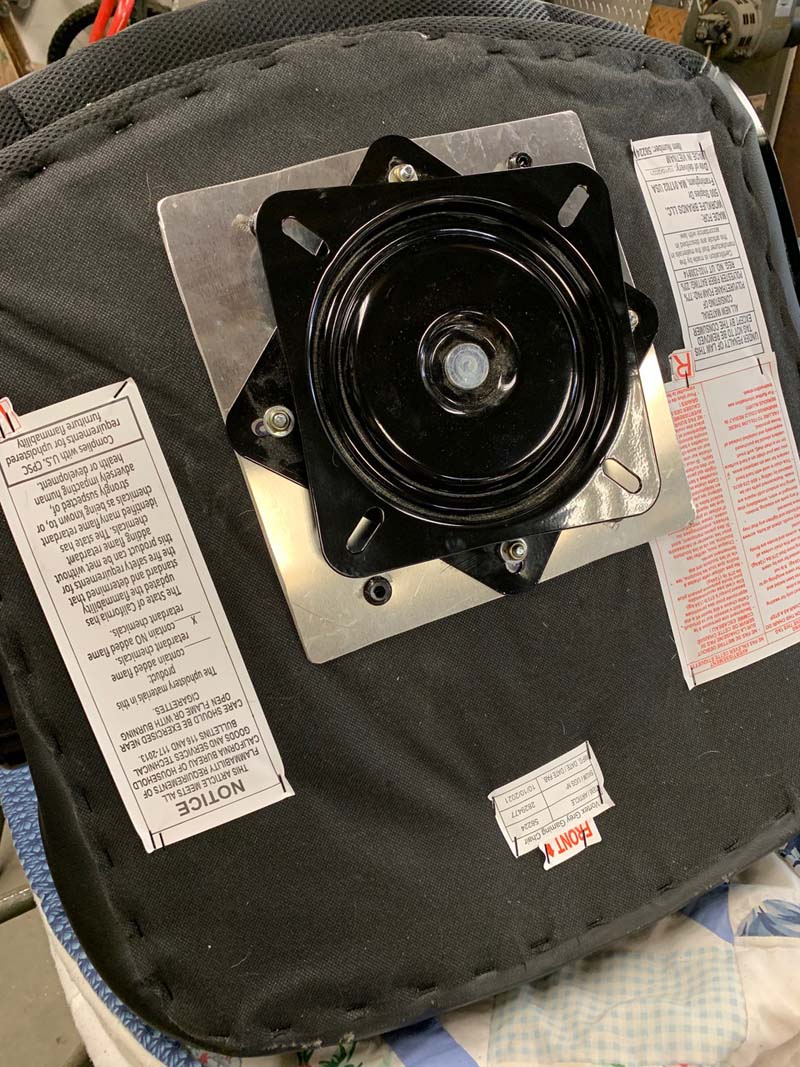
Above: Amazon 8X8 swivels with aluminum 1/8-inch adapter plate
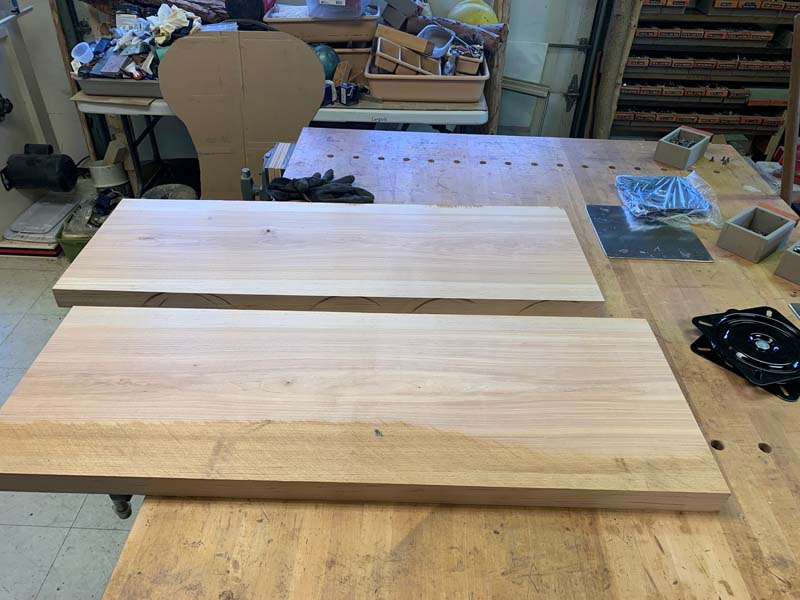
Above: Slab pieces ready for the jointer and planer. Note the cardboard cutout at the top of the photo
At this point, I had the chairs and could concentrate on designing the table. This design had to wait until the chairs were somewhat located in place to see exactly how much space I had for the table. A few cardboard cutouts later, I had a plan.
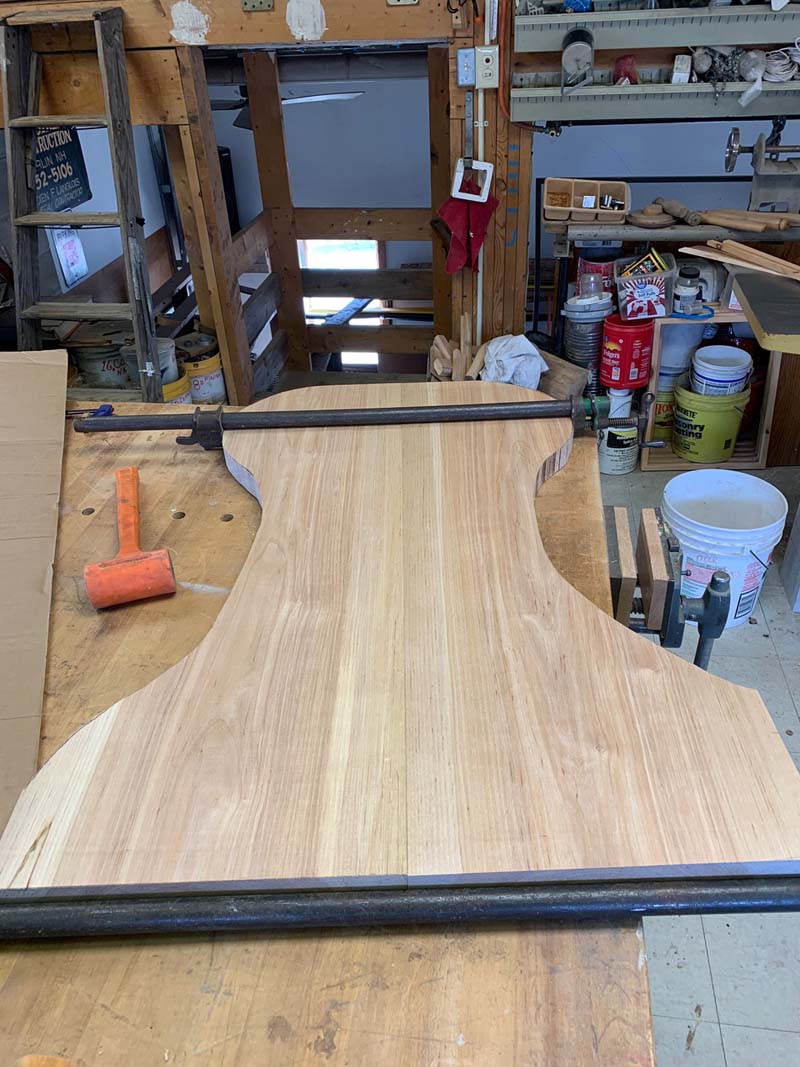
Above: In the glue-up stage
This dinette mod was also further complicated by another mod that I had completed on the electrical system. Additional relocated batteries, battery disconnect switch, and fuse block are located in a compartment below the new rear chair location.
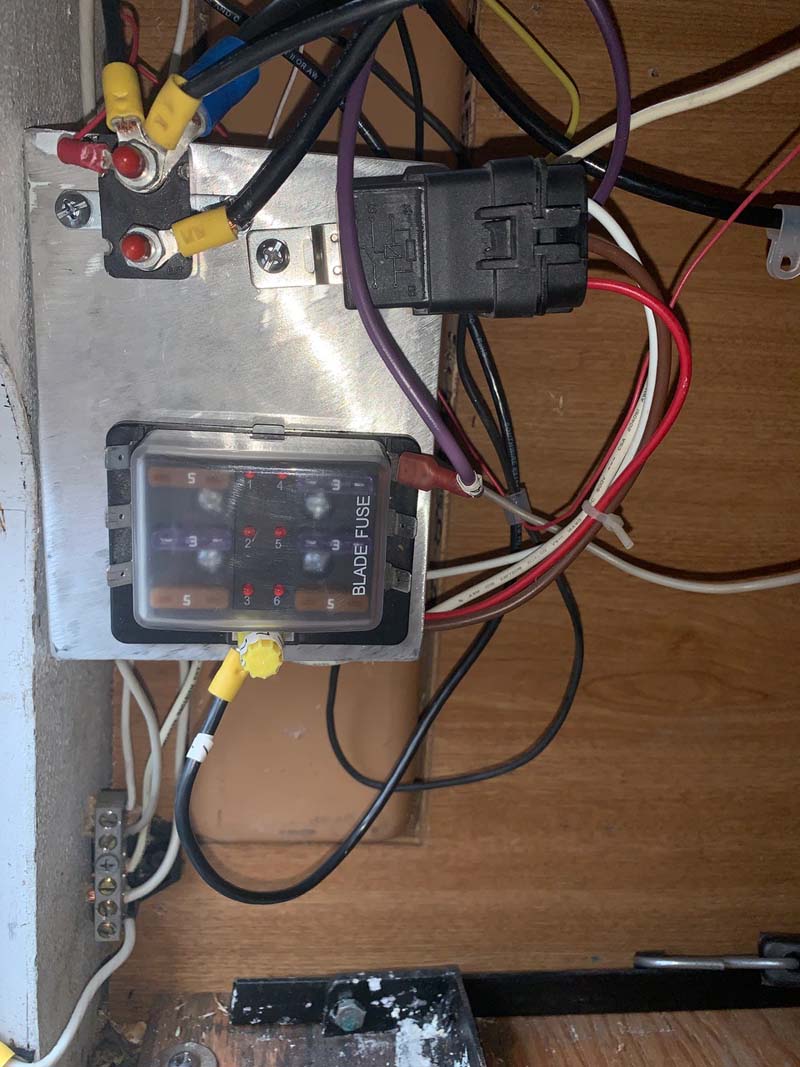
Above: The 30-amp main fuse, the lower fuse block, and backup light relay moved to this new location for access from the exterior door. All six blade fuse terminal connections used in the final assembly.
The design I wanted was a smooth table with well-rounded edges. The factory table had square edges that were uncomfortable on our forearms. Some 35 years ago, I obtained two kiln-dried, tree-length slabs of live edge Birch. Each slab was 2-inches thick, 14-feet long, and 18-inches wide. That was the material used for the top.
To support the tabletop, I MIG welded some 1-inch by 2-inch 16-gauge tubing along with 1-inch square tubing for the support structure. In our truck camper’s original seating area, I covered with 3/8-inch plywood and this was overlaid with pre-finish plank flooring from Home Depot.
Above: A tack steel support structure checked for fit before final MIG welding
Above: The base voids were filled with plywood and overlaid with 3/8-inch plywood. The carpet was removed and new plywood and removable rubber floor were installed in the floor area.
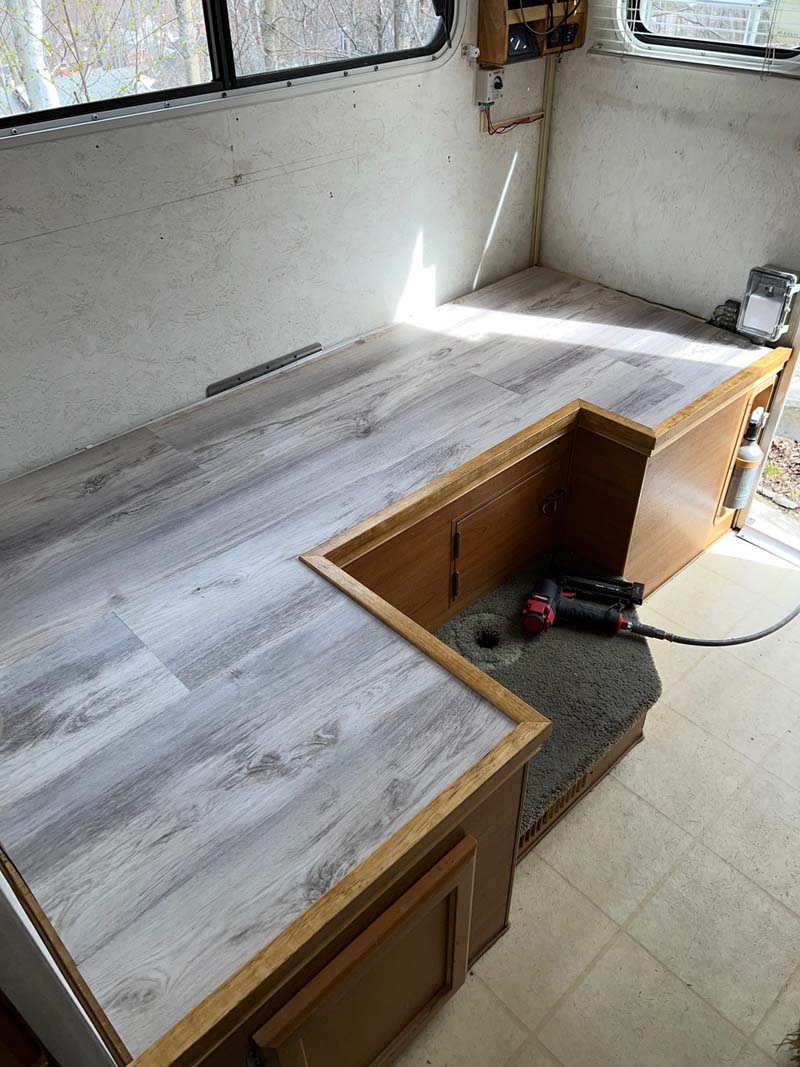
Above: Plank flooring installed before a covered raceway on the outside wall for future electrical projects
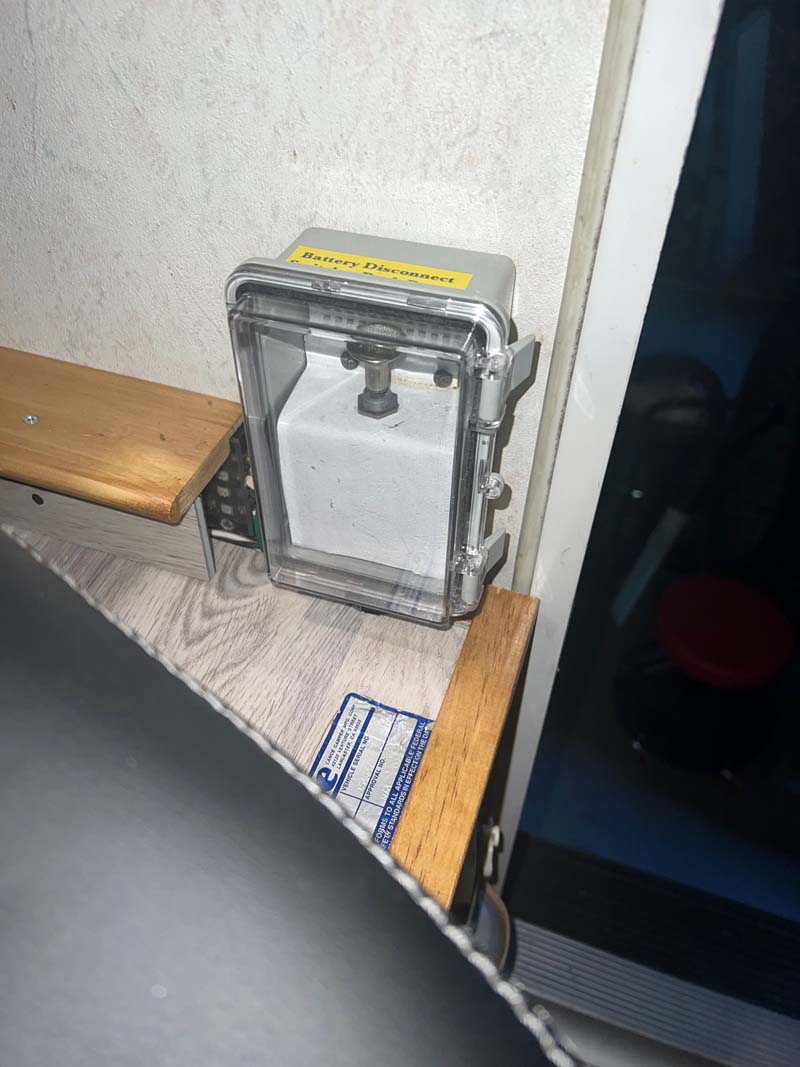
Above: View of emergency battery disconnect switch located in the accessible clear cover electrical box and partial view of future wiring raceway to the left of the box
We haven’t experienced a winter season yet, but have enjoyed short summer stays and spending evenings in our backyard. So far the mod has exceeded our expectations. It’s so nice to have a high backrest, for those quick naps.
Parts Used:
Chairs from Staples $159 each on sale
Flooring is about $69 per box at Home Depot
8×8 swivels – a two-pack was $27.99 on Amazon
Table Top, 2-inch thick kiln-dried (35-year-old Birch) in stock in my shop
Steel tubing was in stock in my shop that I got from a retired general contractor
3/8-inch plywood was in stock in my shop
It took me countless hours of planning and 40 hours of fabrication time to complete this modification. Out of pocket, it was $550, but it would be closer to $1,500 if I purchased everything.
In my opinion, I would say this mod project was difficult because of all the shop equipment needed, and the very limited area in the camper to make everything fit and work as envisioned. In the end, the mod turned out well above my expectations!
Disclaimer: The modifications above are submitted by Truck Camper Magazine readers. It is your responsibility to make sure that any do-it-yourself modification project you undertake is safe, effective, and legal for your situation.
Enter Your Mods Now!
If you’d like to enter a modification you’ve done on your truck camper, click here. You can enter as many mods as you want, at any time. Good luck mod makers!


