Welcome to the seventh entry in March’s Medium Mod Contest. One Medium Mod will be published in every Email Alert in March. At the end of the month we’ll hold a reader vote to determine March’s winner. Click here for information about the 2021 Mod Contest, including how to enter.
Terry Fleming, Scottsdale, Arizona
Stealthy Night Vision Camera For Safety
1999 Ford F-250
2019 Adventurer 80RB
Sooner or later everyone is awakened from a sound sleep by a noise outside their camper. With a stealthy night vision camera, I could quickly determine the source of the disturbance and (hopefully) return to sleep, worry-free. However, I could not find a network independent, battery powered, night vision camera for sale. So I made my own.
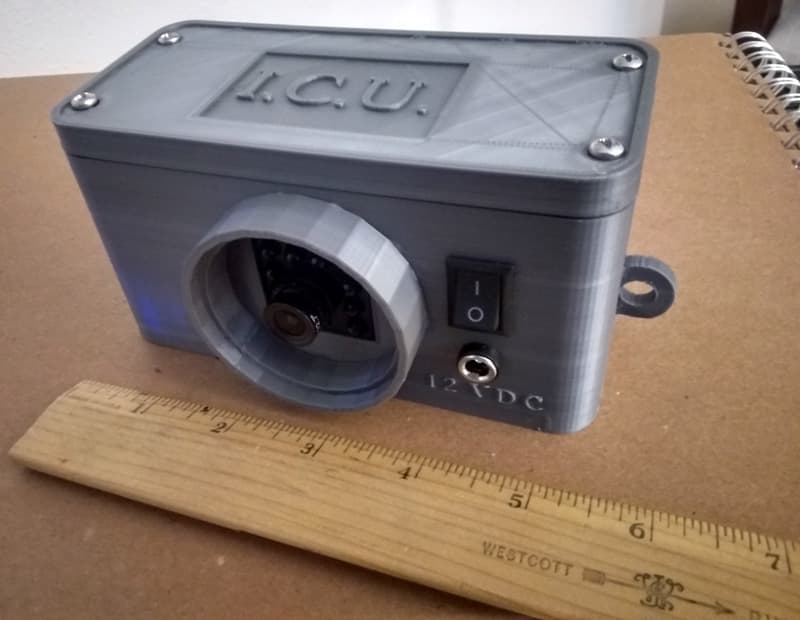
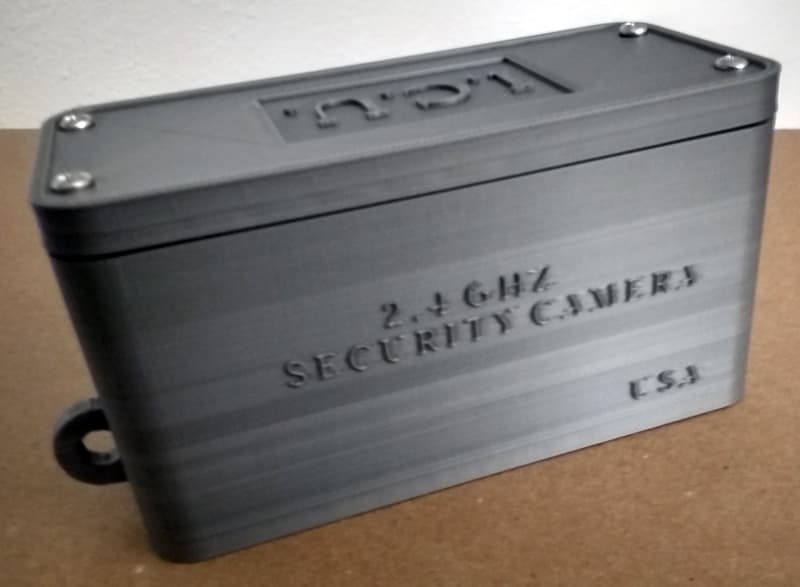
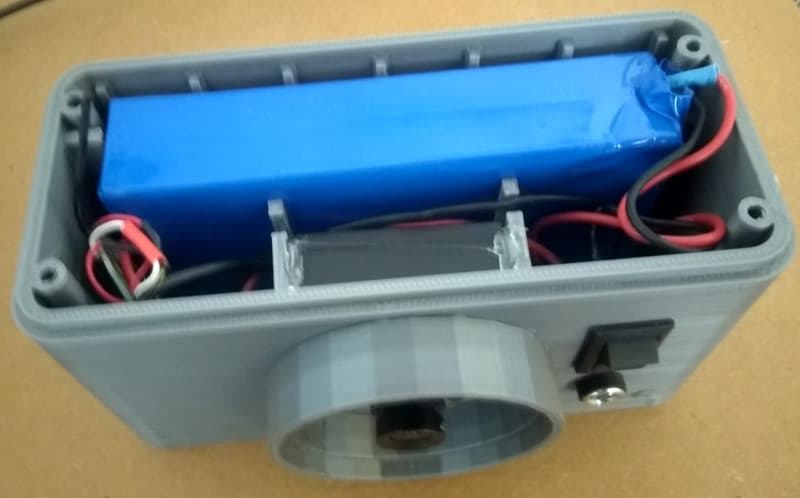
To make the camera as compact as possible, I designed a box to be 3D printed, a replacement for a much larger container purchased at Home Depot. The new custom box reduced the final size to one-quarter of the original. The Home Depot box is now used to store the completed camera, monitor and cables.
The camera unit is equipped with infrared LEDs that emit no visible light, so the camera is stealthy. The power is supplied by a rechargeable 12-volt, 4800mAh lithium battery pack.
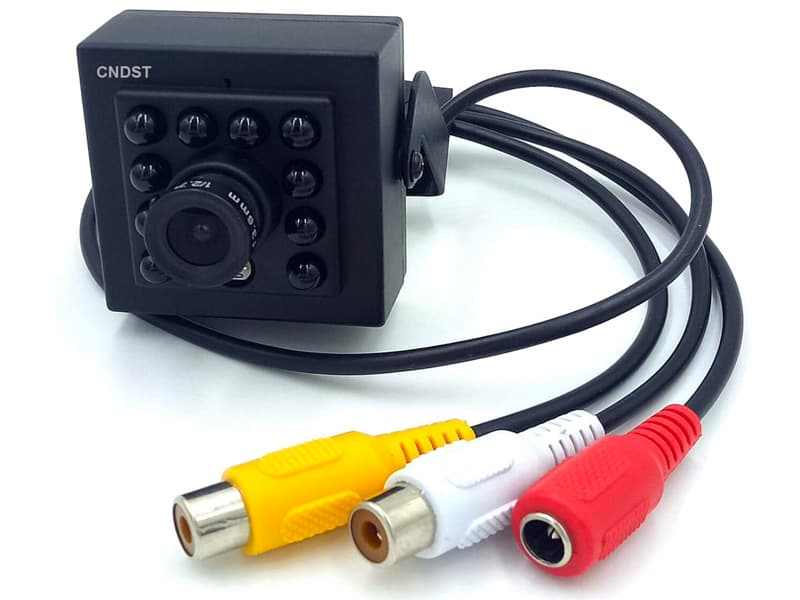
The camera I used is a CCTV 1/3-inch Sony HD mini security camera purchased on Amazon for $35.
For the wireless auto backup kit search eBay for car rear view Backup camera kit + 4.3in Foldable TFT LCD Monitor Wireless 2.4Ghz. You will need three items from the kit. You can set the kit’s camera aside for a future project.
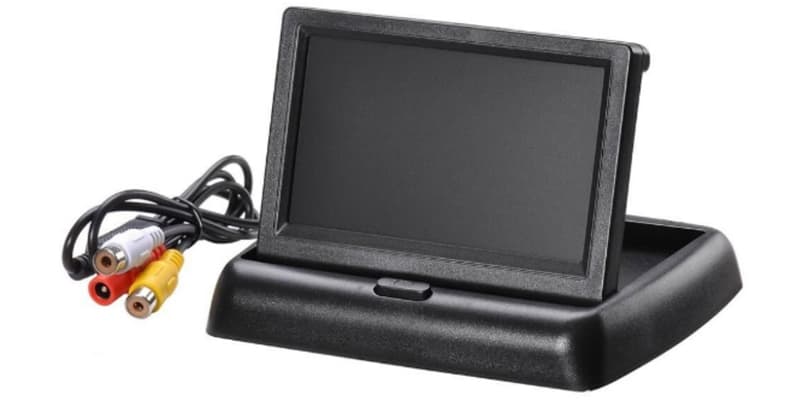
Open the base (4 screws) of the foldable LCD monitor. Take a few photos for reference. Remove the power/lead wire and give it a toss. Set the monitor aside for now.
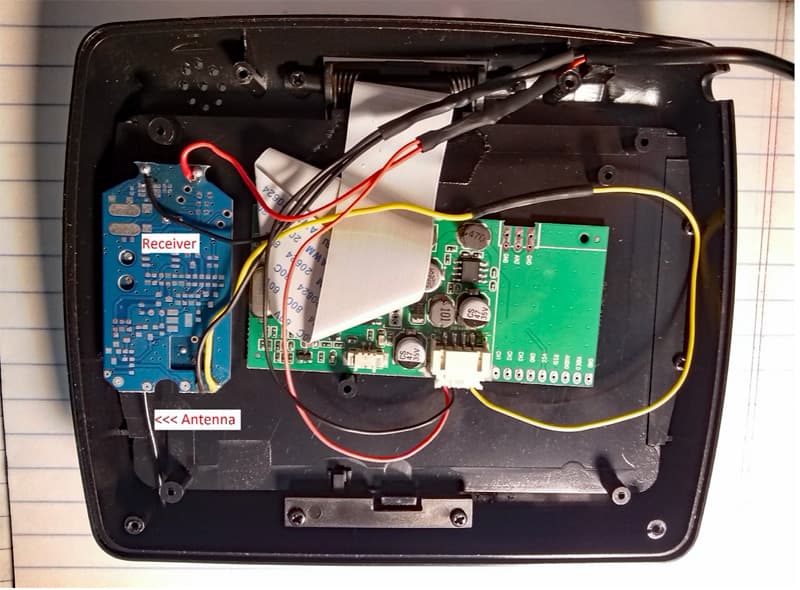
The backup camera kit receiver is clearly marked on the plastic oval case. Pry open the case and remove the board. Take a few photos and then cut the wires exposing the red, yellow, and black wires. Leave some of the colored wire attached to the board to keep things simple during the soldering process.
You will need a new power/lead wire to power the monitor. I used a two-conductor wire (about 3-feet long) that is terminated with a 2.1×5.5mm 12V female plug.
Next, it is time to put the monitor and receiver together. All you need to do is match the wire color. The finished wiring looks like the photo above. Locate a spot for the receiver in the base. Then, reinstall the base cover. The monitor is done.
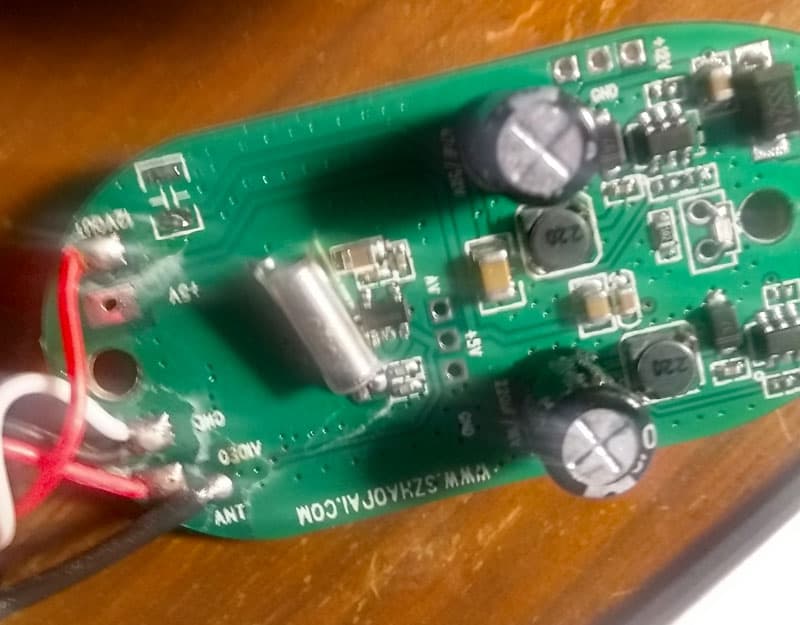
For the backup camera kit transmitter, pry open the case and clip the wires. Leave as much of the wire as possible to make soldering the connections easier and to preserve the identifying wire colors.
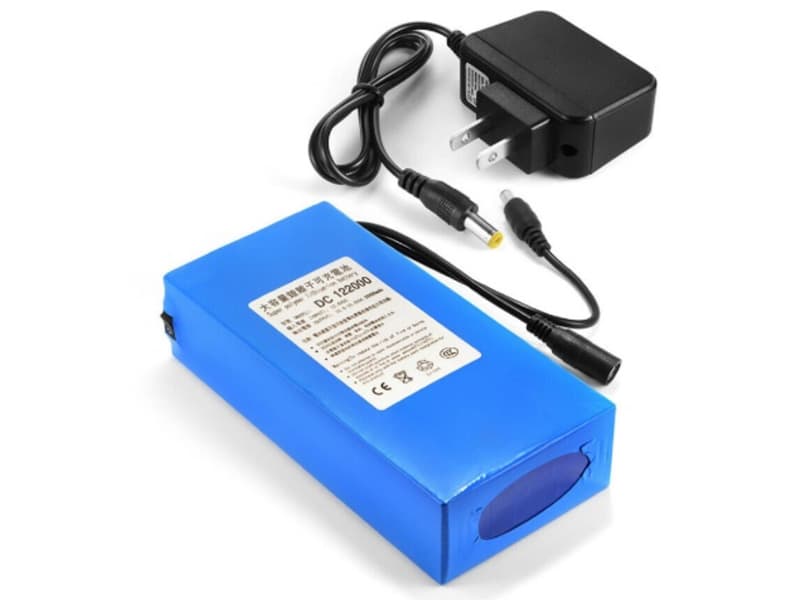
The 4800mAh battery pack can be purchased on eBay for $19. It comes with a 12-volt, 1-amp charger that can also be used to power the monitor. Search for 12V 3000-20000mAh Lithium Rechargeable Li-ion Battery Pack+ US PLUG Charger. Remove the on/off switch on the battery pack exposing the red and black wires.
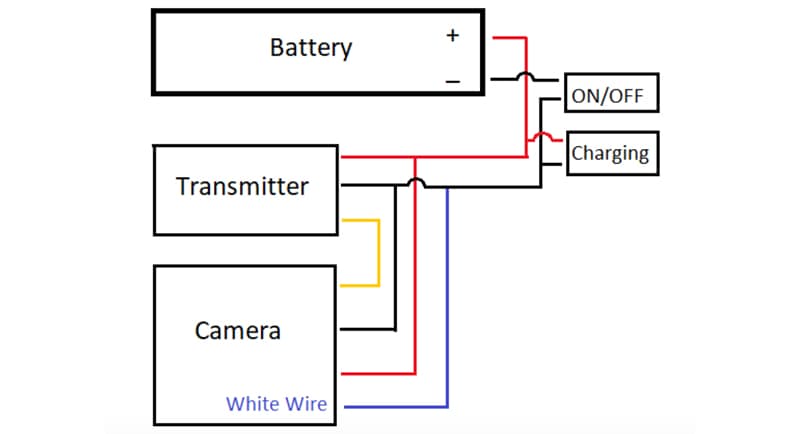
The wiring follows the color coding exactly. The exception is the white wire on the camera, which is a ground. Think of it as the same as black.
Fire it up by powering the monitor using the power module that came with the battery or use a 12-volt cigarette lighter adapter. Next turn on the power switch to the camera. That’s it!
In my tests, the camera operated non-stop for two-days without charging. The battery pack is recharged from the port in the front of the box using the charger that came with the battery.
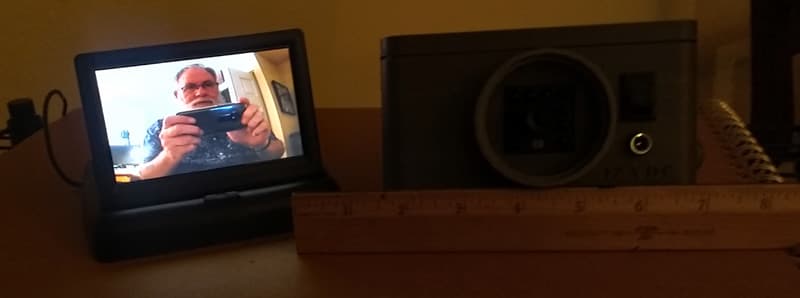
The monitor runs on 110-volt house current (using the power adapter) or alternately, a 12-volt cigarette lighter adapter and is a clam shell design for compact storage. In addition to it being a security camera, I have also used it as an extra set of eyes when backing the camper up on my ramps. So far, it has been excellent.
Update: I have discovered that PLA filament will melt/distort if left in a truck in the Arizona heat. I am currently using PETG and have had no issues with it.
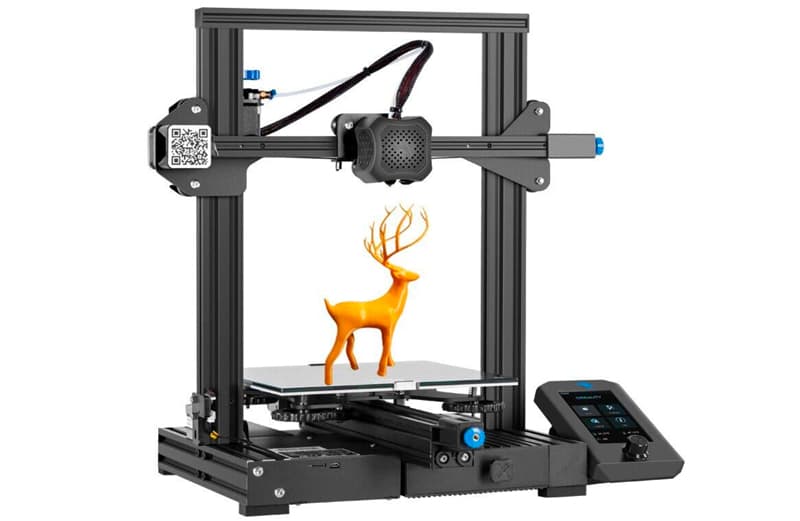
This was my first attempt at 3D printing and I am pleased with the results. The box was designed in Google Sketchup which is free to use. Sketchup offers an option to purchase the pro version. I used the online version. My 3D printer is a new Creality Ender 3 version 2 for which I paid approximately $250. The filament for the printer is $25 to $35.
If you would like to print your own camera box, the STL file has been uploaded to thingiverse.com. Search for 2.4 GHz Security Camera Box to download the file. I am curious to see just how many mods can be created using a 3D printer.
It took me six months of experimentation to complete this modification and cost me $90 for parts, not including a box for the camera. If you can use a soldering iron, you can build this mod. In my opinion, the skill level of this modification is moderate.
Disclaimer: The modifications above are submitted by Truck Camper Magazine readers. It is your responsibility to make sure that any do-it-yourself modification project you undertake is safe, effective, and legal for your situation.
Enter Your Mods Now!
If you’d like to enter a modification you’ve done on your truck camper, click here. You can enter as many mods as you want, at any time. Good luck mod makers!


