Welcome to the sixth entry in August’s Mega Mod Contest. One Mega Mod will be published in every Email Alert in August. At the end of the month, we’ll hold a reader vote to determine August’s winner. Click for information about the 2021 Mod Contest, including how to enter.
Jay Knight, Tylertown, Mississippi
Sliding Jack Legs For Campers
2019 Chevrolet 3500
2014 Northstar Adventurer 8.5
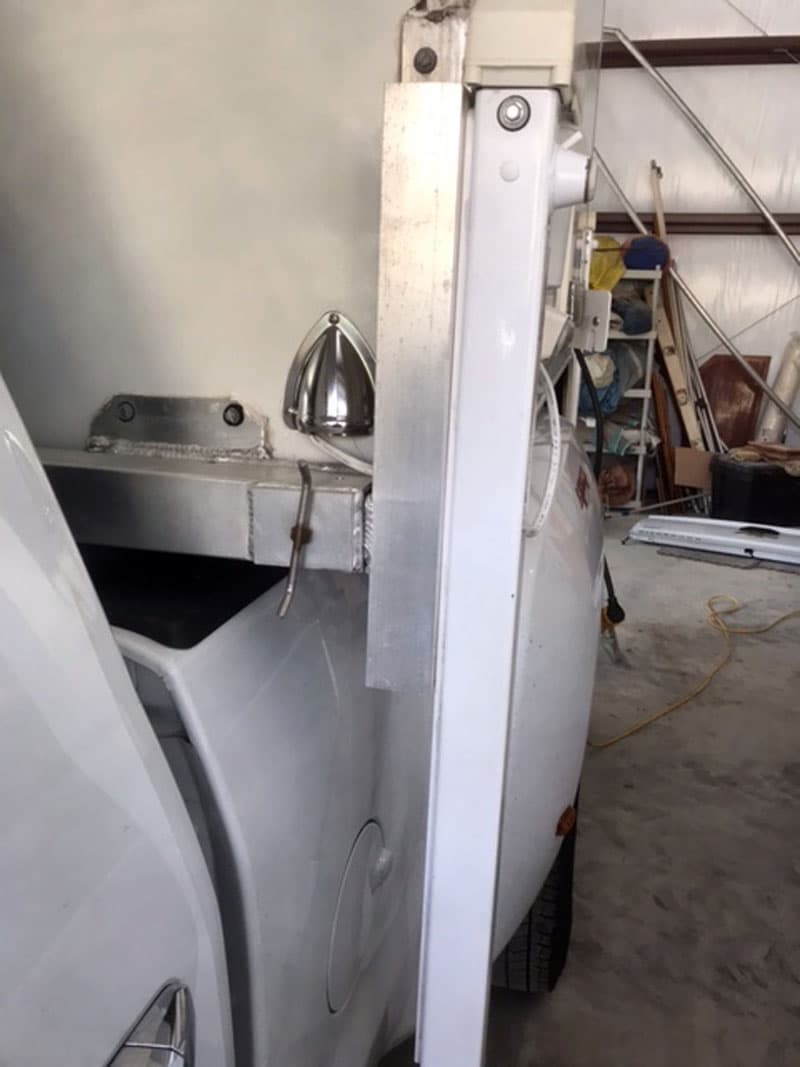
We have a 2014 Northstar Adventurer 8.5 that we haul with a 2019 Chevrolet 3500 dually. Our dually truck requires the swing-out jack brackets to load and unload a camper. Our Northstar is relatively narrow at 7-feet wide. Even with the swing-out jack brackets, we need extensions to get the jacks to clear the dually fenders.
With the swing mounts and extensions, I couldn’t open the back truck doors without swinging the jacks out, which I thought was inconvenient. There was also a lot of leverage when the camper is unloaded.
To solve this situation, I fabricated an aluminum bracket system. It is easy to use, as light as the swing brackets with the extensions, and more stable.
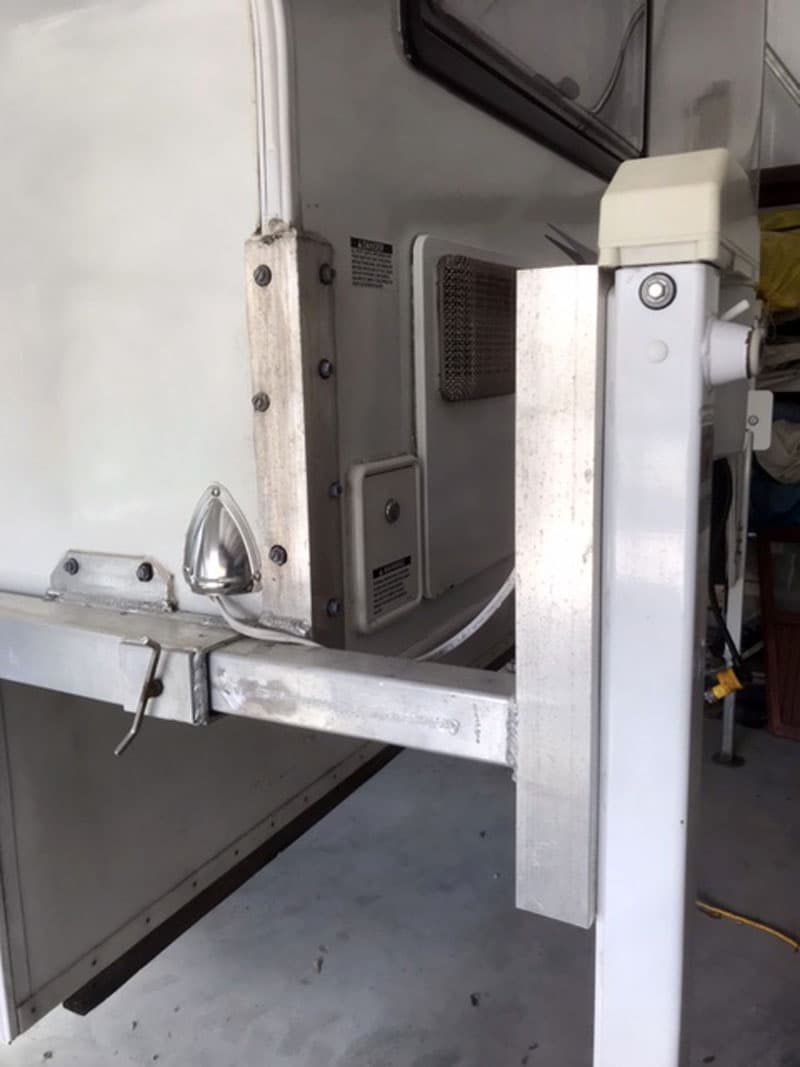
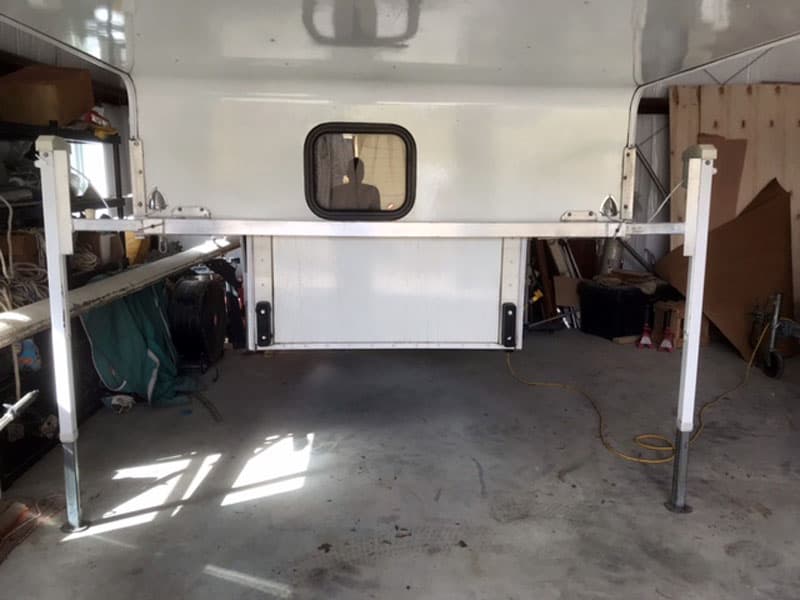
My system includes a 4-inch aluminum square tube that runs across the camper with welded tabs that support the bottom of the wings of the camper. I then welded vertical aluminum brackets to use in the original screw locations.
Next, I took some 3.5-inch aluminum square tubing that slides into the mounted tube. On the slide tube, there are some brackets welded on that the jack bolts to. Several lock screws hold it into place when it’s slid-in for driving and we’re good to go!
It has worked out great. The camper is very stable when we unload and stay aboard. It is much easier to use the truck’s back doors because I don’t have to swing the mounts out. Best of all, it supports the camper both with the original screws and the shelf it sits on.
All the materials are 6061 T6 aluminum tube and several pieces of 90-degree angle stock. To be specific, I used 7-feet of 3-inch square aluminum tube, 4-feet of 2.5-inch square aluminum tube, and 4-feet of 1-inch 90-degree angle stock.
It took me six-hours after I did some sidewalk engineering to complete this modification. It cost me $200 using mostly scrap materials.
In my opinion, the concept is simple, but the skill level of this modification is hard because it requires welding aluminum. 6061 T6 aluminum tube is very strong, and any decent welding shop has scraps of materials to build it.
Disclaimer: The modifications above are submitted by Truck Camper Magazine readers. It is your responsibility to make sure that any do-it-yourself modification project you undertake is safe, effective, and legal for your situation.
Enter Your Mods Now!
If you’d like to enter a modification you’ve done on your truck camper, click here. You can enter as many mods as you want, at any time. Good luck mod makers!


