Welcome to the second entry in June’s Mini Mod Contest. One Mini Mod will be published in every Email Alert in June. At the end of the month, we’ll hold a reader vote to determine June’s winner. Click here for information about the 2022 Mod Contest, including how to enter.
Jeff Johnston
Roof Lift Rain Guards
2021 Ram 2500
2021 Palomino SS-1240
My modification is to help protect my fold-down Palomino roof lifts during bad weather when the camper is in storage.
We own a 2021 Palomino model 1240 fold-down camper hauled on a 2021 Ram 2500 8-foot-box truck. Based on owner reports, it’s no secret that the linear actuator-powered roof lift devices have a rather high failure rate percentage. One noteworthy cause is internal rust caused by water intrusion.
We can’t do much about any presumed mechanical shortcomings of these actuators – until we find a suitable replacement – but keeping them dry as much as possible is an achievable goal.
Our part-time solution to avoiding water-damaged lifts is a set of slip-on rain guards.
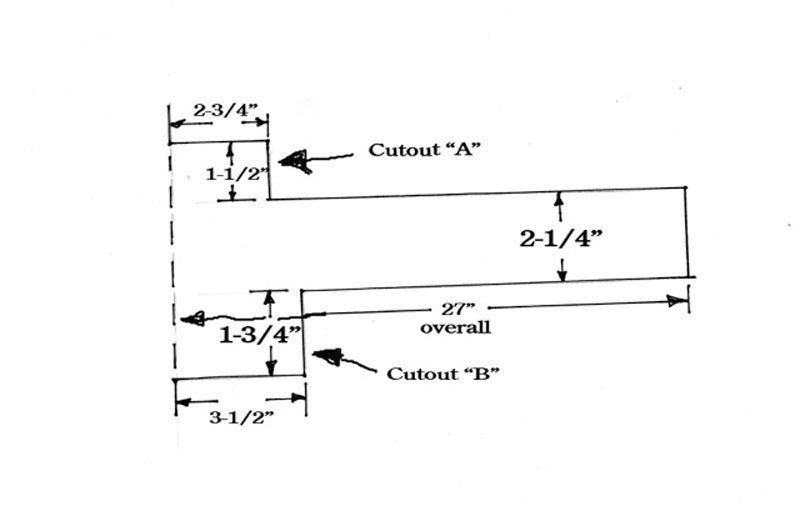
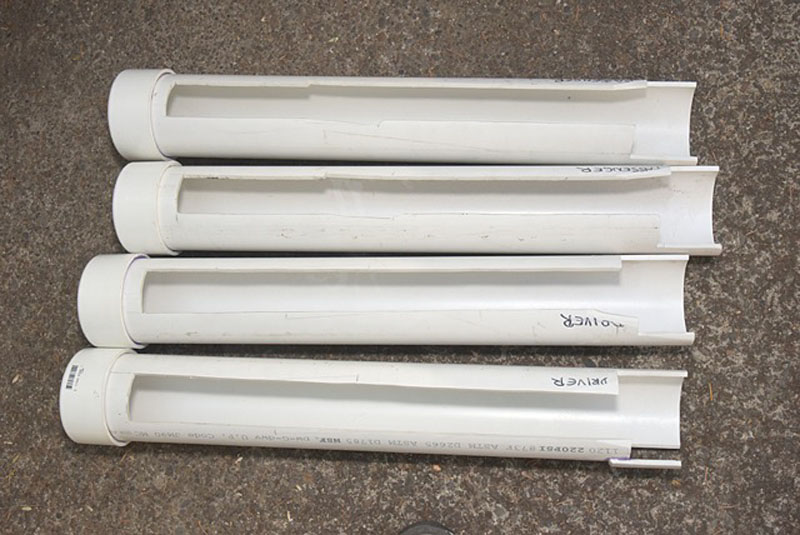
We started with a 10-foot piece of 4-inch ID PVC pipe that we cut into four 2-foot 6-inch pieces. A slot cut up one side allows the guards to slip on over the lift brackets and extra notches at the bottom provide clearance for the motor and gearbox area. The rough cutout dimensions, determined after some trial-and-error, are shown in the above illustration.
Note that the motor and gearbox orientation is different on the right side and left side lifts. To accommodate this, the “Cutout A” and “Cutout B” dimensions in illustration 2 need to be reversed for two of the protective tubes. Some trial-and-error is to be expected here.
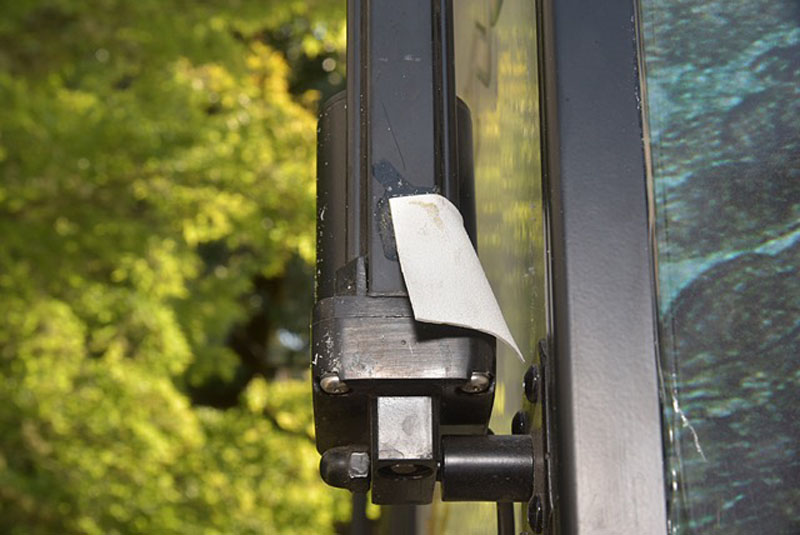
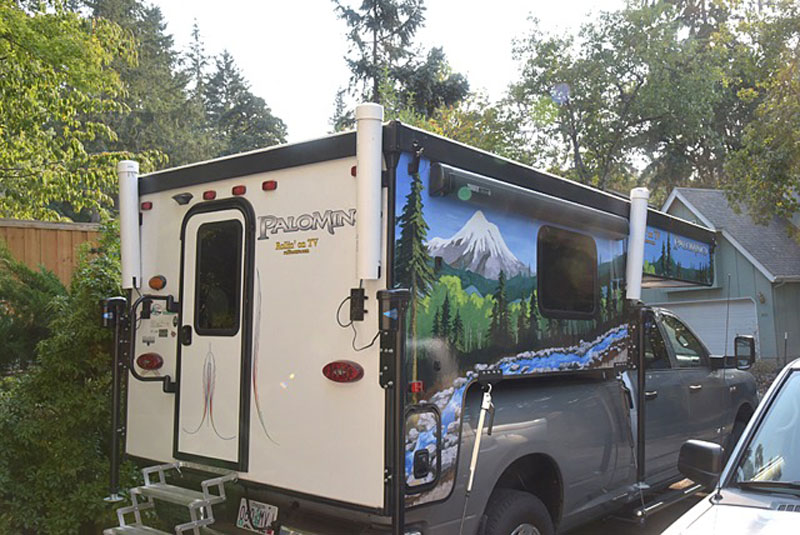
PVC end caps were glued to the uncut pipe end using standard PVC pipe cement. You’ll see some extra cuts and notches in photo 1 that were part of our trial-and-error process.
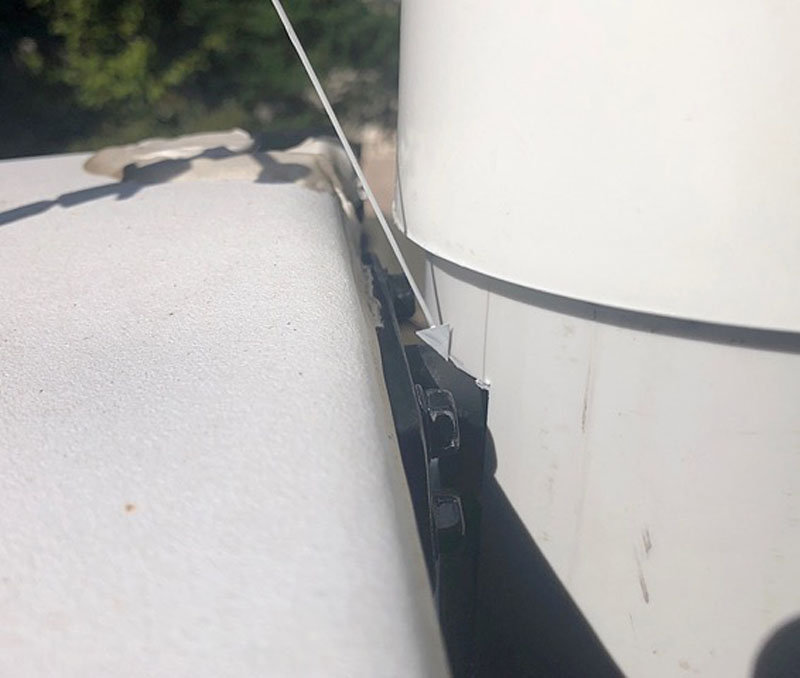
In use, the top end of the cutout slot rests on the upper lift bracket attached to the roof (arrow in the above photo).
A corner of the gearbox was left exposed to the rain. I had a scrap of the camper’s rubber roof material from which I cut four 1 3/4-inch square pieces, but any flexible rubber material should also work.
Weldwood Contact Cement secured the flaps in place (photo above) and with the protective tube in place, (photo below) most rainwater is directed away from the gearbox.
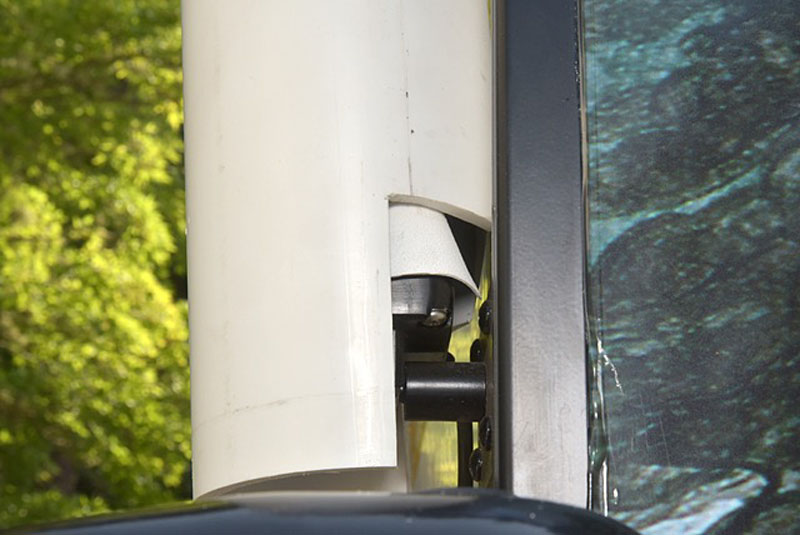
This setup definitely does not provide 100-percent rain protection. The open back slot assures that. However, it directs most of the rain down the sides of the tube and not towards the motor, gearbox, lift arm housing, and the like.
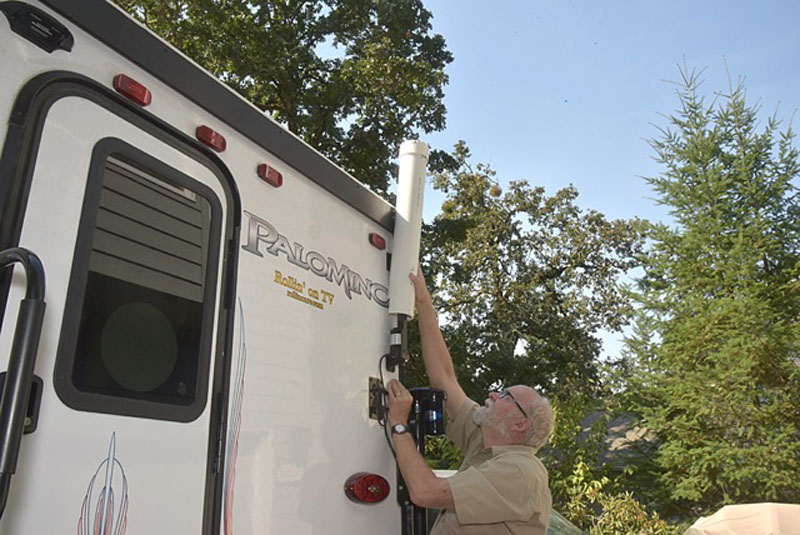
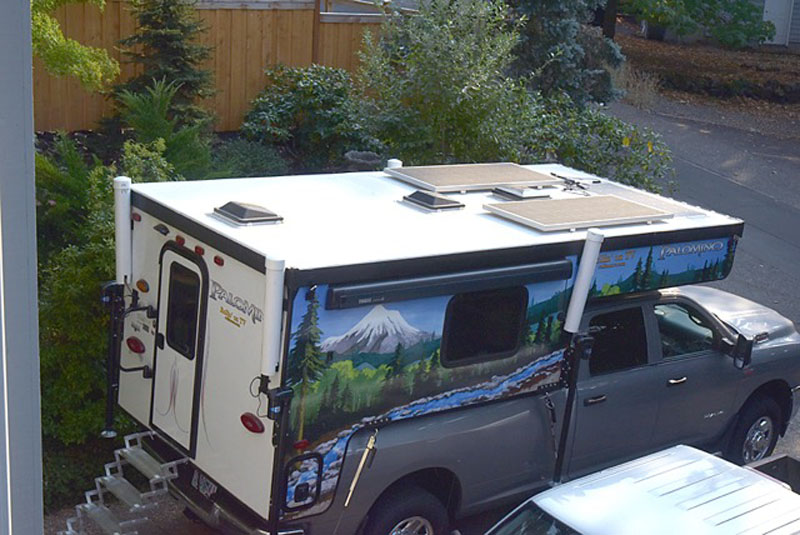
Installing these tubes is as easy as slipping them in place, like in the photo above. In position, they provide some roof lift weather protection like the photo below.
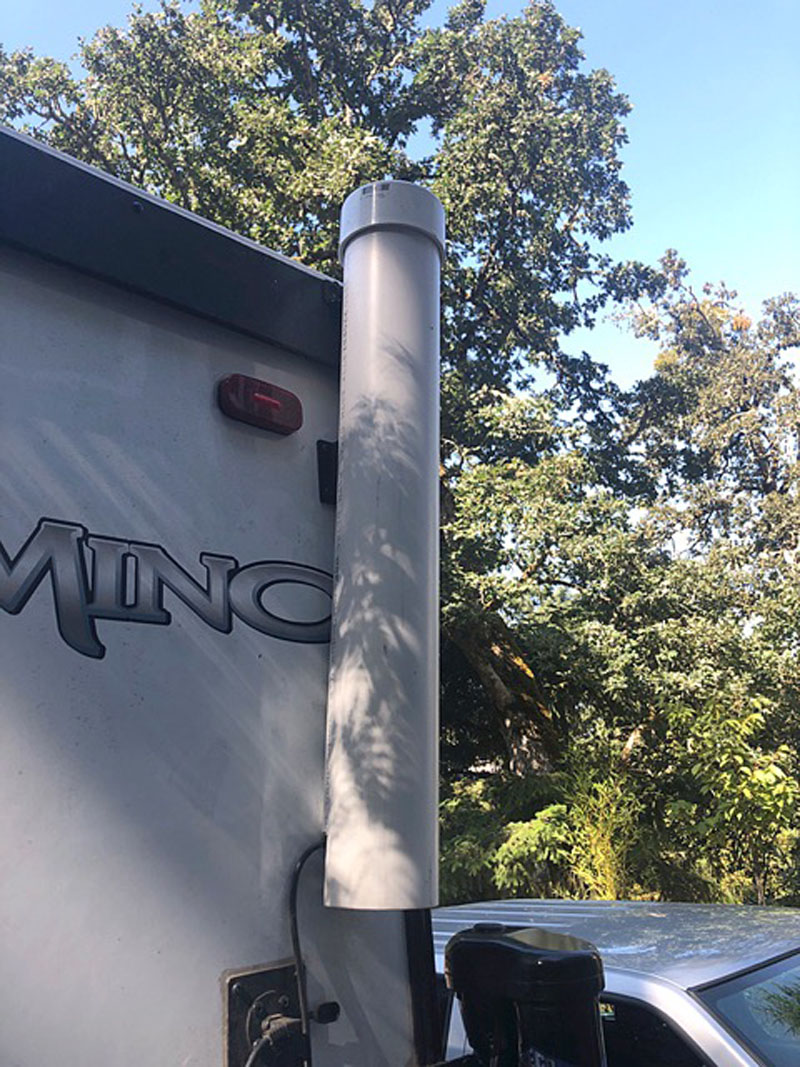
Because these tubes protrude somewhat above the roofline we’ll be removing them when we install a more robust weather shield in the form of a full camper cover. We also won’t be taking them with us on camping trips because they take up too much space and can only be used with the roof down.
As we use them, these are for times when the camper is sleeping at home between junkets afield, and in that capacity, they may well help our roof lifts last reasonably longer.
Disclaimer: The modifications above are submitted by Truck Camper Magazine readers. It is your responsibility to make sure that any do-it-yourself modification project you undertake is safe, effective, and legal for your situation.
Enter Your Mods Now!
If you’d like to enter a modification you’ve done on your truck camper, click here. You can enter as many mods as you want, at any time. Good luck mod makers!


