Welcome to the PowerMod truck camper mod contest, sponsored by Goal Zero. One mod will be published in every Email Alert in June. At the end of the month, a reader vote will determine a winner. Click for information about the 2024 PowerMod Contest, including how to enter.
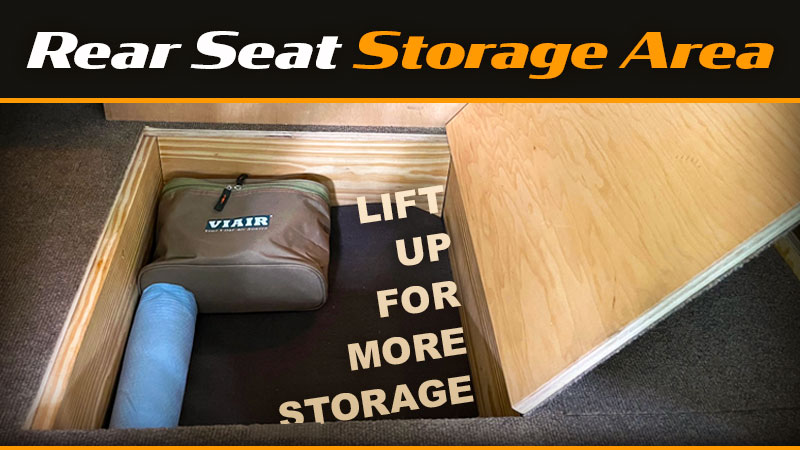
Van Wood, Radford, Virginia
Rear Seat Storage Area
2003 Ford F-350
2017 Adventurer 86FB
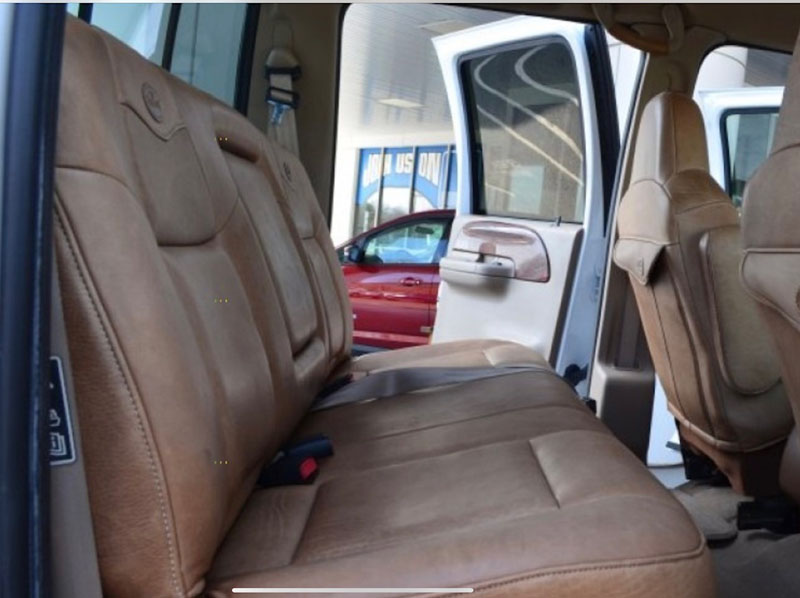
Above: Rear Seat modification before photo
Truck camper owners quickly recognize that there’s always a challenge to find enough storage. If you’re fortunate enough to own a crew cab pickup truck, you can utilize the rear seat as a storage area. Here’s an idea to better organize that storage space.
I approached the design with the requirement to be able to convert my truck back to its original condition with the rear seat reinstalled. With that in mind, I made the effort to utilize all the existing attachment points that secured the original rear seat.
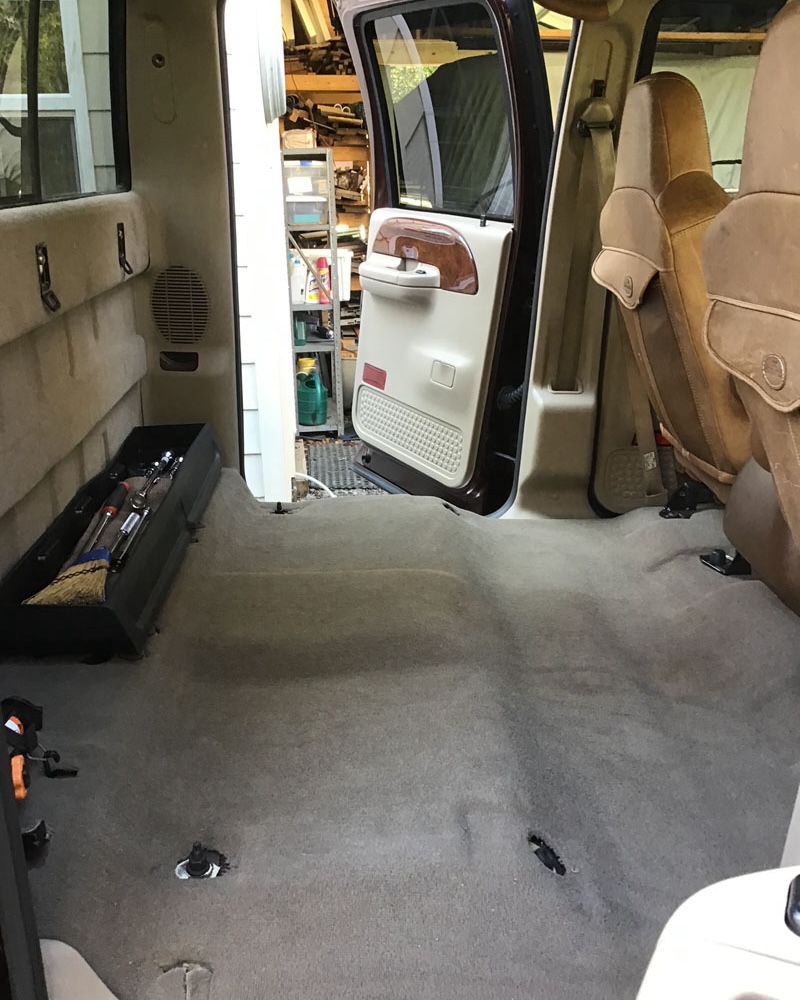
Every truck is different. Therefore, you will have to custom-make certain pieces in order to install this additional storage area. First, I created a cardboard template to conform to the contour of the floor of my truck.
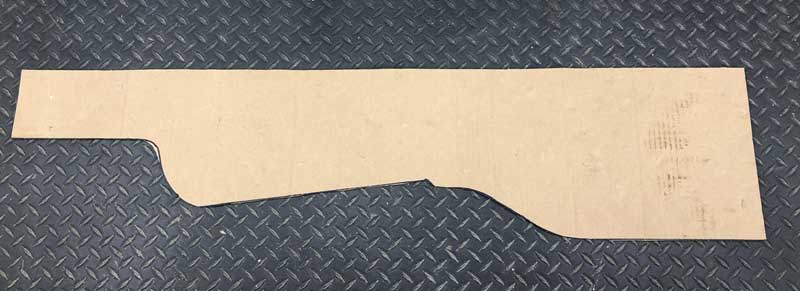
Utilizing the template, I traced out the passenger’s side and driver’s side storage floor supports onto 3/4 inch Baltic Birch plywood. Then I cut out the sides utilizing a jigsaw.
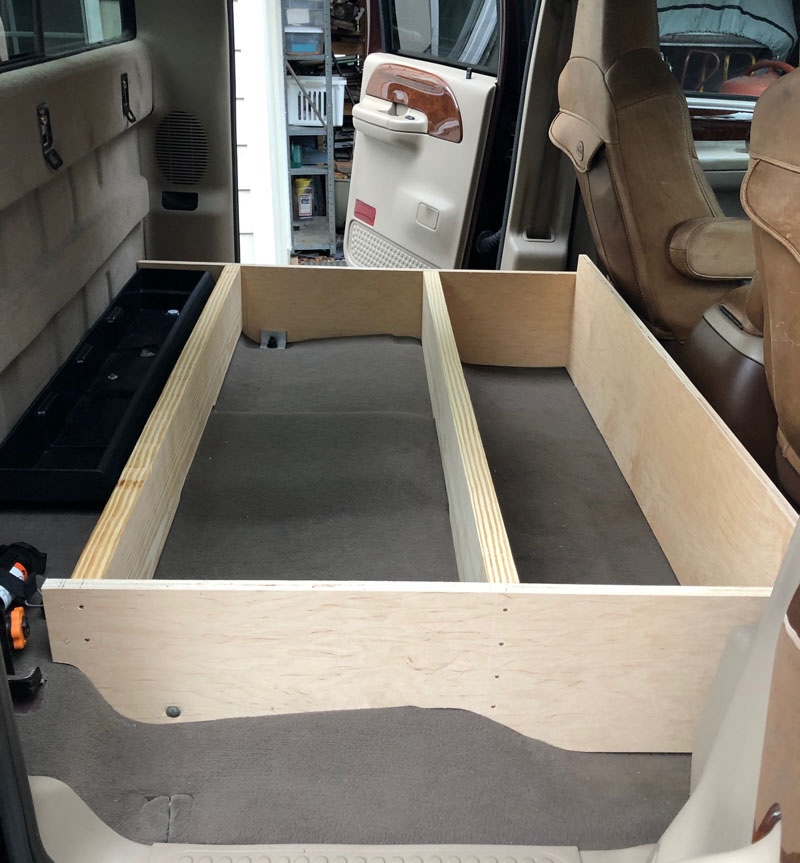
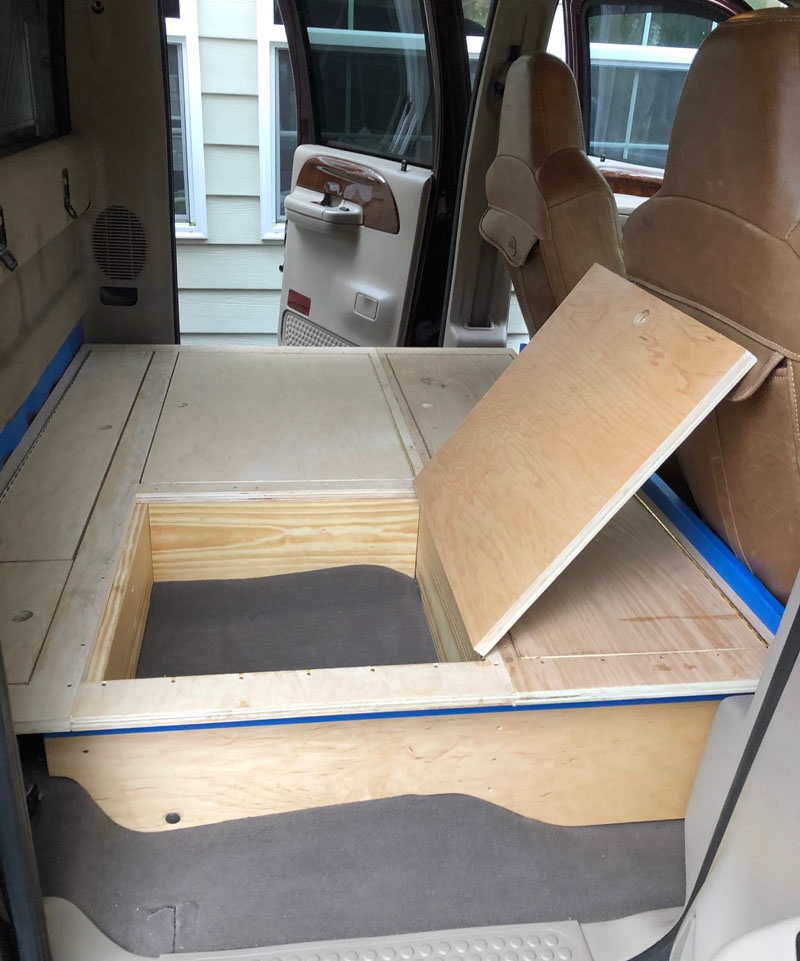
The center and rear cross members are fabricated from 2×10 pine stock and trimmed to fit the contour of the truck floor.
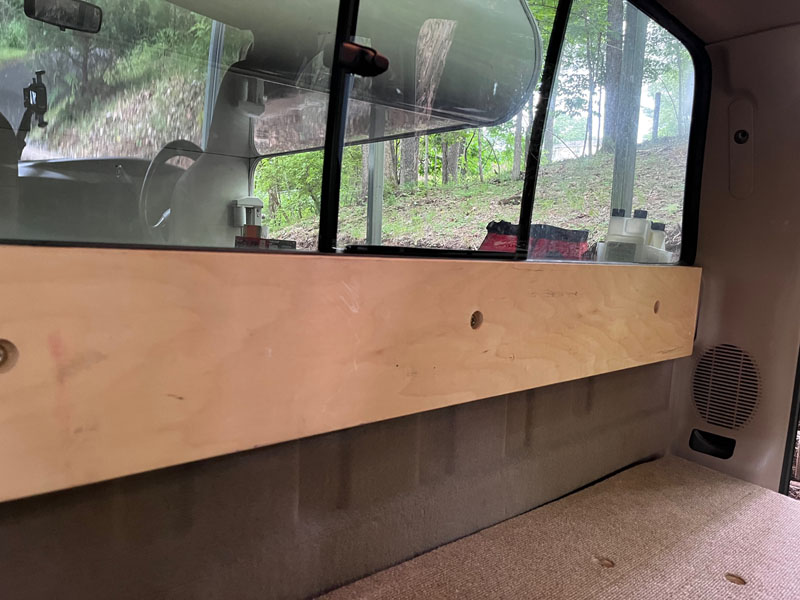
I removed the brackets that were intended for the upper connection points for a child’s car seat, and installed the board shown from three-quarter-inch plywood.
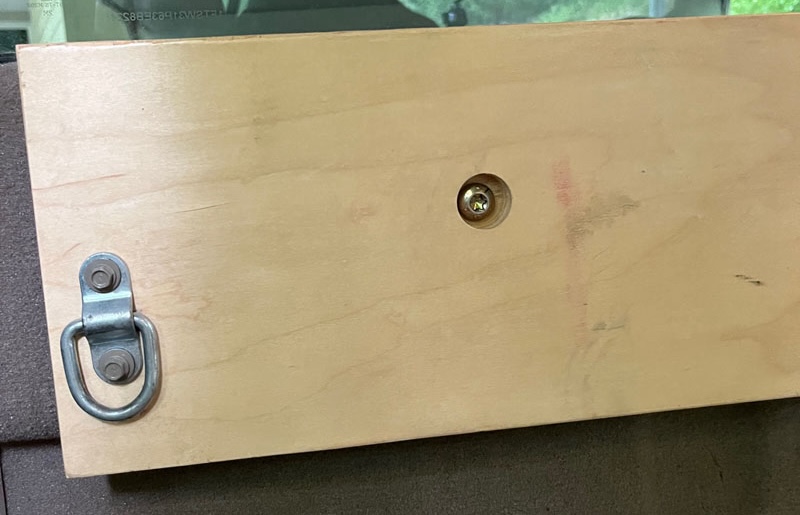
This served as attachment points for the upper storage shelves and the D-ring.
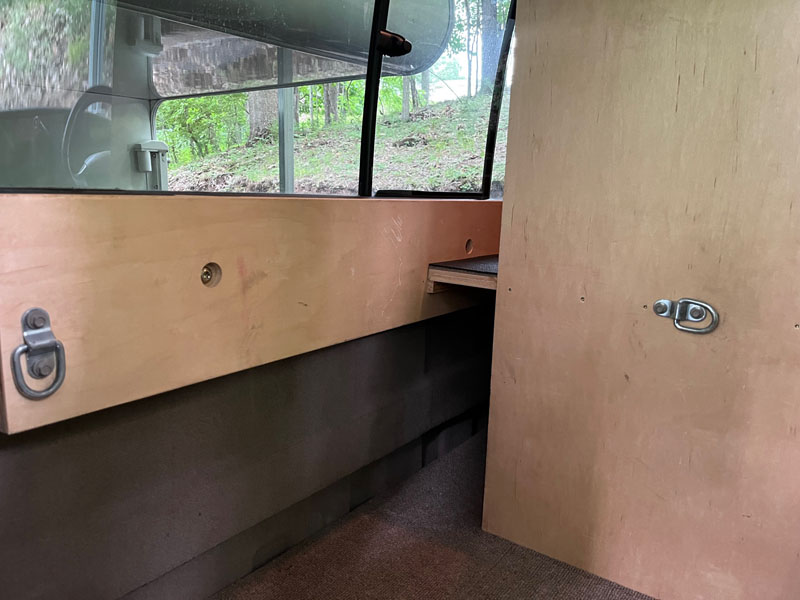
The storage platform is also constructed from 3/4 inch plywood, which is then glued and screwed to the platform support walls and cross members.
I like using GRK finish screws that have a T10 torque drive as they give a nice finished appearance. You could secure the various components together utilizing different screws or nails of your choice.
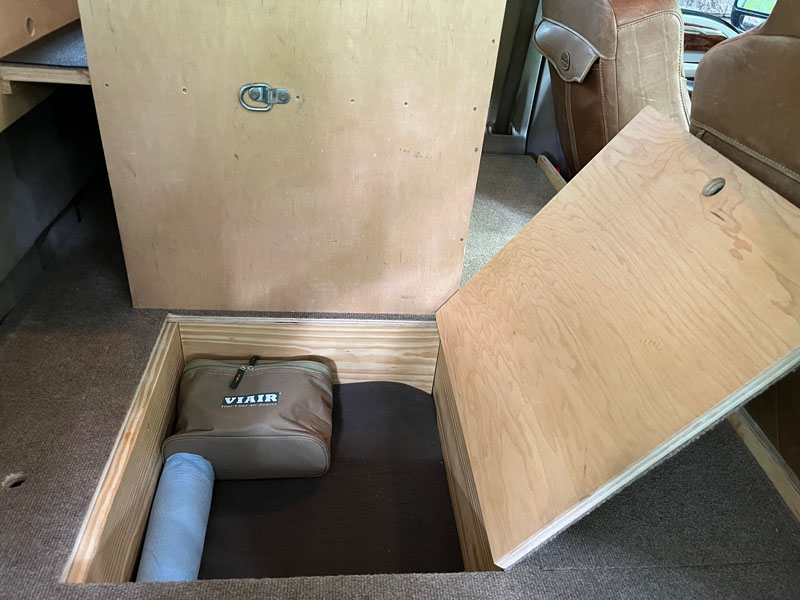
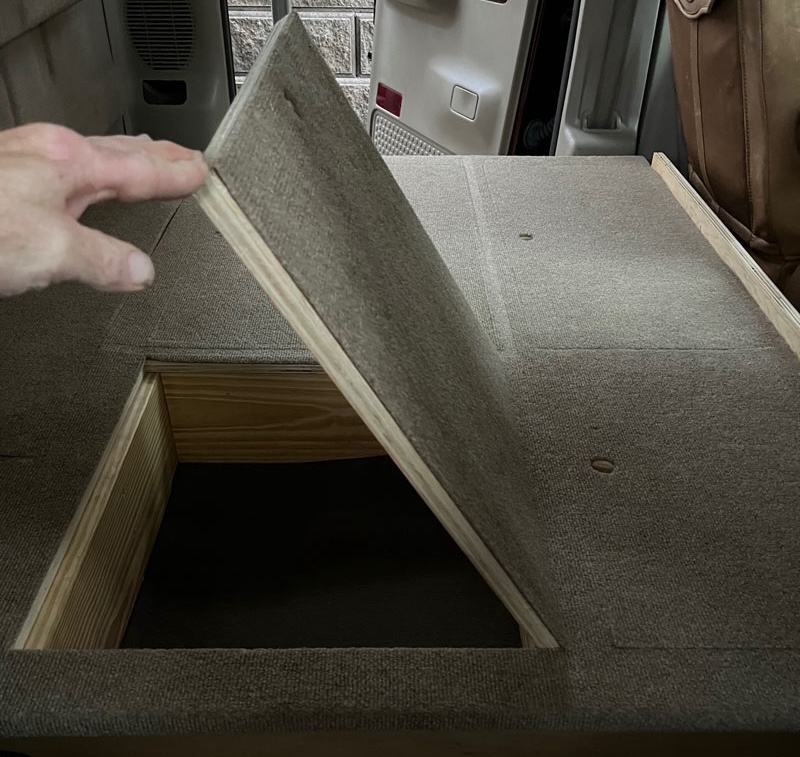
The storage doors in the platform are also fabricated from three-quarter-inch plywood as well. Compartment doors have a one-inch diameter “finger hole” so that you’ll be able to open the doors once installed.
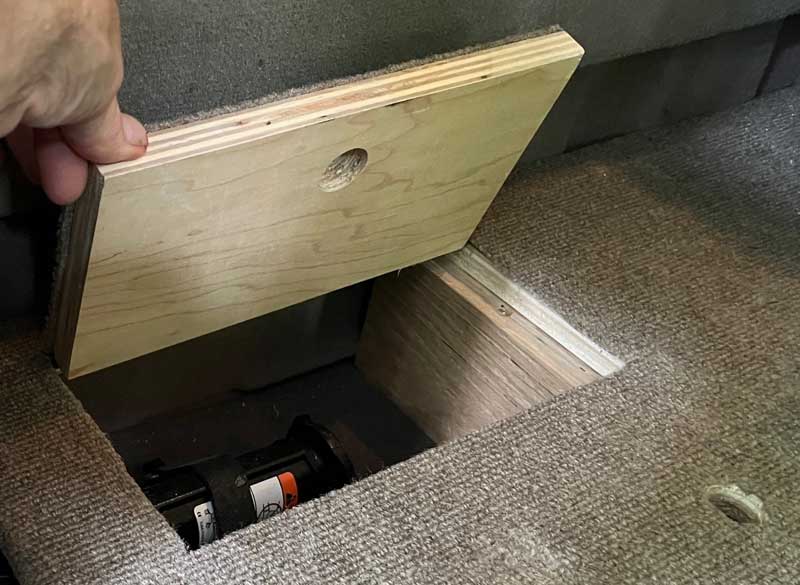
The size of these various compartments can be of your own design depending on your truck and what you wish to store underneath. The hinges are continuous hinges or what some people call piano hinges.
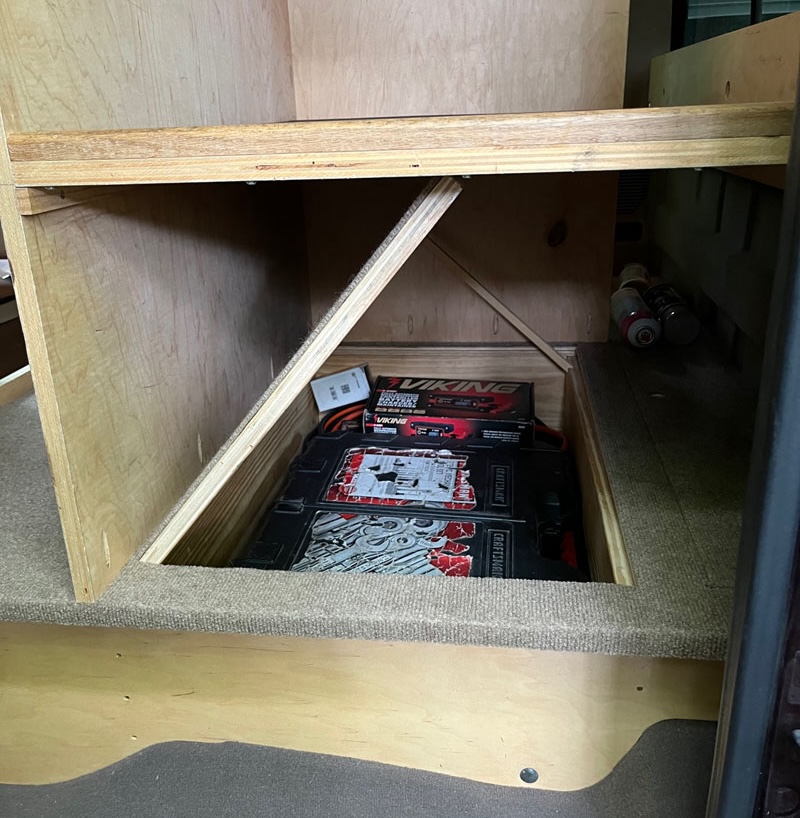
I ripped a narrow strip of 3/4 inch plywood and attached it to the underside of the platform to serve as a doorstop for the various compartment doors.
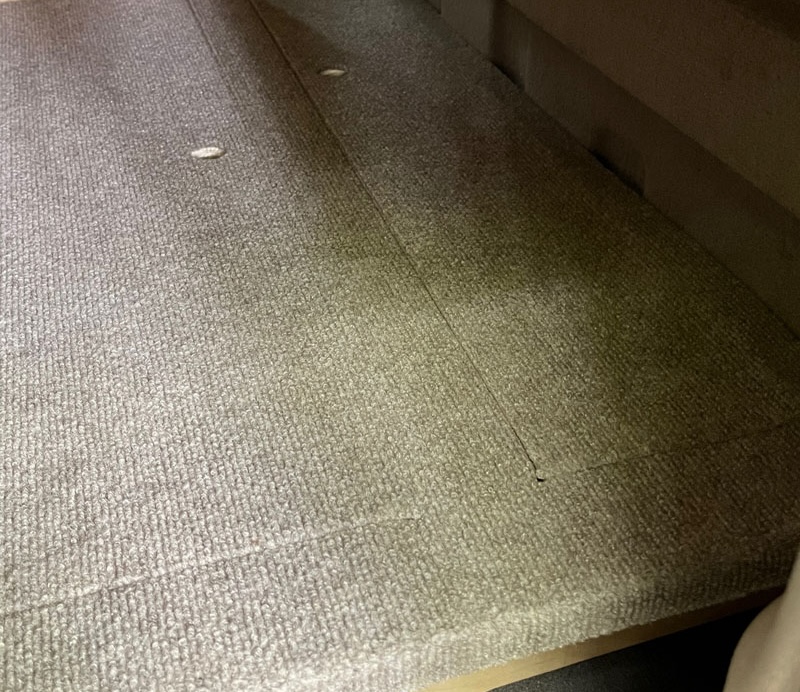
Utilizing Weldwood contact cement, I covered the platform with indoor/outdoor carpet that was purchased from Lowe’s. Once the carpet was attached to the floor, I took a utility knife and cut a slit on three sides of the compartment doors leaving the hinge side uncut.
The walls of the upper storage shelves are also fabricated from 3/4 Birch plywood glued and screwed together. I used a Kreg pocket screw jig to drill holes on the bottom edge of the storage shelf walls to attach the shelving system to the top of the platform.
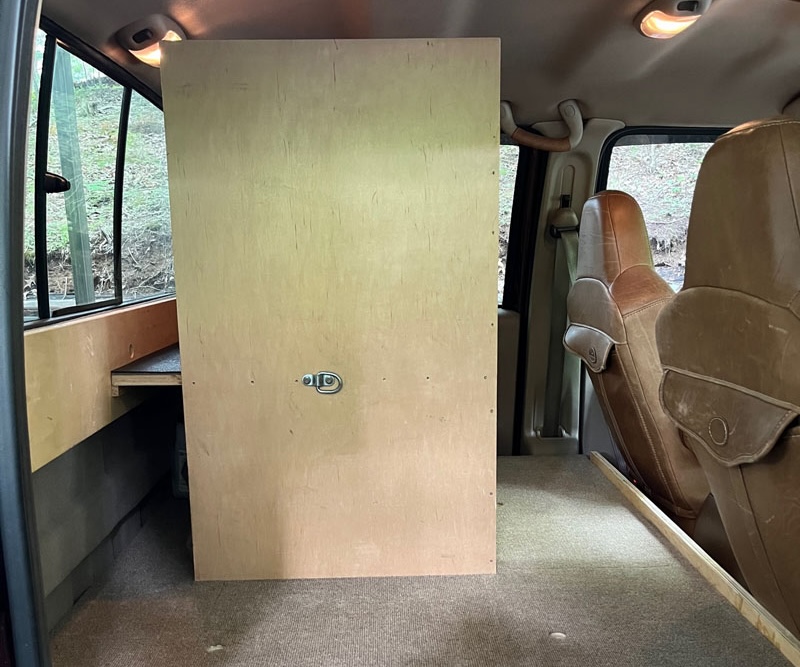
All of the exposed maple plywood is coated with two coats of satin wipe on polyurethane. The driver’s side shelving system is large enough to accommodate four standard storage bins.
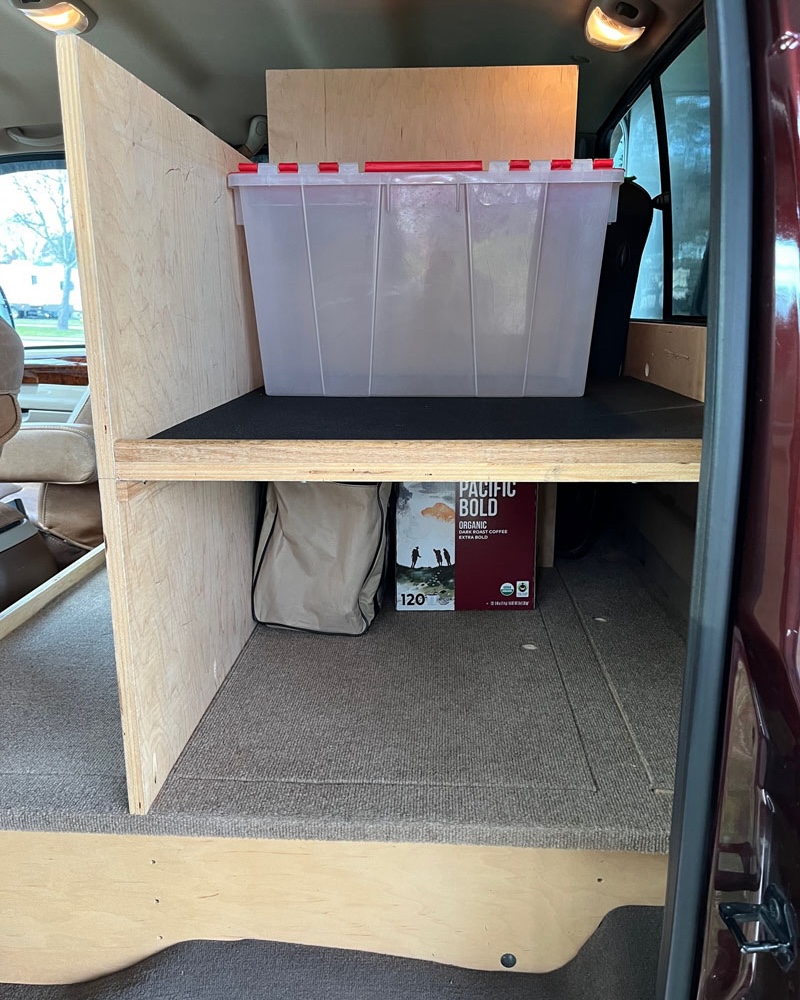
The passenger’s side storage area is large enough to accommodate two large airplane flight bags or a small portable washing machine if you desire.
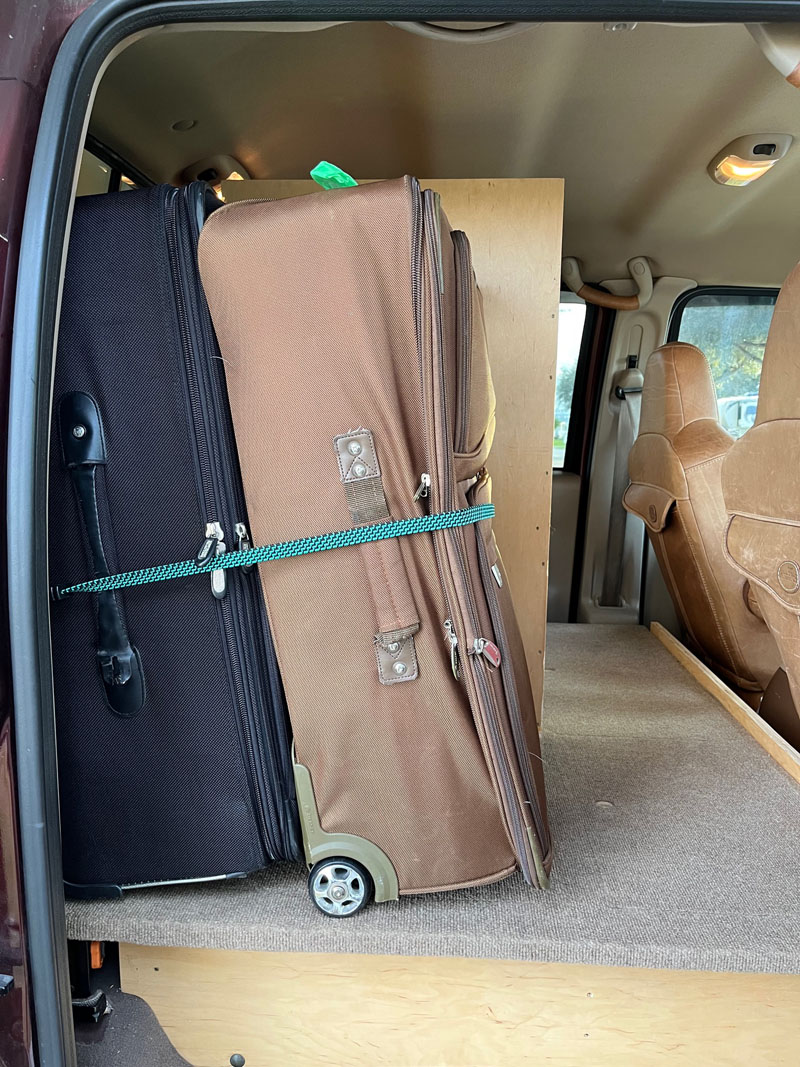
Materials Used:
1 sheet 4 foot by 8 foot by 3/4 inch Baltic Birch plywood – $83.78
Brown indoor/outdoor carpet, 16 square feet – $15.00
1 box GRK #8 x 1-1/2 inch Trim Head Screws – $10.00
1 quart Weldwood contact cement – $23.00
Kreg pocket screws #8 x 1-2/4 inch – $8.98 at Lowe’s
MINWSX Wipe on poly, 1 pint – $18.98 at Lowe’s
Disposable paintbrush – $2.00
1-1/2 inch x 1-1/2 inch aluminum angle (3 foot section. Although you don’t need that much.) – $19.98
Optional Giantex washing machine Amazon – $249.00
It took me roughly 32 hours (I work slowly) to complete this modification and cost approximately $200 depending on the current lumber prices.
Disclaimer: The modifications above are submitted by Truck Camper Magazine readers. It is your responsibility to make sure that any do-it-yourself modification project you undertake is safe, effective, and legal for your situation.
Enter Your Mods Now!
If you’d like to enter a modification you’ve done on your truck camper, click here. You can enter as many mods as you want, at any time. Good luck mod makers!
