Welcome to the PowerMod truck camper mod contest, sponsored by Goal Zero. One mod will be published in every Email Alert in November. At the end of the month, a reader vote will determine a winner. Click for information about the 2024 PowerMod Contest, including how to enter.

Amy and Dave Delpiere, Allegan, Michigan
One Of A Kind Camper Decal
2016 Chevrolet Silverado 2500
1970-ish Driftwood
We wanted to remove the front window and have better insulation. As it was, the window had likely been leaking and didn’t appear to be the original for this camper. Either way, I didn’t want a hot or cold window at my back.
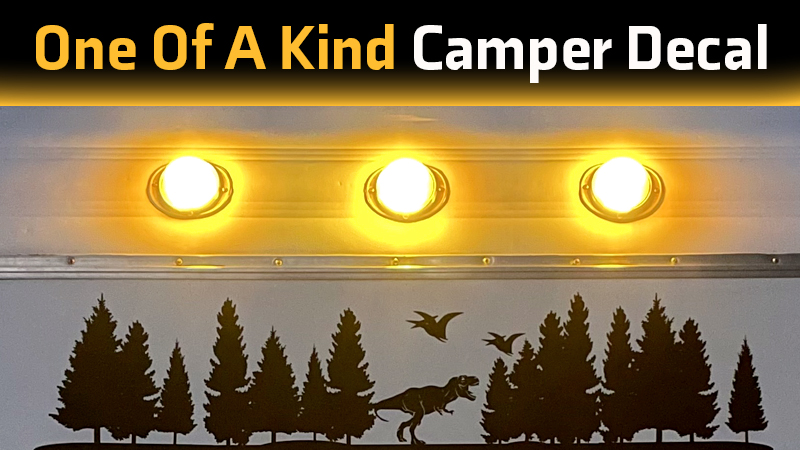
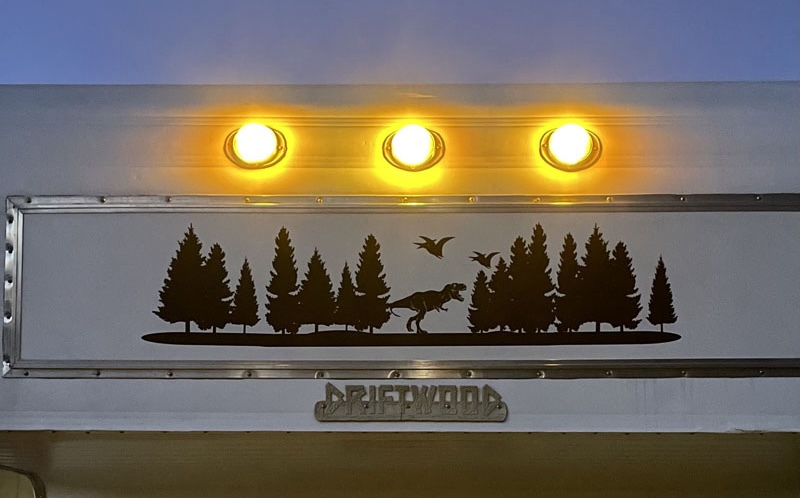
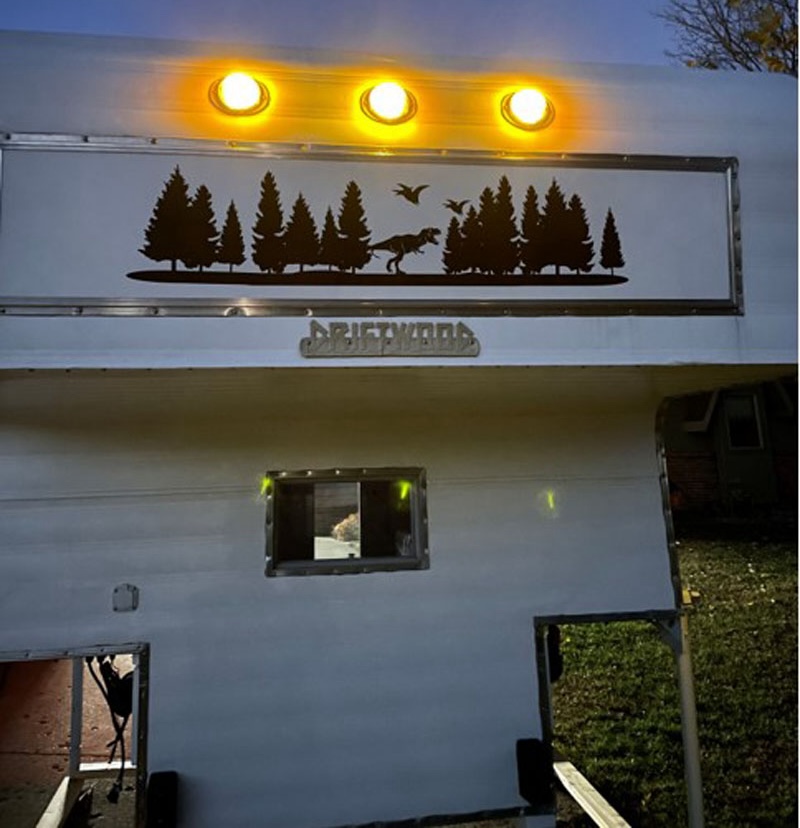
Now this junk vintage camper project included a total rebuild. The decoration on the front was just for fun and gave me a reason to purchase a new Cricut machine that I had been thinking about.
I knew I could order something similar from Etsy, but wanted to put my own touch on it. Naturally, that would be the dinosaurs. Figuring that we had brought a dinosaur of a camper back to life—and that I’ve had a life-long obsession—it made sense to me.
First, measure the area you are working with on the camper. Decide on your colors and purchase permanent vinyl that works with your Cricut machine. If this is new to you or it’s been a while, practice making some smaller decals and decorating a mug or sign, or whatever, but you will want to be comfortable with the process. For help with placing large decals, you can find instructions on YouTube.
To make this decal, I chose a few different tree silhouettes and used them more than once by flipping the image or changing the image size. I modified a basic shape into long ovals to give a solid piece at the bottom for the trees to ‘grow’ from.

Again, I looked over the dinosaur options in the software and played with the size and positioning. It will be best to use a machine that can handle a 12x piece of vinyl and to make the shapes more simplistic. I cut two pieces that butt together and still needed extra hands to get these put on.
My dear husband did a good scrub on the camper and provided assistance. Remember any breeze will make things more challenging and you may be placing the decals while standing on a ladder.
When you have decided on your final design and cut it out, you will need to ‘weed’ it and use transfer tape just like other decals. Don’t skip the step of wiping the surface off with rubbing alcohol. Do this on a calm day to minimize the chance of dust getting under your decal.

The dinos have traveled at least 8,000 miles and eaten many bugs. They’re still looking good.
Materials Used:
cutting machine – Cricut Maker $400; certified refurbished from Cricut $180
Always sales at Cricut and other suppliers. The software, Cricut Design Space, is ‘free’.
Vinyl – Oracal matte black 12″ x 6′ $5.10 at Amazon
transfer tape – Vinyl Ease 6″ x 100′ $18.50 at Amazon
weeder tool – Cricut brand $6.29 at Amazon. I had a basic tool set discounted with damaged packaging from Craft-e-Corner for $9
12 x 24 cutting mat – Purartly 4 pieces $26 from Amazon
burnishing tool/squeegee – 143Vinyl Squeegee $2 from 143Vinyl.com (and much better than the Cricut brand tool.)
The actual placement goes relatively quickly, about 30 minutes. The time spent on design will vary.
If you have supplies, you can make many similar decals cheaply. If you buy everything at once, it will be a very expensive ‘sticker’. For this specific project, I purchased the longer cutting mats, the large roll of black vinyl, and different transfer tape than I normally used. Those totaled $49.50.
Disclaimer: The modifications above are submitted by Truck Camper Magazine readers. It is your responsibility to make sure that any do-it-yourself modification project you undertake is safe, effective, and legal for your situation.
Enter Your Mods Now!
If you’d like to enter a modification you’ve done on your truck camper, click here. You can enter as many mods as you want, at any time. Good luck mod makers!
