Welcome to the fourth entry in October’s Mega Mod Contest. One Mega Mod will be published in every Email Alert in October. At the end of the month, we’ll hold a reader vote to determine October’s winner. Click here for information about the 2022 Mod Contest, including how to enter.
David Anderson, Benson, Arizona
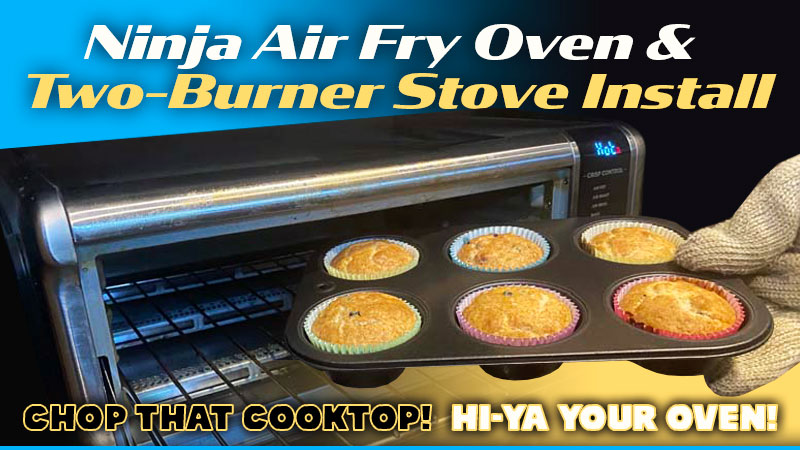
Ninja Air Fry Oven and Two Burner Stove Installation
2018 GMC Sierra 3500HD
2020 Adventurer 89RB
Our 2020 Adventurer 89RB came from the factory with the usual RV propane oven. As many of you have discovered, it is difficult if not impossible to evenly bake in these ovens without burning food. Yes, we tried the pizza stone idea with only moderate success. We started using the oven for storage, but the amount of actual space inside is limited.
The solution was obvious. Get rid of the RV propane oven and replace it with something that was actually useful, like a Ninja SP101 flip-up air fry oven. We have already used the Ninja in our fifth wheel and found that performs all the same functions as an RV oven and much more. Furthermore, the three-burner cooktop is so crowded that using all three at the same time is impossible.
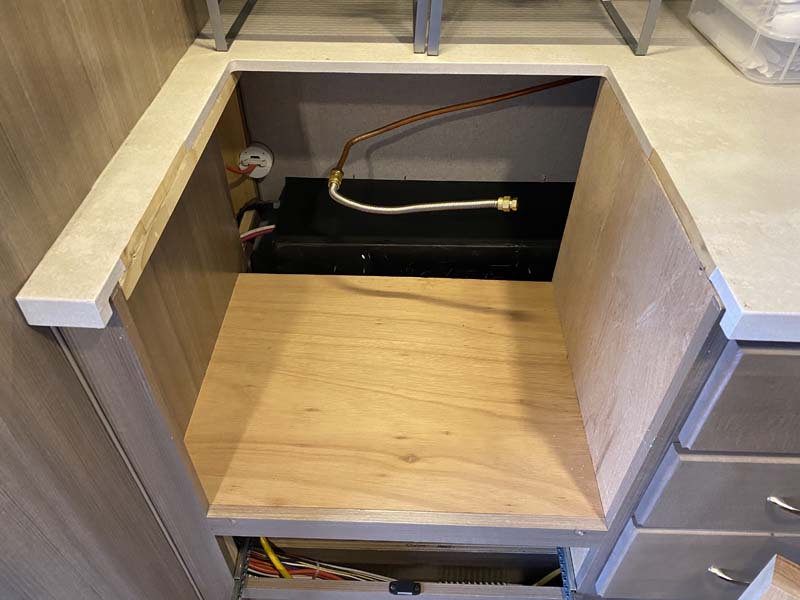
The first step was to remove the old oven and cooktop. It was easy to remove after taking out a few screws and unscrewing the gas fitting on the back. Lifting out the oven/cooktop revealed an enormous amount of wasted space directly behind, alongside, and below. This turned out to be just what I needed.
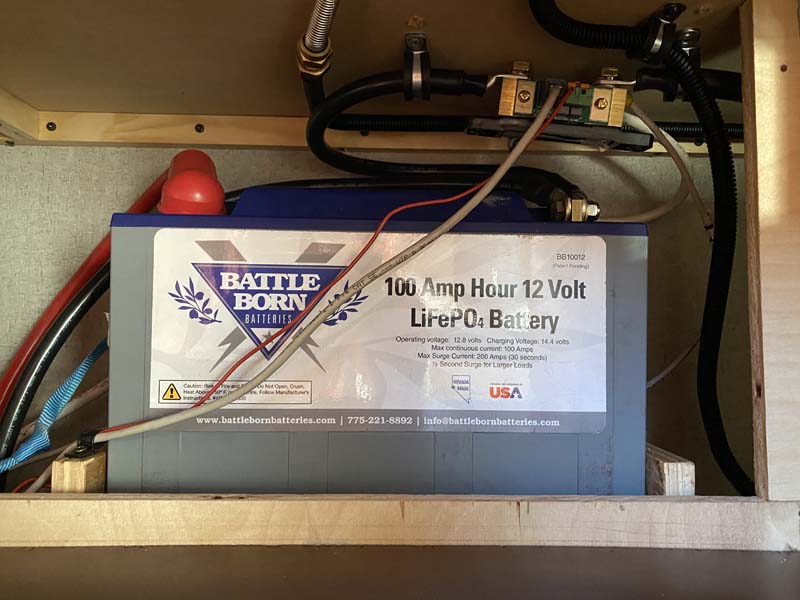
The air fryer runs on 120-volts AC. To increase our onboard power, I decided to add an additional 100 amp-hour lithium battery (total of three) so we can run it off our 2,000-watt inverter while boondocking. A battery tray was constructed and secured to the back wall and the third battery was secured with a strap.
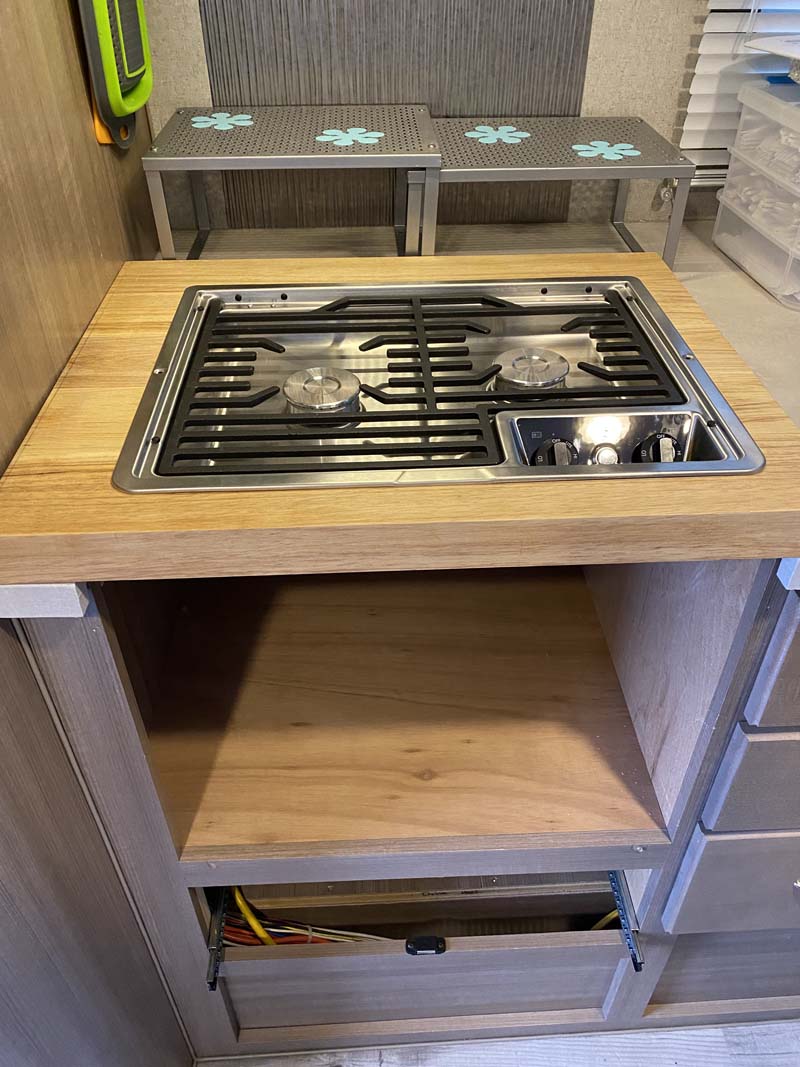
Next, I found a two-burner Dometic propane cooktop online with a 12-volt igniter that would suit our needs. As well as a 1.5-inch thick hardwood cutting board large enough to fit over the opening for the old oven. I cut out the center opening in the cutting board per the Dometic factory recommendations and used a leftover piece to double the thickness in the front.
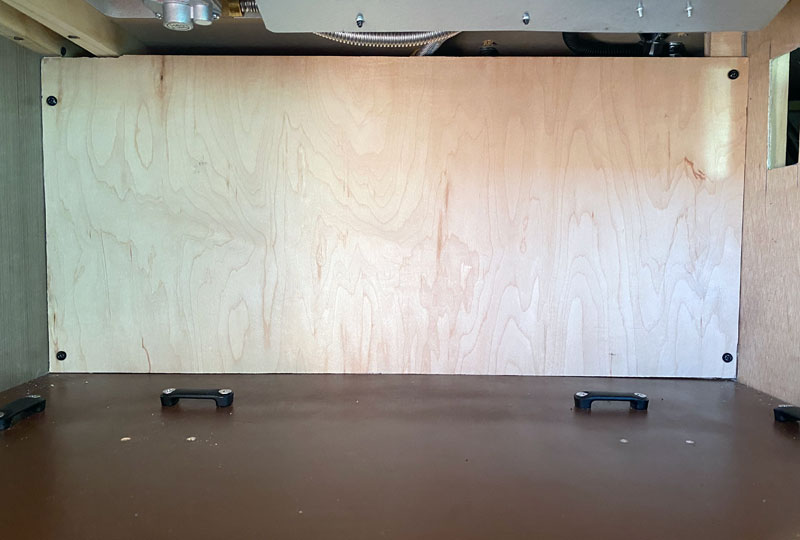
Half-inch thick plywood was used to build a box around the back and sides as well as a small shelf/pocket for our frying pan. Some unused footman loops I had were positioned to locate the air fryer so it would not slide off the shelf. A 120-volt AC outlet next to the inverter allows us to easily move the plug depending on shore power or boondocking with the inverter.
Lastly, I cut and bent on a metal break a large piece of aluminum sheet to act as a heat shield to go over and alongside the space that will contain the air fryer. In addition, I used nylon footman loops to locate the feet of the air fryer so that it wouldn’t slide off the shelf while the camper is moving. I also installed a piece of round foam on top and a velcro strap in front to secure the unit for travel.
The Dometic two-burner cooktop is much more sensible than the three-burner stovetop/oven it replaced. As a bonus, it has a push-button electronic igniter for the gas. Another plus is the fact that the gas control knobs are recessed and unlikely to be accidentally turned on to the flow position when moving past (as it can and did happen with the factory-installed stove/oven combo).
I applied a tung oil finish to the hardwood surround for the cooktop which has held up beautifully and can be easily re-applied as needed.
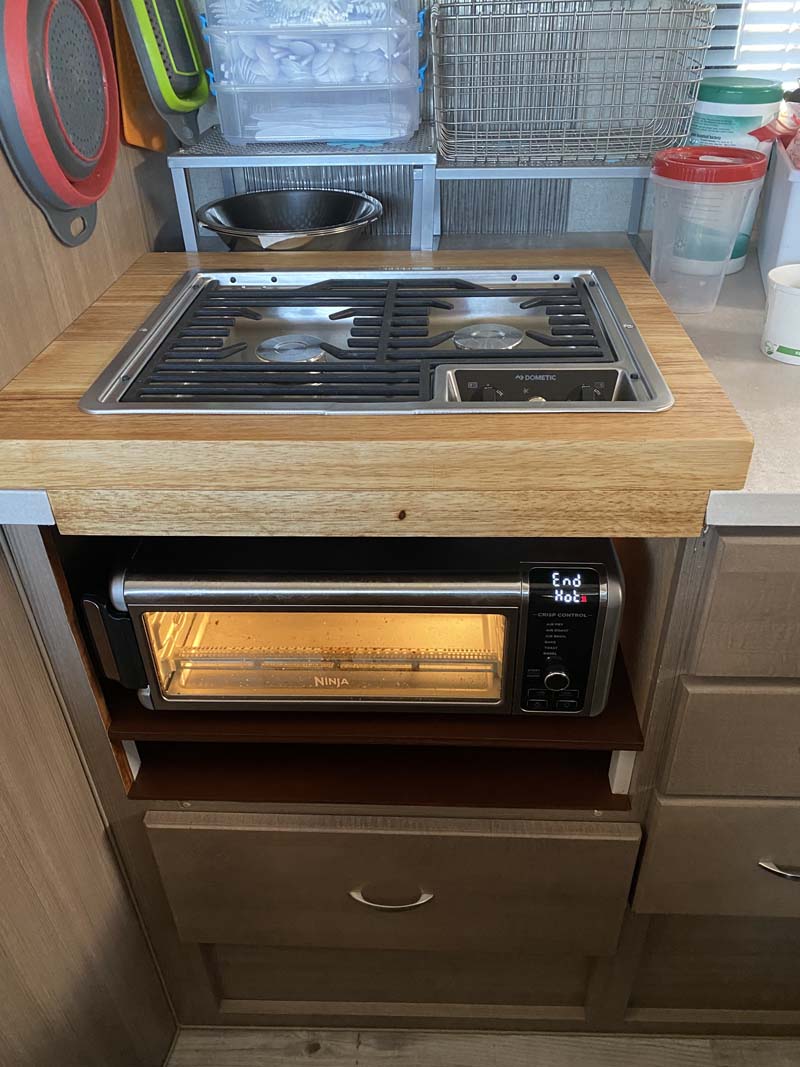
Because of the large space made available with the removal of the oven, I also added a 3.5-inch tall by 19-inch deep by 21-inch wide shelf under the Ninja. The dimensions are such that makes that it makes a great location for storing a frying pan, muffin pan, and baking sheet.
As for the air fryer, the advantages are self-evident if you have ever used one at home. It’s wonderful to be able to air fry, air roast, air broil, bake, and toast all in one appliance. My wife pointed out that you can even bake quiche in the Ninja. Do real truck campers eat quiche?
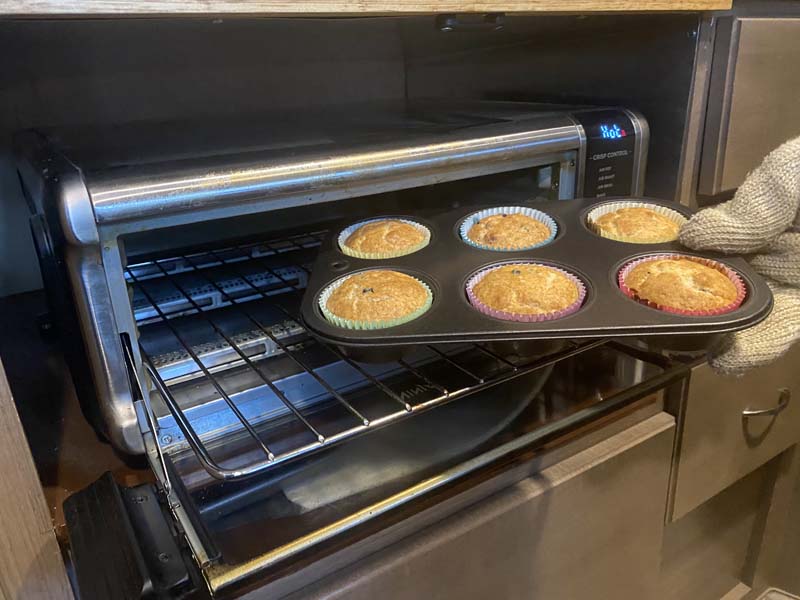
Unless you will always have shore power, it is important to have sufficient battery reserves to power the 2,000-watt inverter needed for the Ninja when boondocking. It is also vitally important to provide adequate clearance for ventilation as well as the use of a one-piece heat shield on the sides and overhead. In use, the heat shield does a superb job of deflecting any excess heat generated by the air fryer up and out the front opening.
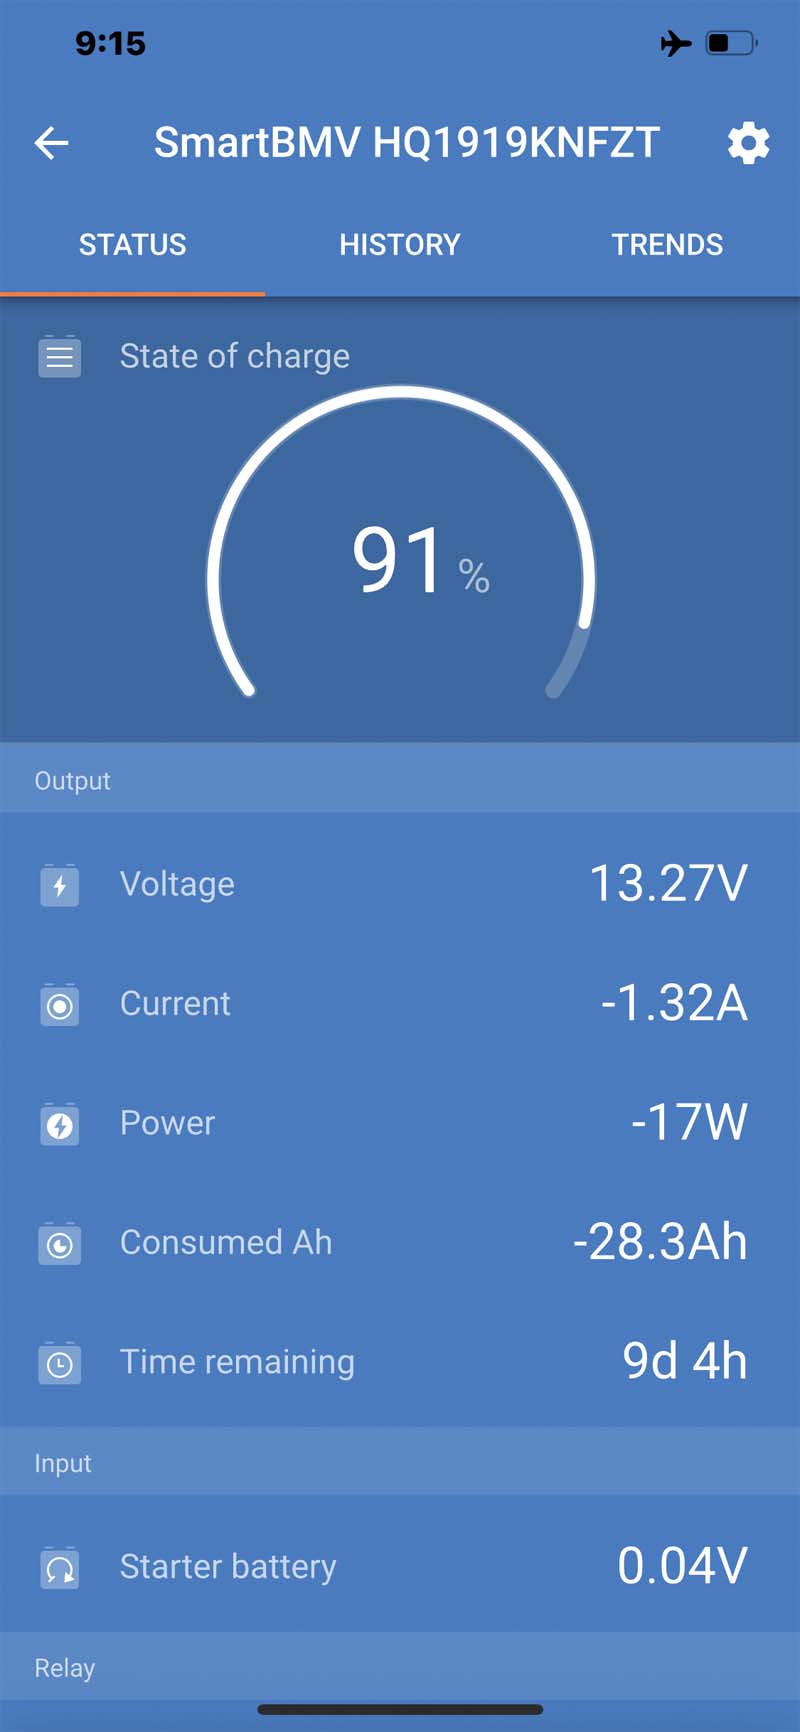
Above: Victron Screen Before Baking
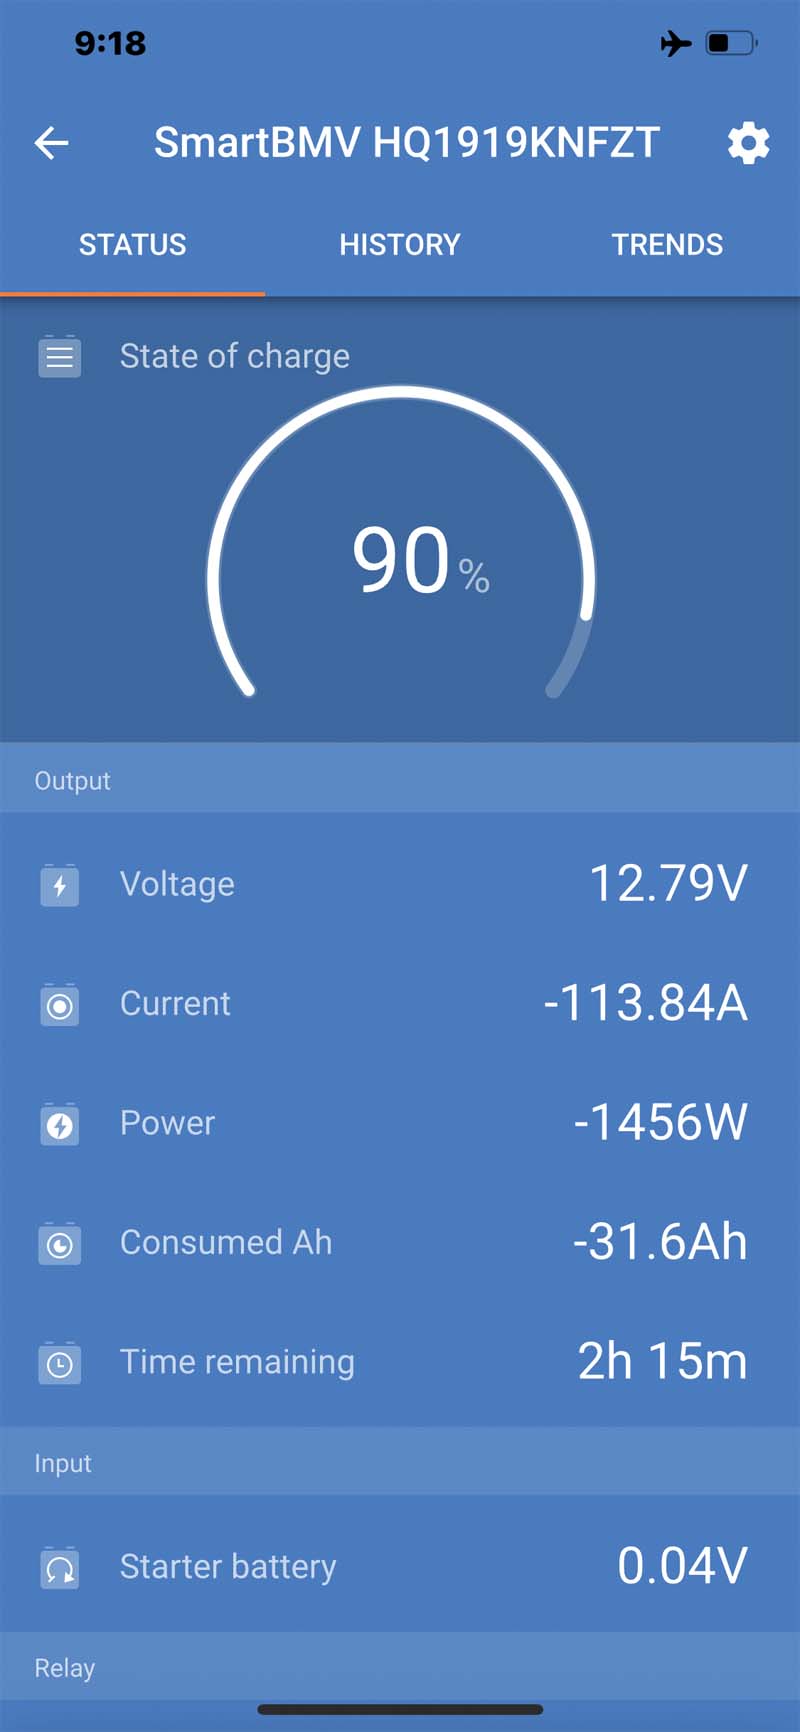
Above: Victron Screen During Baking
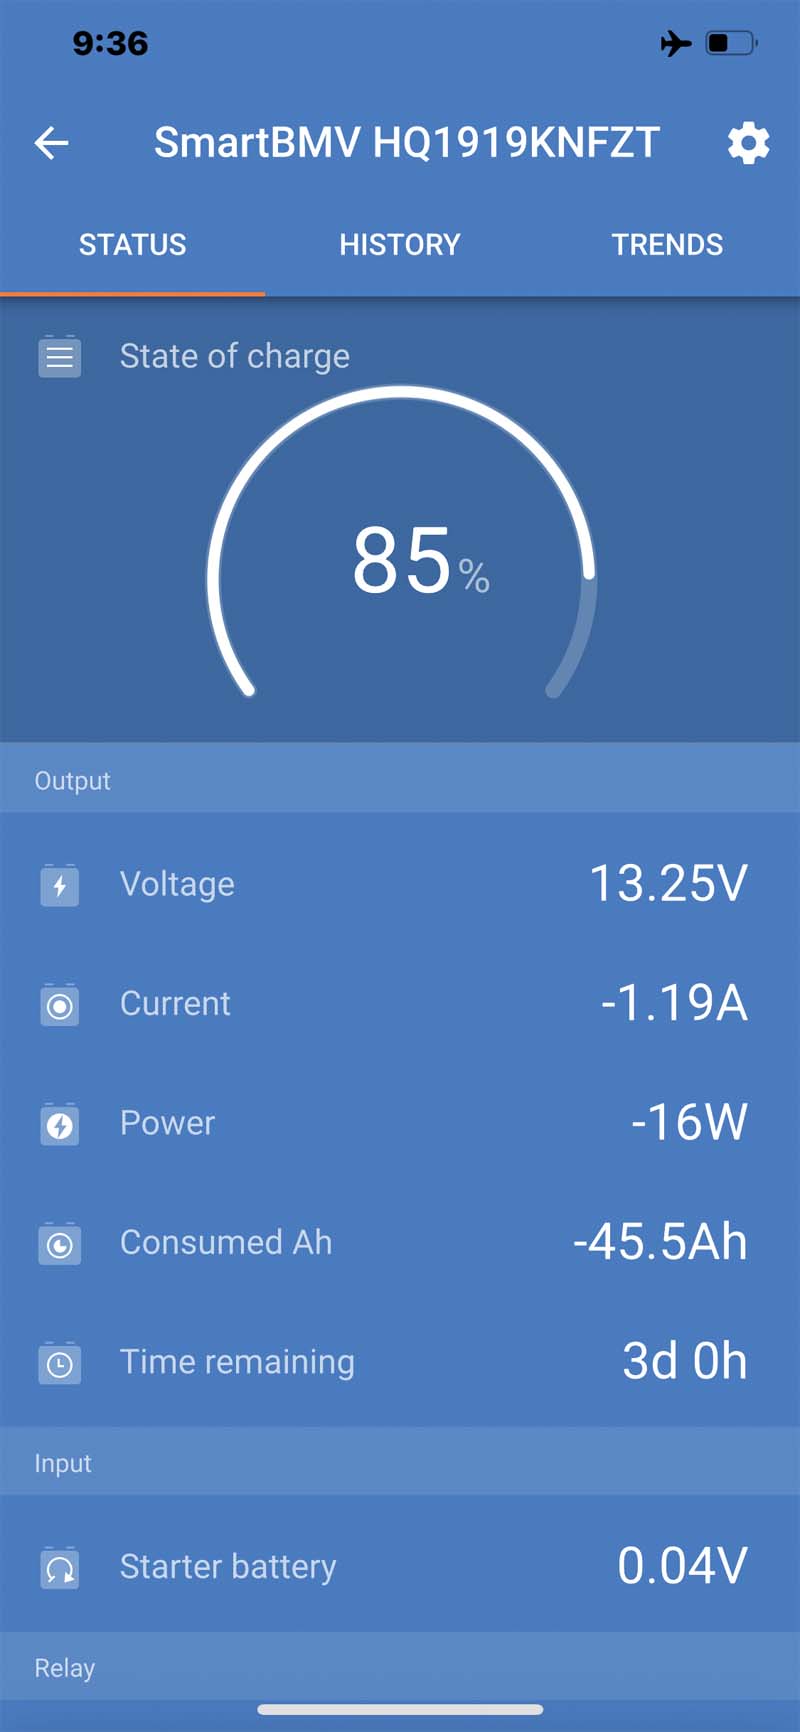
Above: Victron Screen After Baking
Parts Used:
1/2-inch plywood sheet 2-foot by 4-feet – $25
2-foot by 4-foot. aluminum sheet – $18
1 quart Tung oil – $25 at ACE Hardware
1 3/4-inch hardwood cutting board 24-inch square – $74 at Restaurant Supply
Dometic 50216 RV 2-burner propane cooktop $208
Ninja Flip air fryer – $180 on Amazon
Footman loops – 1.5-inch – $10 on Amazon
Numerous screws and adhesives were already in my possession
Scrap wood pieces re-cycled from other projects
The third Lithium battery installed was removed from our other RV
I spent a few hours each day over a week-long period of time; perhaps 16 hours in total to complete this modification. It cost me $540. In my opinion, the skill level of this modification is hard.
Disclaimer: The modifications above are submitted by Truck Camper Magazine readers. It is your responsibility to make sure that any do-it-yourself modification project you undertake is safe, effective, and legal for your situation.
Enter Your Mods Now!
If you’d like to enter a modification you’ve done on your truck camper, click here. You can enter as many mods as you want, at any time. Good luck mod makers!
