Welcome to the PowerMod truck camper mod contest, sponsored by Goal Zero. One mod will be published in every Email Alert in August. At the end of the month, a reader vote will determine a winner. Click for information about the 2024 PowerMod Contest, including how to enter.
Charles Coushaine, Punta Gorda, Florida
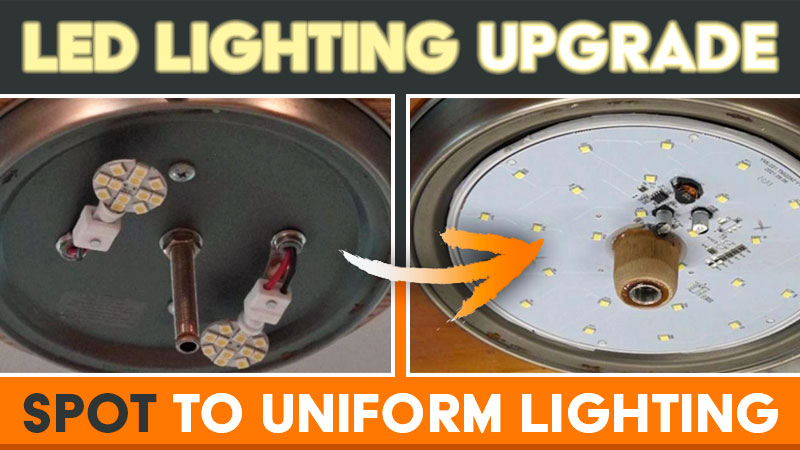
LED Lighting Upgrade: Spot to Uniform Lighting
2022 Ford F-550
2012 Chalet DS116
I took apart my twelve-year-old dinette overhead light to remove the two small LED bulbs and replace them with one large LED panel. This mod will not only make the fixture have more light, but it will be completely uniform and incorporate a rotary dimmer switch to customize its light output.
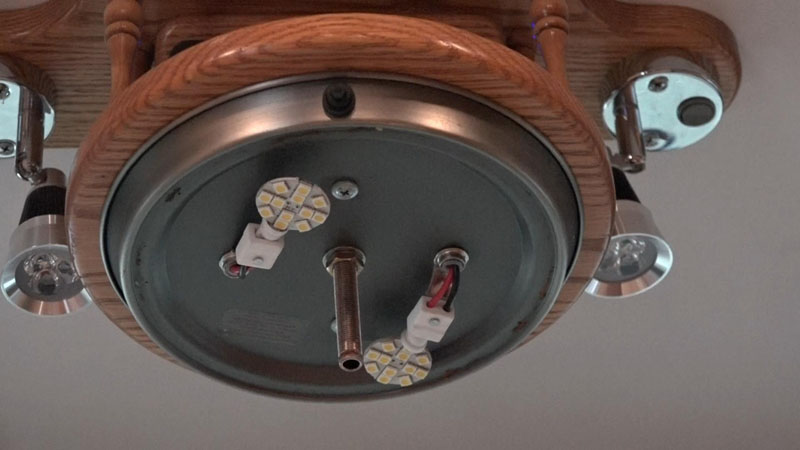
My dinette fixture was originally made with incandescent bulbs that I changed out for small LED retrofit bulbs years ago. They had worked fine, but the light was always spotty and lacking in brightness.
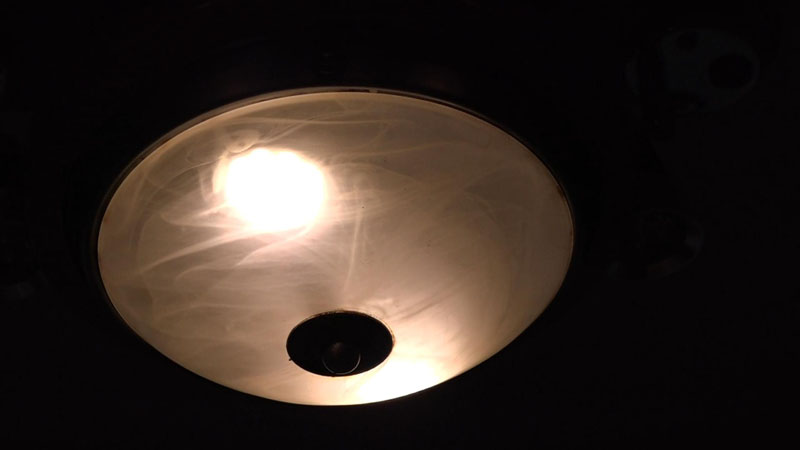
Since I liked this fixture, and it matched the one in our cabover, the challenge was finding a new circular LED light with increased brightness and a round shape. Once found, the next challenge was to find a way to mount it into our fixture without shorting it out.
I first removed the original fixture from the dinette ceiling and took it apart. Measuring gave me a diameter of 6.5 inches of space for a new LED light source to put inside. After scouring the internet, I came across a great fixture with the correct diameter; 12 Volt, only 10 Watts, and 800 lumens. The only hard part now was that the metal PCB that the LEDs were attached to had the power wires attached directly in the center. This is where I needed a threaded post to hold the fixtures globe.
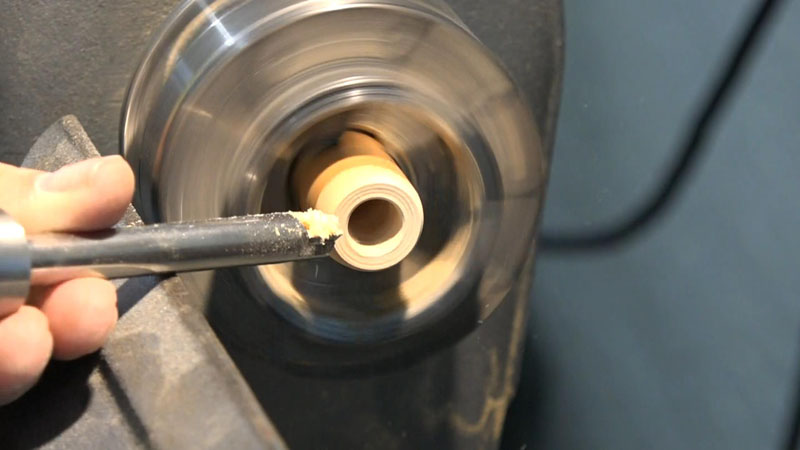
To address this challenge, I fabricated a round wooded bushing on my lathe and epoxied it to the center of the metal PCB.
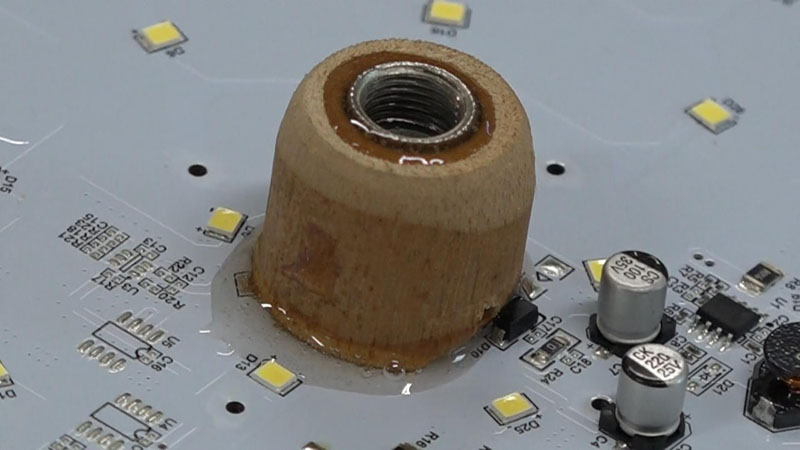
On the opposite end of the bushing, I also epoxied in a nut to accept the threaded post to hold the fixtures globe. After this was accomplished, I attached the metal PCB to the metal baseplate of the fixture using a plastic baseplate and zip-ties.
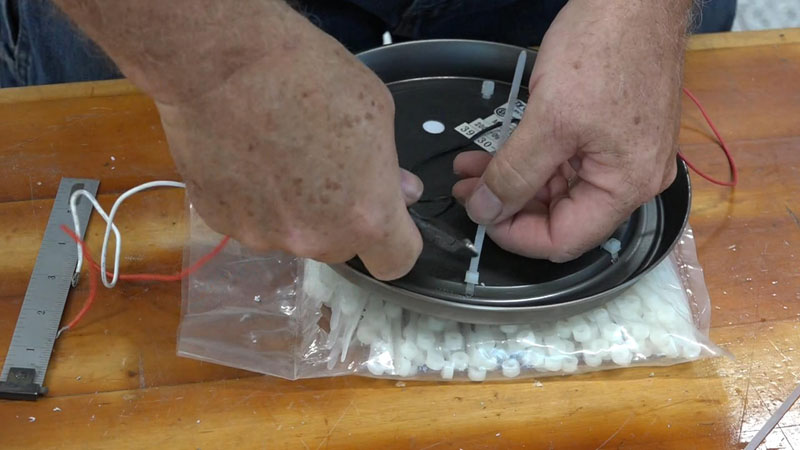
This would prevent any arcing between the two. I found this out the hard way when metal screws shorted out my first attempt at holding it in.
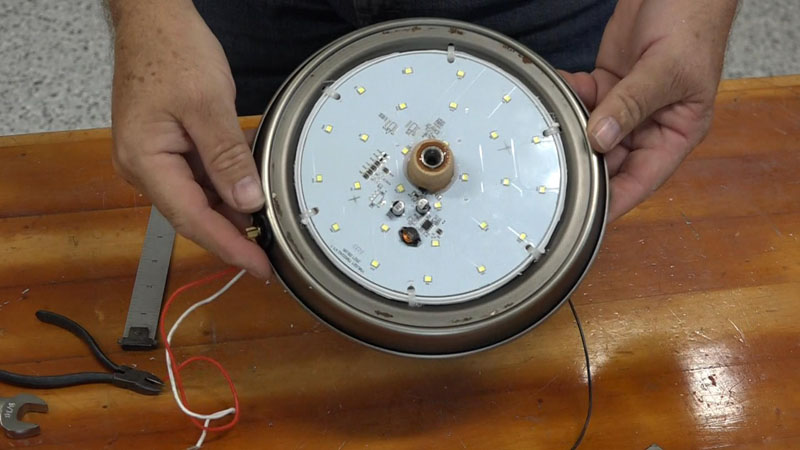
Knowing that this LED light source had a much higher lumen output than the original two I removed, I also added a mini rotary dimmer switch to control the light brightness.
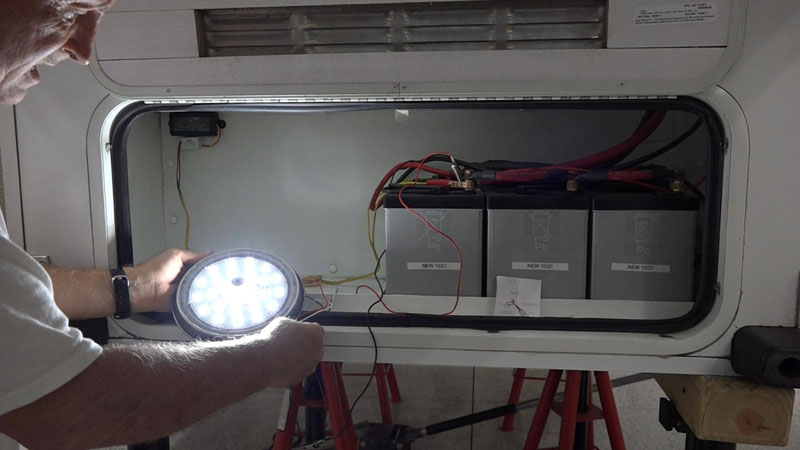
Above: LED Testing Assembly Before Installation
The last part was to re-mount the fixture into my dinette after attaching the wiring.
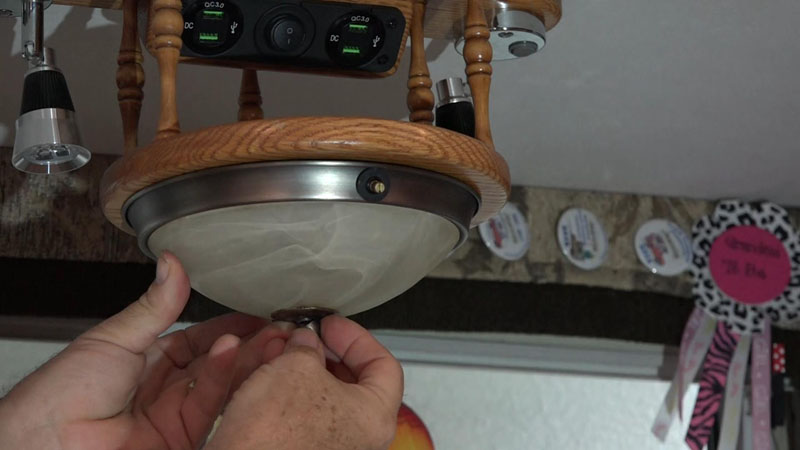
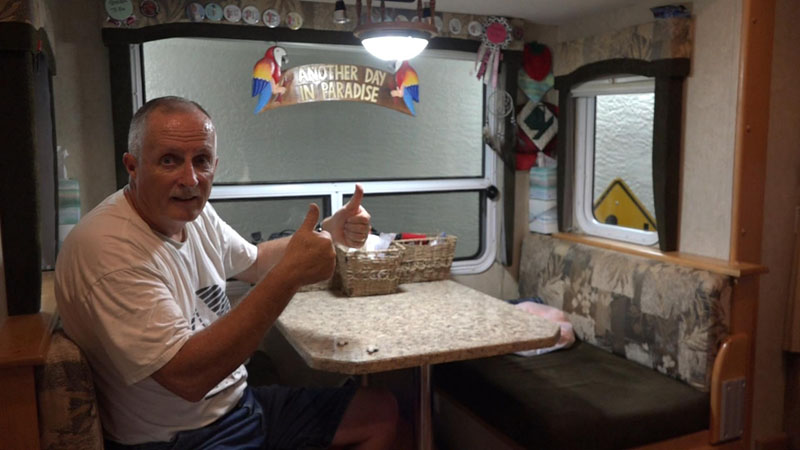
So far, this fixture has exceeded my expectations in both light uniformity and brightness. Instead of two bright spots we have a very uniformly lit globe, and we can tailor the output using the rotary dimmer.
Whether we want just a little light for ambience or lots of light for reading maps, we are set! I’m very happy with this mod!
Mini LED Dimmer Knob with Rotary Control Switch – pwm dimming for 12-24V LEDs
LED Bulb, 12V, 10W, 800 Lumens
Red Solder Seal Wire Connectors AWG22-18
Gorilla 2 Part Epoxy, 5 Minute Set, .85 ounce Syringe, Clear
It took me six hours to complete this modification and cost me $55. In my opinion, the skill level of this modification is medium.
Disclaimer: The modifications above are submitted by Truck Camper Magazine readers. It is your responsibility to make sure that any do-it-yourself modification project you undertake is safe, effective, and legal for your situation.
Enter Your Mods Now!
If you’d like to enter a modification you’ve done on your truck camper, click here. You can enter as many mods as you want, at any time. Good luck mod makers!
