Welcome to the sixth entry in August’s Mini Mod-Ster Contest. One engaging Mini Mod will be published in every Email Alert in August. At the end of the month we’ll hold a reader vote to determine August’s winner. For information about the Mod-Ster Contest, including how to enter, click here.
Jack Peckham, Anza, California
Laser Straight Mounting Of Camper
2002 GMC K2500
2005 Lance 865
I have trouble loading my camper by myself. The camper is stored on dirt that is not completely level. The fact that the bed is 2-inches narrower at the tailgate than at the cab makes it hard to line up with the square sides of the camper. It used to take me several tries and lots of time to get mounted. My last time took over 30-minutes.
The solution was a laser and a magnetic backup camera.
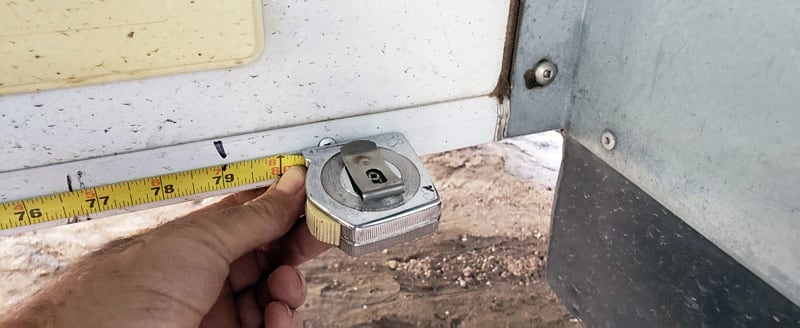
First, I measured my bed length to make sure the laser would not hit the bed. I got 79-inches. Then I made a mark at 79-inches from the front bottom of the camper to make sure the laser would not hit the truck.
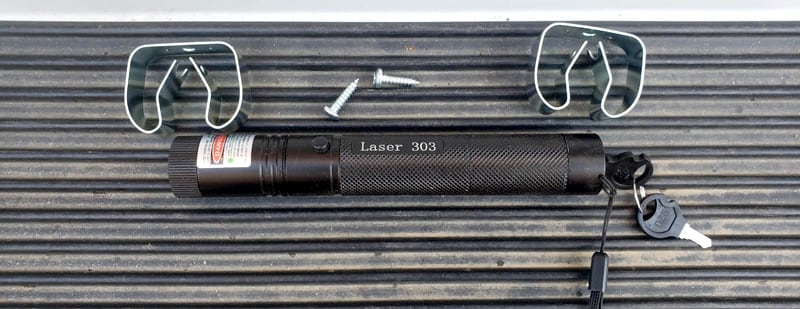
Below is the laser I got from Amazon for about $12. I also bought a set of broom clamps at the local hardware store for a couple of bucks.
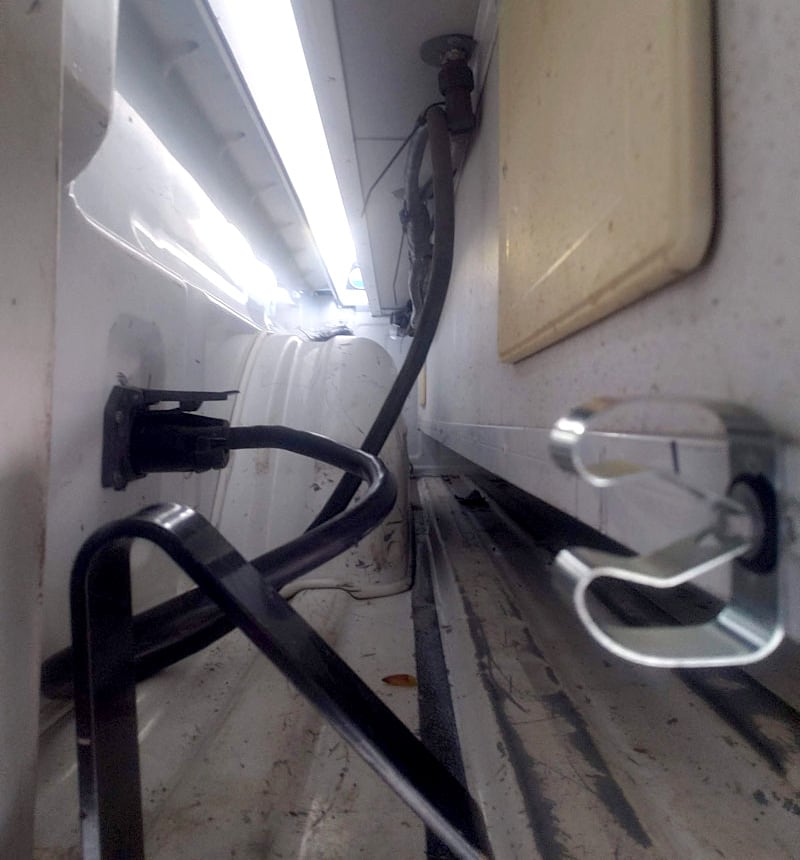
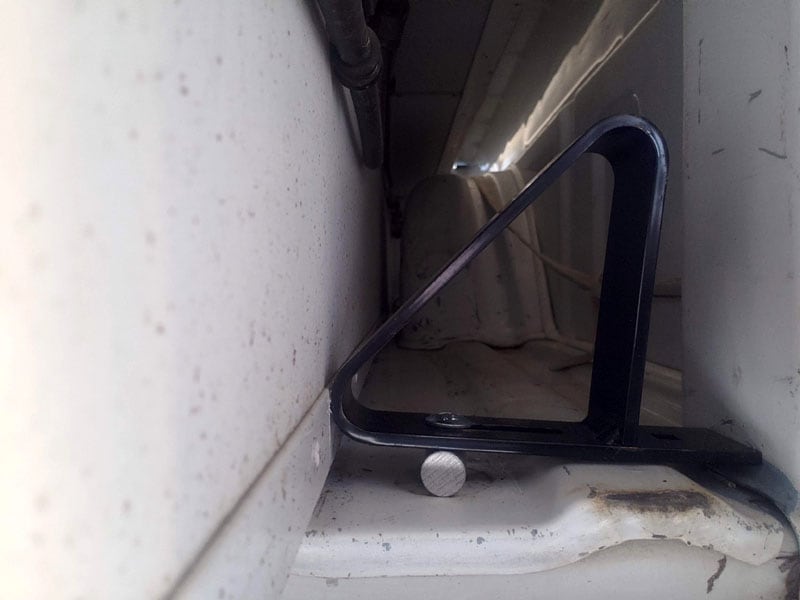
Using the groove in the center of the L-channel, I attached the two broom clamps to the bottom rail at the rear of the camper. Note the front bracket is still behind the 79-inch mark. It also needs to be in a spot where it can hold the on button on the laser down.
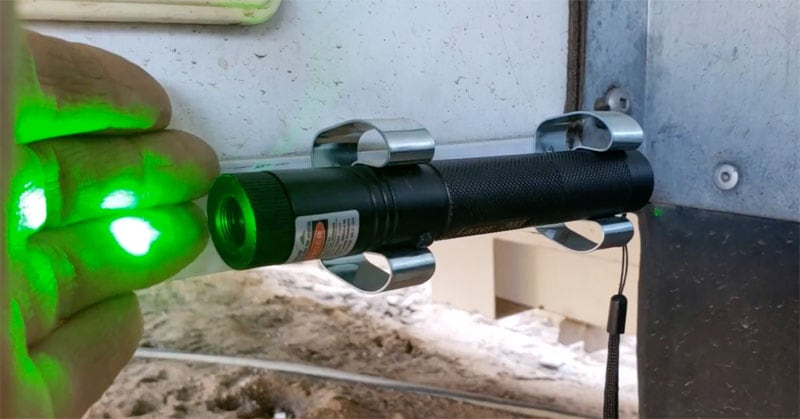
Note that when you test the sitting of the laser, it should line up with the center groove.
See the green light. That is the laser in place and on.

Next is the expensive part. I already had this YADA camera kit ($80).
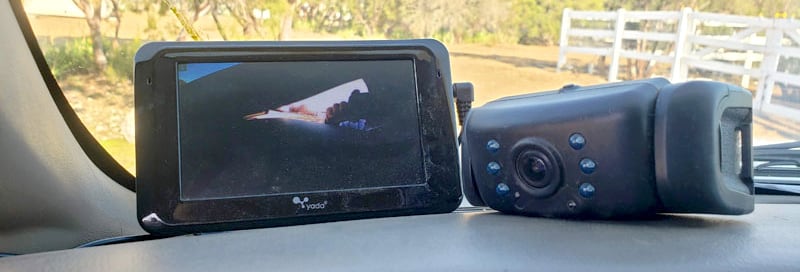
I love it because when I am not using it to back up, I can use it in my horse trailer. I have a powered mount in the horse trailer to watch the stock while I’m driving.
Mine also came with a 7-way plug adapter and comes on when it’s in reverse. The camera has a rechargeable battery and can work anywhere it is in range.
When I have the camper on and need to hook up the trailer, I attach the magnet to the horse trailer pointing towards the hitch. I back in with the monitor in the cab.
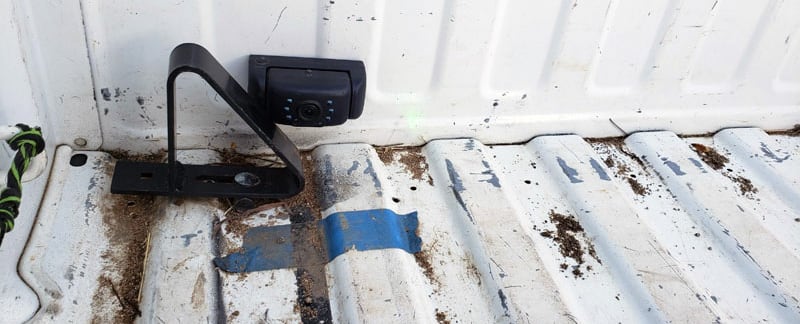
Above: Camera magnetically attached where the laser should hit when lined up properly.
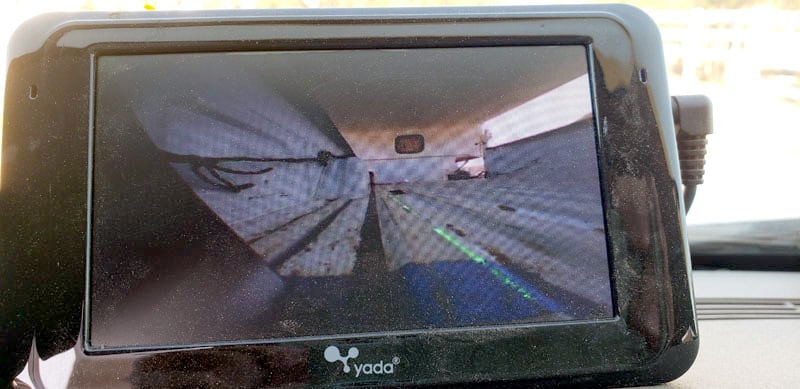
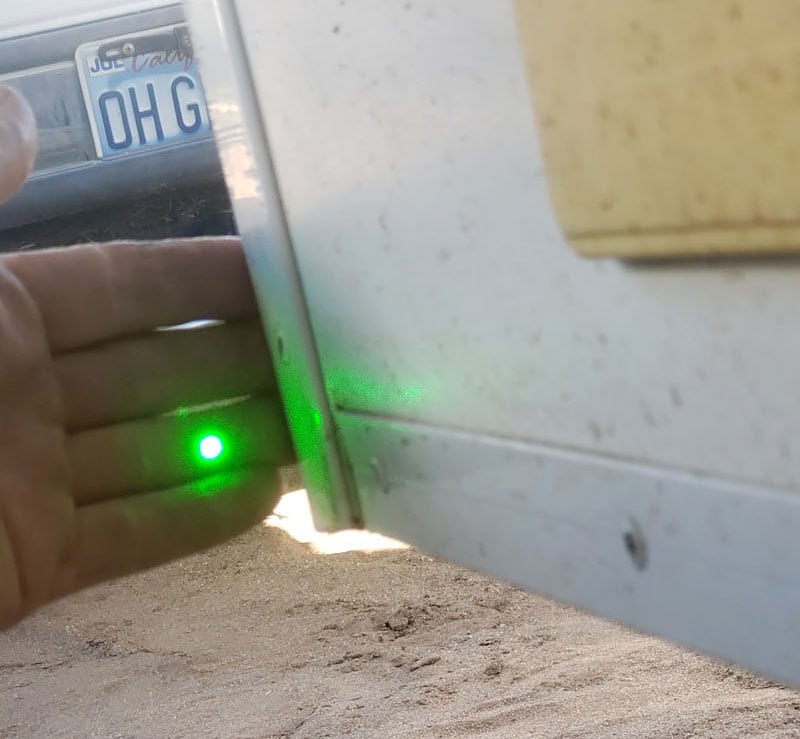
Above: View of laser misaligned, the black line on the bed is where the camper should end up.
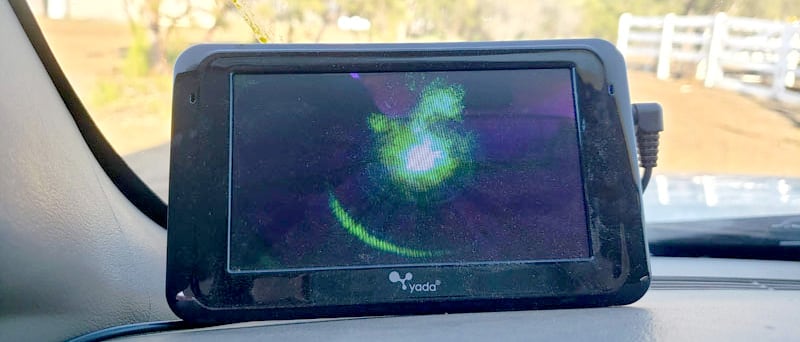
Above: Laser pointing straight at the camera.

Above: Laser hitting the camera’s lens.
Above: Remove camera, laser and plug-in the plug. Then back the rest of the way in and lower the camper on to the truck.
Above: Passenger’s side down tight on the centering bar.
The only tool I used was a ¼-inch impact gun to drive two sheet metal screws.
It has worked out great. I was able to back under in two tries in just a few minutes. In the past, it has taken me over a half hour, and several backup and pull back outs again to realign.
It took me a half hour to complete and cost me under $100. In my opinion, the skill level of this modification is easy.
Disclaimer: The modifications above are submitted by Truck Camper Magazine readers. It is your responsibility to make sure that any do-it-yourself modification project you undertake is safe, effective, and legal for your situation.
Enter Your Mods Now!
If you’d like to enter a modification you’ve done on your truck camper, click here. You can enter as many mods as you want, at any time. Good luck mod makers!


