Welcome to the fifth entry in June’s Mini Mod Contest. One Mini Mod will be published in every Email Alert in June. At the end of the month, we’ll hold a reader vote to determine June’s winner. Click here for information about the 2022 Mod Contest, including how to enter.
Charles Coushaine, Punta Gorda, Florida
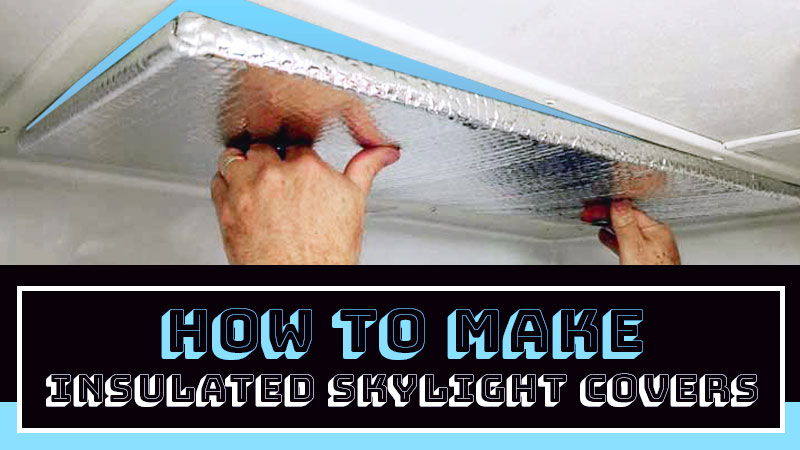
How to Make Insulated Skylight Covers
2001 Ford F-350
2012 Chalet DS116-RB
Whenever we camp in the cold and run the heat, I install the 14-inch square vent pillows into each vent opening to eliminate heat loss and make our camper as efficient as possible.
However, our shower skylight is quite large and, because of its unique shape, there is not an insulated cover available to purchase. So, I made one to stop the heat from escaping through that opening.
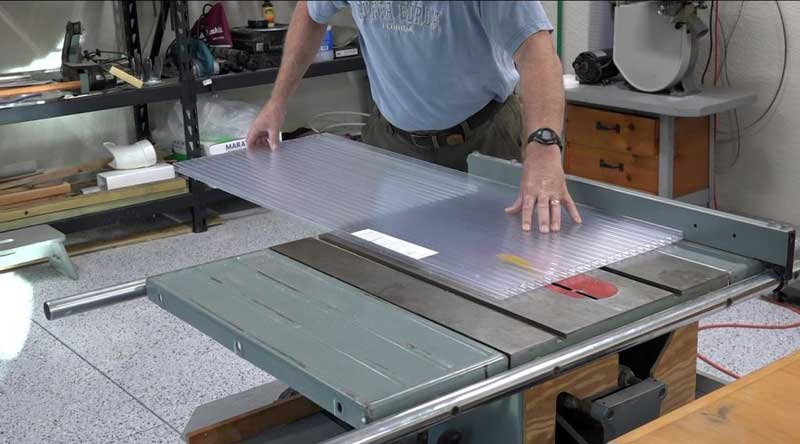
Above: Cutting the polycarbonate panel
First, I carefully measured the rectangular skylight opening and cut a piece of hollow polycarbonate hurricane panel making it about 1/4-inch shorter in both directions. The next step was to chamfer the corners just enough to clear the radius on the corners of the opening.
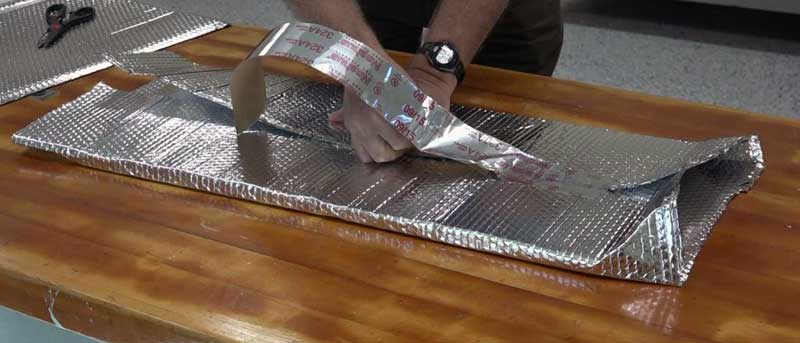
The hardest part was then taking the SunShield reflective window cover I purchased and carefully wrapping it around the entire polycarbonate panel – just like wrapping a Christmas present! I used 2-inch foil tape to hold the wrapping tight.
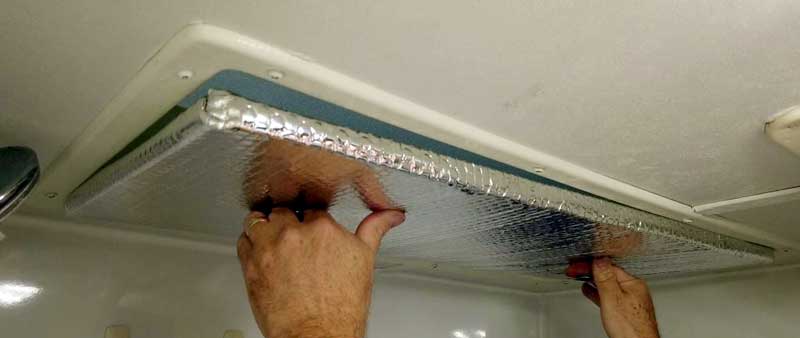
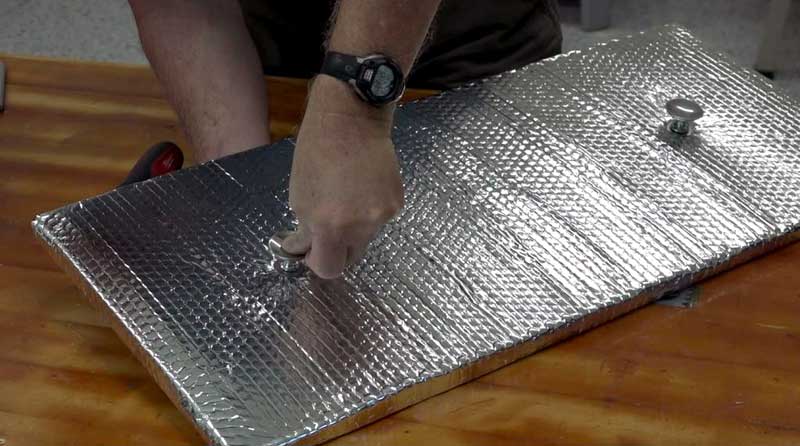
The last step was to attach two handles to the panel to allow me to remove the assembly from its snug fit into the skylight.
This mod has worked out great. Whenever we camp in the cold, I install this insulated cover into the shower skylight and it’s snug fit.
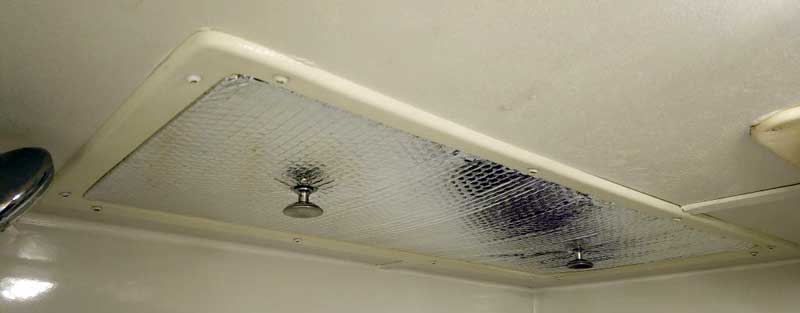
Coupled with the reflective window cover and hollow polycarbonate panel, it makes for a very nice insulated heat block – that’s also very lightweight.
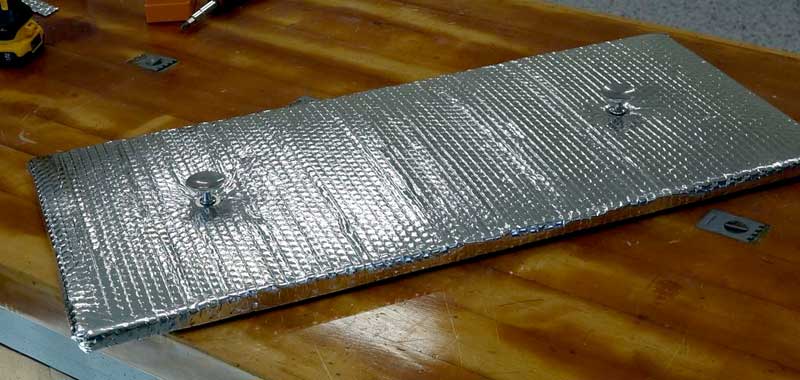
It can also be used on sunny days to block the outside heat and UV rays from getting inside the camper.
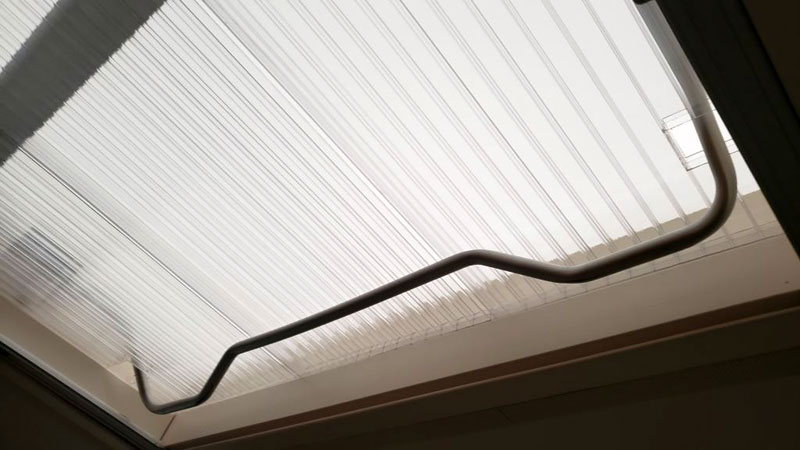
Bonus: After completing the skylight cover in the camper’s bathroom, I also made an insulated cover for our Heki skylight. Some of the same design elements were applied there as well.
Materials Used:
Camco 45164 62-inch by 30-inch SunShield reflective window cover
Professional Grade Aluminum Foil Tape – 2-inch
Hurricane Panel – 24-inch by 36-inch clear polycarbonate
It took me two hours to complete this modification and cost me $60. In my opinion, the skill level of this modification is medium.
Disclaimer: The modifications above are submitted by Truck Camper Magazine readers. It is your responsibility to make sure that any do-it-yourself modification project you undertake is safe, effective, and legal for your situation.
Enter Your Mods Now!
If you’d like to enter a modification you’ve done on your truck camper, click here. You can enter as many mods as you want, at any time. Good luck mod makers!
