Welcome to the PowerMod truck camper mod contest, sponsored by Goal Zero. One mod will be published in every Email Alert in October. At the end of the month, a reader vote will determine a winner. Click for information about the 2024 PowerMod Contest, including how to enter.
Charles Coushaine, Punta Gorda, Florida
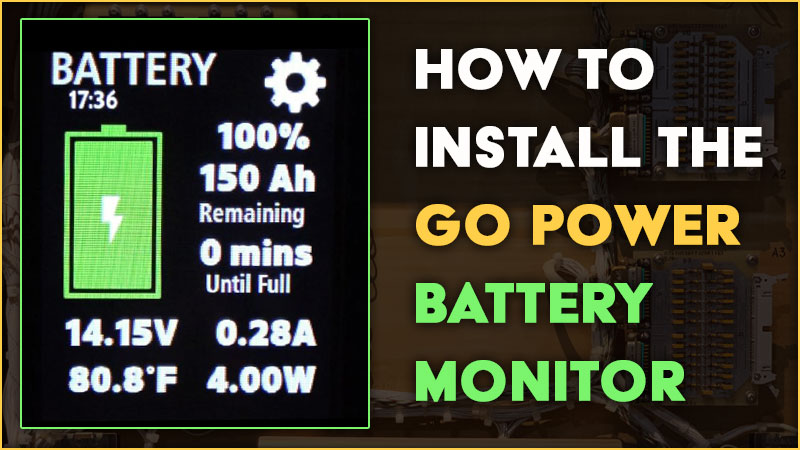
How to Install the Go Power Battery Monitor
2022 Ford F-550
2012 Chalet DS116RB

I upgraded my 2012 Chalet camper with the Go Power Battery Monitor. This enables me to know precisely how much power is in my batteries, how much power I’m using, and how long it will last. This is especially useful when boondocking and relying solely on our batteries. Another great feature is that it is Bluetooth compatible. I can see all the battery parameters from my phone using the Go Power Connect app.
All my 2012 Chalet truck camper previously had to indicate battery charge was a series of four LED idiot lights. I had no way of knowing anything else about how the batteries were performing or how long they would last!
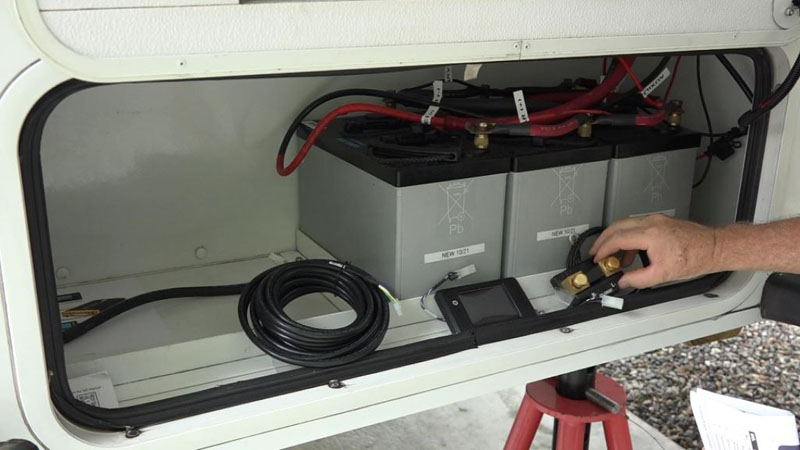
I have three AGM 12 volt Group 27 100 Ah batteries wired in parallel. This monitor works with any type of battery (Lithium, flooded, etc.).
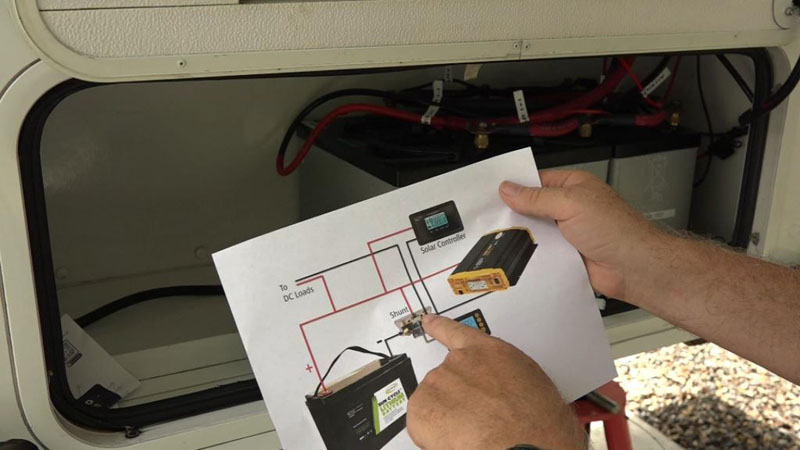
Above: Go Power, Three Main Parts Of Install
To install this new Go Power Battery Monitor I first needed to turn off all power to the camper. For extra safety, I unplugged the camper from shore power.
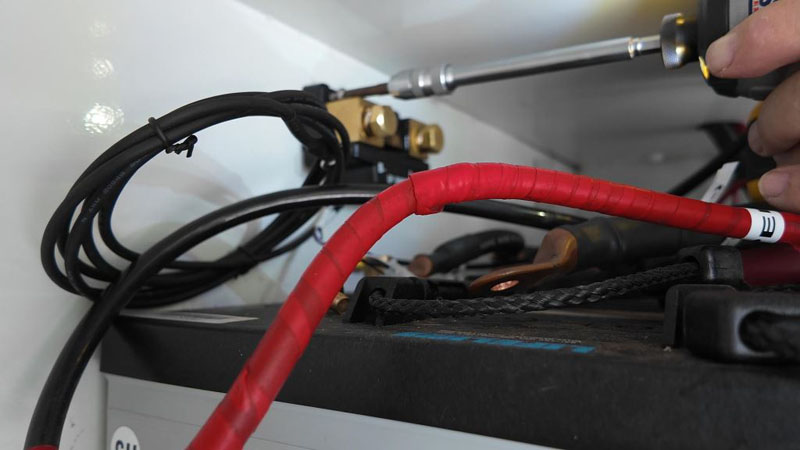
After scanning the battery compartment, I found a good place to mount the shunt based on the length of the four negative wires I needed to attach to it.
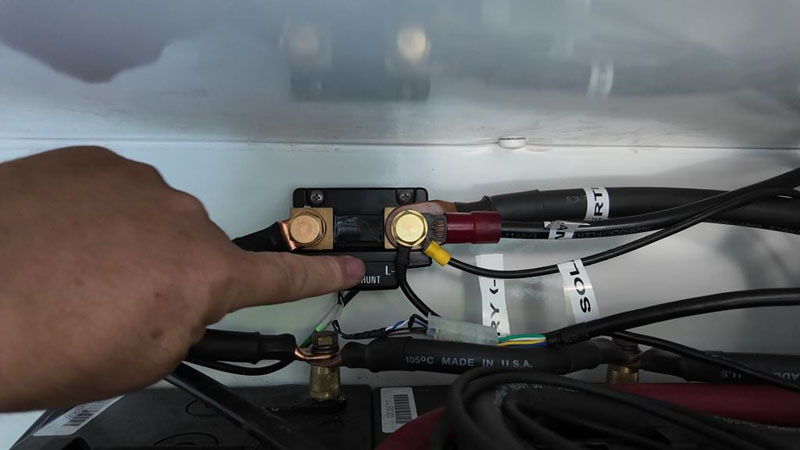
The shunt works by funneling all power through its electronics using the negative leads of the camper, inverter, solar and any other devices taking power from the batteries.
You leave all the positive (+) leads as attached to the batteries, and move all the negative (-) leads to one side of the shunt. The other side of the shunt gets wired back to the batteries negative (-) side terminal.
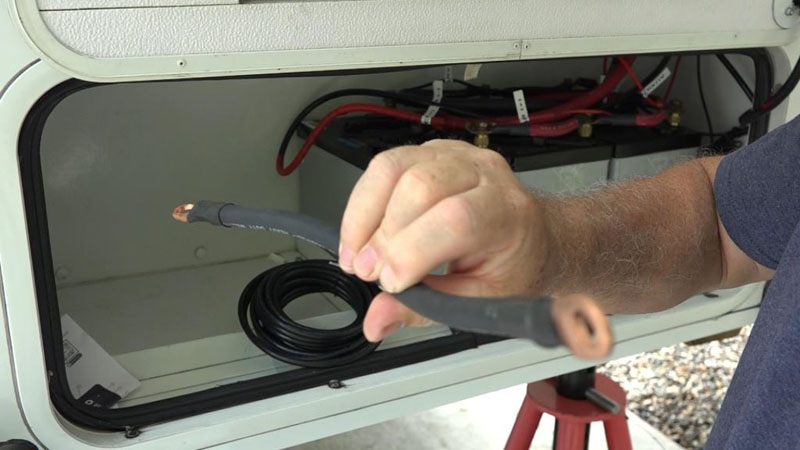
After the shunt is connected to the batteries, a 25 foot lead is provided to connect the shunt to the control monitor you mount inside the camper at an easy viewing place. Running this wire is the hardest part of the install.
You can mount the monitor in either the horizontal or vertical orientation based on your desired location.
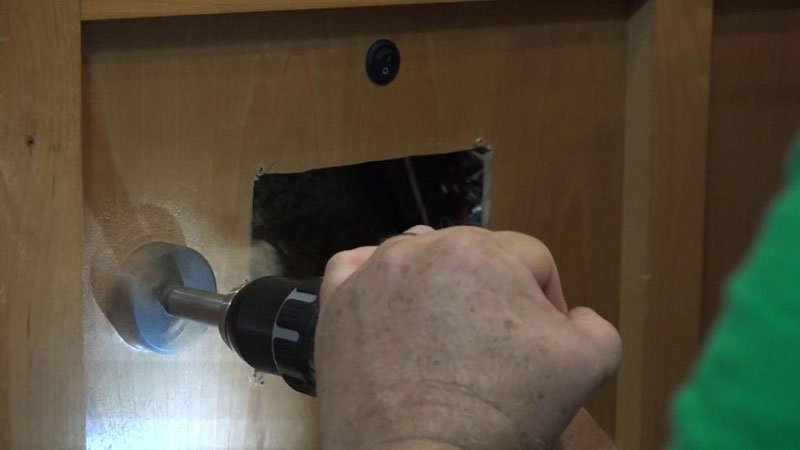
All that is required to mount the monitor is drilling a 2 inch diameter hole and fixing with four screws.
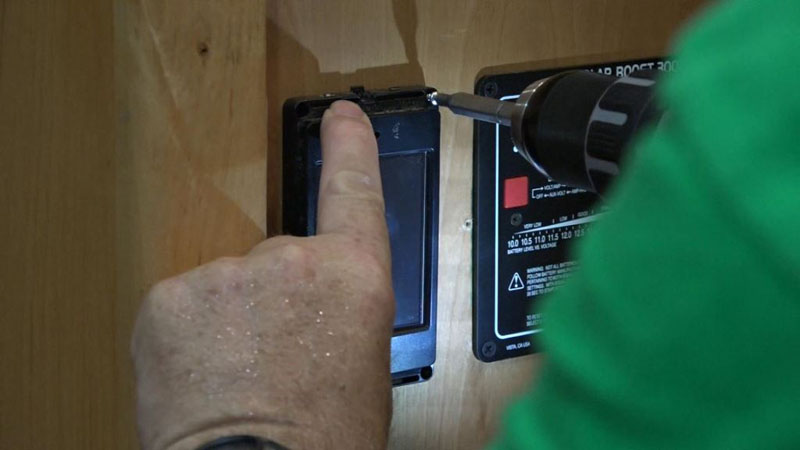
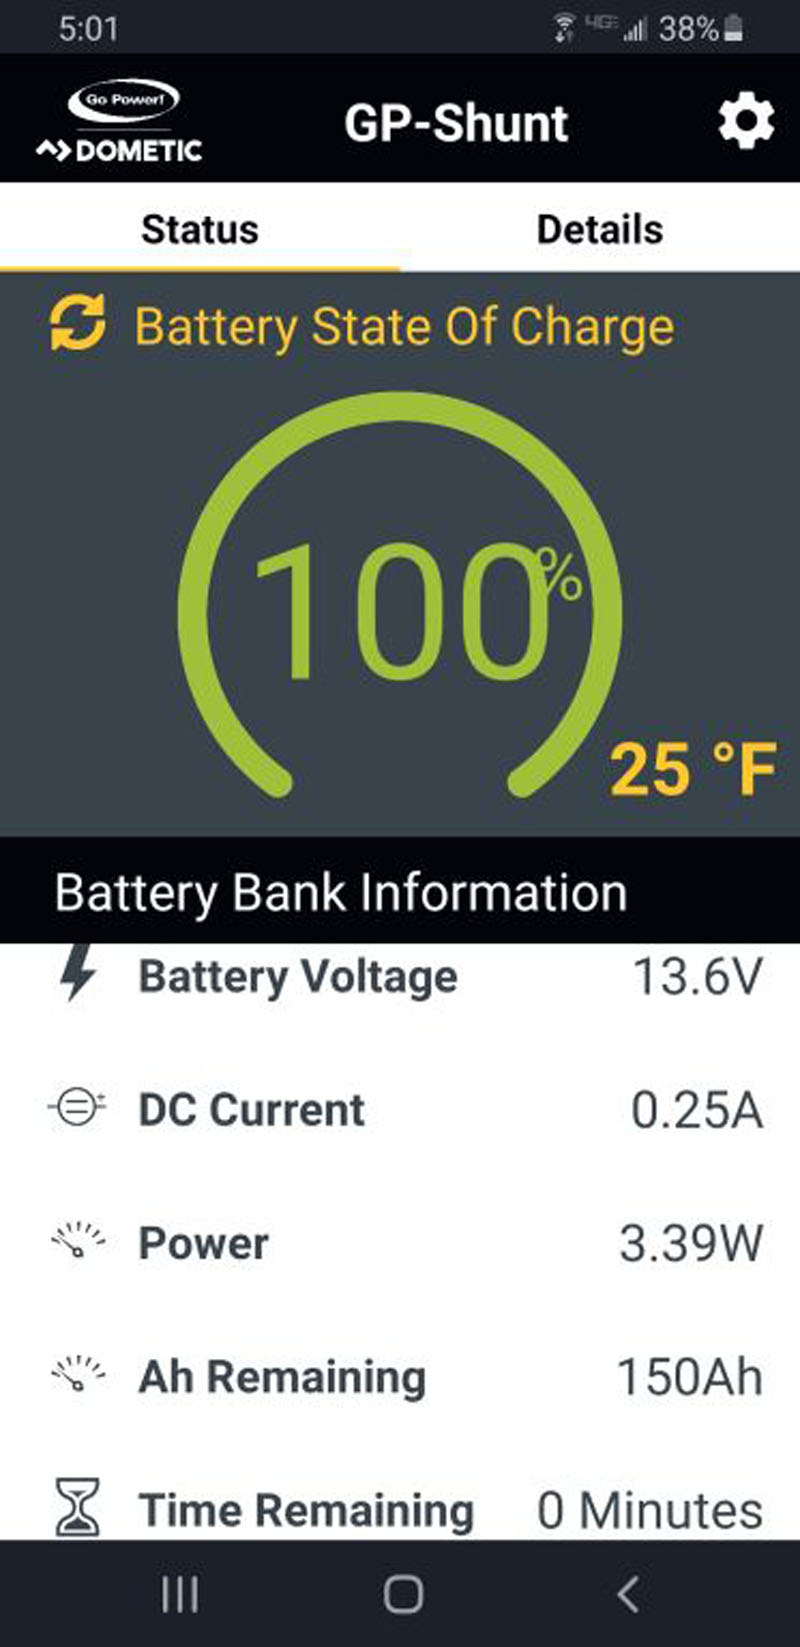
After everything was hooked up, I followed the menu prompts and set the voltage (12V), Ah (3 x 100Ah = 300Ah), and battery type (AGM).
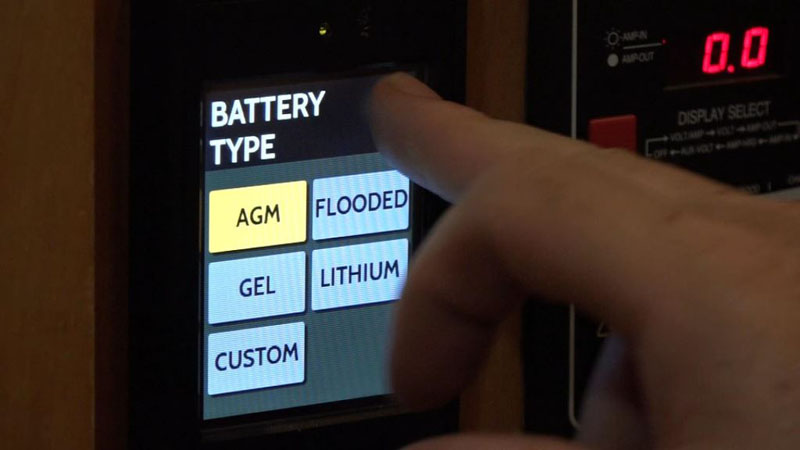
The system knows that drawing down my AGM is only allowed to 50 percent so my useable Ah is automatically set to 150Ah.
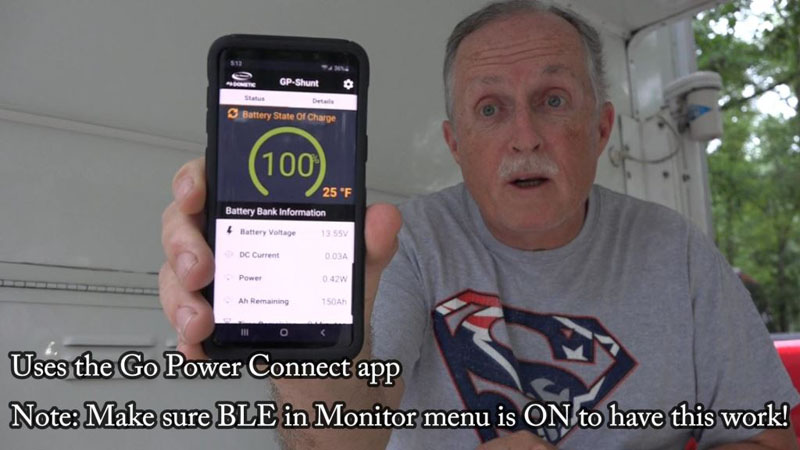
Note: To allow the system to hook up via Bluetooth to the Go Power Connect app be sure to turn on the BLE switch in the monitor menu.
To watch the install:
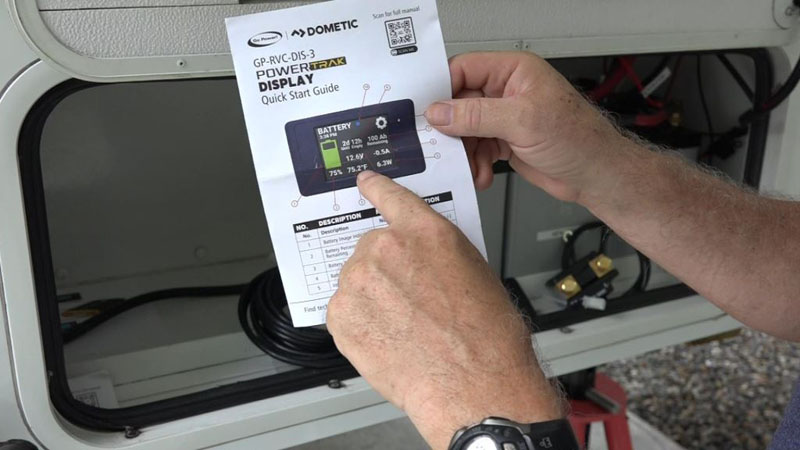
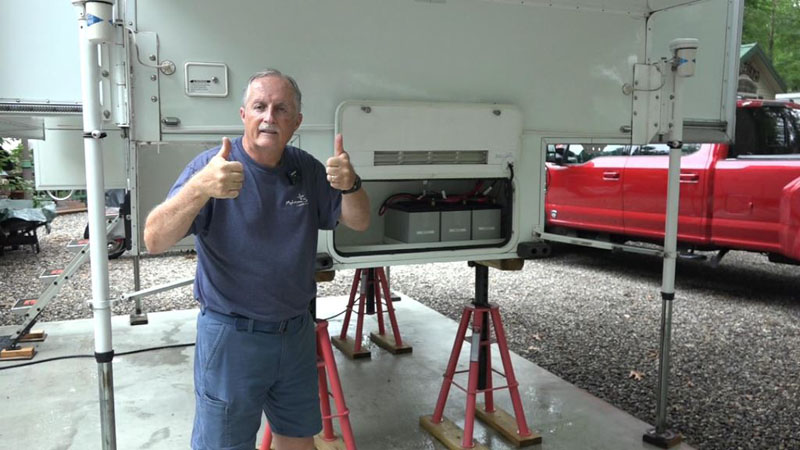
So far, this thing is great! All my battery parameters are easily visible on the monitor and on my phone app.
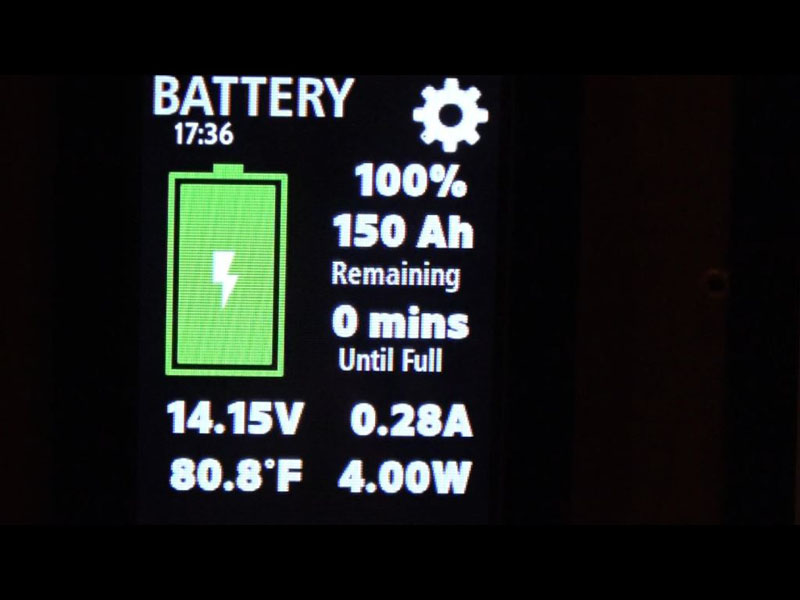
I can easily see what percentage of my battery is remaining, what my voltage is, how many amps and watts are being put in or taken out, and how long my battery will last.

This will be a great addition whenever we are boondocking and living solely off the batteries. I highly recommend this mod!
Go Power Touchscreen Battery Monitor Kit with 25′ Cable – Bluetooth
Go Power Touchscreen Battery Monitor Kit with 25′ Cable – Bluetooth Go Power Accessories and Parts GP68QR from etrailer.com.
It took me four hours to complete this modification and cost me $305.
Disclaimer: The modifications above are submitted by Truck Camper Magazine readers. It is your responsibility to make sure that any do-it-yourself modification project you undertake is safe, effective, and legal for your situation.
Enter Your Mods Now!
If you’d like to enter a modification you’ve done on your truck camper, click here. You can enter as many mods as you want, at any time. Good luck mod makers!


