Welcome to the first entry in September’s Medium Mod Contest. One Medium Mod will be published in every Email Alert in September. At the end of the month, we’ll hold a reader vote to determine September’s winner. Click here for information about the 2022 Mod Contest, including how to enter.
Charles Coushaine, Punta Gorda, Florida
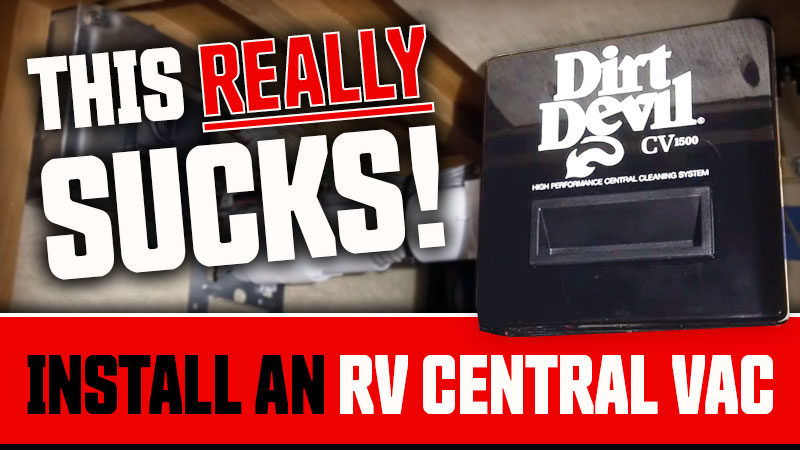
How to Install an RV Central Vacuum
2001 Ford F-350
2012 Chalet DS116RB
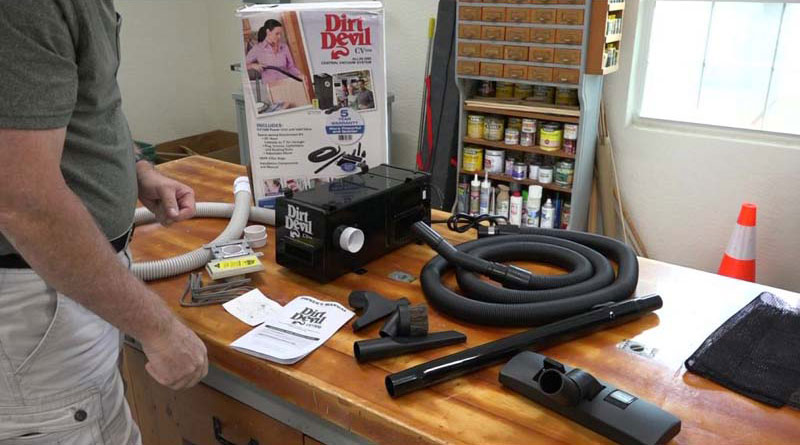
I installed a central vacuum system made specifically for RVs. The Dirt Devil CV1500 vacuum system was installed with particular care given to power and air flow. 110-volt AC power is provided by either a campground or from our inverter while boondocking. Air flow efficiency was maximized by keeping the inlet tube straight and short, and allowing for the perfect air loop.
This mod was installed because we carried both a broom and a stick vacuum. Both are clumsy and in the way with their length and no closet to hold them.
The first thing you need to do before this mod even begins is to look all over your RV and find a suitable place where it can be installed. What you are looking for is easy access to line voltage, inverter power, and vented air flow. A completely sealed compartment is not advisable because it will hinder vacuum performance.
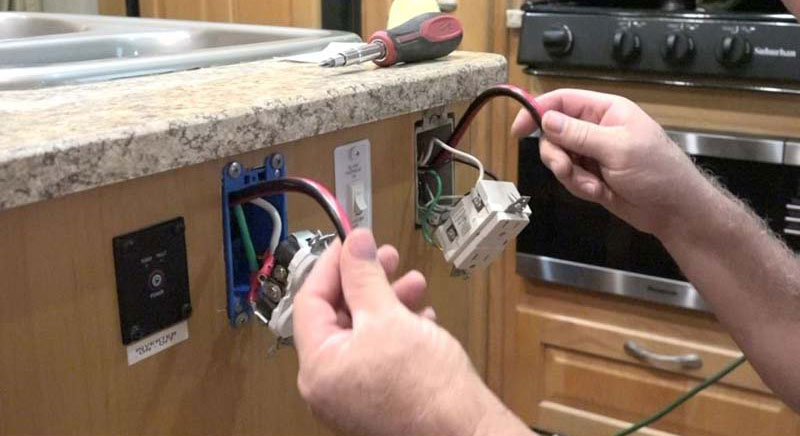
I looked all over my RV to find the perfect mounting spot and found it to be the island in my galley. This had both a line voltage outlet and an inverter outlet, and the island was vented with a grate for my heat air return.
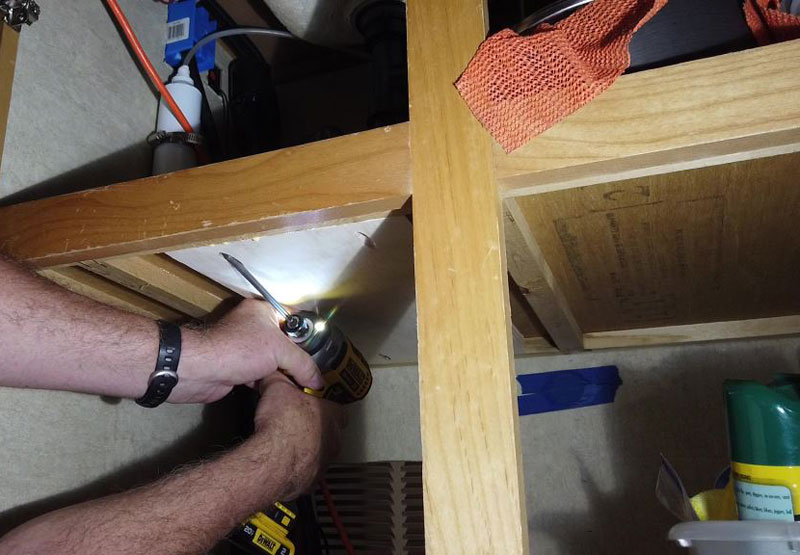
I custom cut a piece of 3/4-inch plywood, added pocket screws to the ends, and glued it to the underside of the island shelf to add support the thin 1/8-inch existing plywood to support the weight of the vacuum.
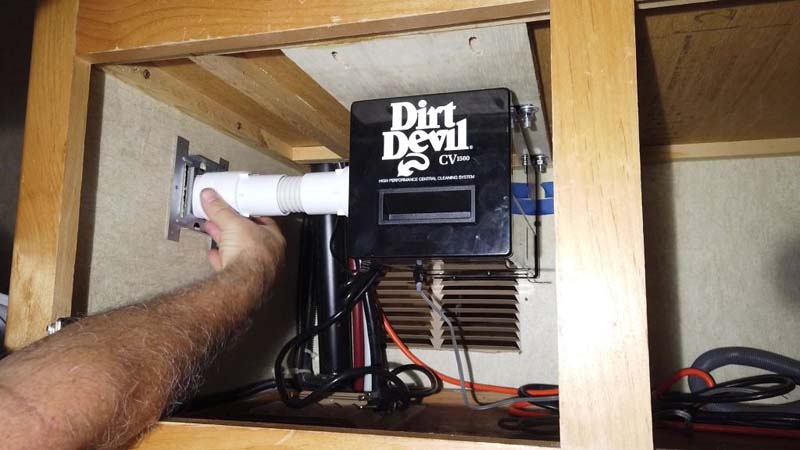
Then, I mounted the main body of the vacuum to the underside of the plywood using 5/16-inch flange bolts. I then cut and put together the multiple pieces making up the needed 8-inch straight inlet pipe.
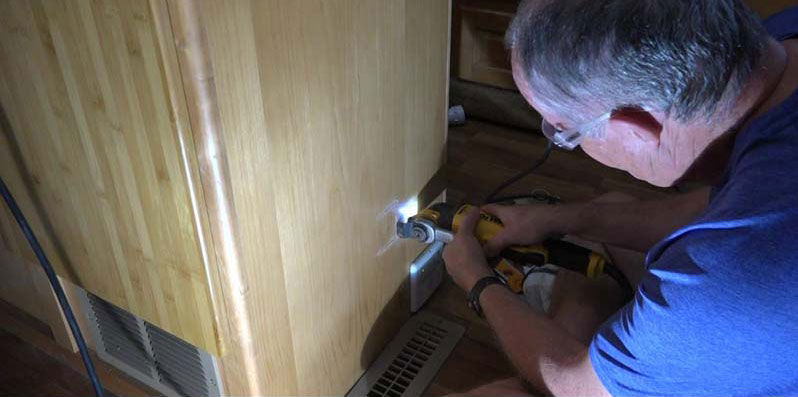
Keeping the inlet short and straight keeps the inlet air flow at its maximum efficiency and provided the strongest vacuum suction. This was then mated to the inlet flapper valve by cutting a square hole through the island wall directly across from the vacuum inlet.
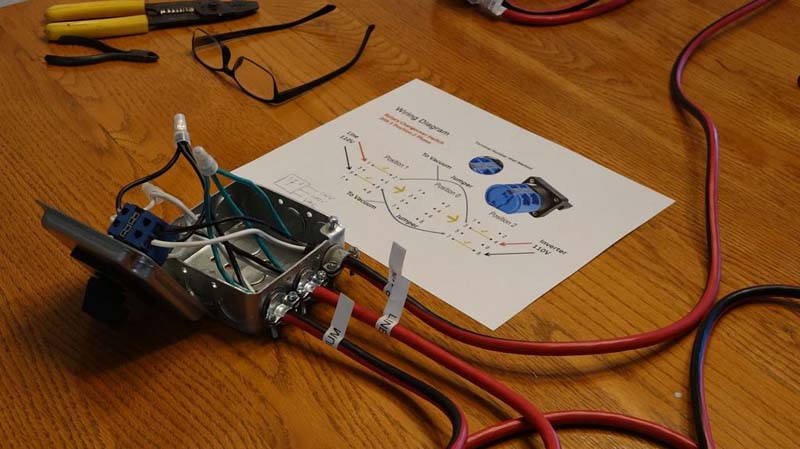
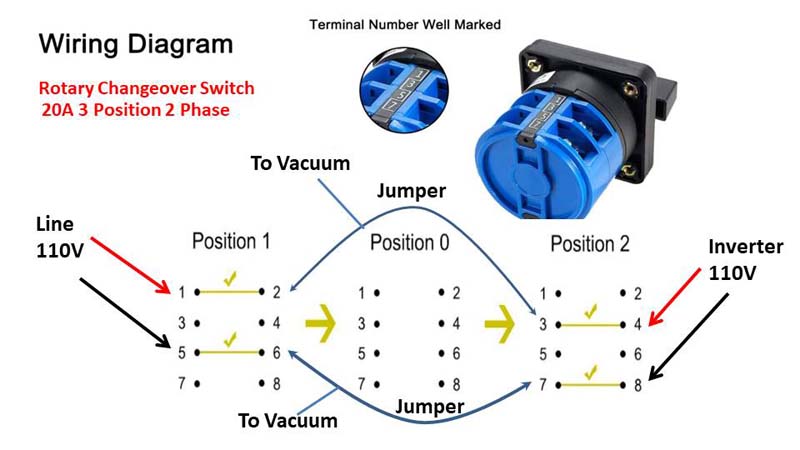
To allow for two different power options, I wired up a changeover switch. This allows changing from line voltage to inverter power with the simple rotation of a switch.
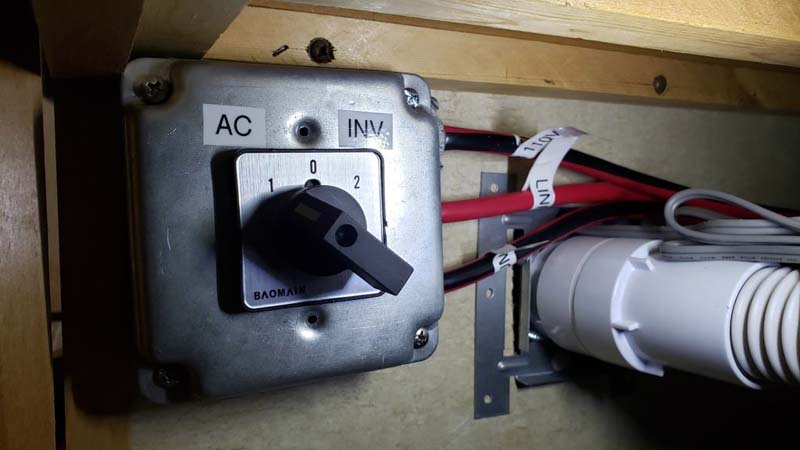
This changeover switch was mounted in a 4-inch square metal box after wiring was installed just inside the island door to allow for easy access.
To see the entire assembly, watch the video below.
This mod works fantastic. Because of the nearly perfect air loop with minimal bends and short runs, this vacuum really sucks!
With the 7-foot hose being stretchable to 30-feet, I can not only clean every inch of the camper, but can also stretch it outside to clean all the compartments and even reach the mats in my truck.
The hose and attachments fit neatly in the drawer under my dinette seat, and I no longer have to deal with the long broom or stick vacuum. Because it uses line voltage or inverter voltage, I can use the vacuum wherever I am camped.
Materials Used:
Rotary Changeover Switch 20A 3 Position
HP Products 9880 Dirt Devil Central Vacuum System CV1500
Central Vacuum CV1500 Vacuum Bags 3 Pk
Hubbell 1-1/2″ Deep Square Box
Electrical Box Cover 4″
14/3 Outdoor Extension Cord, 25 ft
It took me 10 hours to complete this modification and cost me $300. In my opinion, the skill level of this modification is medium.
Disclaimer: The modifications above are submitted by Truck Camper Magazine readers. It is your responsibility to make sure that any do-it-yourself modification project you undertake is safe, effective, and legal for your situation.
Enter Your Mods Now!
If you’d like to enter a modification you’ve done on your truck camper, click here. You can enter as many mods as you want, at any time. Good luck mod makers!
