Welcome to the seventh entry in February’s Mega Mod Contest. One Mega Mod will be published in every Email Alert in February. At the end of the month, we’ll hold a reader vote to determine February’s winner. Click here for information about the 2022 Mod Contest, including how to enter.
Paul Hellested, Mount Pleasant, Pennsylvania
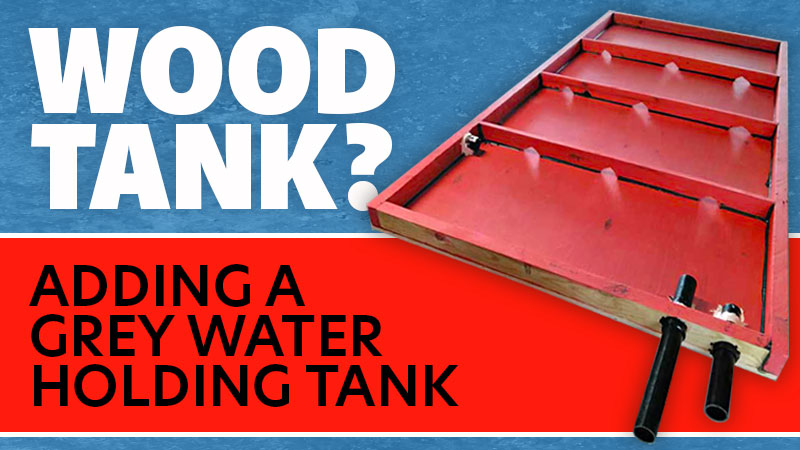
Adding a Grey Water Holding Tank
2018 Nissan Titan XD
2017 Travel Lite 770R
Our grey water holding tank capacity was too small. We could only have two showers before it filled up. We needed more grey tank capacity for taking showers.
At first, I researched buying a pre-made 30-gallon holding tank and building a basement compartment under my camper’s floor to hold it. The thinnest holding tank was 8-inches high. By the time I built a frame around it, the camper would be lifted 10 to 11-inches off the truck bed and rails. This was too high and would look awkward.
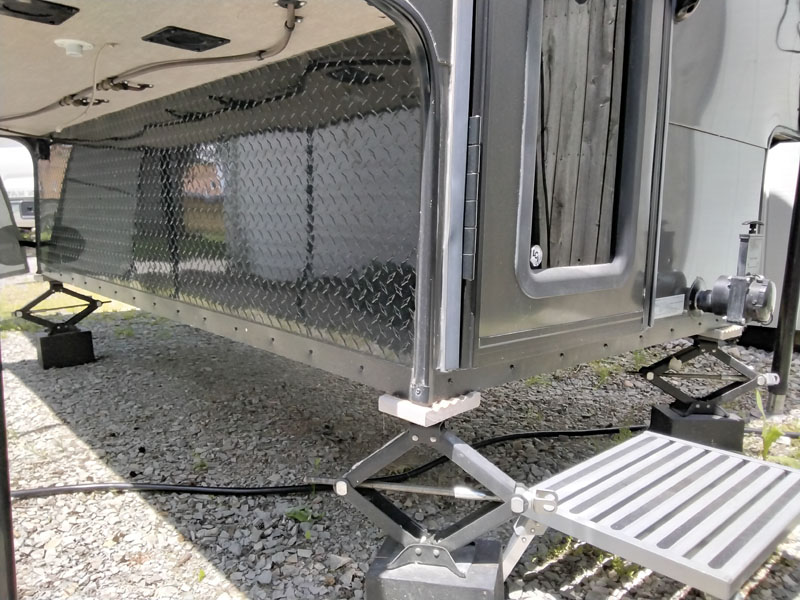
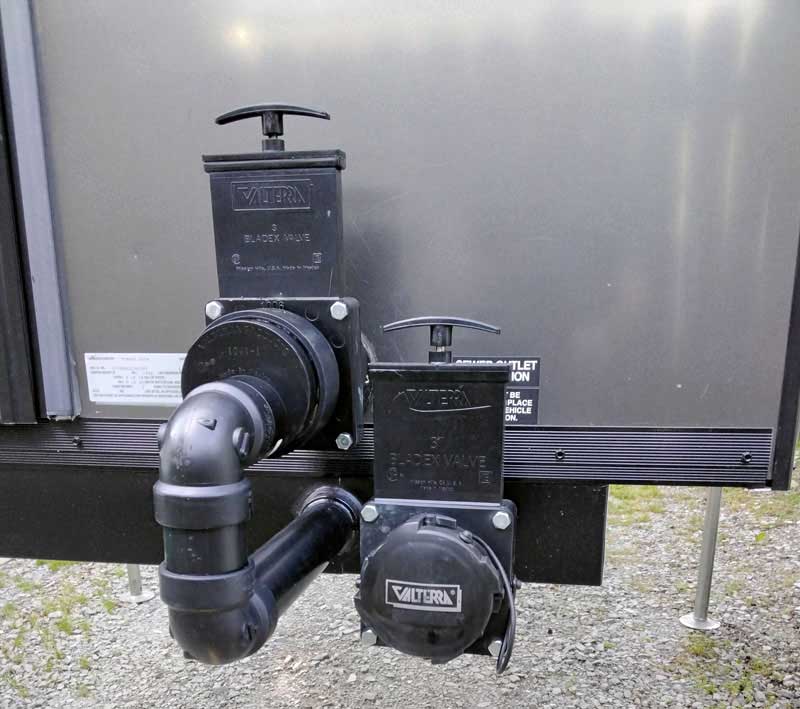
Above: Camper’s floor before the modification
Then I thought, “Why not make the frame itself the tank and use the whole footprint of the camper?” I chose to keep it simple and used treated lumber. As long as the inside is waterproofed properly, why not?
With the measurements of my camper’s footprint, minus the widths of the framing lumber, I calculated my volume. To obtain 40-gallons of storage, the tank would need to have an inside height of 2-3/4-inches. This gave it an overall outside height of 4-inches. This was an acceptable height to raise my camper off my truck’s bed.
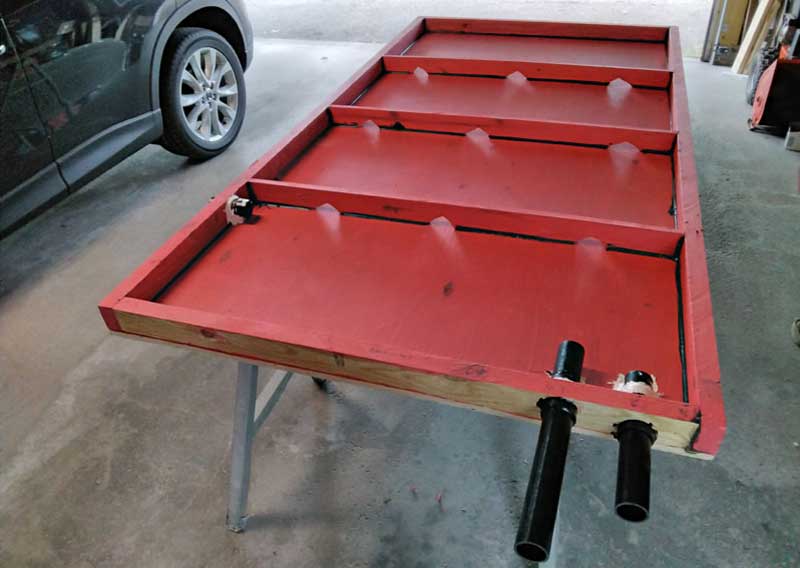
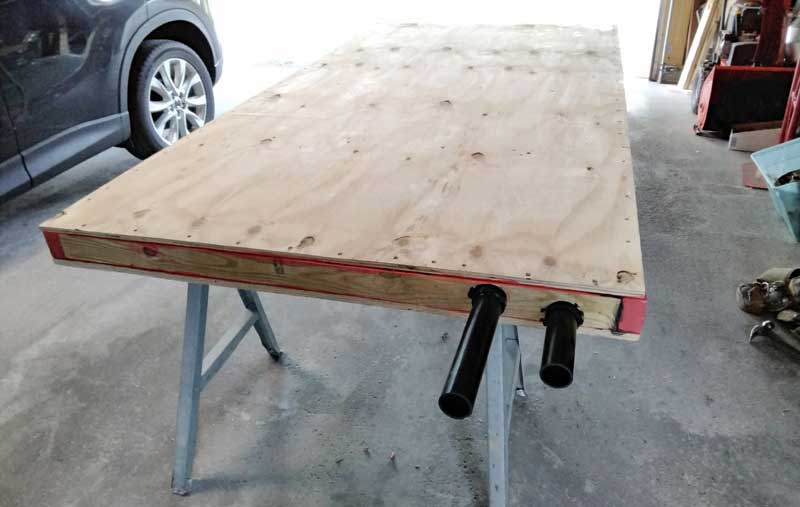
Using treated plywood, I cut a top and bottom the same size as my camper’s footprint. The perimeter frame was 2x4s ripped to 2-3/4-inch height.
The cross members were 1x4s with holes cut in them to allow water movement. Using “Red Guard Waterproofing Membrane” I coated all pieces with two coats before assembly and then sealed the plywood to the frame with caulking. All pieces were screwed together.
I located my camper’s floor framing members from underneath and lag bolted the tank to the camper. To cover the sides of the tank, I cut and bent trim pieces of heavy gauge black aluminum coil stock. These were L-shaped and fastened to the camper, hanging down over the tank for additional support.
For plumbing, I added a vent pipe and tied the inlet pipe to the camper’s original discharge valve. I installed a new discharge valve on the new tank.
This was all built in a way that it could be removed and the camper could be returned to its original condition.

This modification has worked very well. Our last trip out was three nights with each of us taking a comfortable shower each day and having plenty of room for more.
Materials Used:
Treated Lumber
1- 3/4-inch sheet of plywood
1- 1/2-inch sheet of plywood
3- 2 x 4 – 8-foot
2- 1 x 4 – 8-foot
1-gallon of Red Guard Waterproofing
Various screws and lag bolts
Black Aluminum Coil stock
1 1/2-inch ABS pipe and fittings
Dump Valve
It took me around 16-hours to complete this modification and cost me $320. In my opinion, the skill level of this modification is medium to hard.
Disclaimer: The modifications above are submitted by Truck Camper Magazine readers. It is your responsibility to make sure that any do-it-yourself modification project you undertake is safe, effective, and legal for your situation.
Enter Your Mods Now!
If you’d like to enter a modification you’ve done on your truck camper, click here. You can enter as many mods as you want, at any time. Good luck mod makers!


