Welcome to the PowerMod truck camper mod contest, sponsored by Goal Zero. One mod will be published in every Email Alert in August. At the end of the month, a reader vote will determine a winner. Click for information about the 2024 PowerMod Contest, including how to enter.
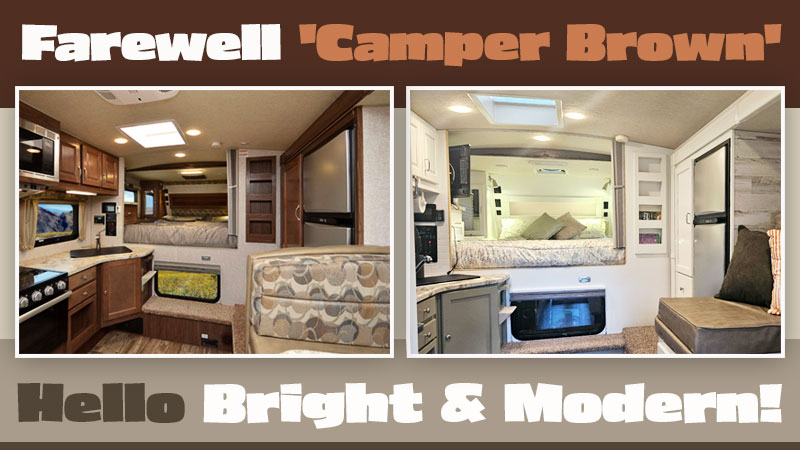
Joe and Teri Stouder, Belleair Bluffs, Florida
Farewell ‘Camper Brown’ Interior
2014 Chevy 3500
2020 Arctic Fox 1150
In 2019 and 2020, we full-timed in our fifth wheel and fell in love with RVing. We knew once that adventure was over, we no longer wanted to full-time, but wanted something smaller that would allow us to be off-grid more, squeeze into smaller spaces, and not rely on RV parks as we continued exploring this amazing country. We decided to keep the truck and purchase a truck camper.
Knowing nothing about truck camping, we found Truck Camper Magazine and began our journey into the rabbit hole of truck camping. Narrowing our focus as to what type of camper our 2014 Chevy dually would carry, we purchased our Arctic Fox 1150. This unit was immaculate, except for one thing.
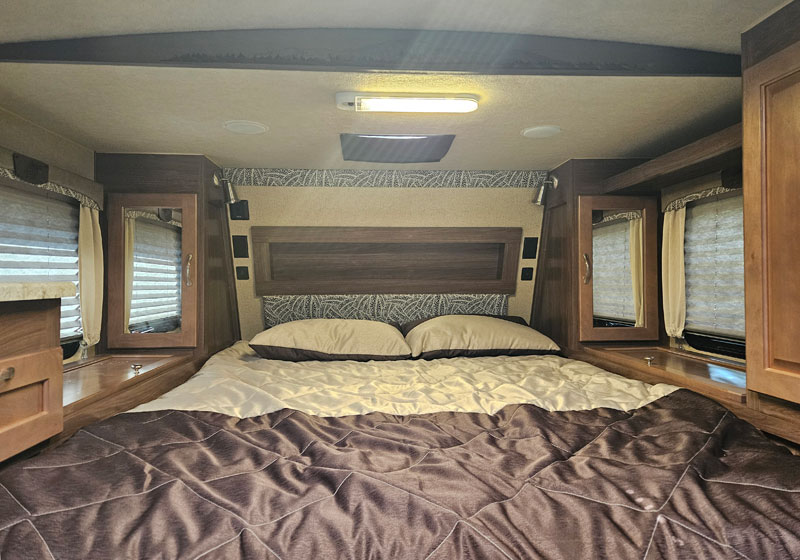
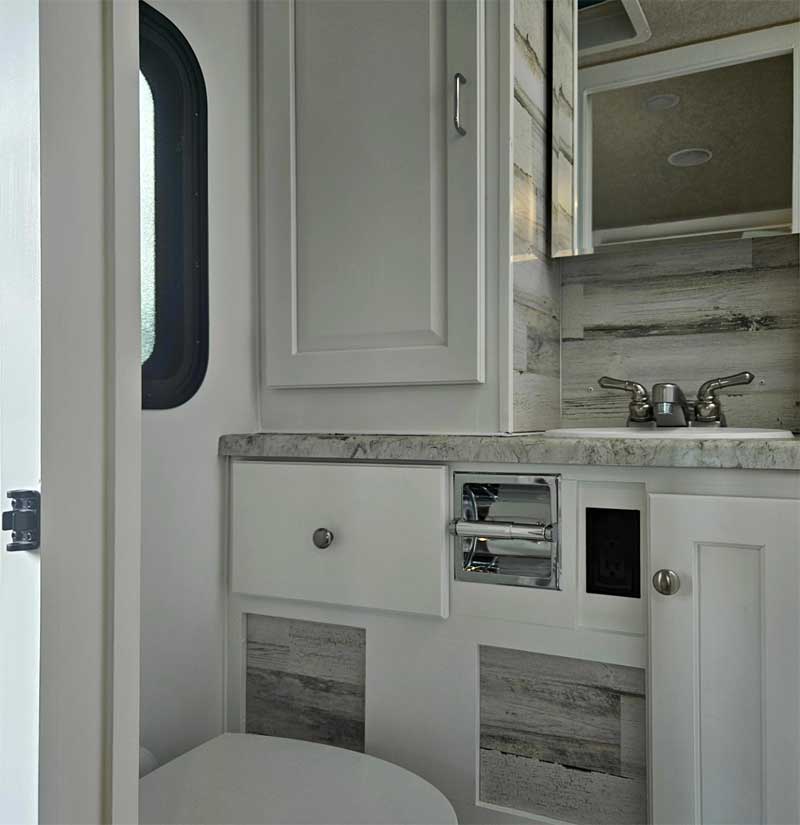
The interior was still ‘camper brown’! Having lived two years in our ‘camper brown’ fifth wheel, I told my husband that even if I had to paint it all by myself (thank goodness he helped) our truck camper interior would not be ‘camper brown’!
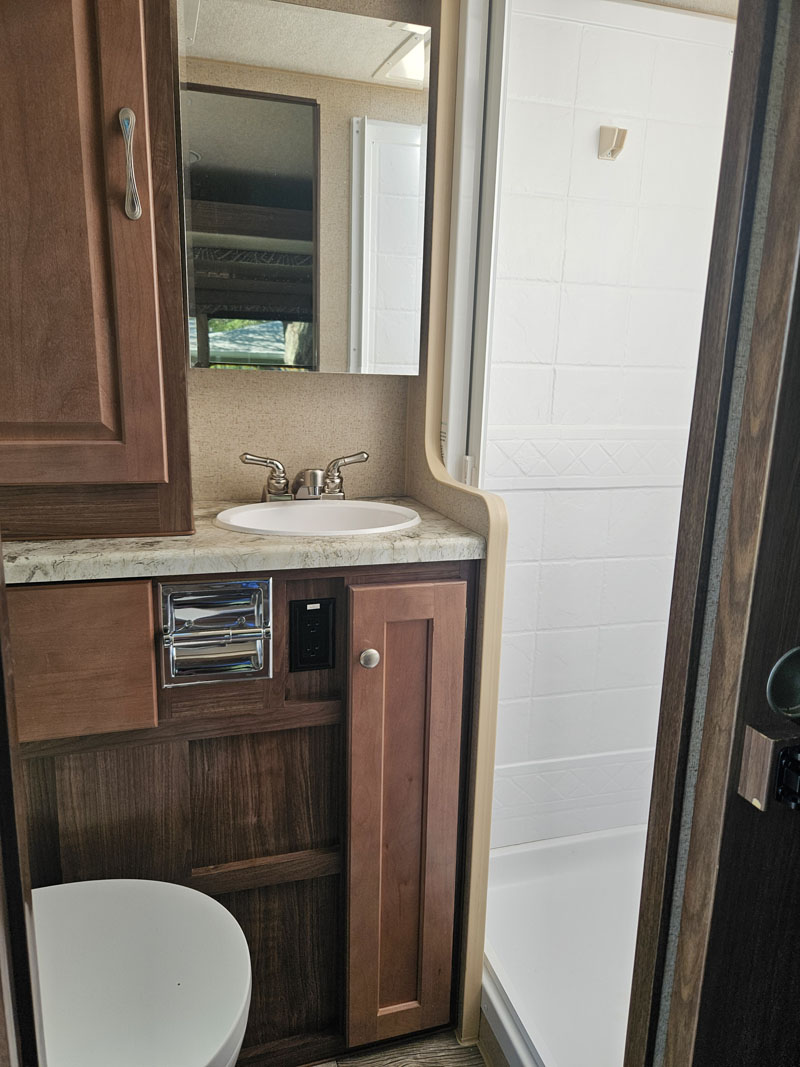
We….ok… I simply wanted to lighten things up and keep the cost of this refresh to a minimum. Yes, we could have replaced the flooring, carpeting, countertops, and completely ripped out the banquet, but, for now, lightening up the camper was the goal. It’s truly something anyone can do with a little sanding—okay a lot of sanding—paint, peel and stick tile, and time. I truly believe anyone can do this. If you can hold a sander and a paint brush, and use scissors, you can brighten up your beloved home away from home.
This goal began hours of research about how to paint the interior of an RV, the best products to use, which peel-and-stick tile would actually stay on the walls, and how best to apply all those materials. There are so many opinions out there which made it challenging to weed through. Finally, we found what we believed to be the best options for a successful refresh.
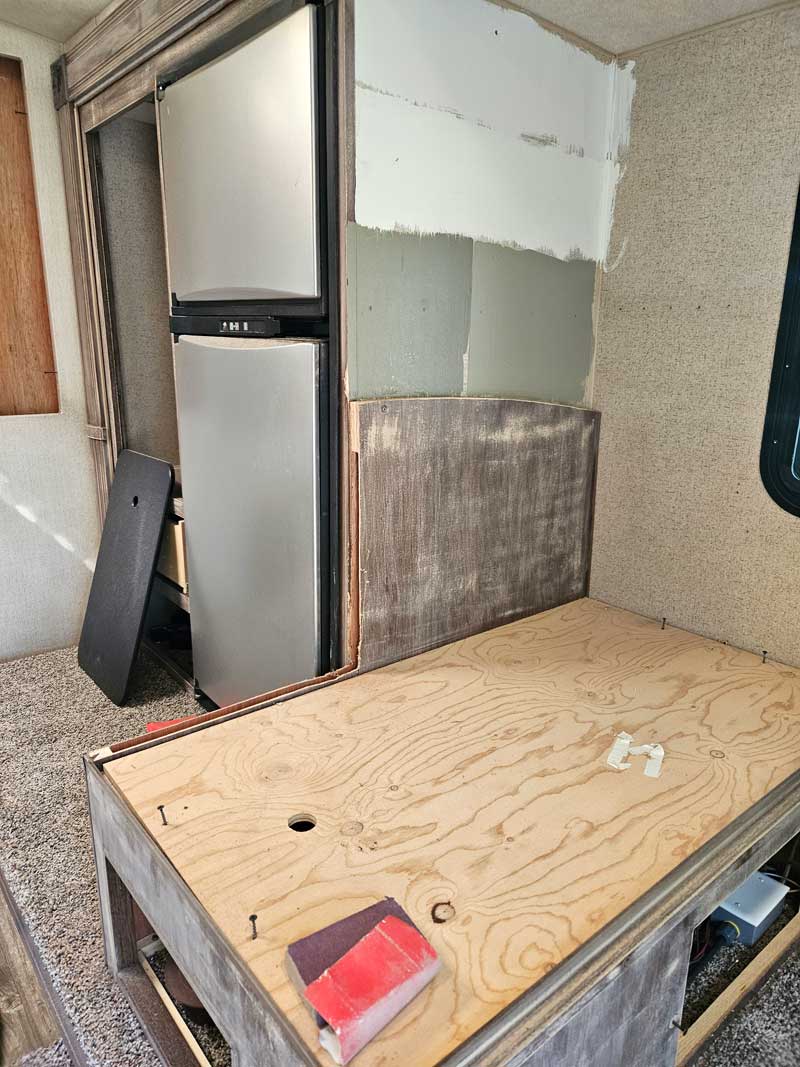
Before beginning, we lightened the load a bit. We knew from our fifth wheel days that we’d never use the dinette table. We never used it in our fifth wheel, preferring TV trays. So out came the dinette table and a portion of the dinette bench which opened up the space a bit.
This particular camper had a single drop-down bunk which was located above the dinette. Since there are only two of us, we knew we’d never use that, so the bunk came out as well. Removal of both items was very easy (I actually did it). I simply removed a few screws and out they went.
Next, we removed the decorator valances to their new home… the trash! I loved them about as much as I loved the brown interior! I know they serve a purpose and that many people like them. They simply weren’t for me. Then we removed the face plates, the kitchen vent hood, the medicine cabinet, the backsplash, the wall lighting, and anything else that needed to be painted or tiled around.
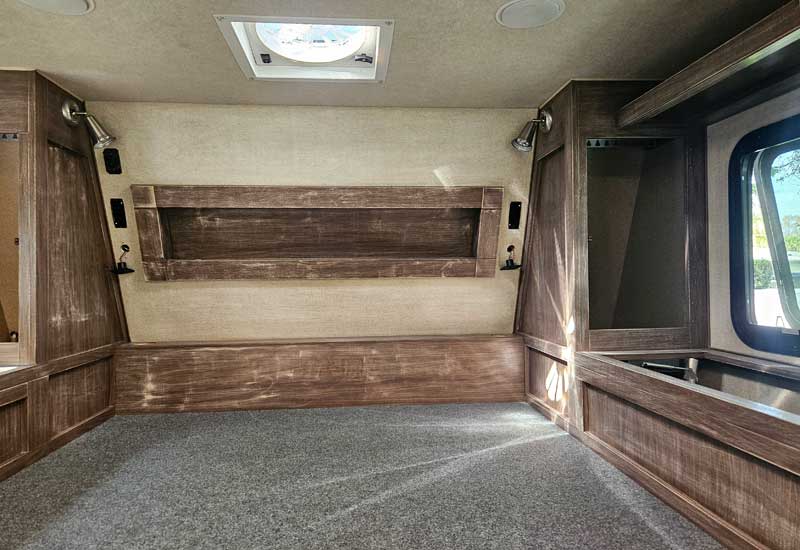
Then on to sanding, sanding, and more sanding. And when you think you’re done, sand some more. This is critical if you want your paint to adhere properly to the walls. Between the two of us, we spent just over three days sanding every exposed surface that we wanted to paint.
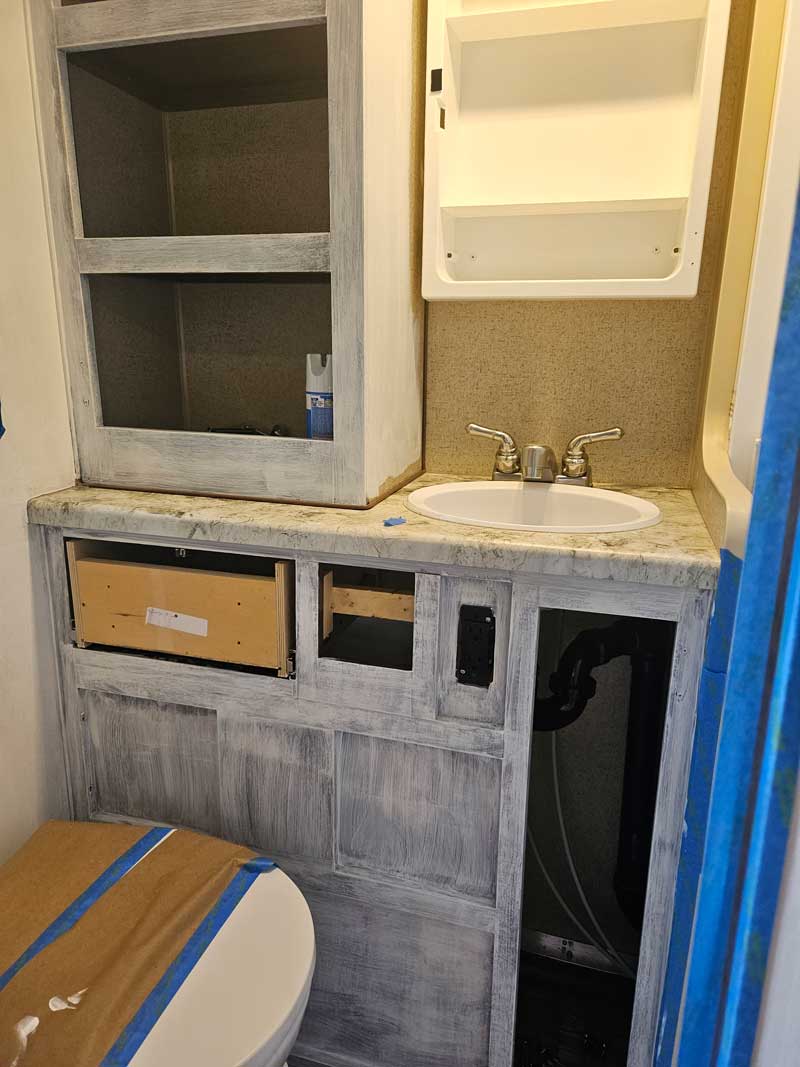
We used a pad sander (because that’s what we owned) and then hand-sanded corners and tight spaces where the pad sander wouldn’t fit. Fun is not an adjective we would use to describe this process. In fact, more than once we asked ourselves, ‘Could we live with camper brown?’ My answer was a resounding ‘no’ as my husband rolled his eyes. We kept sanding! We used 100/150 grit sandpaper to not mar the walls/cabinet doors, but to simply remove the sheen from all surfaces. This, of course, added to the sanding time as 100/150 is a fairly fine grit.
Once sanding was complete, my husband used our lawn blower… literally. It was the most fun he’d had thus far. It blew loose sanding dust out of the camper. We proceeded to wipe down all surfaces with liquid TSP to remove any residual residue.
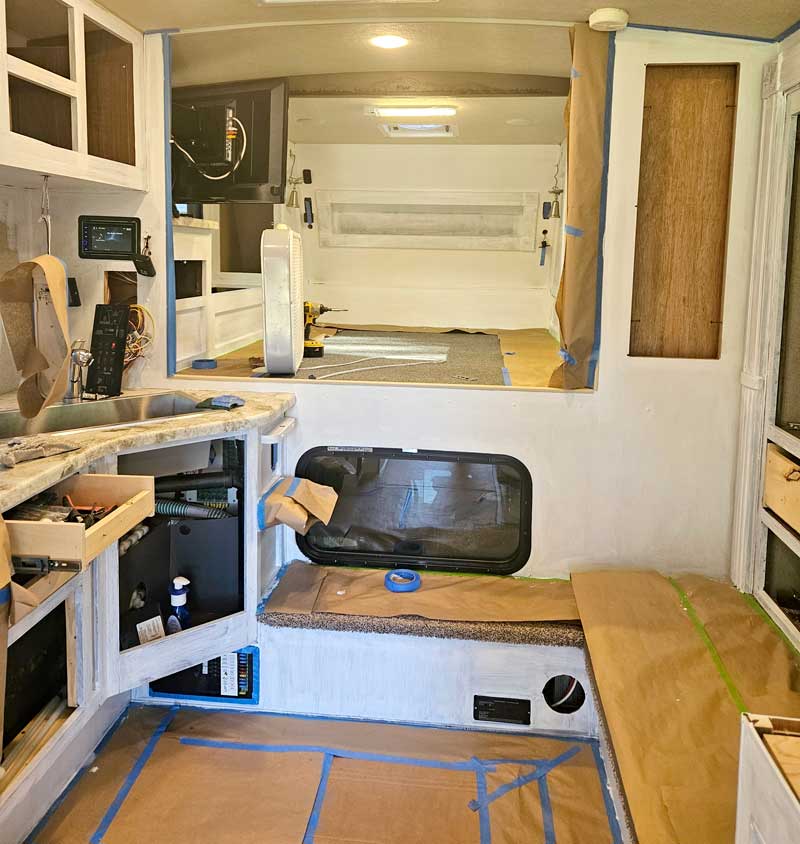
Then the painting began in earnest. If you think sanding is fun, painting is a close second.
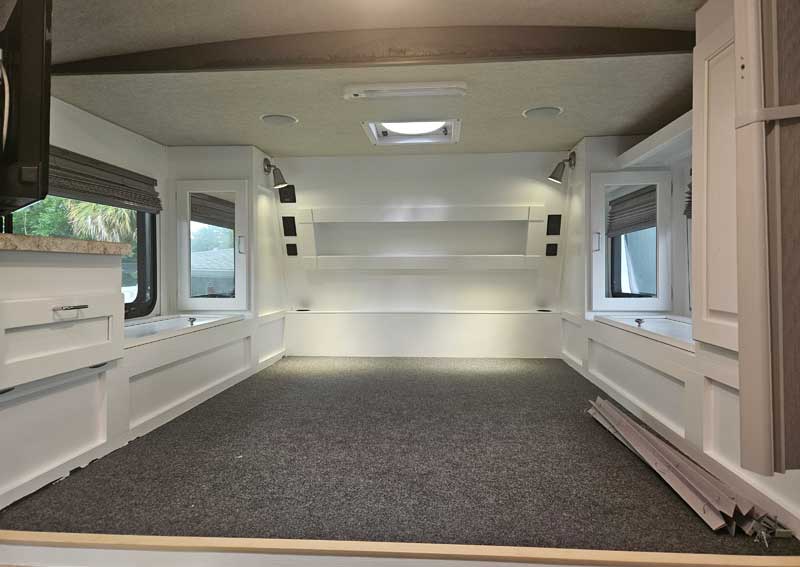
We applied two coats of Sherwin Williams Extreme Bond Primer and then two coats of Sherwin William Emerald interior acrylic latex paint for a total of four coats over a period of four days. What a transformation!
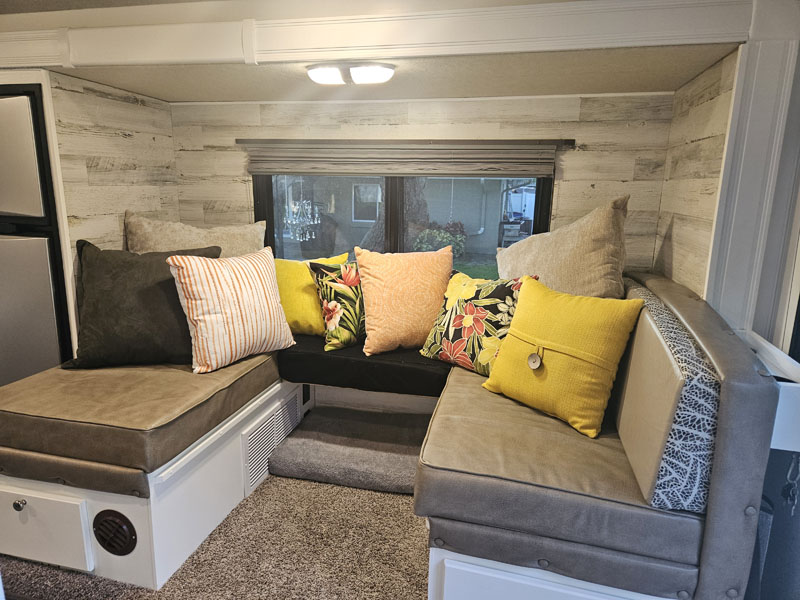
We also decided to install a lightweight wall board (looks like a weathered ship lap) around the dinette area as well as in the bathroom. This took a bit of skill to cut around the window opening, but the result was worth the effort. Confession: my husband did this project. Ladies, if you’re comfortable with power tools, you can do it!
Lastly, it was time to apply the peel-and-stick tile. I read many, many sad tales of peel-and-stick tile going wrong, but in the end chose ‘Smart Tiles’ in a simple subway pattern.
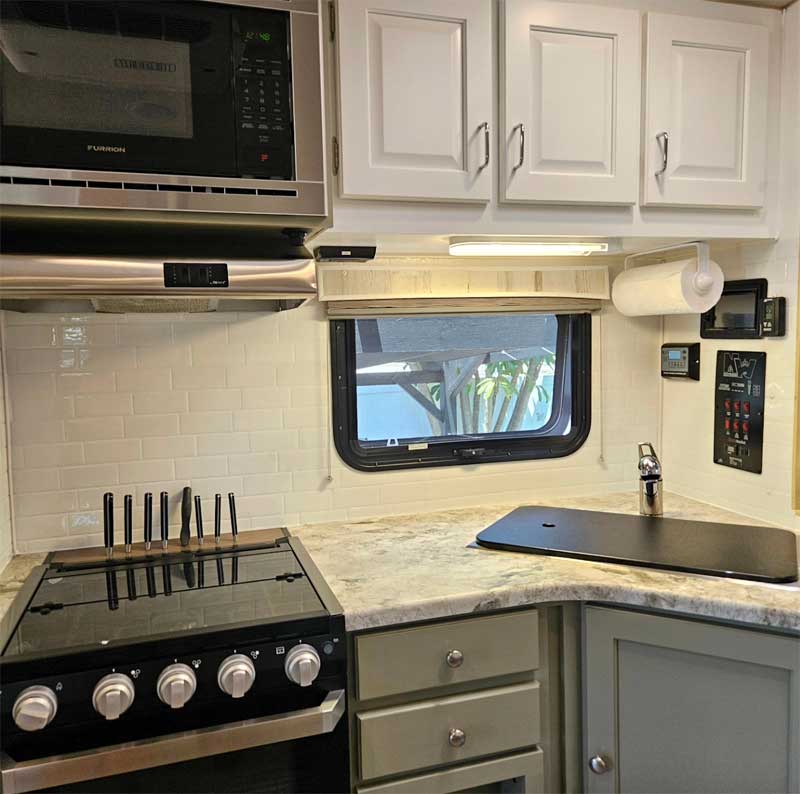
All of the many videos I watched showing the ‘ease’ of installation were a bit exaggerated in my opinion. Cutting around all of the electrical control panels, while maintaining the ‘subway’ pattern, was a bit of a challenge. I said a little prayer that night hoping, when we walked into the camper the following morning, the tiles would still be stuck to the walls. So far, over a month later, they’re holding strong. I guess we’ll see how they hold up in the coming year.
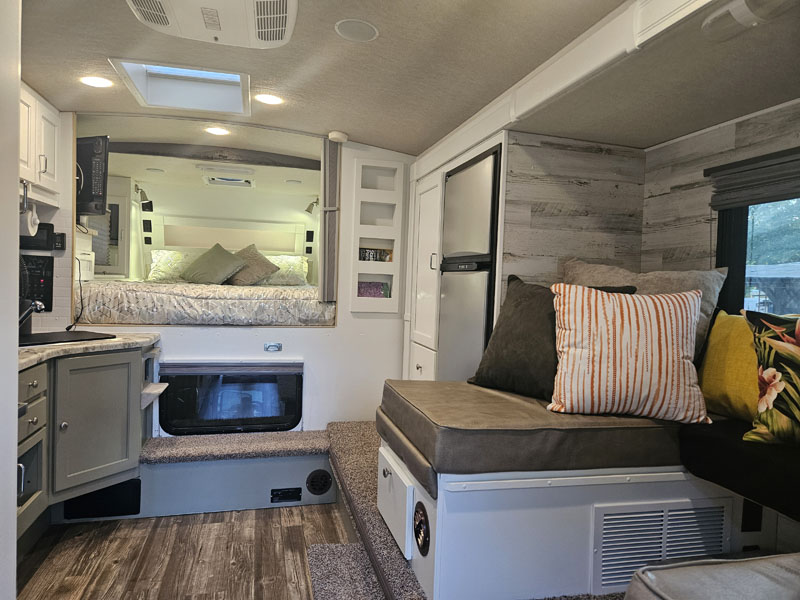
In the end, we—yes both of us—are extremely pleased with the outcome. We are not professionals and don’t pretend to say our way is the best way. Quite the opposite. There are many, many videos out there by professionals that show you step-by-step how to complete each of these processes. As people who like to dabble in DIY projects, we believed this was something we could do ourselves. There are certainly areas in our camper that are less than perfect but, for us, we couldn’t be happier with how it turned out.
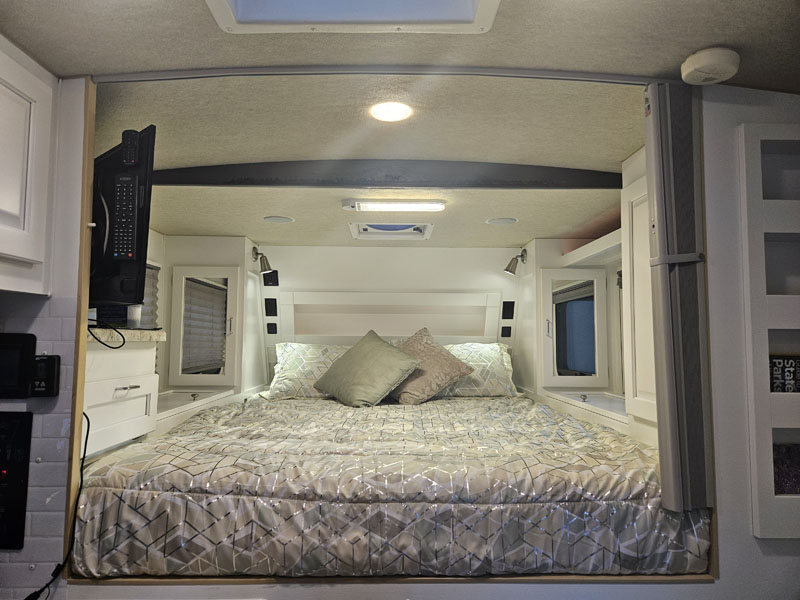
We have only camped in our refreshed camper once so far and we love it! Even my husband admits that he thinks it looks 100 percent better! Eventually, we’ll recover/replace the dinette cushions and probably get rid of the carpet. For now, we are simply enjoying our brighter space!
We understand there are a ton of product options out there when it comes to primer, paint, peel-and-stick tiles, etc. There are many that cost less than what we spent. However, I felt like these products, although more expensive, were the way to go in hopes of creating long-lasting results.
Supplies used:
100 grit sandpaper
Sherwin Williams Extreme Bond Primer
Sherwin Williams Emerald Paint
Smart Tiles
Ship-lap wall board
It took me approximately forty hours to complete this modification and cost me $830.
Disclaimer: The modifications above are submitted by Truck Camper Magazine readers. It is your responsibility to make sure that any do-it-yourself modification project you undertake is safe, effective, and legal for your situation.
Enter Your Mods Now!
If you’d like to enter a modification you’ve done on your truck camper, click here. You can enter as many mods as you want, at any time. Good luck mod makers!
