Welcome to September’s Mega PowerMod Contest, sponsored by Goal Zero. One Mega Mod will be published in every Email Alert in September. At the end of the month, we’ll hold a reader vote to determine September’s winner. Click here for information about the 2024 Mod Contest, including how to enter.

Paul Savage, Belfair, Washington
Electrical System Mods
2001 Ram 2500
2001 S&S Ponderosa 9.5SC
Boondocking in the fall or winter, our solar panel cannot keep up with normal 12 VDC loads. Running a generator for hours with an inefficient converter did not return batteries to a 100 percent state of charge (SOC). My goal was to increase the battery and solar capacity, add modern charging parameters, and improve battery/system monitoring.
Credit to William E. Prowse IV for extensive DIY Solar system information and expertise. Ninety percent of my knowledge gained was from his website and book, “Mobile Solar Power”.
My current system’s wiring was replaced following the existing path of wiring from solar panels to batteries. A 6 AWG wire was installed due to the distance from the Renogy solar controller to the batteries with 40 amp bolt-on fuse at the batteries.
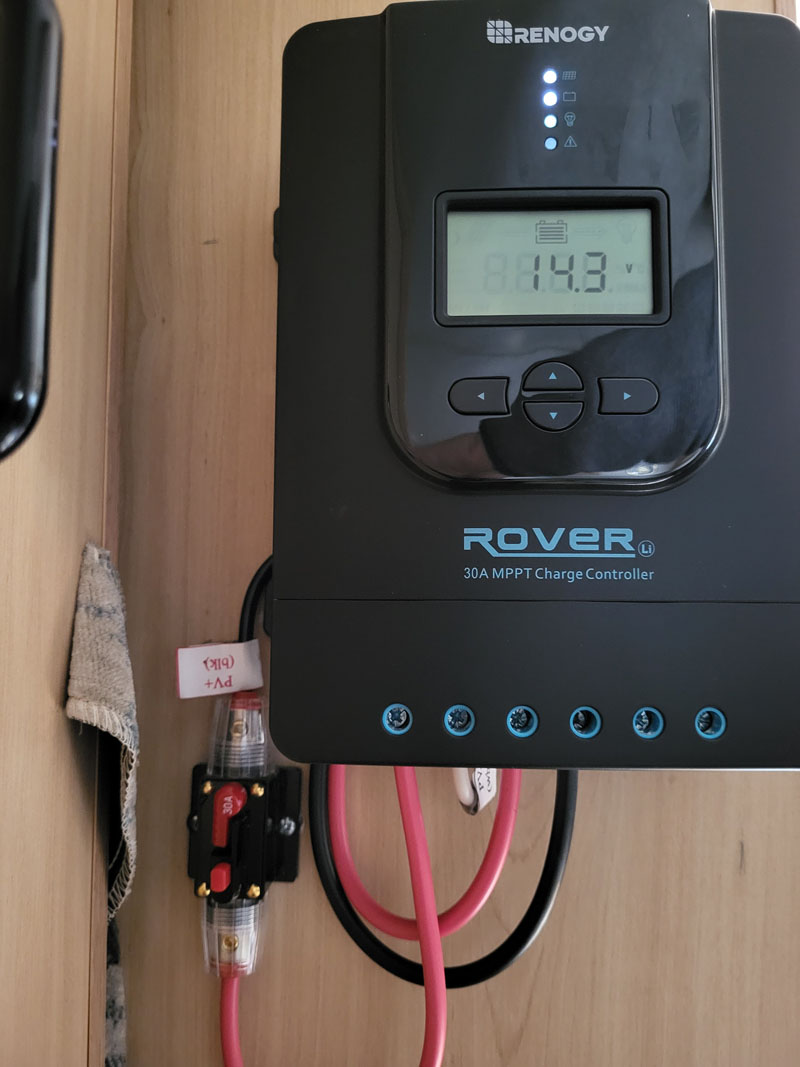
Then, 8 AWG solar-rated wire was installed from the panels to the controller with an inline manual reset breaker. Appropriate MC (multi-contact) connectors, combiners, and gland nuts were used to match the wire. Gland nuts were used on the original solar panel junction box and where the wires enter the refrigerator vent en route to the solar controller.
Two 100 Ah LiFe Po4 batteries, wired in parallel, replaced two 100 Ah AGM batteries. This effectively doubled my battery capacity.
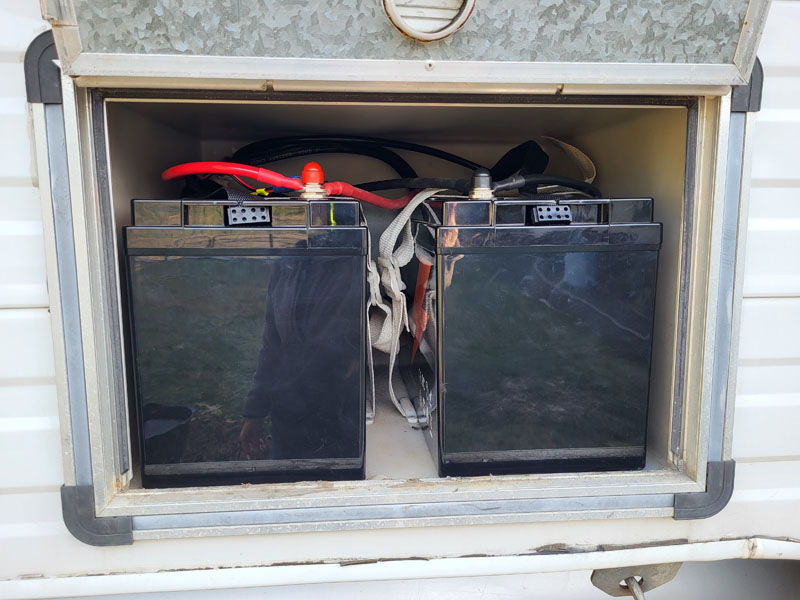
Note: An added benefit is that the combined weight of both Lithium batteries was less than one Group 31 AGM battery. I chose the Li Time Batteries based on a YouTube review by Will Prowse. I added a foam insert to improve the insulation of the battery compartment.
My converter was replaced with a Victron converter and I increased the wire size to 6 AWG to the batteries.
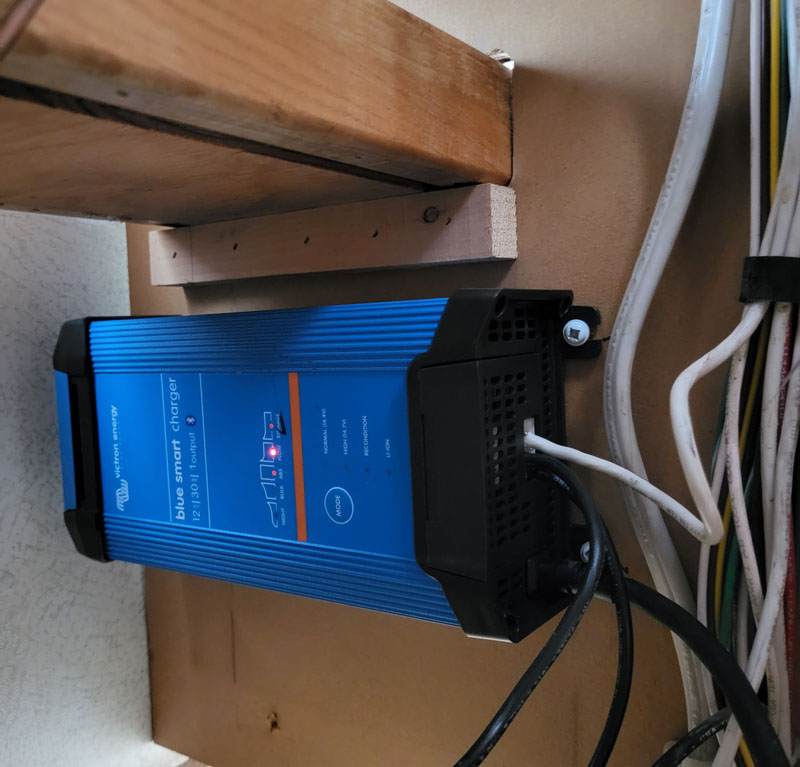
I added a shunt/monitor, LiPo temperature sensor, and a marine-grade disconnect switch in the negative line to the batteries. The shunt and converter are Bluetooth, which provides performance monitoring on my phone using one app.
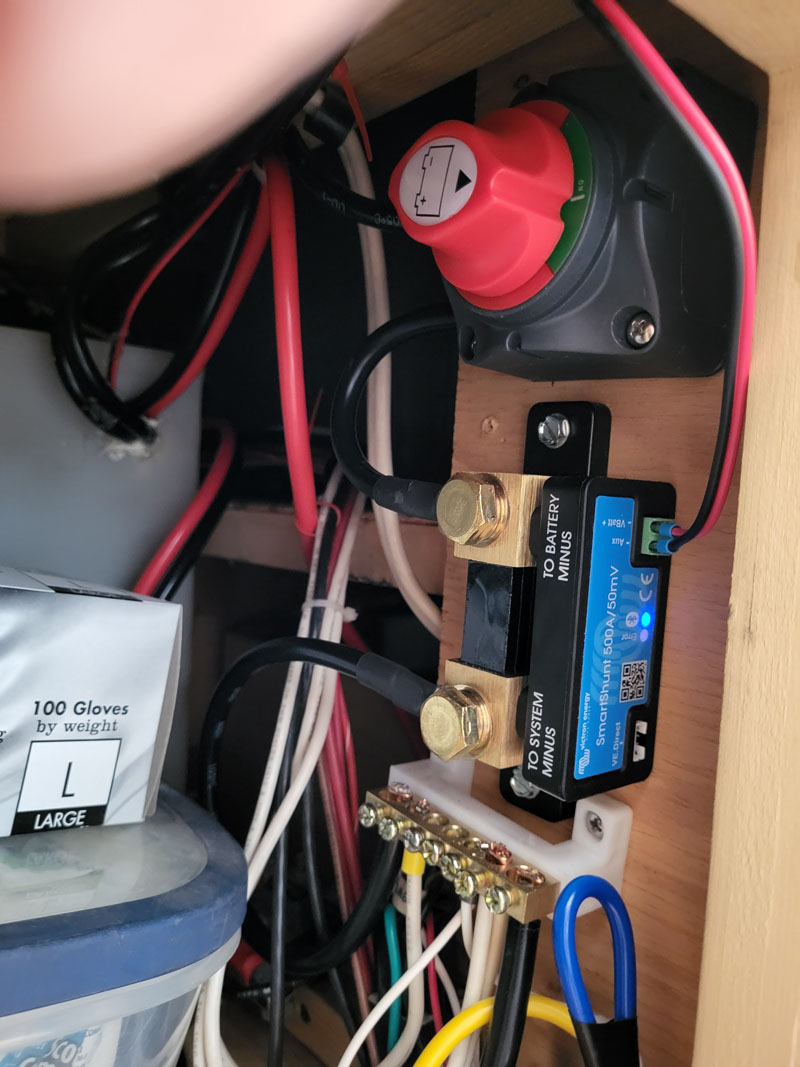
The shunt also supports a wired monitor. The disconnect switch isolates the DC electrical system during camper storage. The installation area is very tight and inside a small access door, but is adjacent to the batteries. I improved work access by removing the stove and two drawers. The negative buss bar was changed, improving insulation from the camper and wire capacity.
Also in this space, the camper has two positive power relay switches that cut power to the jacks and distribution board. The 16 GA power wires through relays were connected to 12 GA wires that route to destinations. I felt 16 GA was too small to feed the distribution panel, so replaced the relay with a 10 GA power pass-through relay.
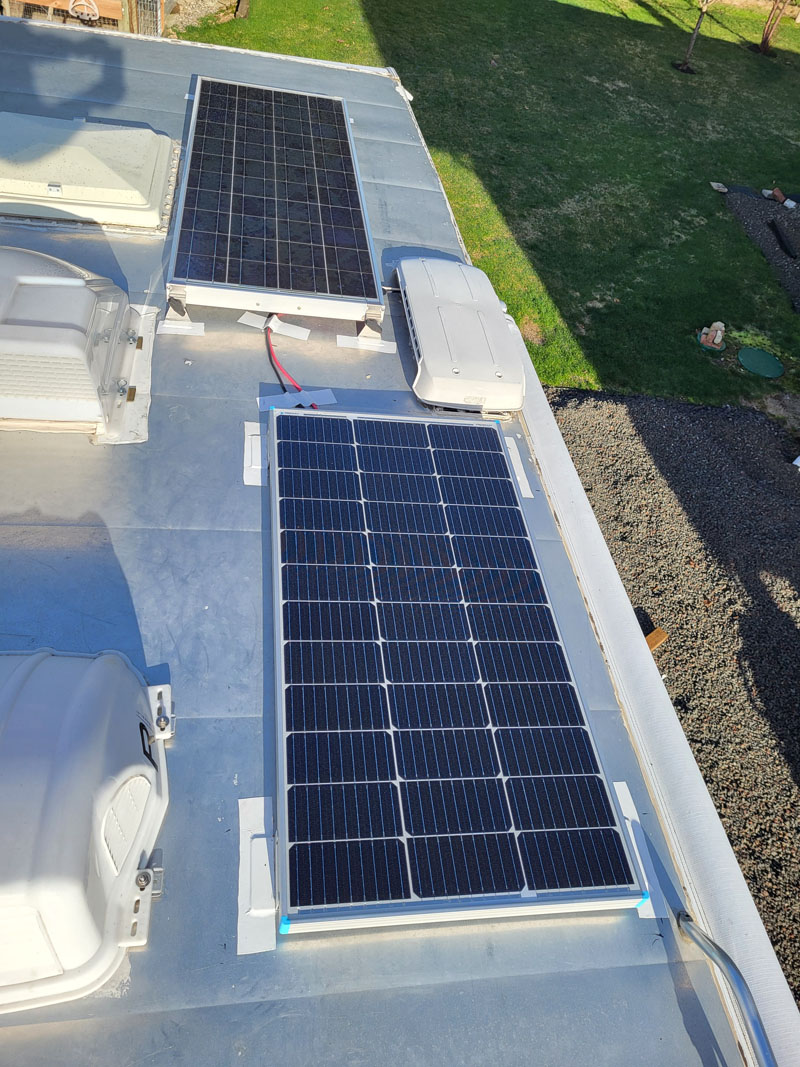
A 100-watt Renogy solar panel and “Z” mounts were installed. Fifteen years ago, I installed my first solar panel as a kit from AM Solar. They recommended mounts be installed on my camper’s metal roof with 3M tape! Are you kidding me? Hold down a wing on top of the camper with tape? Well, the mounts are still solidly attached after fifteen years.
3M tape was used to mount the “Z” mounts to the roof, and stainless steel fasteners to the new solar panel. Eternabond tape was added over each foot of the “Z” mounts for weather protection and hold. It’s critical to follow preparation directions for 3M tape use. Based on the recommendation from Will Prowse, he added a lanyard between the panels and the camper. If a panel comes loose at 70 mph, no one around you gets hurt.
Note: After buying some components through Amazon, I started getting reduced-price offers for other solar components. Who would think Amazon would target me with ads? Side tip, put items you want on your wish list. After a few days on the list, the offers begin to roll in.
My modification works well under limited use. I have not been out for a week or two adventure test as of yet.
Website Mobile-solar power
Book: Mobile Solar Power, William Errol Prowse IV
6 AWG wire, $50
Renogy Rover 30A MPPT controller, $120
40A bolt on Fuse,$11
8AWG wire, $40
30A Manual reset Breaker,$14
Li Time Batteries LiFePO4, $560 : Litime 12V 100Ah LiFePO4 Lithium Battery 100A BMS 4000-15000 Cycles for RV Solar | eBay
Victron Energy converter, $180
Victron Energy Smart Shunt/monitor, $120
Victron Temperature Sensor BMV-702/712, $35
Marine grade switch,$17
Negative Buss bar, $8
12v Auto relay, $10
Renogy 100WSolar panel, $85
“Z” Panel mounts, $26
3M 1/2” wide tape,$17.97
It took me 40 plus hours to complete this modification and cost me $1,200.
Disclaimer: The modifications above are submitted by Truck Camper Magazine readers. It is your responsibility to make sure that any do-it-yourself modification project you undertake is safe, effective, and legal for your situation.
Enter Your Mods Now!
If you’d like to enter a modification you’ve done on your truck camper, click here. You can enter as many mods as you want, at any time. Good luck mod makers!
