Welcome to the third entry in January’s Mega Mod Contest. One Mega Mod will be published in every Email Alert in January. At the end of the month we’ll hold a reader vote to determine January’s winner. Click here for information about the 2021 Mod Contest, including how to enter.

Paul Savage, Belfair, Washington
Complete Rebuild of a Camper Nose
2001 Dodge 2500
2002 S&S Ponderosa 9.5SC
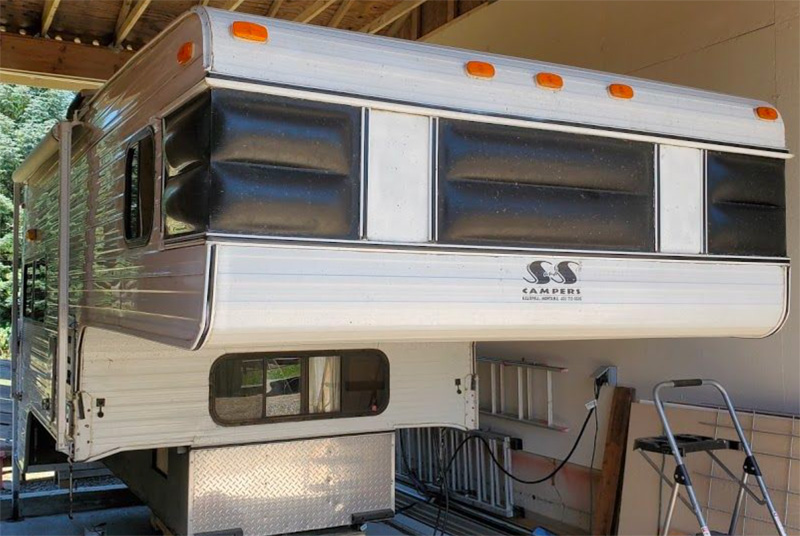
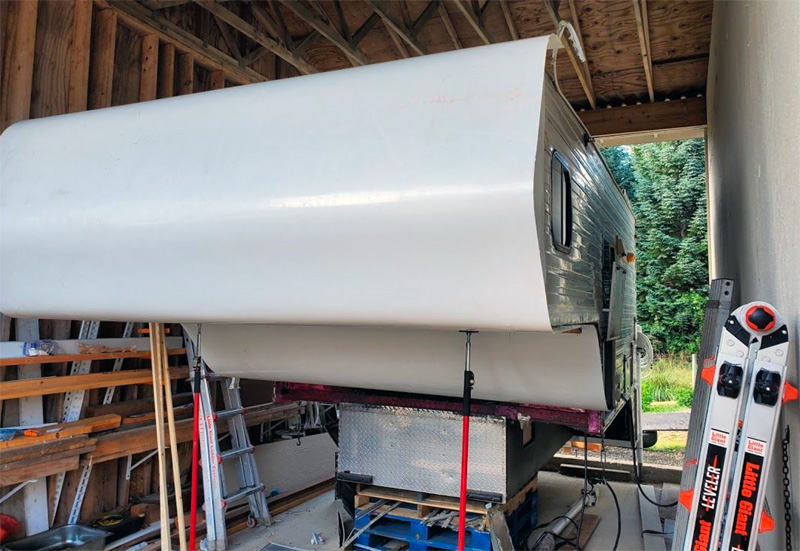
Above: A before the project started photo. The outer skin will be removed as well as the plastic smoke windows. I will also be removing the lower front metal, window, and jacks.
My modification was to eliminate the inefficient smoke plastic front windows in our S&S Camper, which had many opportunities for leaks. I did have some minor leaks, and any is unacceptable. The drafty windows also prevented me from seeing out, and noise traveled through the plastic easily.
The goal of this modification was to eliminate the window, seal the front nose water tight, and improve the insulation and noise dampening.
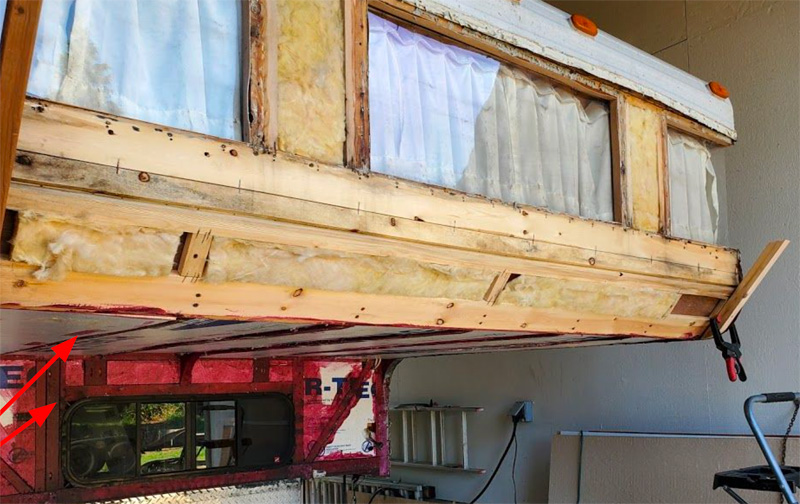
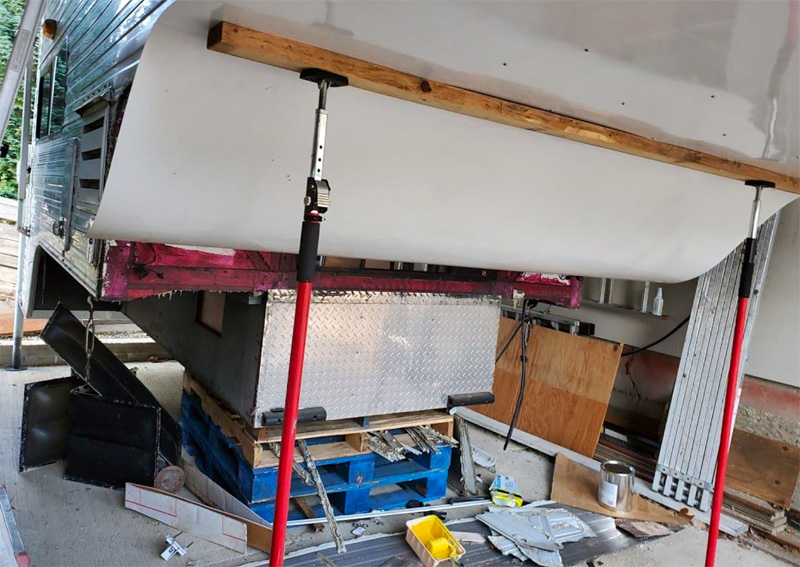
Above: Diamond plate and purple (grape coat) is from the last time the camper was opened up. Supports, foam insulation, and grape coat were added. The coating is used to create shower trays in houses.
Above: Single support board is removed. It’s good enough for metal, but not filon. I had to determine the angle of the tangents.
To begin, I removed the jacks, front window, and the outer metal skin along the front up to the seam at the roof line. Then I removed the plastic windows on the front and corners including the butyl sealant.
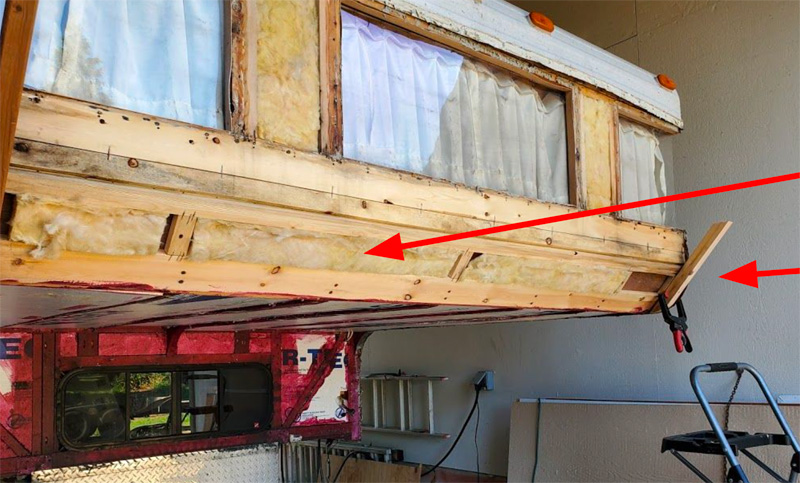
Next I filled the window voids with 1×3 wood supports (pictured above). I created two each of half moon pattern templates, cut pieces from 3/4-inch plywood, and installed them on the lower curve of the nose using a Kreg jig.
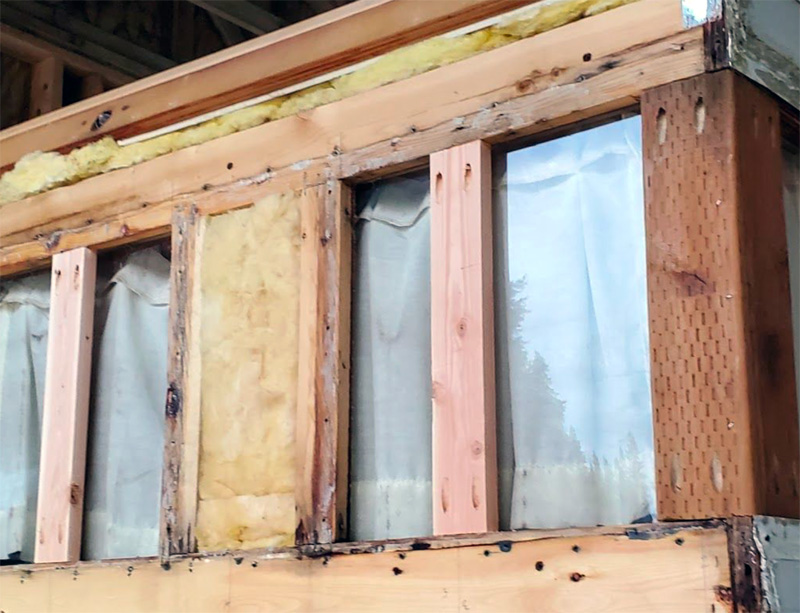
Above: I determined the number of supports, cut and filled old window voids. I also strengthened the corners.

Above: A template was built for protrusion pieces that are tangents to the upper and lower radius pieces. I cut the pieces and routed out for the support board where the under skin joins.
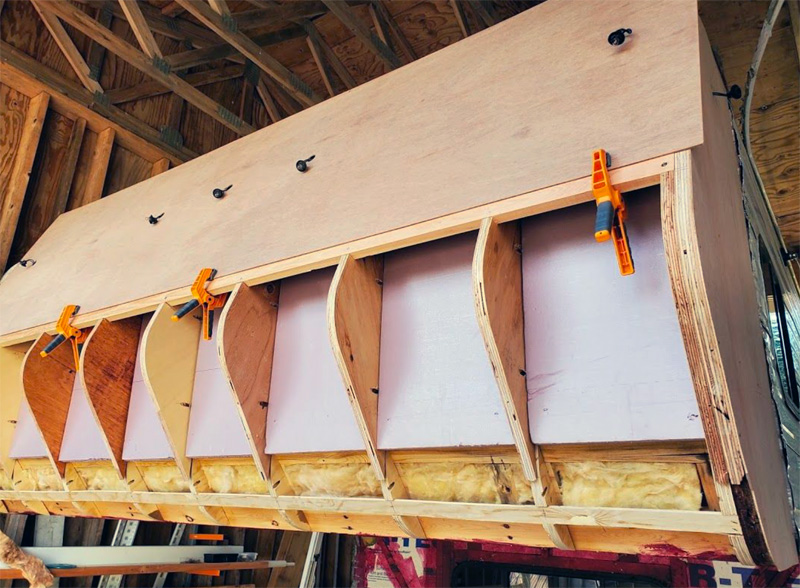
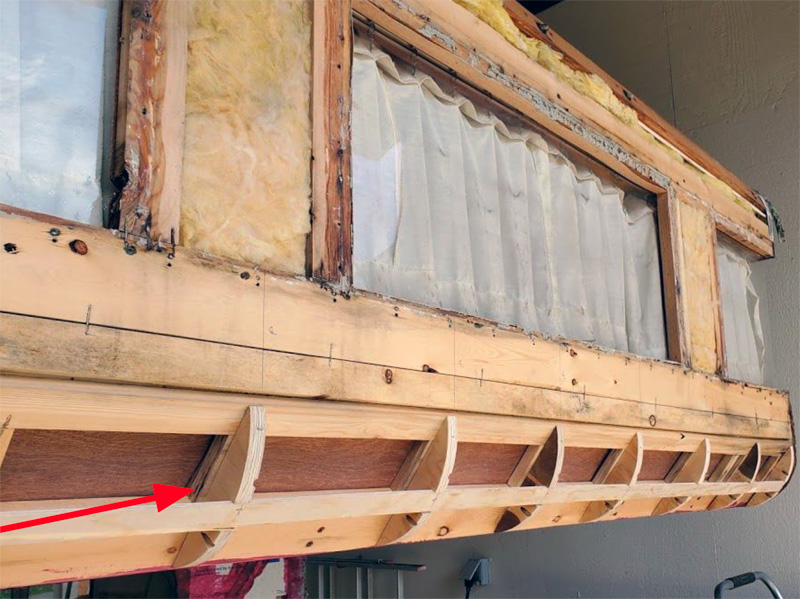
Above: It is insulated between the new supports and the plywood skin. I also located and cut spaces for clearance lights.
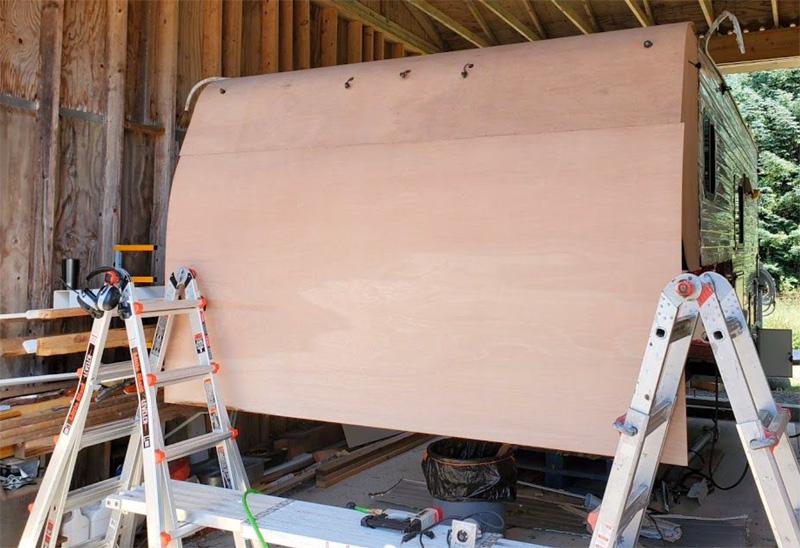
Then I installed luan plywood over the framing (pictured above) and contact cemented the filon sheeting to the luan.
This was a critical no-error step.
Once that was completed, I trimmed the plywood and filon using a router with a flush bit.
I located the clearance lights, jack power sockets and installed them. Seam tape was used on all seams and then butyl tape under the edge and flat molding.
Above: The 11′ Filon sheet was attached with Contact cement. One person on each side and one on the top were essential to align and set the filon.
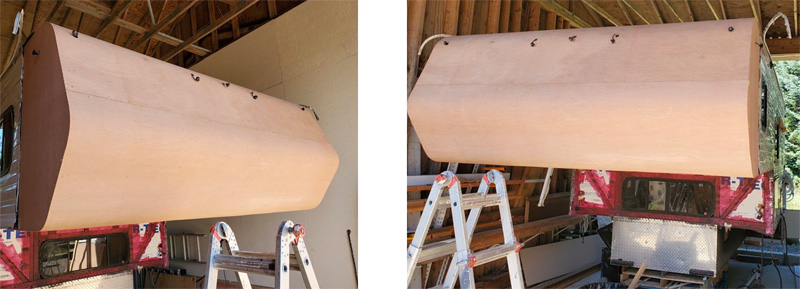
Above: The filon is installed under the camper’s nose.
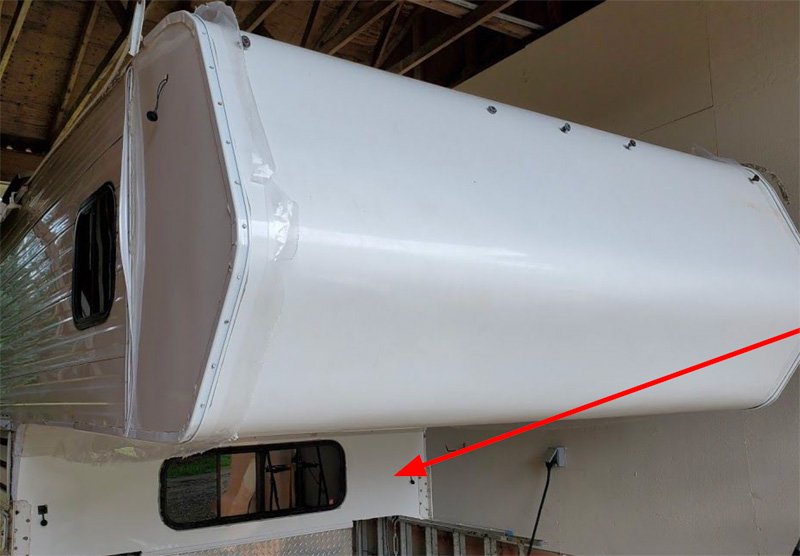
Above: The filon is installed. The side and edge trim was formed. The lights were located using storyboard and alignment marks from the previous step.The sheeting was installed on the lower front jack, the jack brackets, electrical outlets and the window.
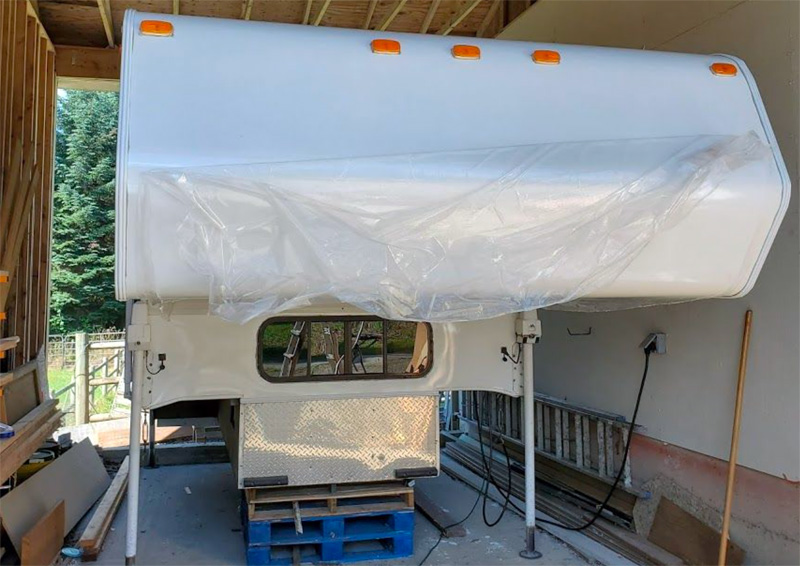
Above: The roof’s edging, clearance lights and jacks were next. Then I removed the protective film.
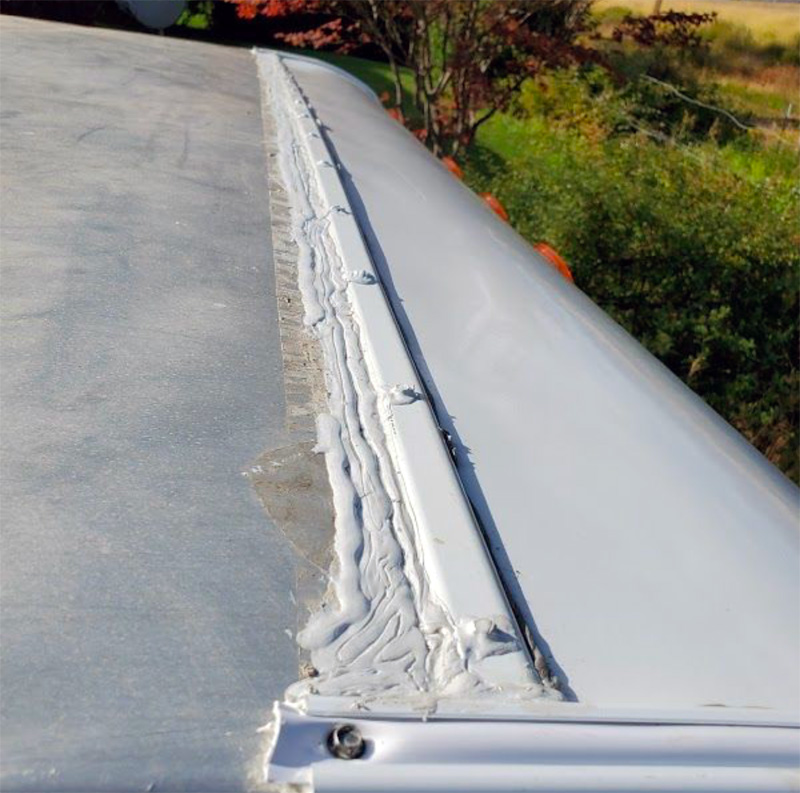
Above: The roof’s seam – aluminum roof meets filon. I used seam sealer from a tube, butyl under the flat metal seam, and Dicor self leveling sealant on top. My camper has an arched roof.
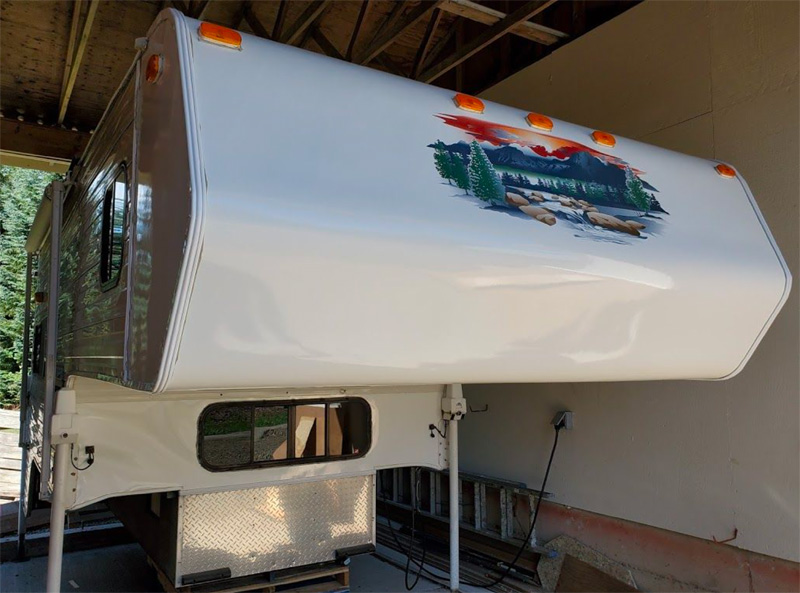
The modification was finished off with an outdoor scene (a vinyl decal from Etsy.com).
The modification is working great. My camper is no longer leaking and it’s much quieter in the sleeping area. The sleeping area is cooler or warmer than it was previously.
As a bonus, the camper is now more aerodynamic with the new nose. As a result, I have improved my truck’s fuel mileage by 1-2 miles per gallon, with the camper loaded.
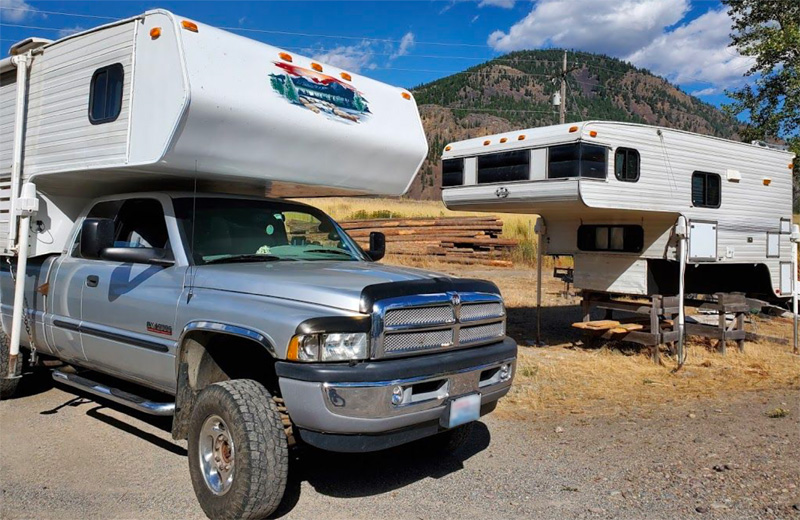
Above: Comparison picture with a friend’s camper
It took me more than 40-hours to complete this modification and cost me approximately $600. In my opinion, the skill level of this modification is hard.
Disclaimer: The modifications above are submitted by Truck Camper Magazine readers. It is your responsibility to make sure that any do-it-yourself modification project you undertake is safe, effective, and legal for your situation.
Enter Your Mods Now!
If you’d like to enter a modification you’ve done on your truck camper, click here. You can enter as many mods as you want, at any time. Good luck mod makers!


