Welcome to the second entry in January’s Mega Mod Contest. One Mega Mod will be published in every Email Alert in January. At the end of the month we’ll hold a reader vote to determine January’s winner. Click here for information about the 2021 Mod Contest, including how to enter.
Scott Ellis, Billings, Montana
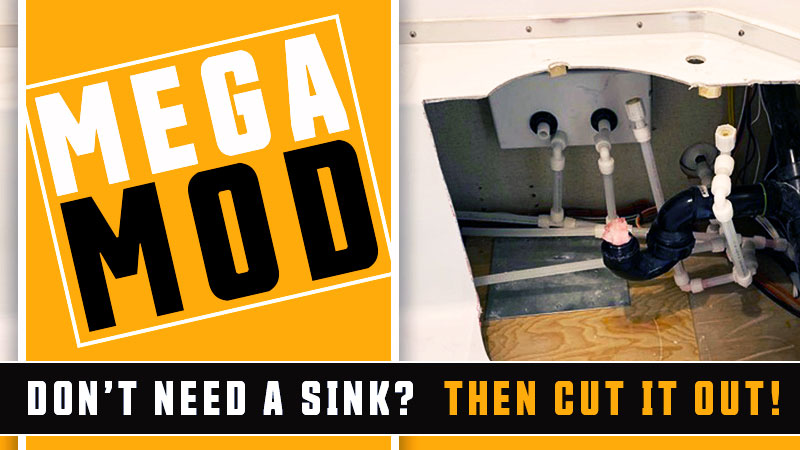
Camper Sink Gets Canned
2012 Chevy 3500
2019 Northern Lite 9-6QSE
We never used the bathroom sink, nor did we shower in the camper. The only time we operated either fixture was to make sure antifreeze reached the sink faucet and shower nozzle for fall winterizing.
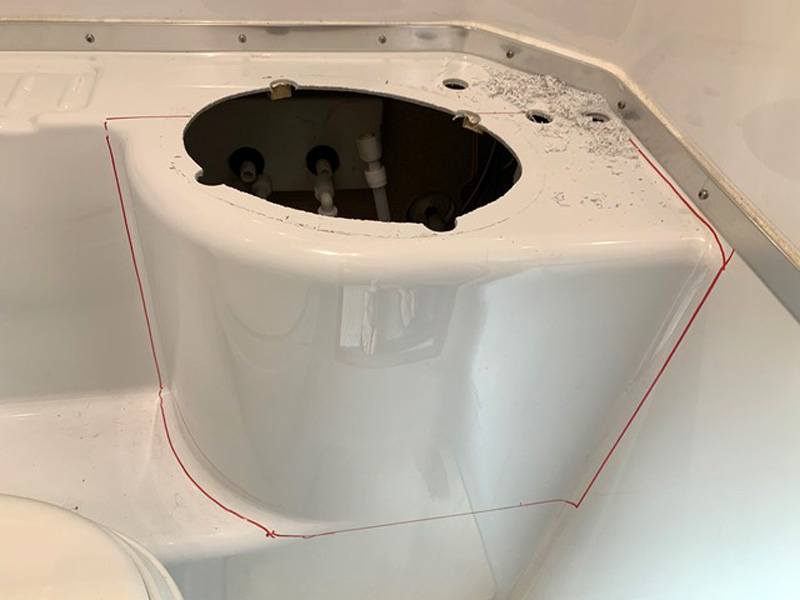
On the other hand, we do doo-doo in there, and it was a cramped proposition. We decided that the space taken up by the sink would be better used for our left knee.
I pulled the outside shower to confirm the space beneath the sink was essentially empty. It was. Next I removed the sink and outlined the cut I wanted to make in the fiberglass. Obviously, you only get one shot at this, so I was very careful about what was behind the proposed cut.
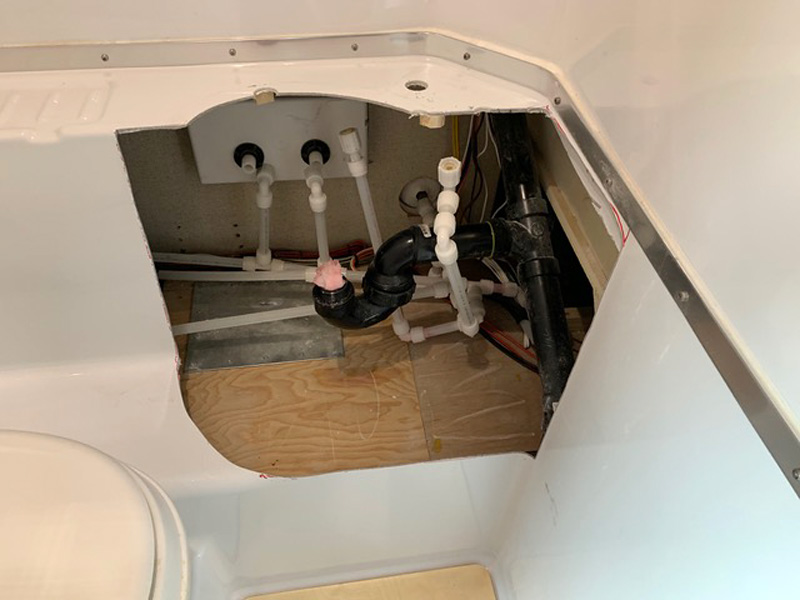
Once I was happy, a Sawzall with a fine-toothed blade made short work of the cut. I capped the water lines, and cut a “Y” out of the drain/vent line. Then I reconnected it as vent-only with a pair of no-hub couplers.

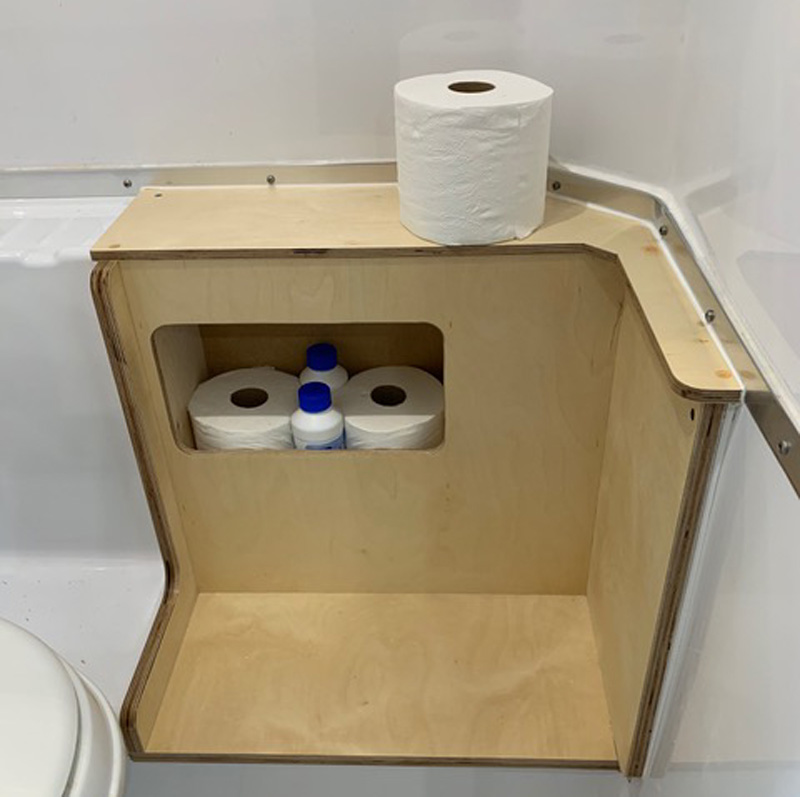
Then, with some cardboard templates and a lot of head-scratching, I built the box/cover for the hole. The box is “Europly” or “multi-core plywood”, a many-plied and very flat plywood available at cabinetry-supply houses and some lumberyards. The back, top, and the TP box are 7/16-inch; the sides and bottom are 5/8-inch“.
I finished it with rattle-can lacquer, and screwed and caulked it in place. The “working” roll of TP will go on a hanger on the side wall.
Initial sit tests are quite satisfactory. Obviously, this mod is not for everybody, and it’s probably not for anybody who is concerned about resale. For us, it has significantly increased the comfort of the facilities we use.
It took me about 12-hours to complete this modification. I salvaged scraps, so it was about $30 for plumbing parts, lacquer and caulk. In my opinion, the skill level of this modification is hard. The cut takes nerve and the box fabrication isn’t straightforward.
Disclaimer: The modifications above are submitted by Truck Camper Magazine readers. It is your responsibility to make sure that any do-it-yourself modification project you undertake is safe, effective, and legal for your situation.
Enter Your Mods Now!
If you’d like to enter a modification you’ve done on your truck camper, click here. You can enter as many mods as you want, at any time. Good luck mod makers!


