Welcome to the third entry in February’s Mega Mod Contest. One Mega Mod will be published in every Email Alert in February. At the end of the month, we’ll hold a reader vote to determine February’s winner. Click for information about the 2022 Mod Contest, including how to enter.
Mike Shippy, Parker, Colorado
Camper Electrical System Transplant
2016 Ram 3500
2017 Adventurer 89RBS
We mostly boondock. I always wanted to switch to lithium batteries to eliminate the issues with lead-acid batteries. With our previous system of one 100-watt solar panel and two 6-volt AGM batteries, we were always on the edge of not having enough battery power to last through the night.
For long lead-acid battery life, I never wanted to exceed discharging to less than 50-percent of available power. I also wanted to add an inverter, hardwired surge protector, and automatic switch to switch between shore power and inverter power.
I also wanted to add USB-C outlets and AC outlets on both sides of the bed, to be able to monitor all of this using my cell phone, and the ability to disconnect the batteries from the camper without having to physically remove a battery wire.
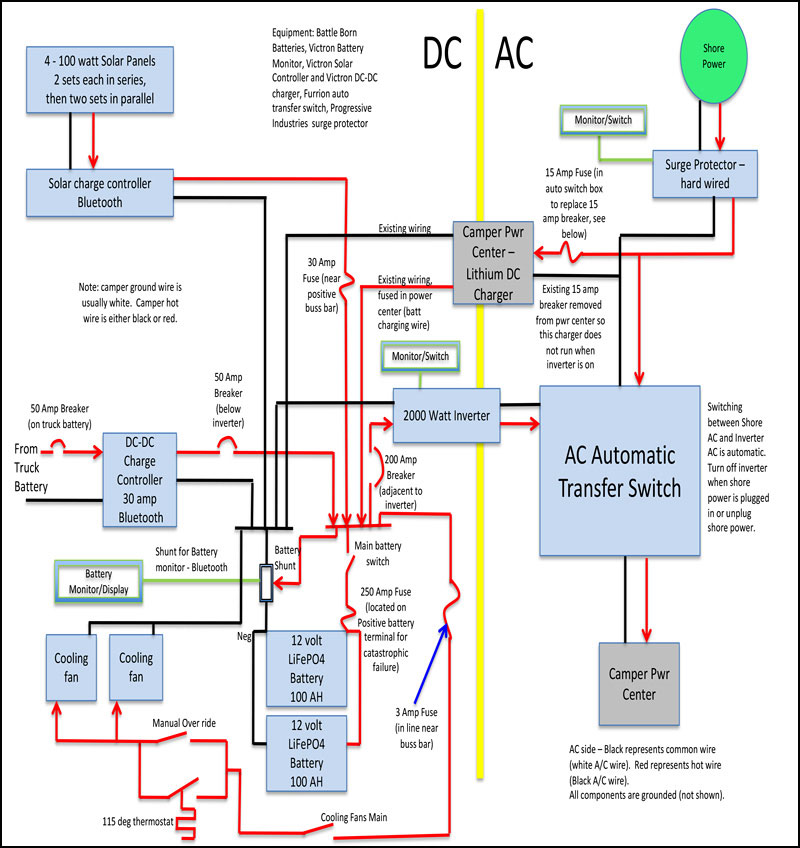
Above: Mike’s camper wiring diagram for this modification
So, why not do all this at once?
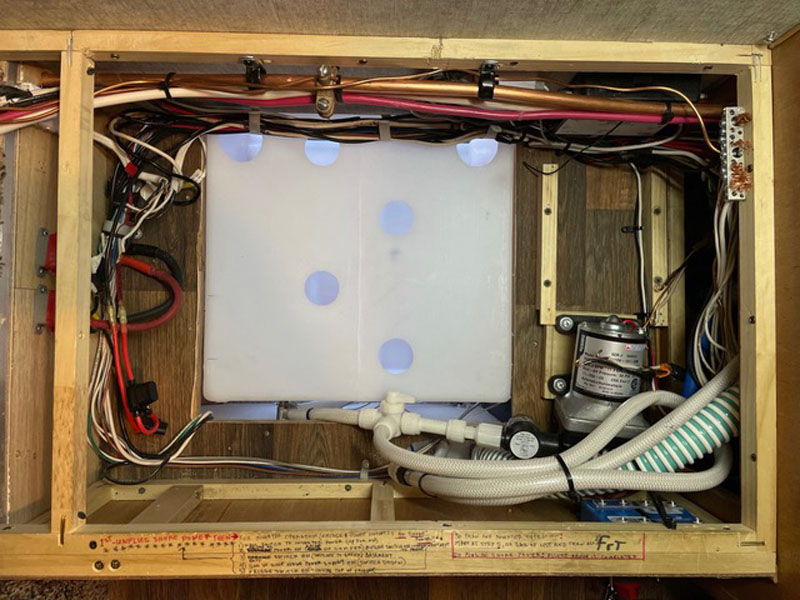
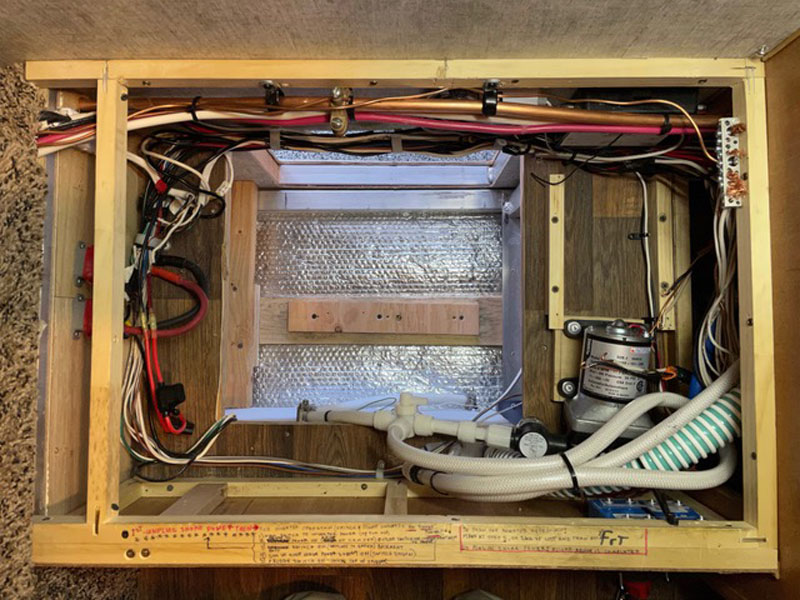
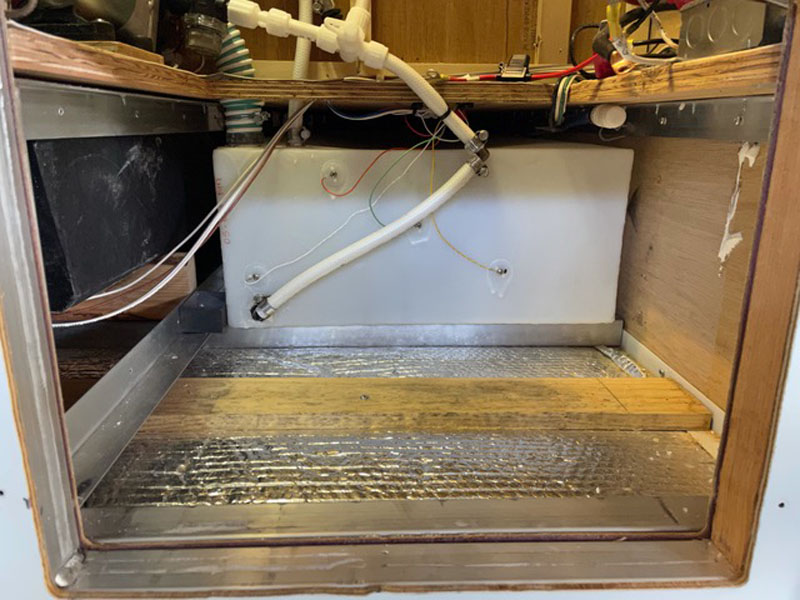
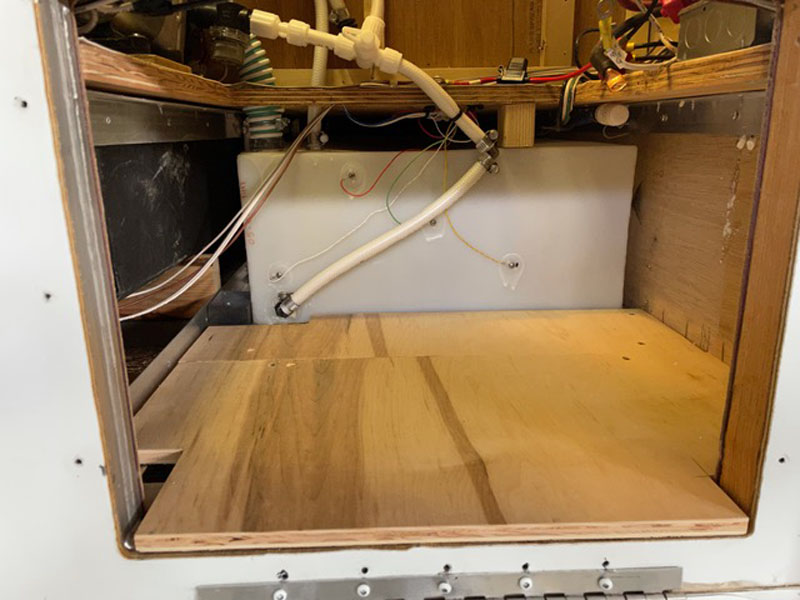
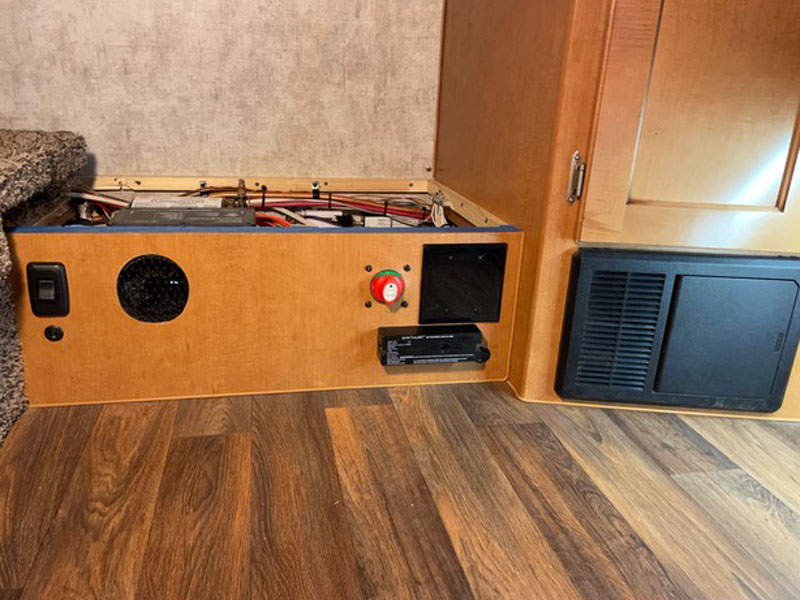
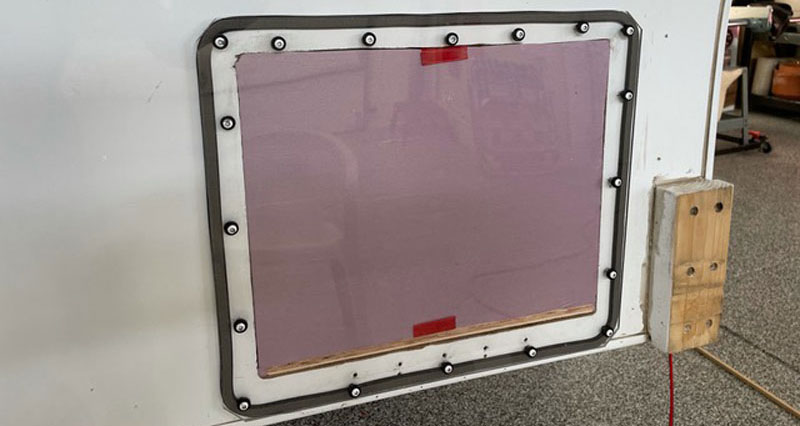
The first step of this mod was to remove the battery compartment to access the basement area and to open up more room for batteries and equipment.
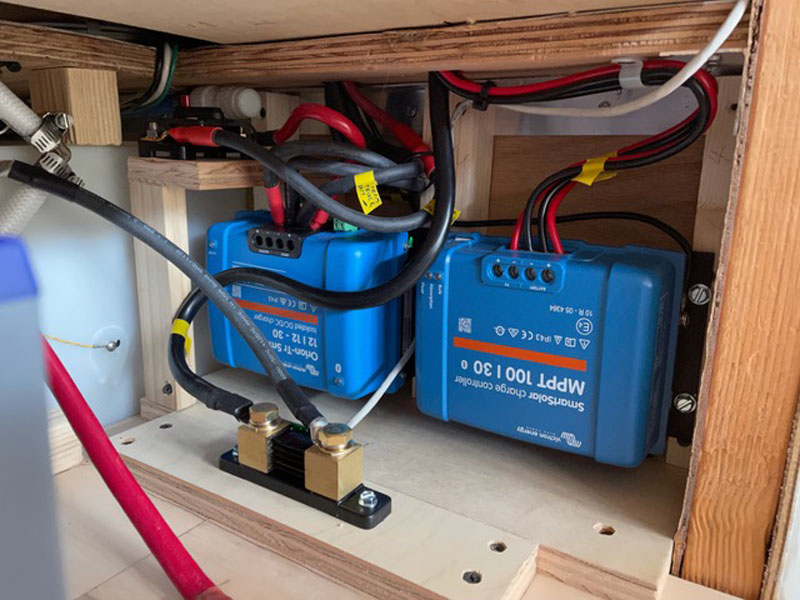
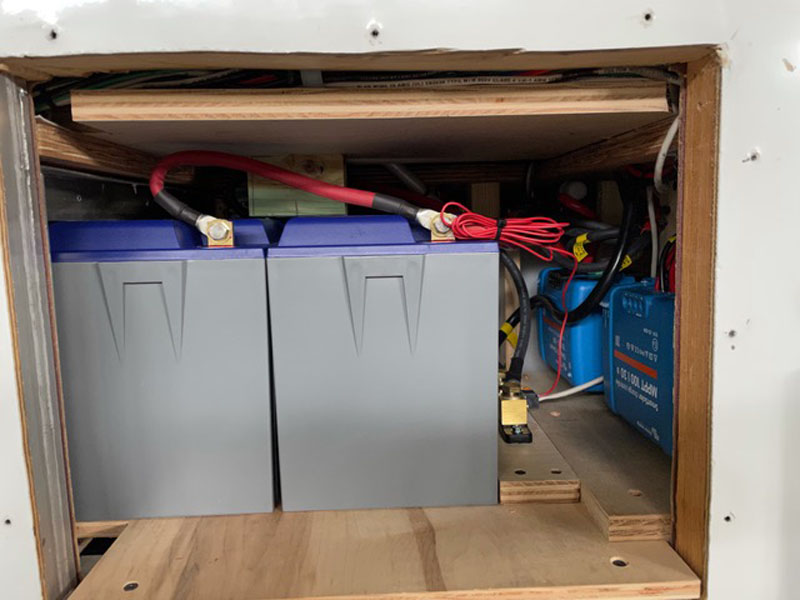
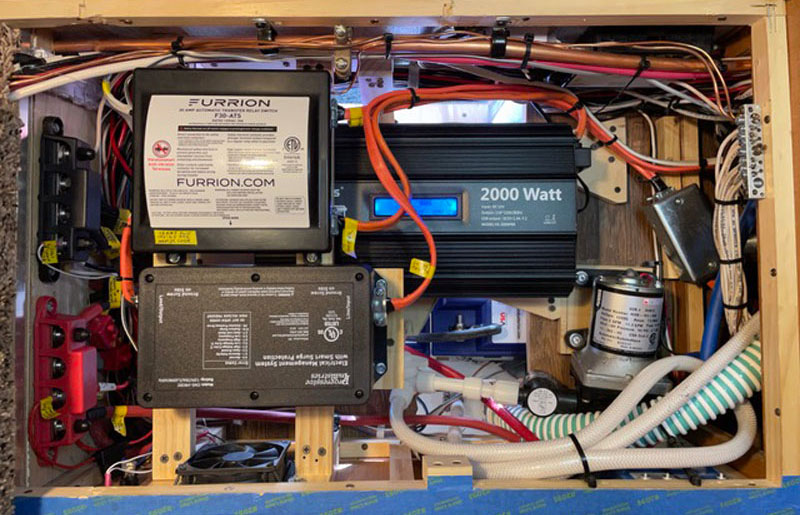
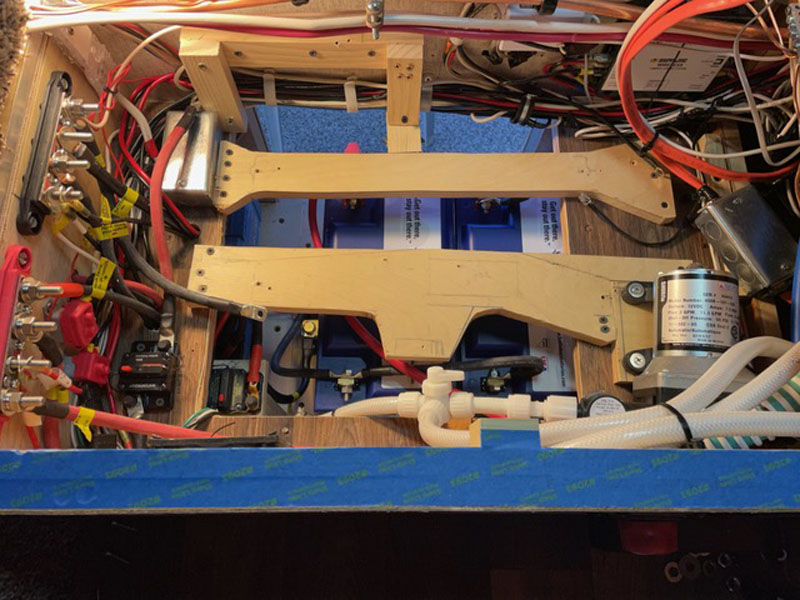
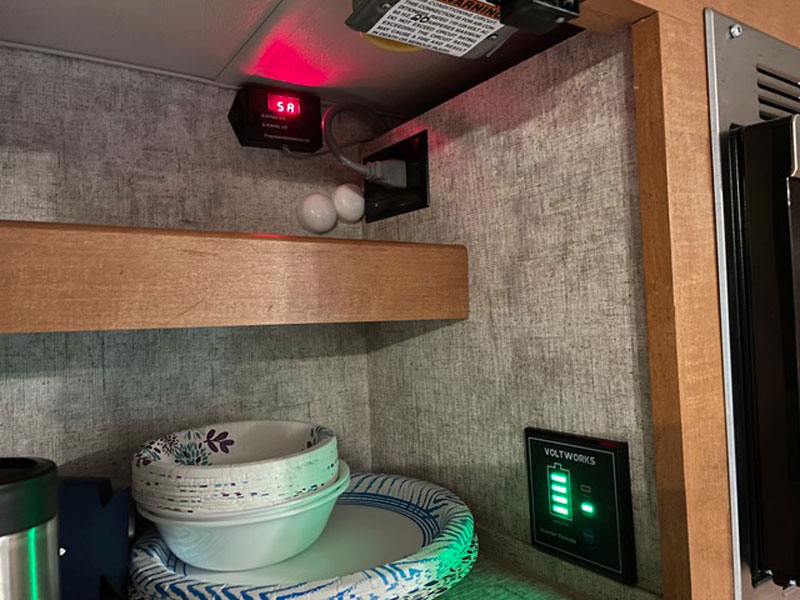
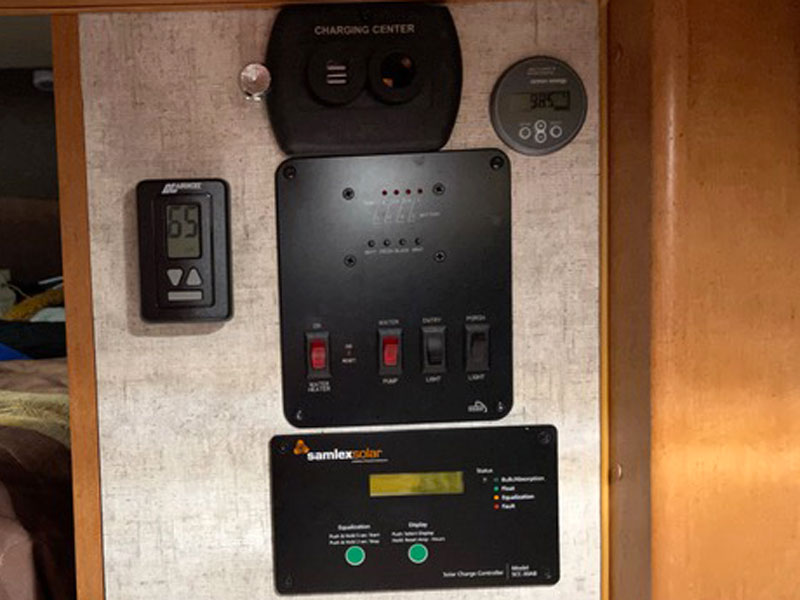
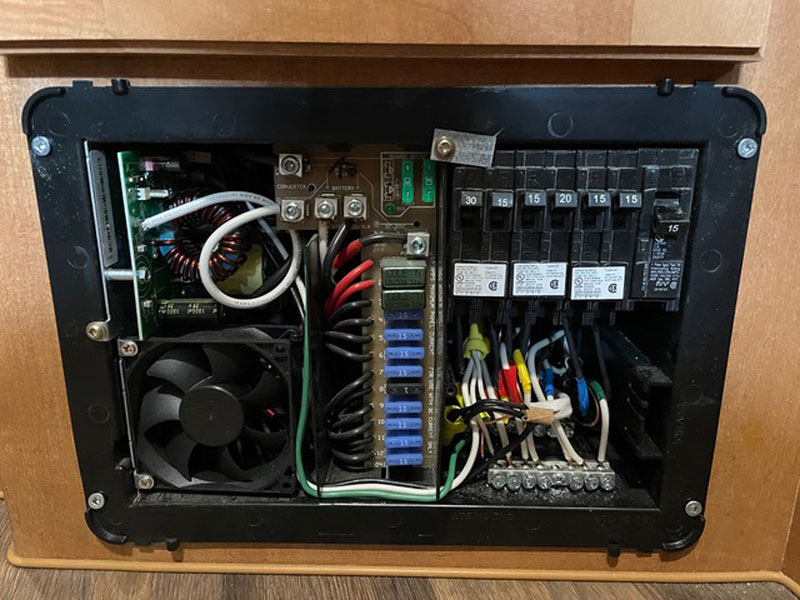
The new lithium batteries, battery shunt, DC-DC charger, solar controller, 2,000-watt inverter, surge protector, automatic switch, circuit breakers, positive and negative buss bars, and fuses were installed in the battery compartment area and the area under the step to the bunk.
Cabinet areas and trim were removed to install the USB-C outlets and AC outlets, plus all the wiring.
Three new solar panels were installed for a total of 400-watts of solar power.
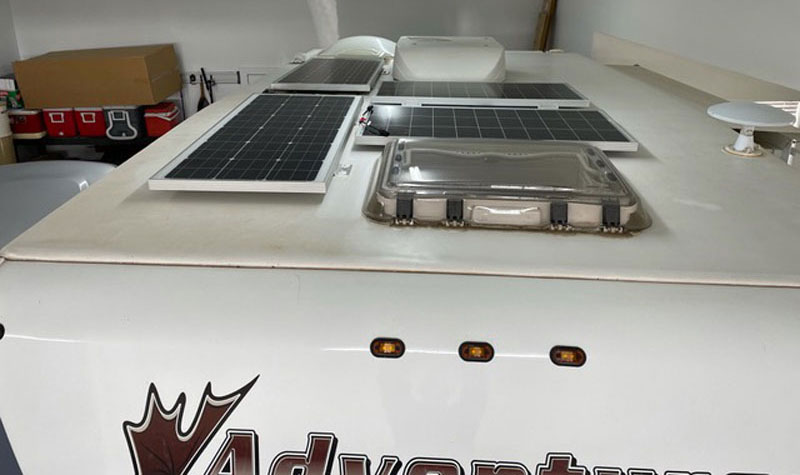
The existing solar wiring pass-through was used. Truck charging was added so we can charge the batteries going down the road in case of cloudy days.
The new setup has performed even better than expected. Our batteries are always fully charged the next day. There are no more worries about discharging batteries too far and we now have about two times the battery capacity with 40-percent of the weight of lead-acid batteries.
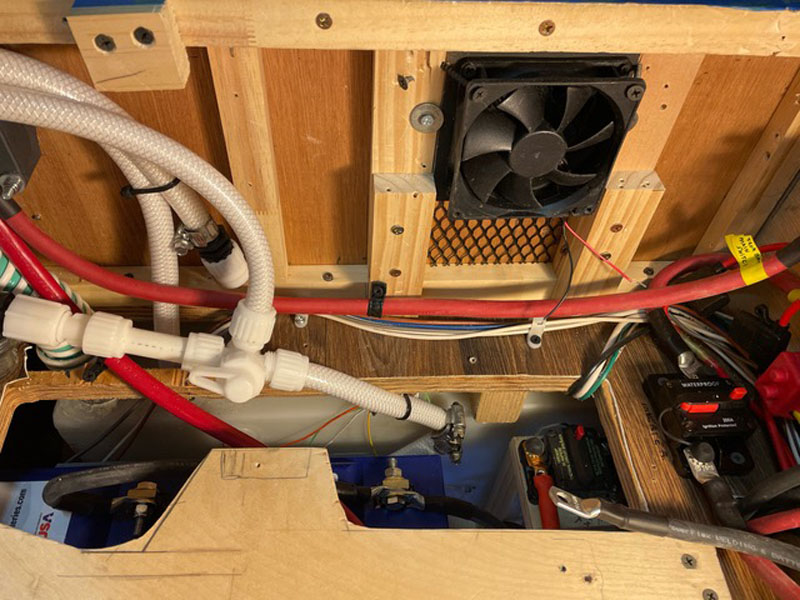
Even with the new solar panels and all equipment added, our net gain of weight was about zero. Since lithium batteries do not outgas, they are now internal to the camper and fully insulated from the outside.
Materials used:
2 Battle Born Lithium batteries (Battle Born) – $1,798
1 Victron Solar Controller, 30-amp (Battle Born) – $200
1 Victron DC-DC charger, 30 amp (Battle Born) – $225
1 Victron Bluetooth battery monitor (Battle Born) – $165
1 12-volt DC Progressive lithium charging circuit board for camper power center (Battle Born) – $200
1 Progressive Dynamics 30 amp hardwired surge protector (Amazon) – $272
1 Furrion automatic switch (Amazon) – $96
1 Voltworks 2,000-watt sine wave inverter (Amazon) – $380
3 Renogy 100-watt solar panels with mounting brackets (Amazon) – $300
12 solar panel mounting brackets
24 well nuts to mount panels on roof – $27
1 red and, 1 black buss bar (Amazon)
2 12-volt computer fans (Amazon)
2 12-volt switch for fans and USB (Amazon)
1 115-degree thermal switch (Amazon)
1 small spool of 18-AWG wire (Amazon)
20-feet – 4-AWG welding wire, red and black (Amazon) – $68
1 – pair welding connectors for 4-AWG wire (Amazon)
20-feet – paired red/black 10-AWG wire (Amazon)
assorted crimp connectors, shrink tubing, solder, 3/4-inch plywood and 1×2-inch wood strips, screws, bolts, nuts, washers
14-2 house wire (Lowes) 10-feet
10-2 house wire (Lowes) 10-feet
1 ceramic fuse holder, 15-amp fuse
2 50-amp DC breaker (Amazon) – $42
1 – 200-amp DC breaker. (Amazon) – $21
1 – inline DC fuse holder and 3-amp fuse (Amazon)
1 – inline DC fuse holder and 30-amp fuse (Amazon)
1 – 250-amp battery terminal fuse (Amazon) – $40
1 – 250-amp main battery switch (Amazon) – $14
Misc – hose clamps, zip ties, electrical tape
This modification took me two months to complete and about 180-hours of time. It cost me $4,300. In my opinion, the skill level of this modification is hard. You must understand DC and AC camper wiring systems.
Disclaimer: The modifications above are submitted by Truck Camper Magazine readers. It is your responsibility to make sure that any do-it-yourself modification project you undertake is safe, effective, and legal for your situation.
Enter Your Mods Now!
If you’d like to enter a modification you’ve done on your truck camper, click here. You can enter as many mods as you want, at any time. Good luck mod makers!


