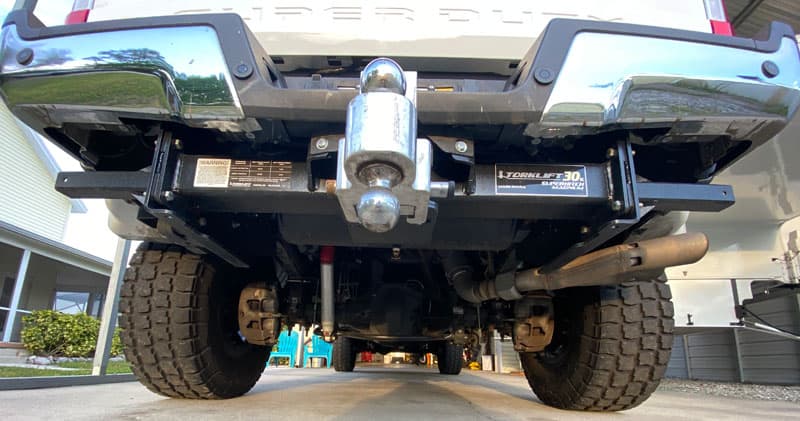
Mike Brandl takes us through the process of converting his Ford F-450 to Goodyear G275 MSA super singles. Along the way, he adds a Torklift SuperHitch Magnum, Rancho 9000 shocks, Recon headlights, and (naturally) a train horn.
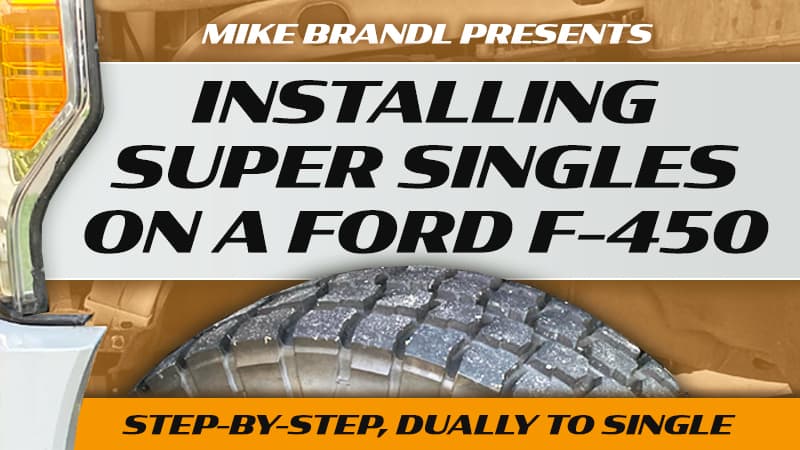
This article is the follow-up to, “The Pros and Cons of Super Singles” and details Mike Brandl’s super single conversion and installation.
When Mike approached us with his super single conversion, we were blown away by the number of steps involved and the fact that he had done the work himself. Even better, he had taken pictures of the process. As you’re about to see, it’s one thing to get super singles, it’s quite another to install them.
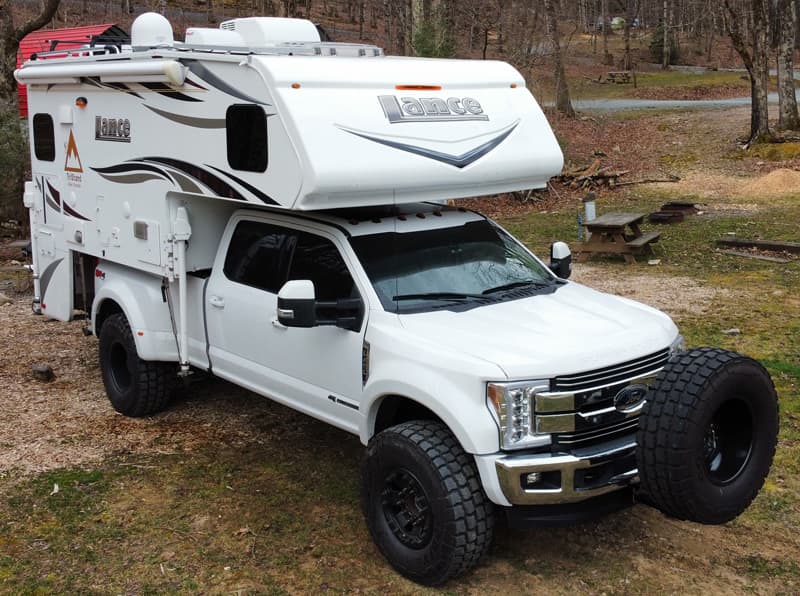
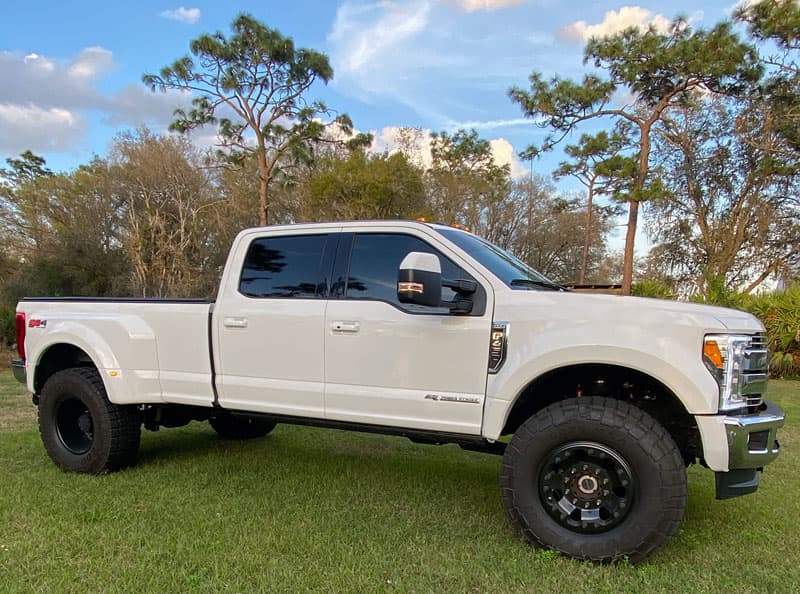
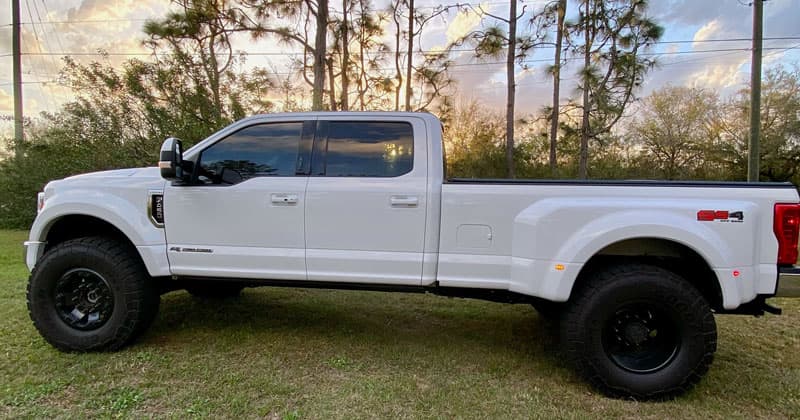
Above: Mike Brandl’s 2017 Ford F-450 and 2018 Lance 975
In general, a super single conversion is not something we recommend for most truck camper rigs. The increase in vertical height (center of gravity), significant increase in truck weight (which needs to be subtracted from the payload) and loss of rear tire redundancy for safety are all critical considerations for super singles.
On the flip side, Mike’s stated pros and cons and installation report offer amazing insights into the concept and process of converting to super singles. There are applications where this conversion could make sense, so Mike’s information and perspectives are not to be missed.
Pictures and words by Mike Brandl
1. I started by buying a stock 2017 Ford F-450 Lariat truck. My super single conversion started in November of 2020 and wrapped up when the tires were balanced in March of 2021.

2. Here is a comparison of the original 19.5 tires on the truck and the 41-inch Goodyear G275 MSA military tires and 20-inch Stazworks wheels. The Goodyears are 14-inches wide and considerably wider than stock.
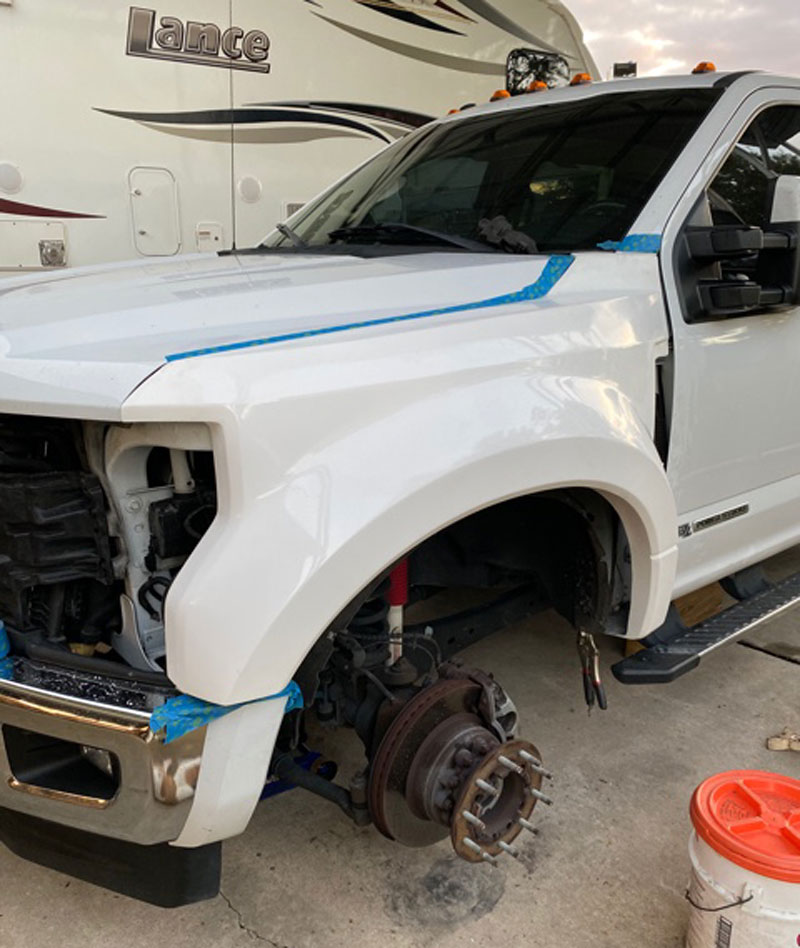
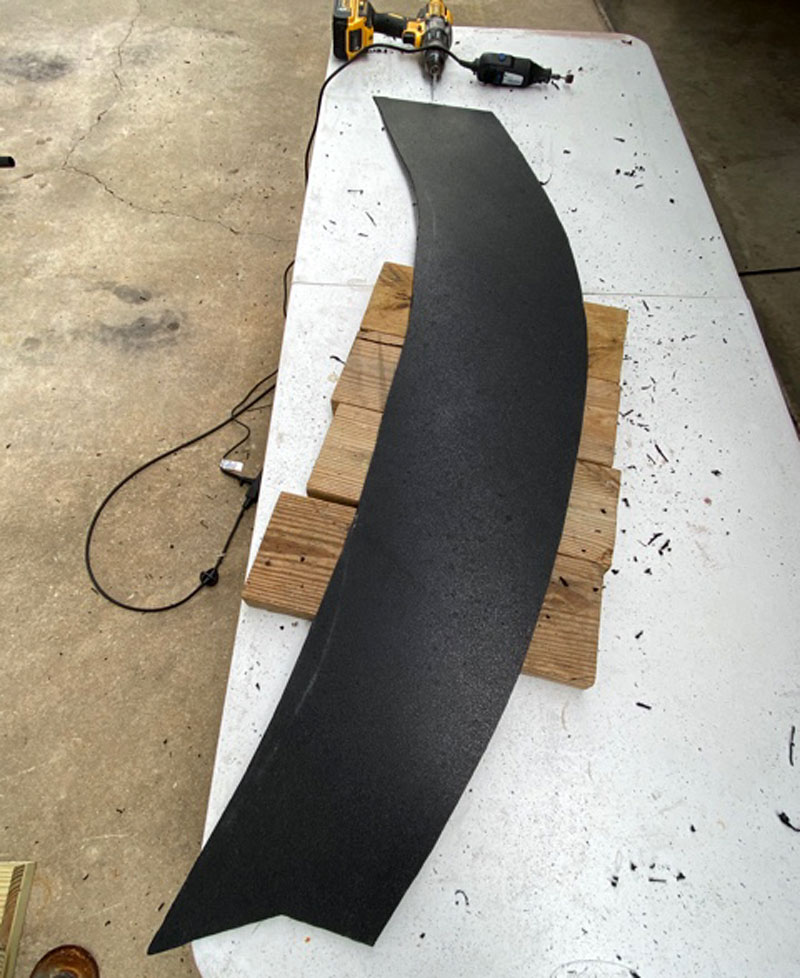
3. I replaced the stock front fenders with an aftermarket 6-inch flare fiberglass fender from McNeil Racing. Taking off stock fenders causes no structural changes to the truck. Seven screws and they are off.
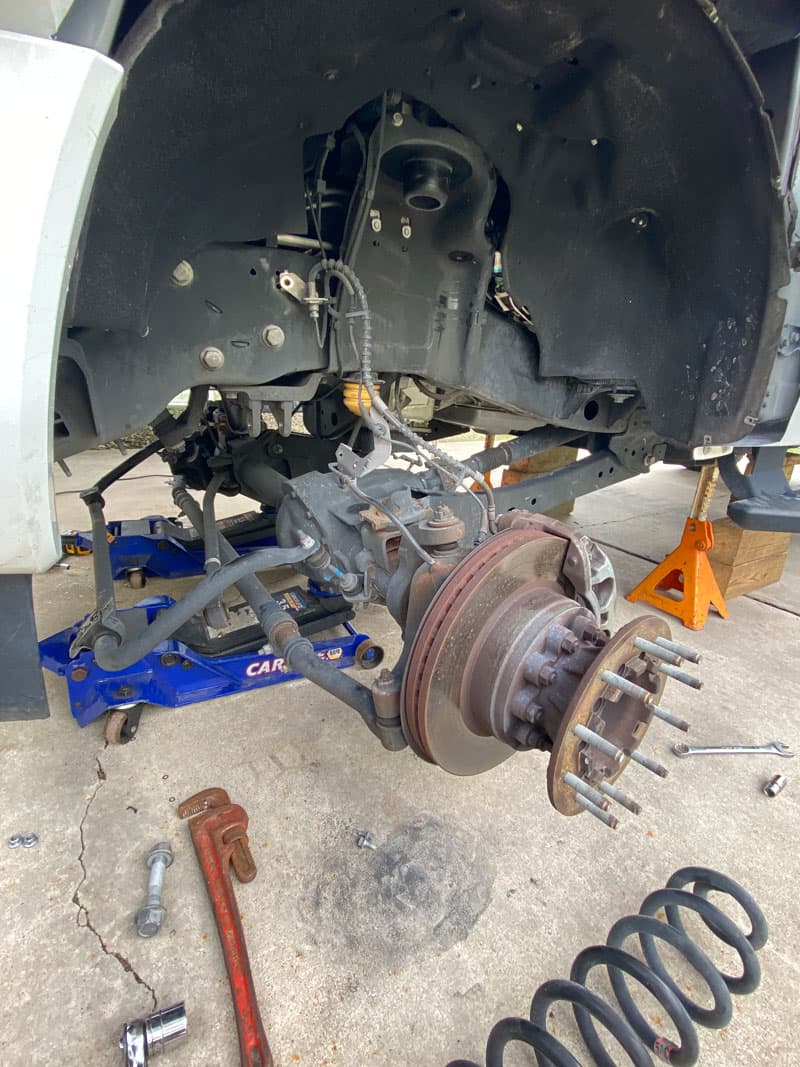
4. Then I installed a 2.5-inch Readylift spring spacer on the front and replaced the stock rear 3-inch blocks with a 4-inch tapered block to help with wheel clearance.
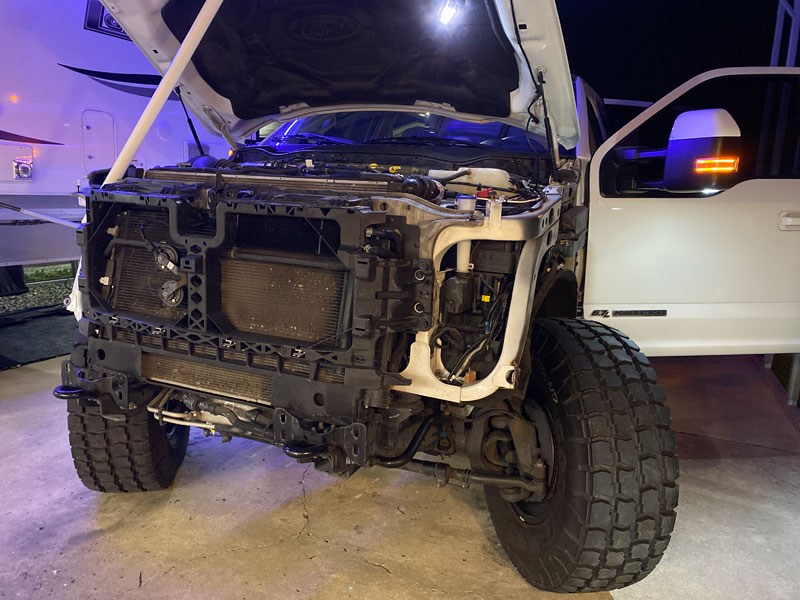
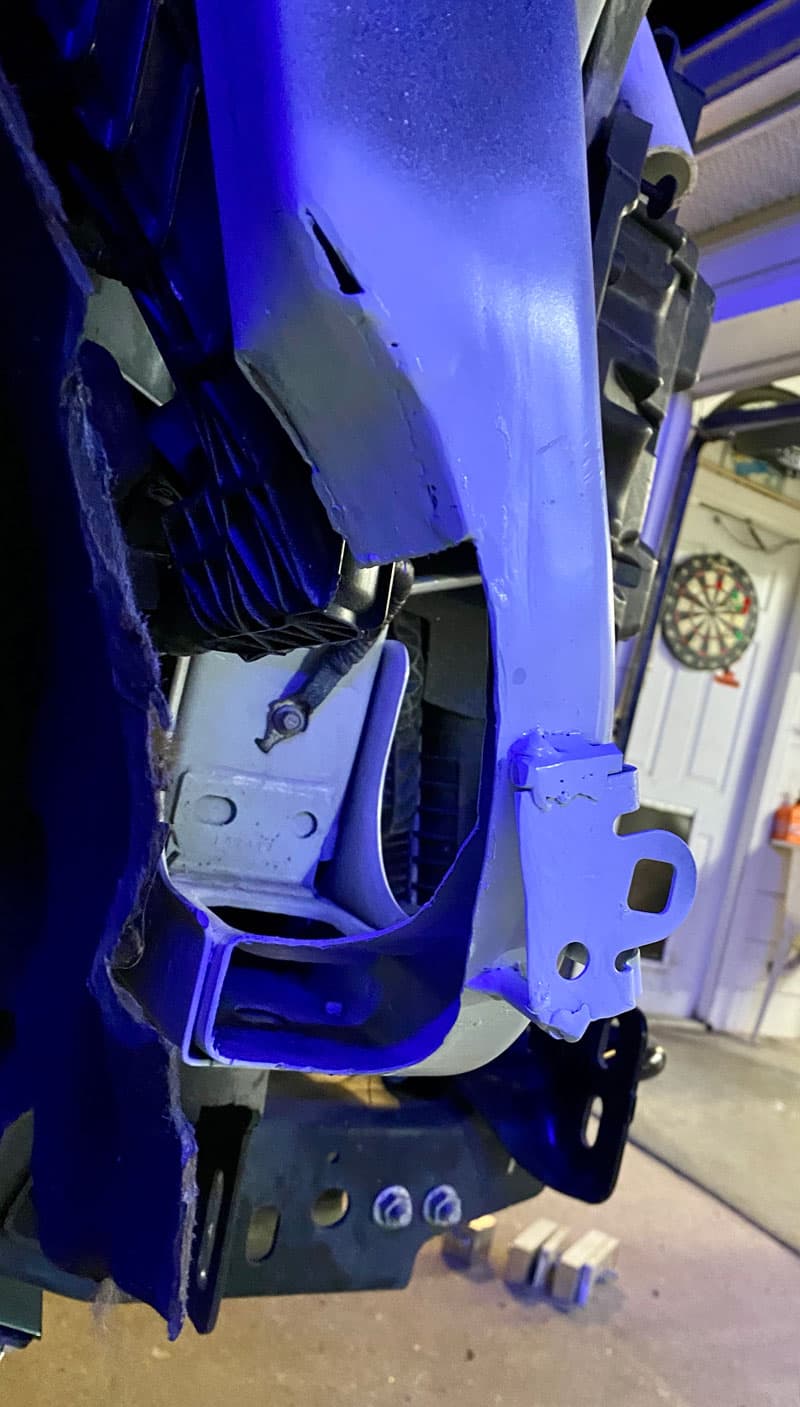
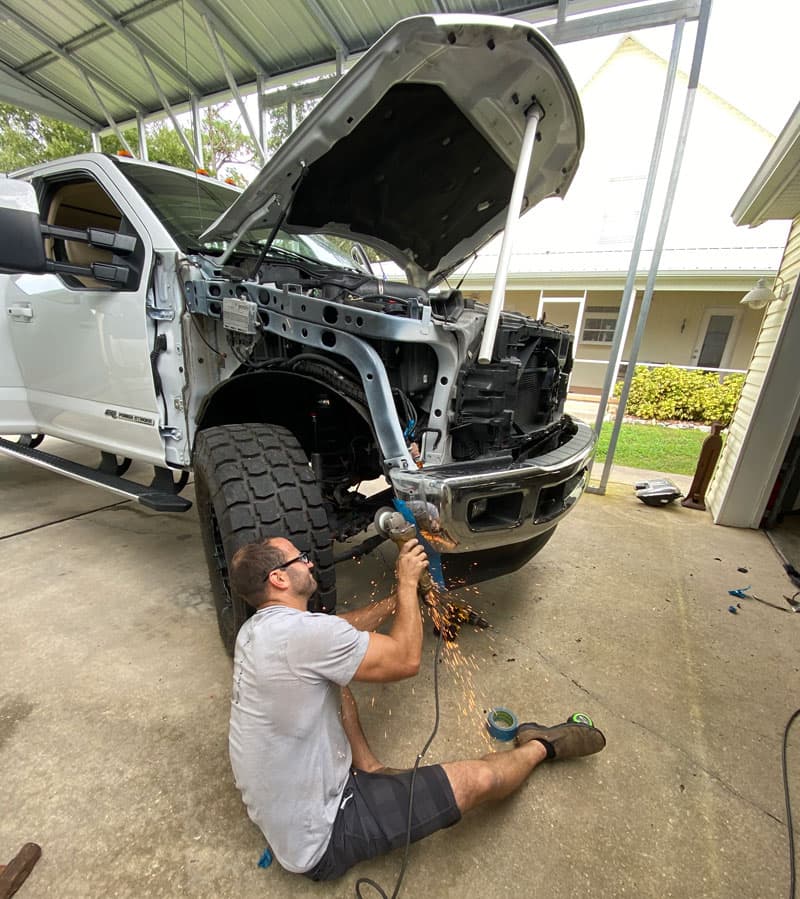
5. I dismantled the front of the truck to gain access to the subframe and cab area. There I made cuts for additional wheel clearance.
The black line shows the first estimated cut, but it ended up being more. It is always good to cut a little because it’s easier to cut more than to go back if you cut too much.
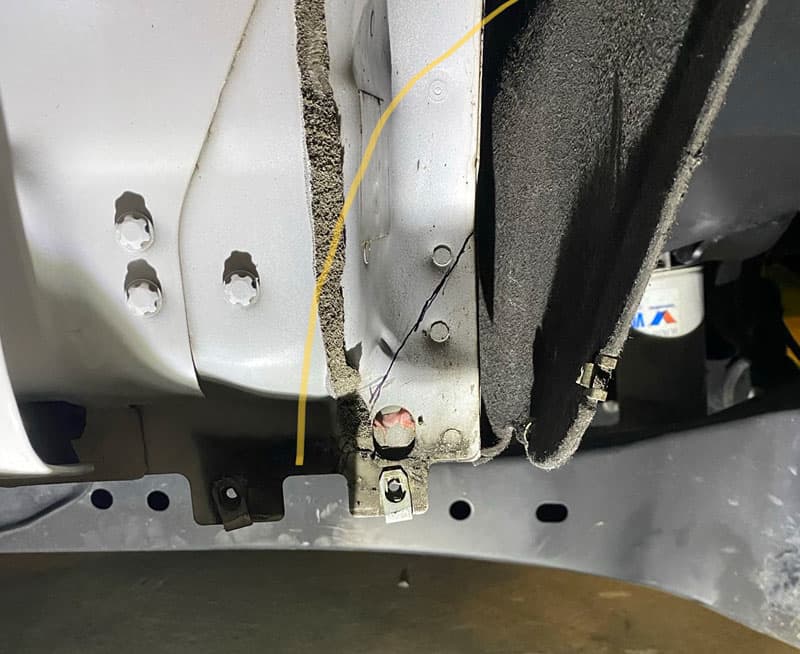
After pre-fitting up the fenders and wheels to check clearance I had to cut and weld the subframe behind the headlight to allow for more wheel clearance.
Anytime you cut metal, you are weakening that point. However, this was not on the mainframe of the truck or holding the engine, so it is not extremely weight-bearing.
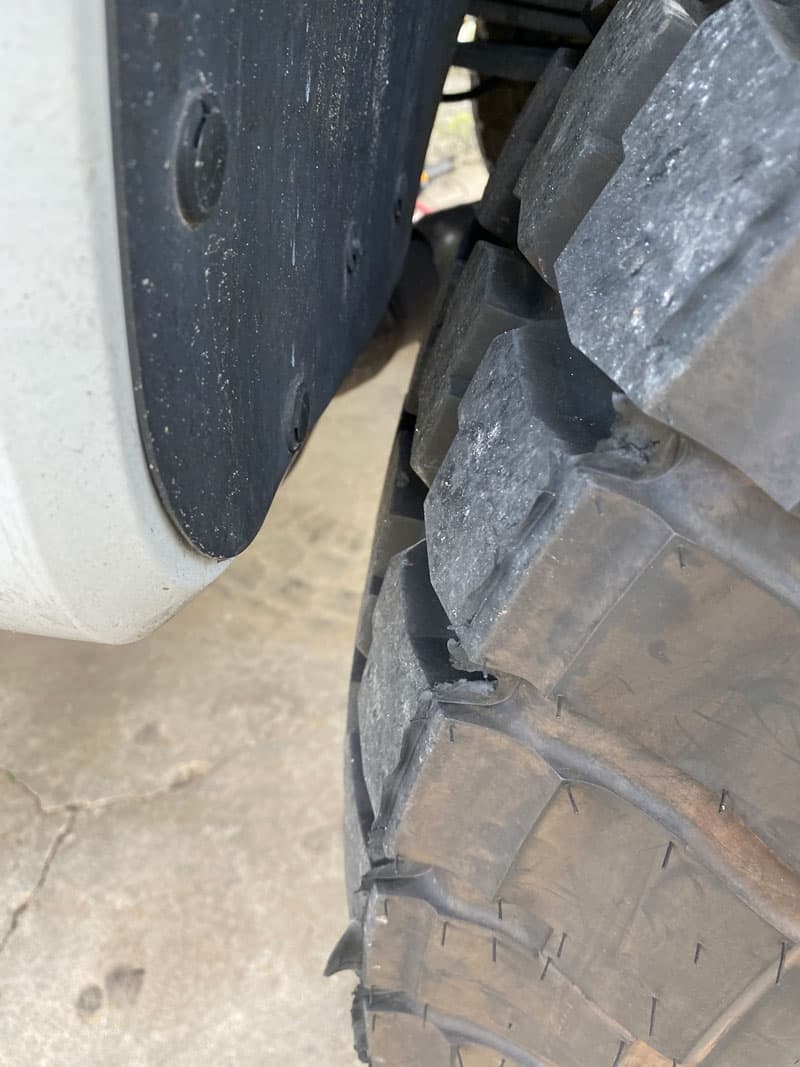
After I replaced the fenders I loaded the camper and drove around in the yard to see if there was any wheel rub. Then I would cut more metal until it worked. It was trial and error but, for safety and performance, I wanted to keep the truck low so that made for more cutting to gain wheel clearance. I could have simply installed a 6-inch or 8-inch lift kit so wheel clearance wouldn’t be a problem, but I didn’t want a high truck.
6. I fabricated 2.25-inch aluminum block spacers for the front bumper. This helped with wheel clearance and minimized the need to cut the stock bumper even more. It also helped to align the stock bumper’s trim with the aftermarket fender lines.
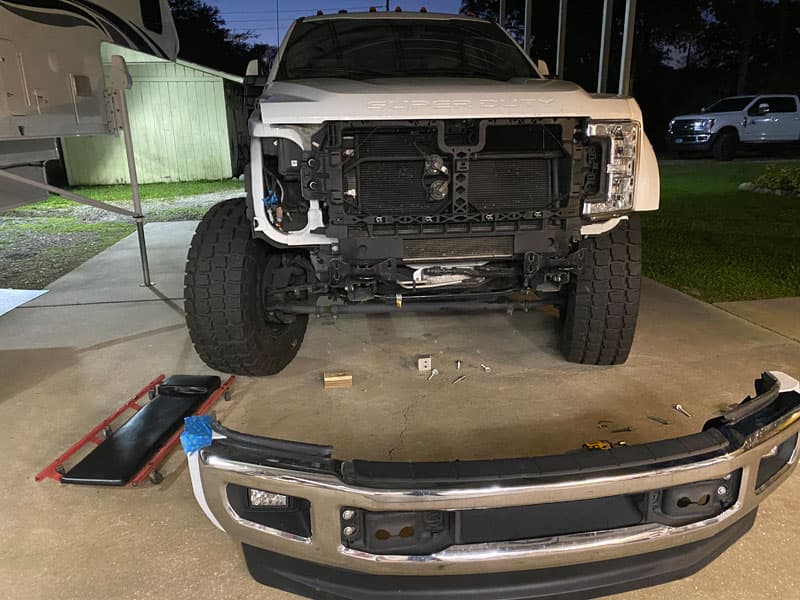
7. Here you see the bumper fitting with spacers.
8. This picture shows the bumper being cut for the required tire clearance.

9. Here is the finished cut before reinstalling the bumper’s trim.
10. Time to start cutting the cab. The picture above is the front of the cab just behind the front wheel. The yellow line marks where the actual cut ended up. Unfortunately, I forgot to take an after picture.
I used an angle grinder with a cutting wheel and began with the first cut at the black line and continued cutting until I felt like it had sufficient clearance.
11. I needed to cut back the stock fender liner to remove the curved end that attached the old fenders.

12. Pictured above is the template I made for the new fender liner to extend the stock liner to the fiberglass fenders. I chose to incorporate the stock fender liner instead of rebuilding the whole liner. This simplified the process and resulted in a cleaner fender-well presentation.
13. Here’s the cut ABS plastic I used to create the inner liner extension.
14. The installed ABS plastic was secured to the fiberglass fenders. I used a heat gun to help shape the plastic to the curves needed for the liner of the fender.
15. The stock rear fender liners needed to be cut back to prevent rubbing when the camper is loaded.
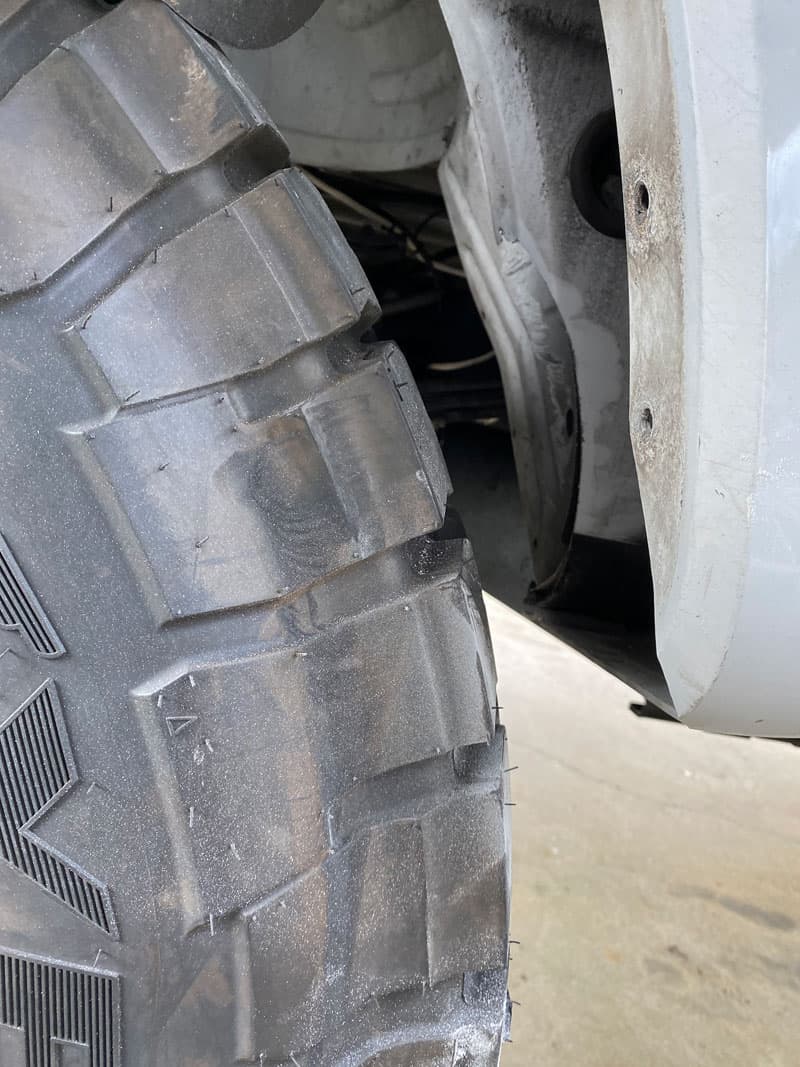
16. Behind the liner I was able to cut back the metal fender 2-inches to gain more clearance.
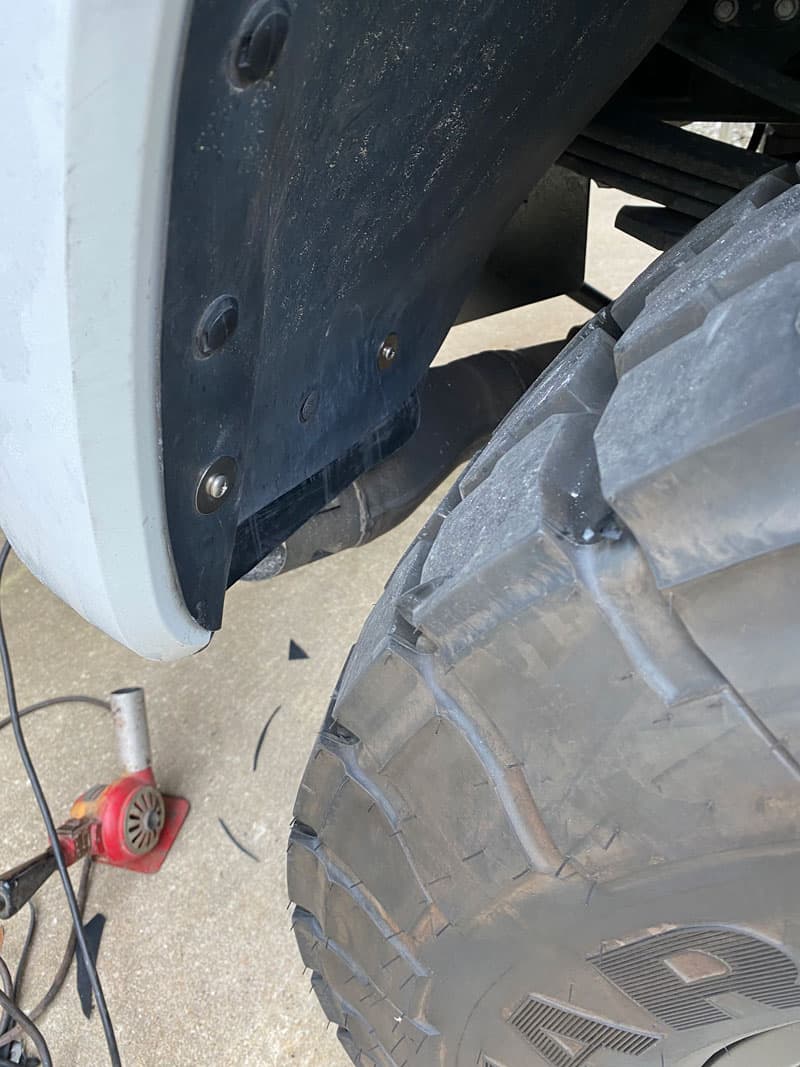
17. Then I reattached the stock liner and extended it with 1/8-inch rubber. I was able to leave the exterior edge of the fender stock. This kept the stock look.
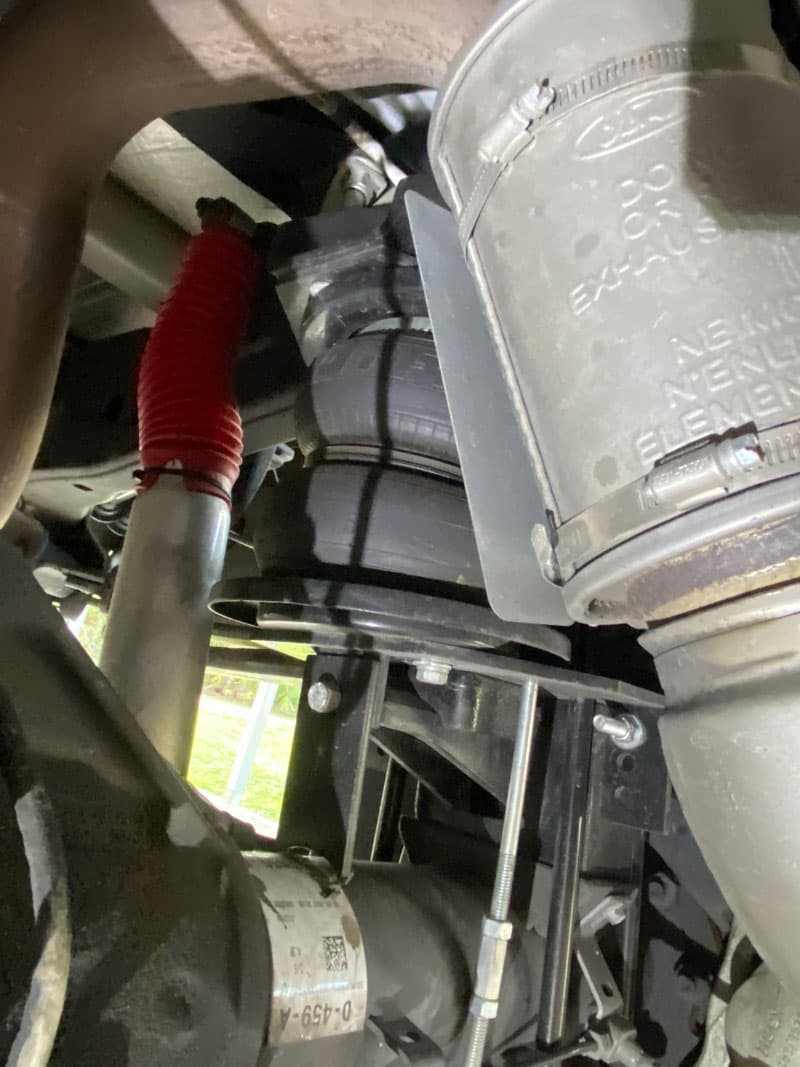
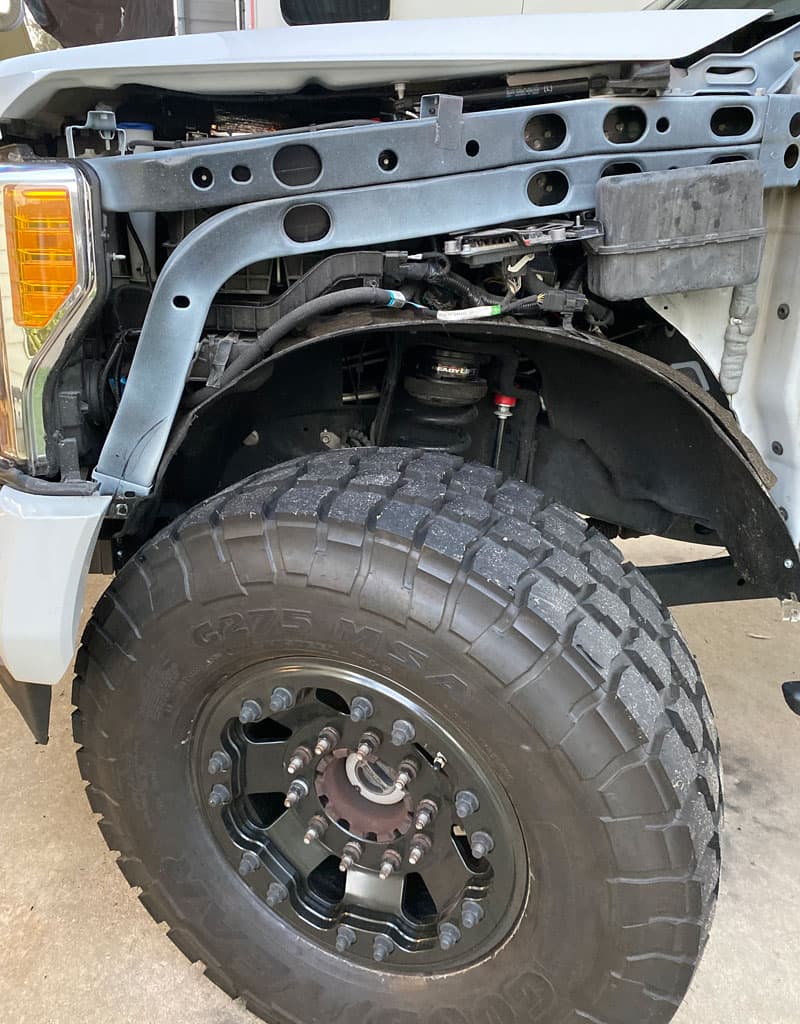
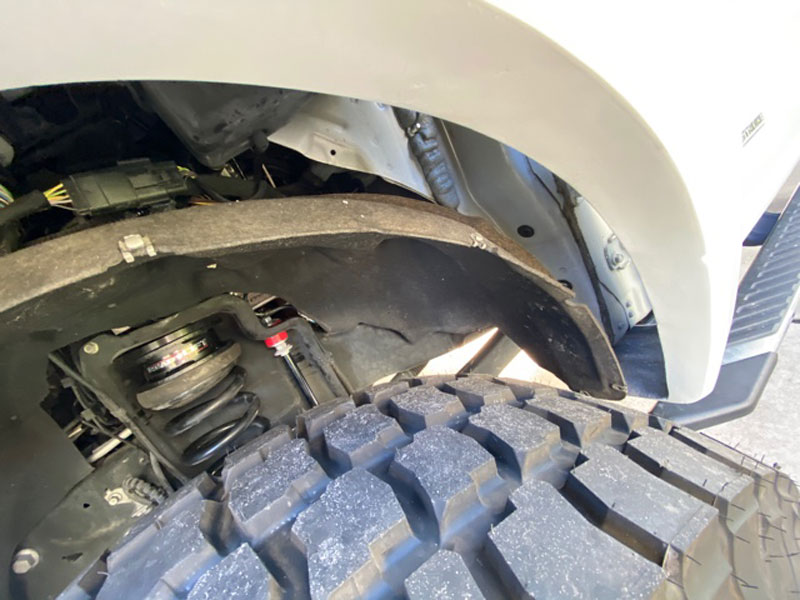
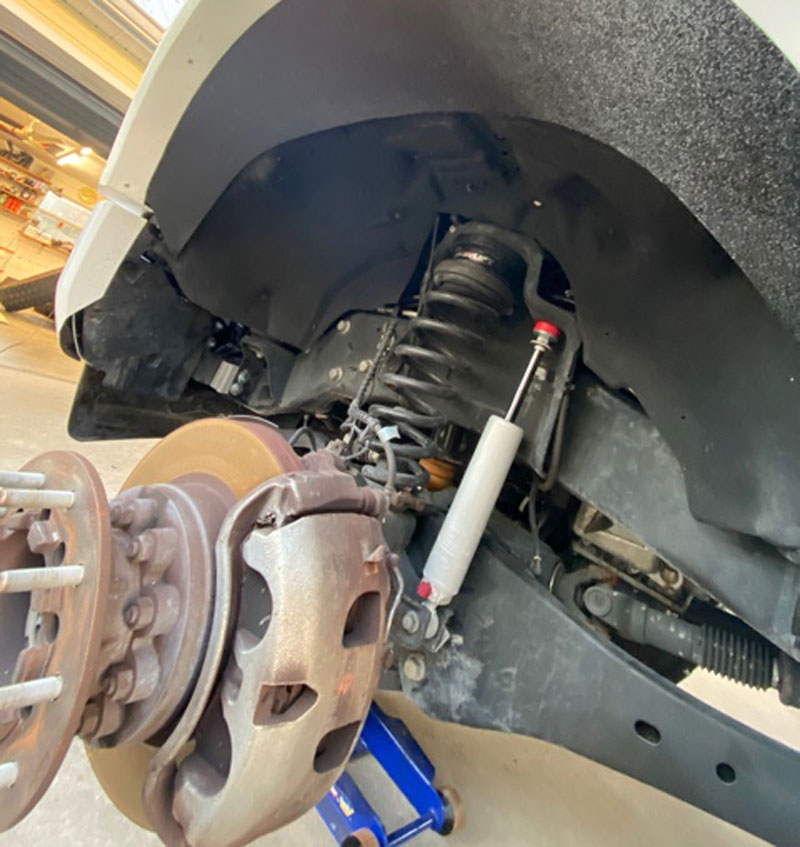
18. Rancho 9000 shocks were installed in the front and rear along with Airlift 7500-pound airbags.
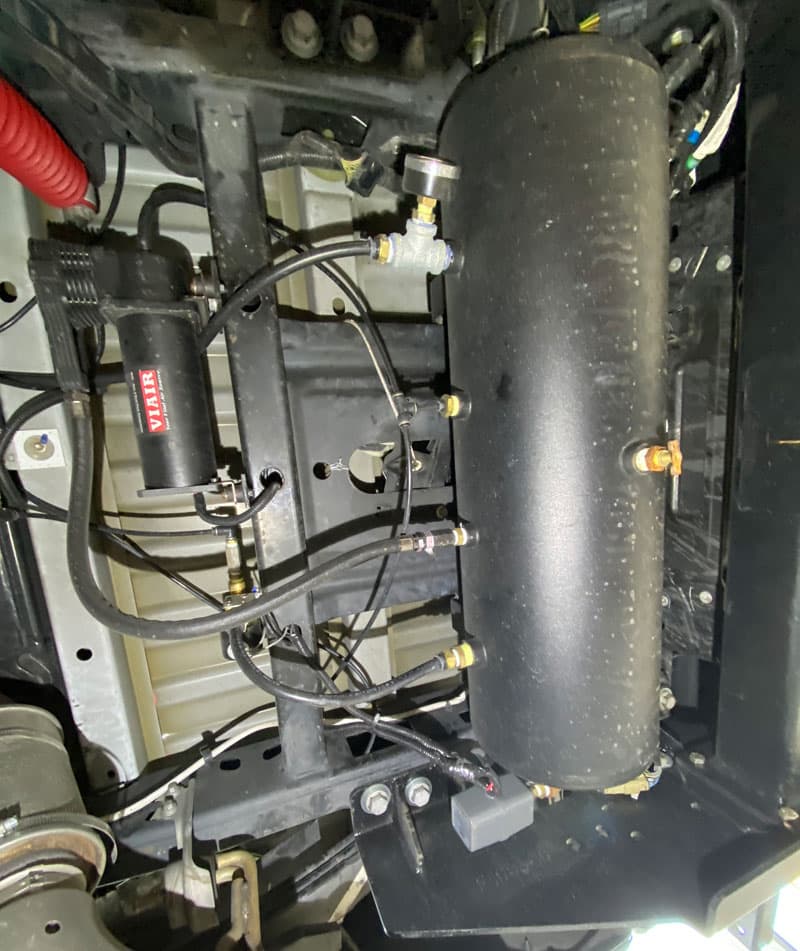
19. I built my own air system to fill the bags and provide air hose hookups on each side of the truck for airing up tires.

20. I used the stock Ford overhead switches in the cab to fill and dump the bags. Since the switches are not momentary switches, I added 125-PSI pressure reliefs on each bag just in case a switch gets bumped on.
I use an Airlift dull pressure gauge to monitor each bag. The gauge has individual relief buttons that give me the ability to adjust air pressure in each bag independently.
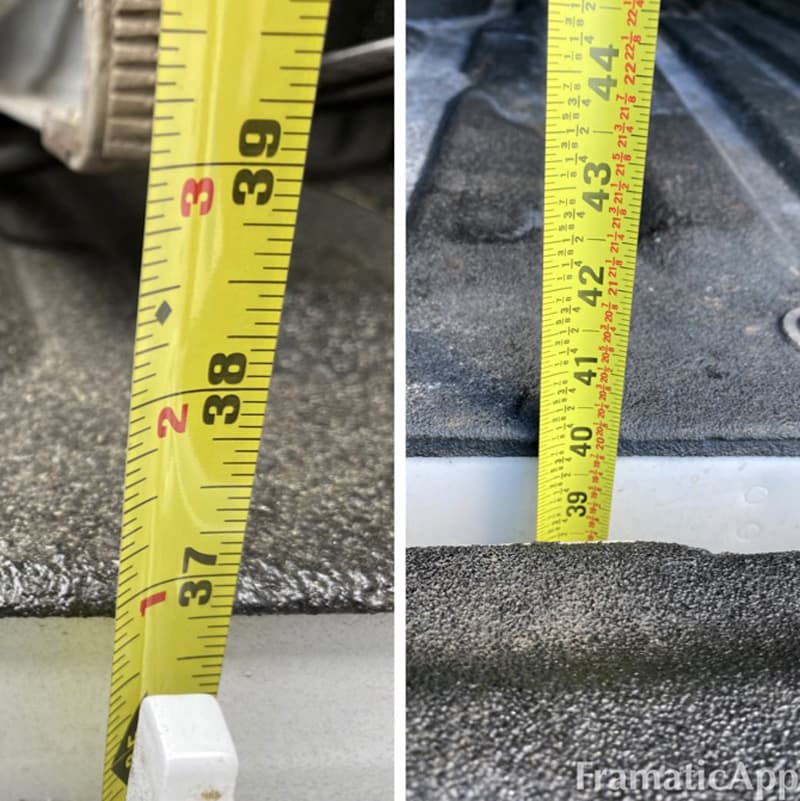
Important Note: Even though I installed a spacer and put on 41-inch tires, the bed height is only 3-inches higher than a stock Ford F-250 with four wheel drive I measured it against my F-250.
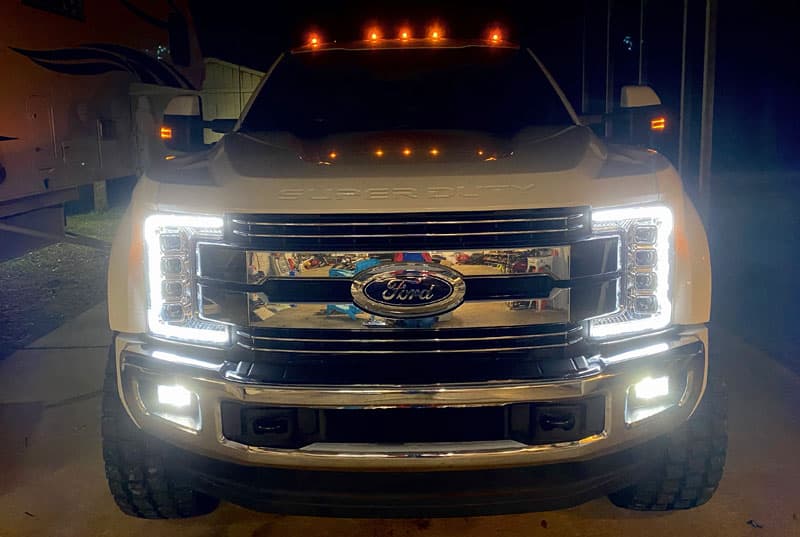
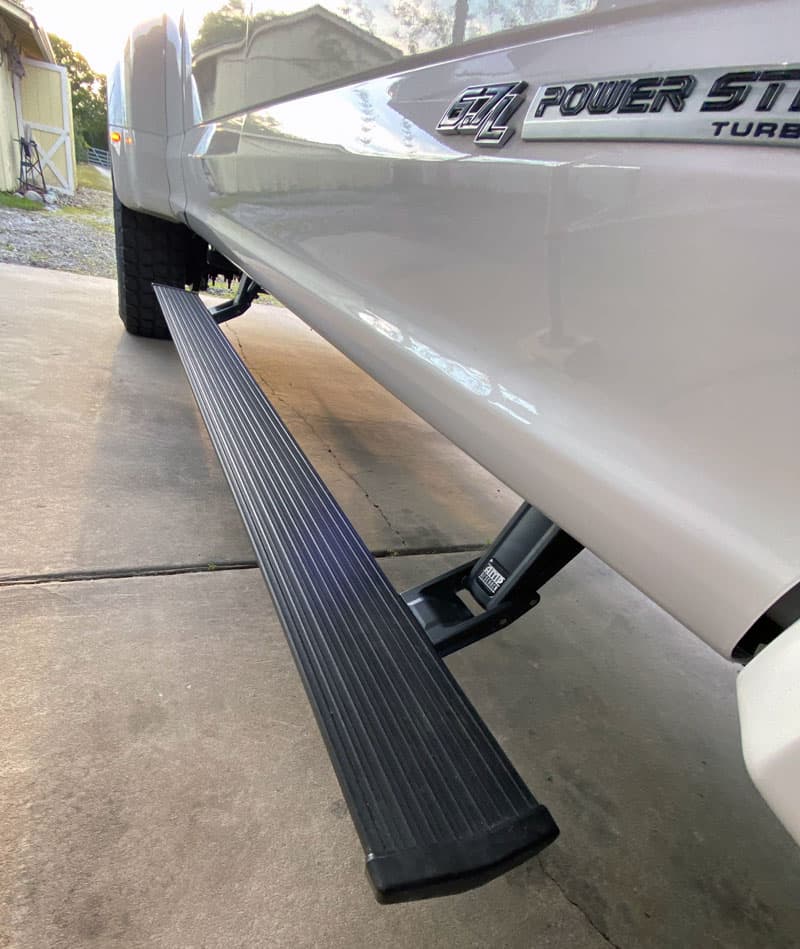
A few other items I added were Recon LED headlights, Amp Research power steps, a Torklift SuperHitch Magnum 30K and I had to have a train horn.
If you have the money, pay someone else to do all this work. If you decide to do it yourself, ask questions, do your research, and keep your camper as low as possible.
Plan it out. I didn’t reinvent the wheel. Take your time and don’t be rushed.
If you have a camper that is bigger than a single-slide, I might not recommend you do it. With a heavier camper, you need to keep your vertical center of gravity lower to the ground. For example, I can see a triple-slide camper with its taller center of gravity and weight having issues with super singles.
With the bigger tires and sidewalls of super singles, more sway will happen. A heavier and higher camper will have more play. That’s why a dually will not have as much sway as a truck with super singles.
After the install, you could go back to dually, but save your stock fenders. Everything else could be restored. The only thing that is permanent is the subframe that I cut, but you wouldn’t notice that with the stock fenders reinstalled. I also cut the cab of the truck, but that’s behind the fender liner. You would not see that either.
If you haven’t already, check out “The Pros and Cons of Super Singles” where Mike Brandl talks about his decision-making process and why he wanted to get super singles on his Ford F450.


