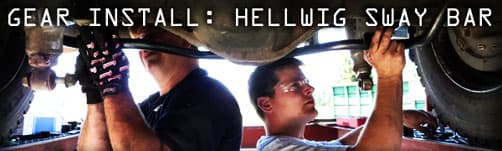
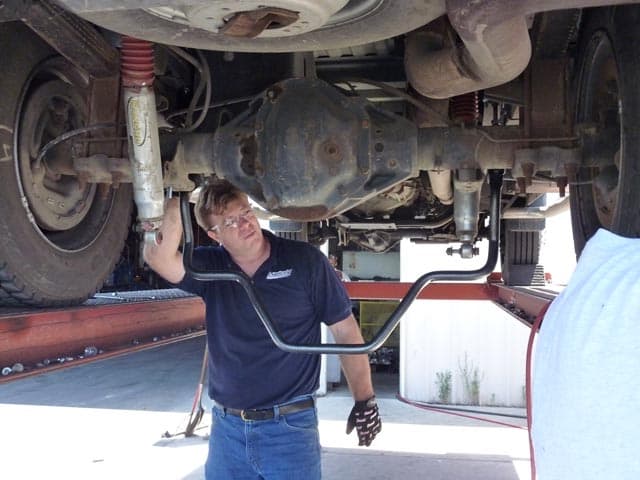
Hellwig team members Dave Wheeler and Justin Strasser install a Hellwig sway bar on our 1998 Dodge 3500 truck. But first, our whole rig gets a lift.
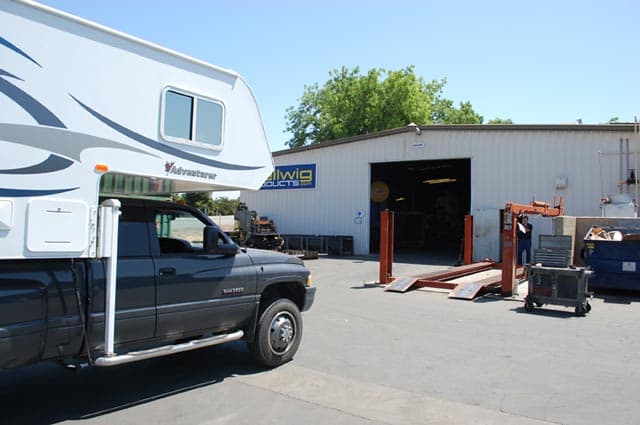
We visited Hellwig Products a few months before they formally announced the Big Wig, a sway bar designed specifically for truck camper applications. Even though the Big Wig wasn’t yet ready, Hellwig still wanted us to get an idea of what their sway bars could do for a truck camper rig and asked if they could install one of their sway bars on our truck. Naturally, we agreed, and documented every step of the process.
 |
 |
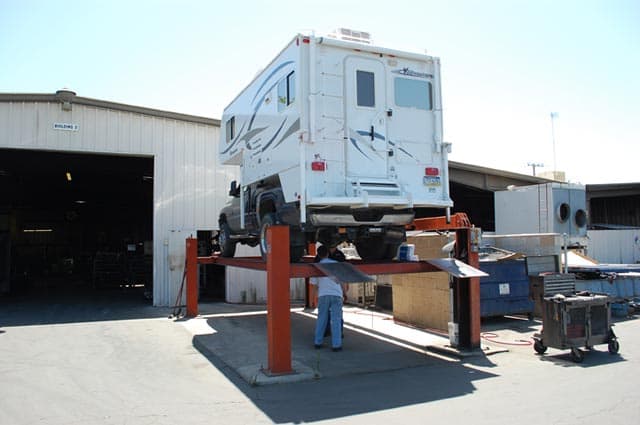 |
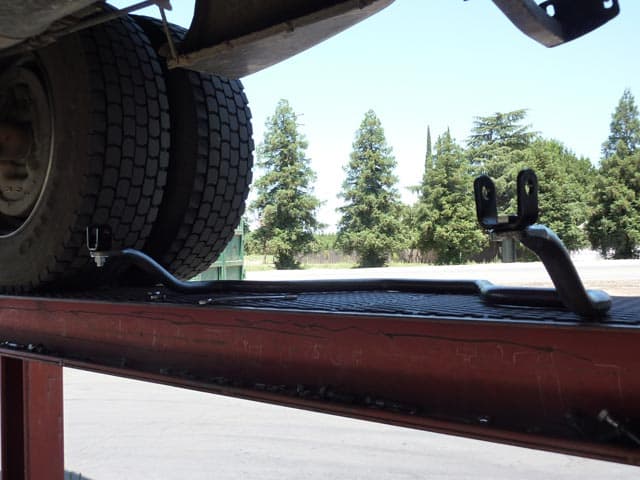
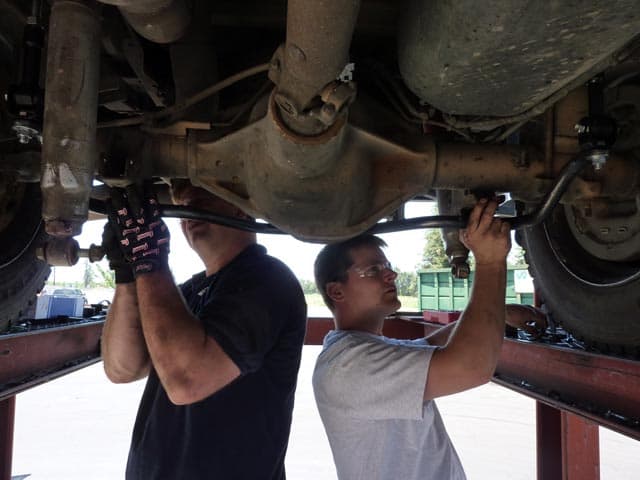
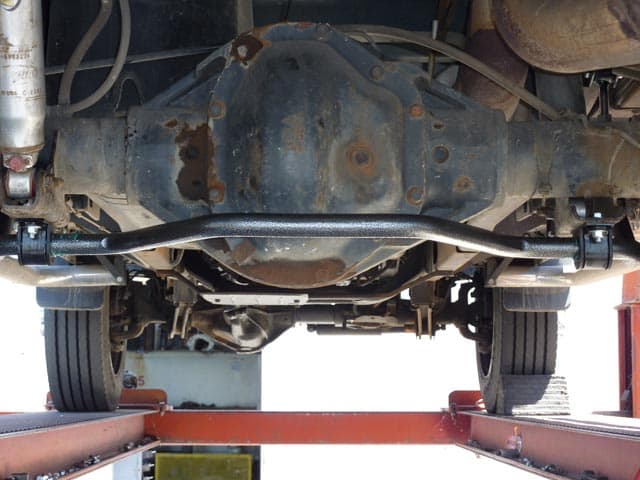
For the installation, we drove our truck onto Hellwig’s truck lift. It was incredible to see our entire truck camper rig get lifted vertically in the air. It was also incredible to walk under the rig and see the truck from that angle. From that unique vantage point, we saw a few things that needed to be tended to on our nearly fourteen year old truck. I guess any of us would probably need some work if looked at so close. Yikes!
Hellwig Sway Bar Installation:
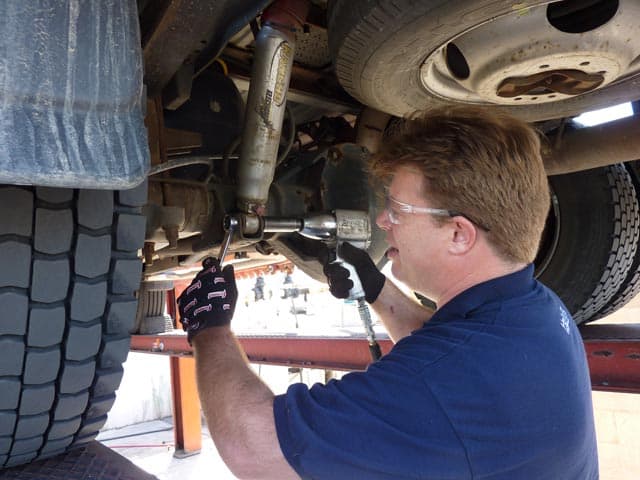
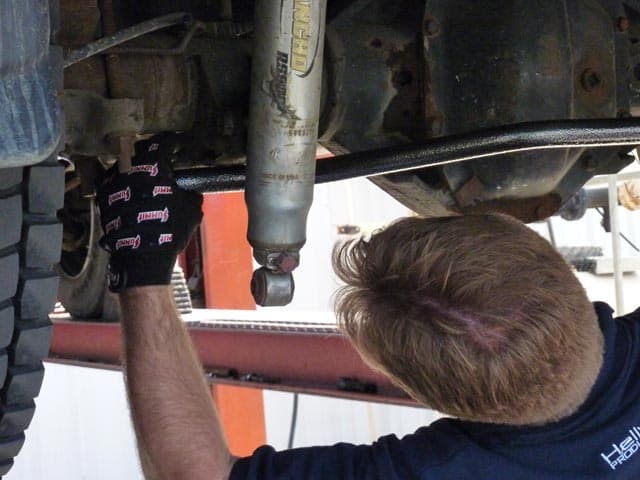
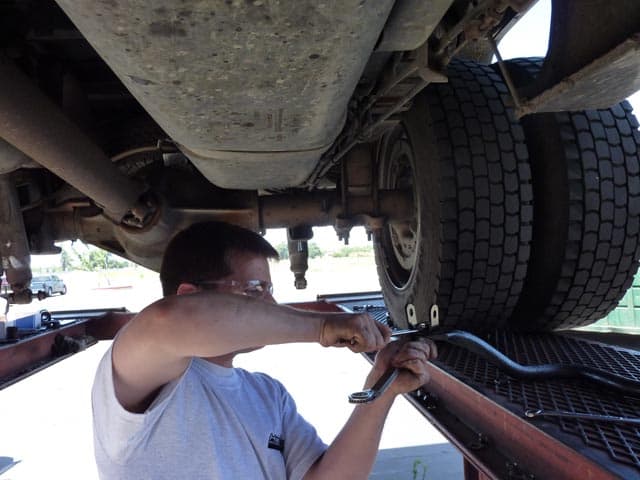
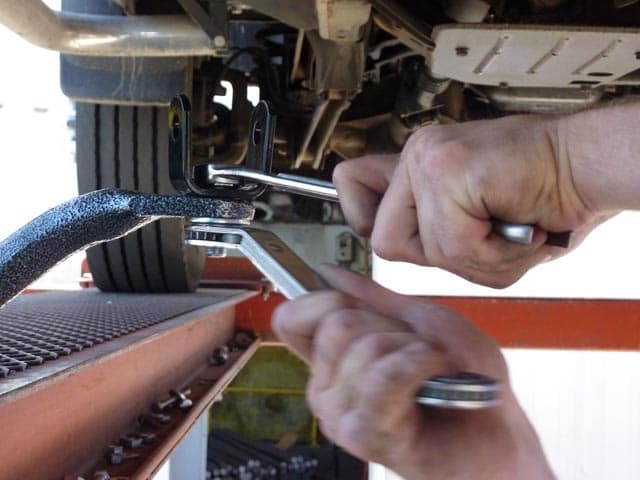
1. The first step with our 1998 Dodge 3500 was to disconnect the lower shock bolts with a wrench to gain access to the mounting holes in the shock brackets. With any shock, you need access to the underside of the shock bracket.
 |
 |
 |
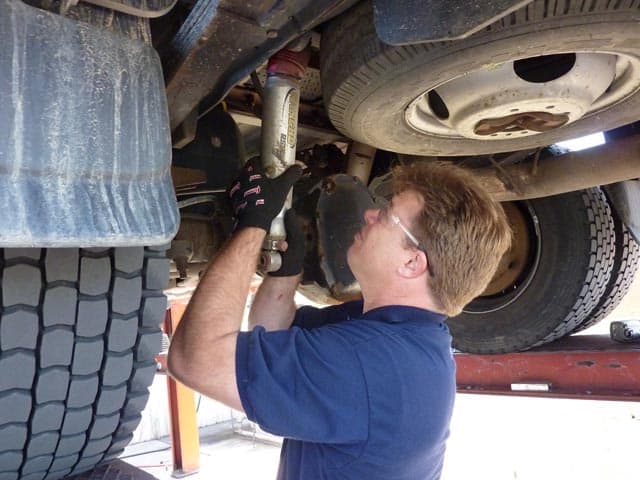
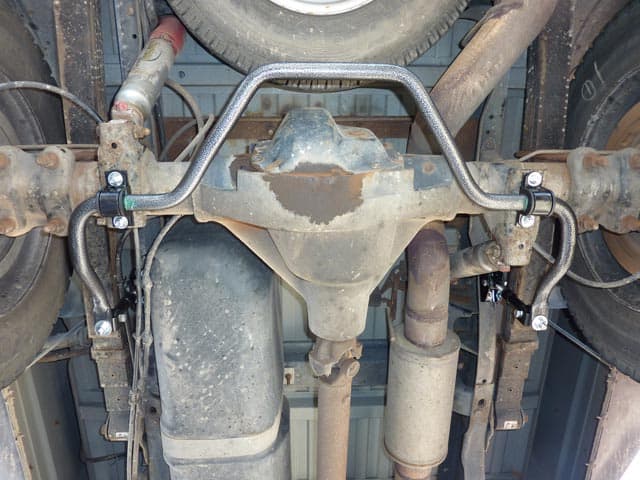
Dave Wheeler then placed the sway bar into position to see where everything would line up before starting the actual installation.
 |
 |
 |
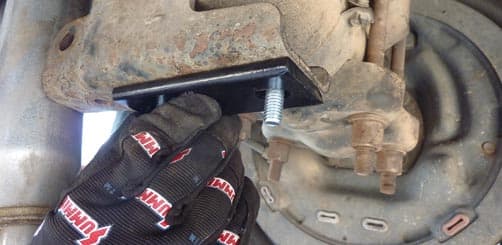
2. Next the Hellwig team installed the supplied hardware in the pre-existing frame rail holes on the frame mounting bracket.
 |
 |
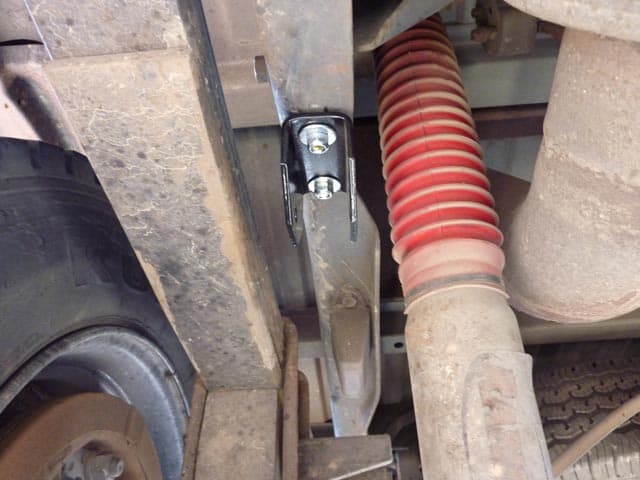 |
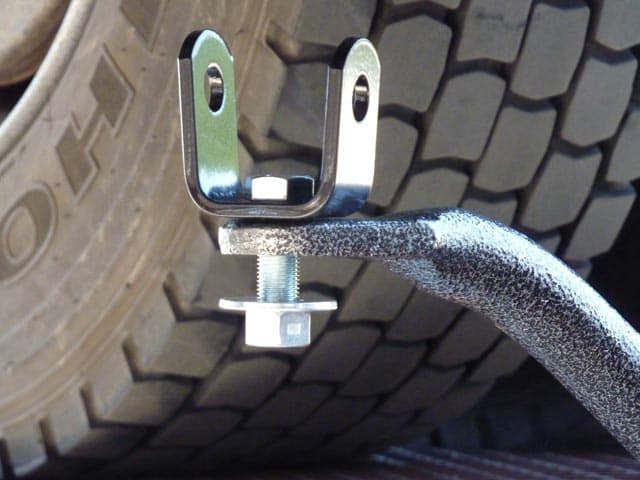
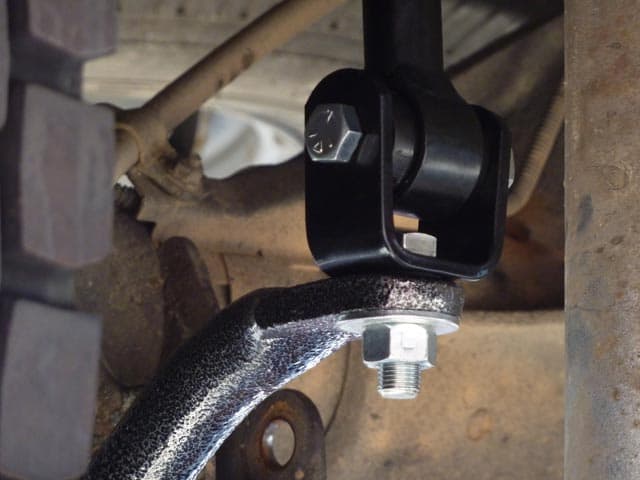
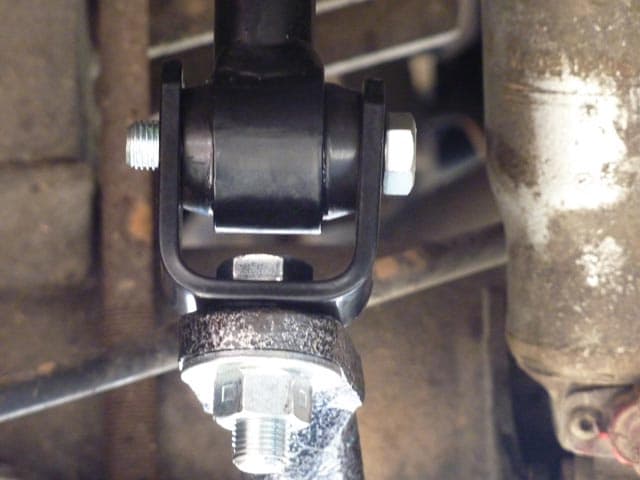
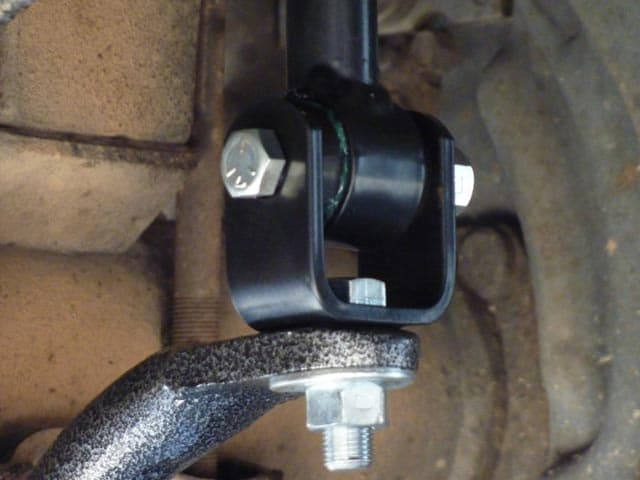
3. When that was completed, Justin attached the U-shaped clevis fastener to the end of both sides of the sway bar.
 |
 |
 |
 |
 |
 |
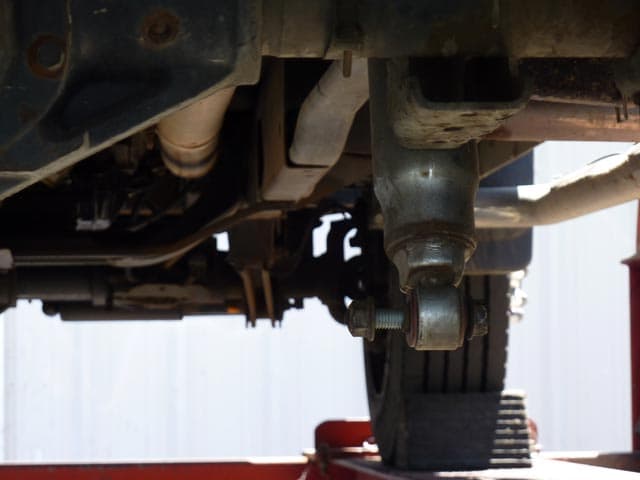
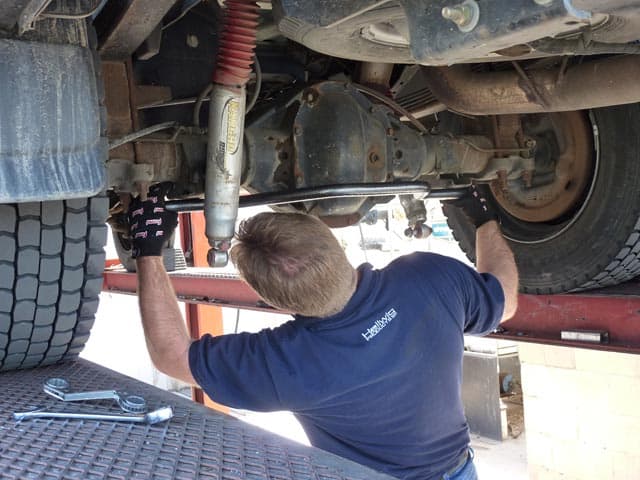
4. Then Dave and Justin installed the heavy duty end links. At this point, Dave recommended leaving the end links loose for later adjustment.
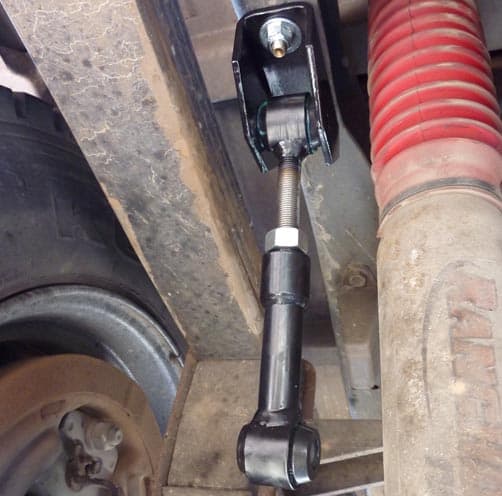
5. For the next step, Dave hung the sway bar in the end links. Then the team screwed and bolted the sway bar with the supplied hardware. Dave recommended making sure that the sway bar is centered by lining it up with the truck axle.
 |
 |
 |
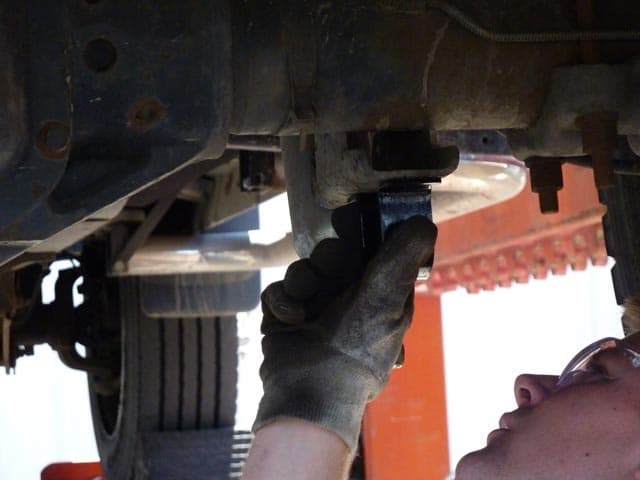
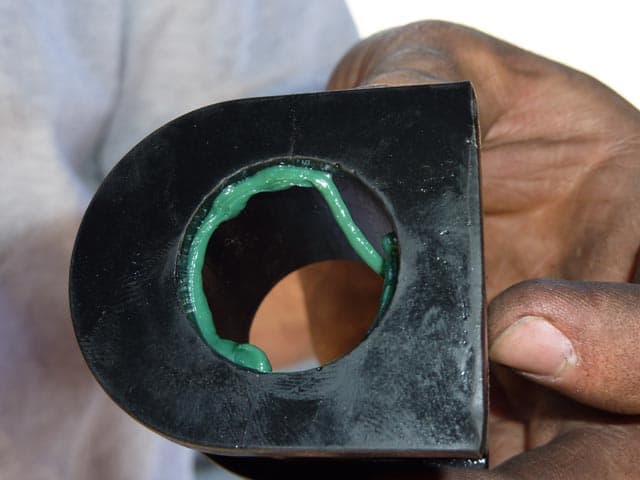
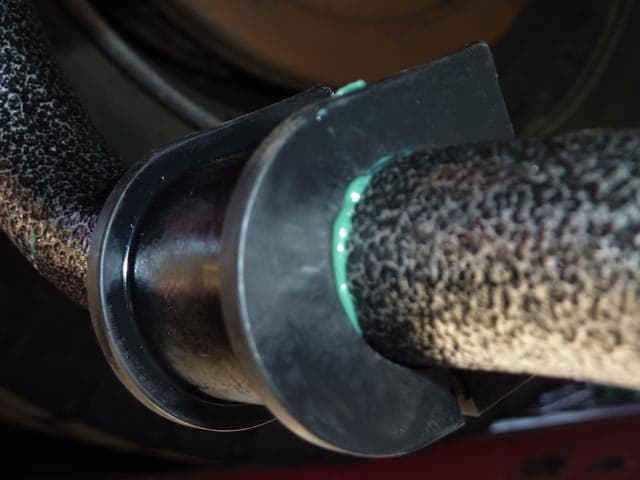
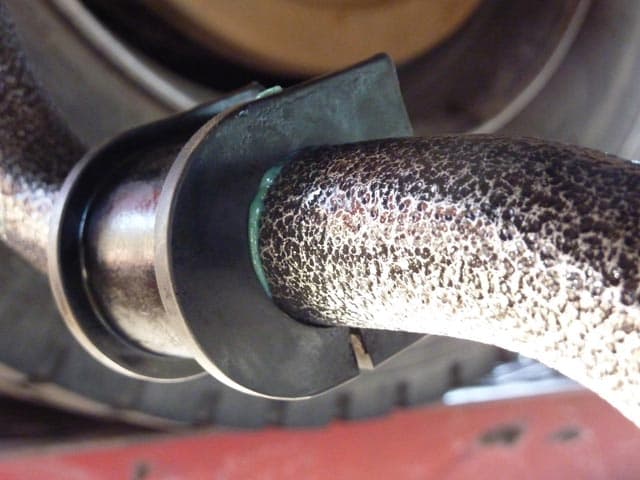
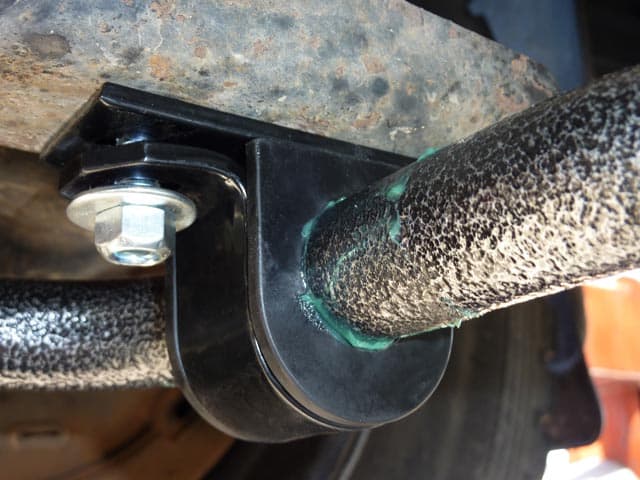
7. During this process, Dave applied bushing lube to keep the sway bar lubricated and quiet. Then he attached the strap.
 |
 |
 |
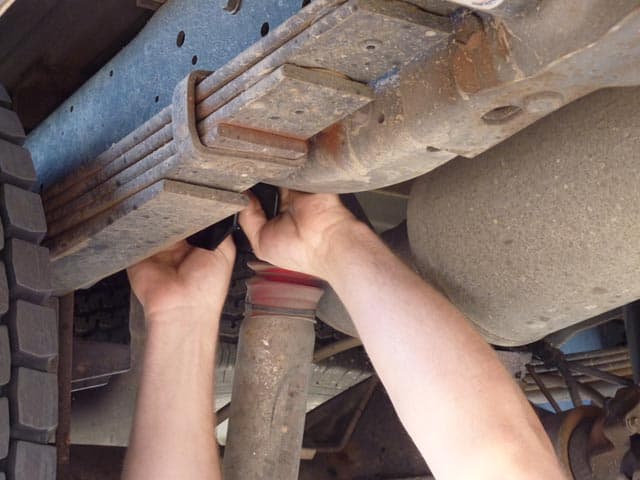
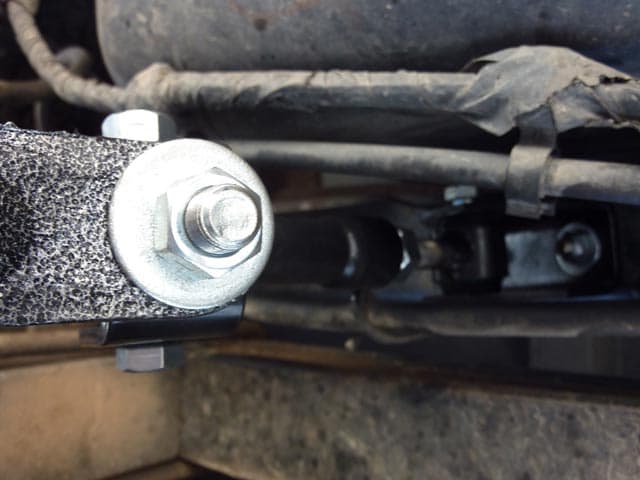
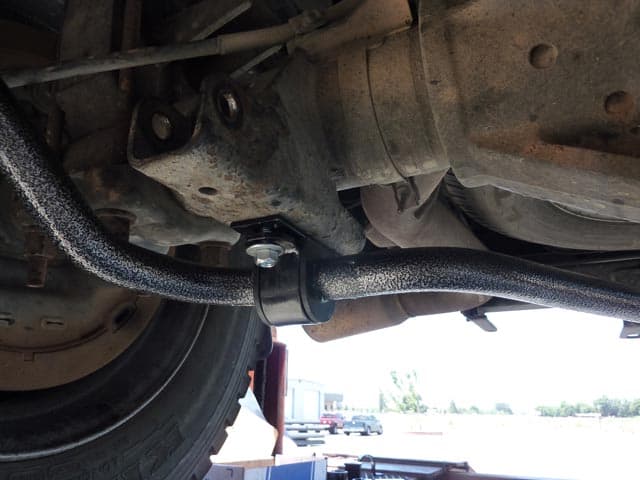
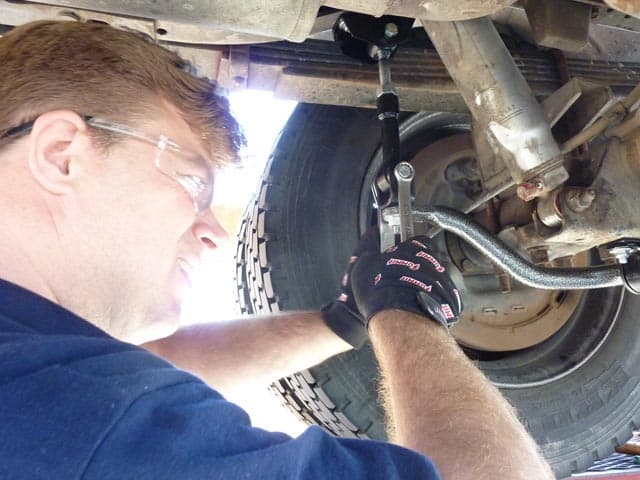
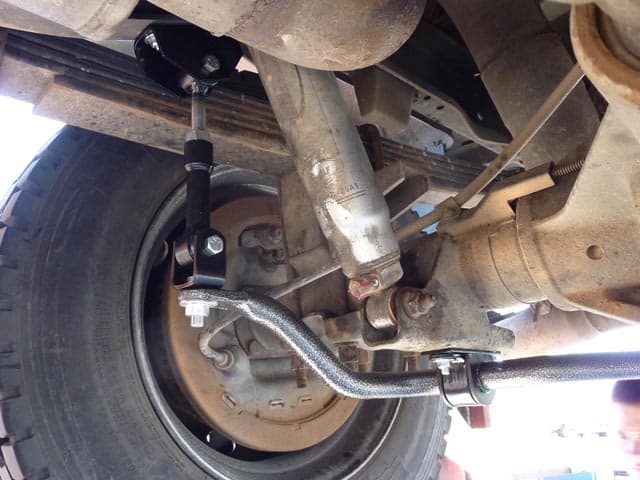
8. Next the Hellwig team attached the fasteners on the shock bracket.
Then Dave and Justin attached the sway bar to the shock bracket and reattached the shocks.
 |
 |
 |
 |
 |
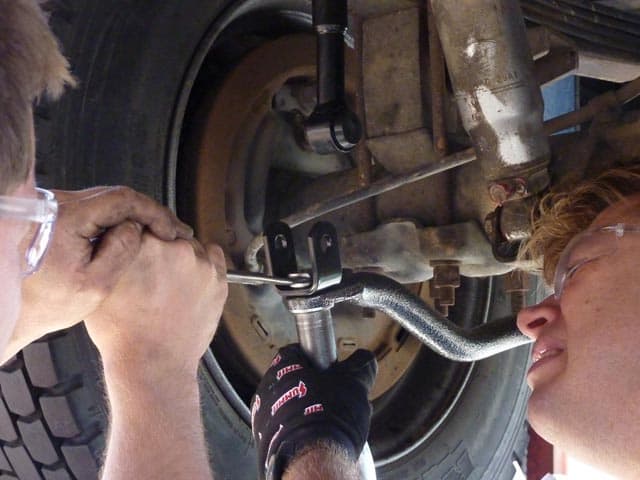 |
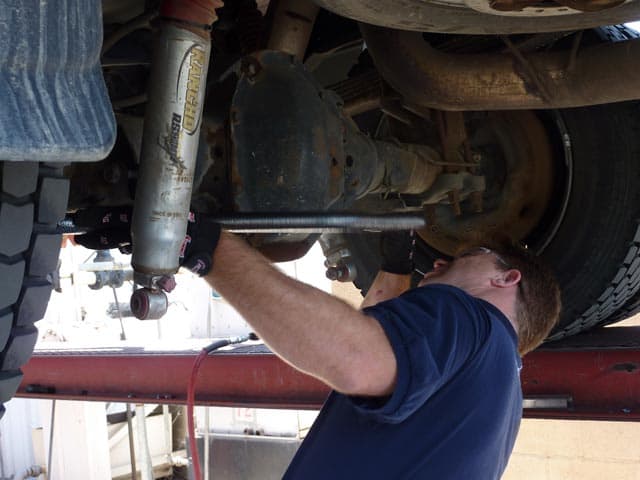
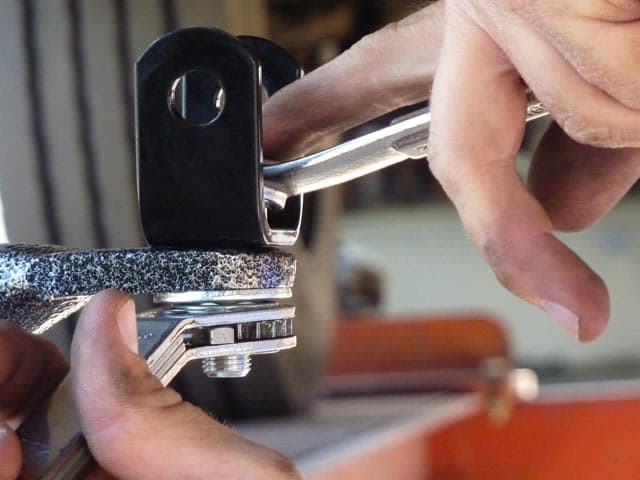
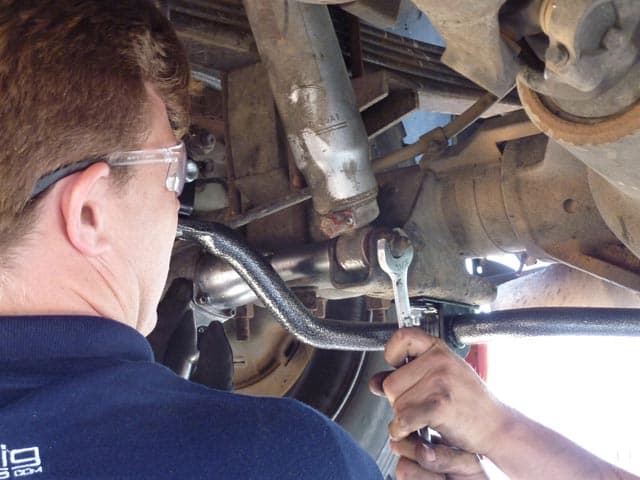
9. Once those steps were completed, Dave and Justin tightened the end links and checked all torques to make sure they were tight.
 |
 |
 |
 |
 |
 |
10. Finally, we went for a test drive. Upon our return, the Hellwig team checked that everything was still tight.

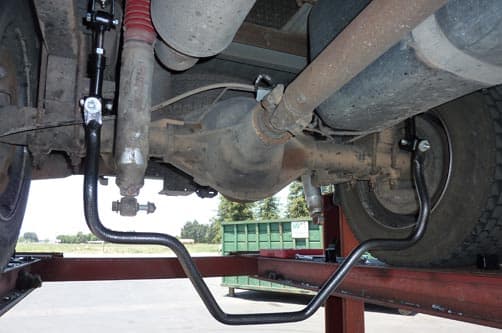
As we reported when we announced the Big Wig last November, our truck already handled the 2010 Adventurer 90FWS well, but the Hellwig sway bar made it handle even better. The biggest change we noticed was that the rig leaned considerably less when entering highway on-ramps or when turning corners. Now, the rig barely leans at all giving the truck camper a more confident feel when driving. That’s some serious sway control. Thanks, Hellwig.


