Truck Camper Magazine installs a 150 watt Zamp solar panel system on their project camper and takes a big step towards cutting the cord and camping off-the-grid.

Last Spring we attempted an impromptu experiment to see how long we could camp without 110 volt shore power. At the time, we were camping in a Northstar 8.5 Arrow U with a 150 watt Zamp solar panel and controller, one Group 27 battery, and all LED interior and exterior lighting.
 |
 |
 |
Above: The Northstar 8.5 Arrow U in the Outer Banks during the solar test – click to enlarge
To properly challenge the solar and battery system, we operated the camper as normal, charging the laptops daily, using the propane furnace in the morning, and running interior lights and fans as needed. We even watched a couple movies at night with the installed television and entertainment system.
During our experiment, Angela monitored the Zamp ZS-30A solar charge controller. Every few hours, Angela noted the battery voltage readings on the built-in LCD screen.
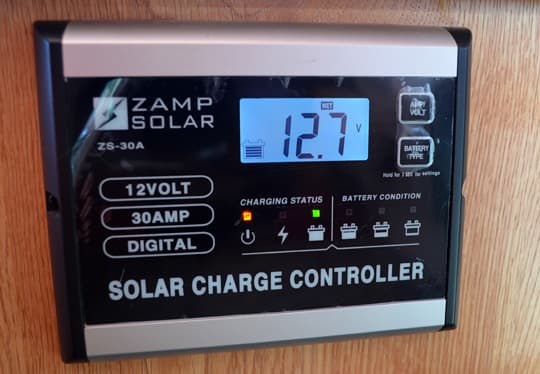
At 7:00am every morning, the battery voltage read between 12.0 and 12.2 volts. These were the lowest readings gathered during our experiment and occurred as we were running the heat to take off the morning chill.
Between 10:00am and 12:00 noon the battery voltage read 14.6 or 14.7 volts. During this period of time, the solar charge controller was in bulk charge mode sending the highest voltage the installed solar panel and charge controller were rated for.
Once the controller detected the battery bank was at 85% charge, the controller changed to absorption charge mode. Absorption charge mode charged the battery bank to 100%, decreasing the current as the battery reaches 100%.
By early to mid-afternoon, the single battery had reached its float charge of 13.1 volts. When a battery is on float charge, it is fully charged and maintaining its full charge from the solar panel.
These results impressed us, especially considering the fact that the weather had varied during our experiment between full sun and partly cloudy. Even on cloudy days, the system reached float charge, but did so later in the day.
A few months later we found a decade old camper in Oregon that fit our requirements for a camper project. It was a non-slide hard side floor plan – our personal preference. The camper needed routine maintenance, and lacked amenities and features we could add, study, and document for the magazine. For what we were looking for, it was perfect.
Given its impressive performance on the Northstar, a Zamp solar panel system was high on the list for our new-to-us camper. Even before the project camper arrived, we acquired a 150-watt Zamp solar panel system and solar controller.
Zamp Deluxe 150 Watt RV Solar Kit
We installed a Zamp Deluxe 150 Watt RV Solar Kit (ZS-150-30A-DX). The MSRP for the Zamp Deluxe 150 Watt RV Solar Kit is $899.
 |
 |
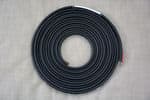 |
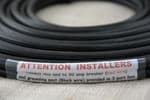
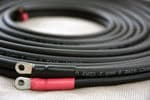
Above: 25-feet of 8 gauge wire was included in the kit – click to enlarge
 |
 |
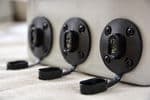 |
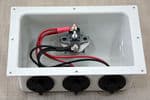
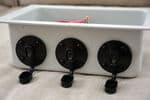
Above: A three-port solar panel junction box was also included in the kit – click to enlarge
This kit includes a 150 watt Class A mono-crystalline solar panel, a 30-amp 5-stage PWM (pulse width modulation) solar charge controller with LCD display, 25-feet of 8 gauge wire, a three-port solar panel junction box, and all required nuts, bolts, washers, fuse holders, fuses, splice connectors, and ring connectors.
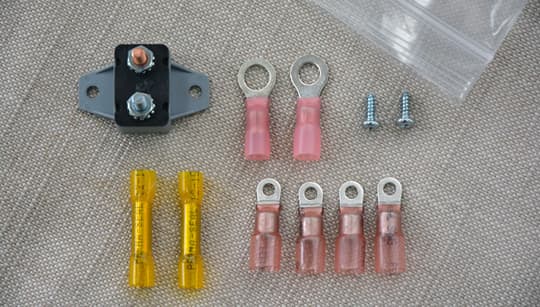
Above: The connectors and resettable circuit breaker was included in the kit
This system is nearly identical to the one in the Northstar and, with the three-port solar panel junction box, would allow us to upgrade to two panels (300 watts) or even three panels (450 watts) in the future. That said, we do not anticipate needing more than one 150 watt panel.
Team Emerick
With a never-ending goal of living as simply as possible, we live in a HOA townhouse community. This allows us to turn off the water, drain the plumbing, adjust the thermostat, lock the doors, pack the camper, and go. Our neighbors keep an eye on the homestead, and the HOA keeps the snow, leaves, and lawn in check. That’s the good news.
The bad news is that our HOA doesn’t permit us to keep our truck camper rig in front of our house for more than a few hours. Other than loading up and filling with water, we are not permitted to work on our rig, or park it overnight. We normally keep our rig in a storage lot, which costs us about $50 a month, and work on it at friends’ houses, or industry venues. Everything in life has compromises.
For the installation of the Zamp solar panel system, we visited Tom and Pat Emerick. Tom is a retired Plant Facility Manager from Allen Organ, and happens to own an Arctic Fox 990. He and his son, Michael, have also refurbished an older Adventurer truck camper. Between the Arctic Fox and the Adventurer, Tom is always working or modifying something.
When we told Tom about our solar panel system, he offered to help. Tom and Pat’s sons, Donny and Michael, also volunteered to help with the installation. With Team Emerick on board, we were ready to go.
Pre-Installation Planning
Most single or double panel solar panel systems are installed by professionals who regularly install solar panels in a few hours. Since this was our first time installing a solar panel system, and we regularly stop for photography and note taking, we gave ourselves a full day. After the experience, we recommend blocking off at least a full day for the task.
Above: The diagram in the Zamp instructions for the install – click to enlarge
First, we went to the battery compartment and disconnected our camper battery bank. We took off the main negative cable and then the main positive cable. By disconnecting the battery bank cables in this order, you prevent the possibility of electric shock during the installation. The camper should also be disconnected from 110 volt shore power.
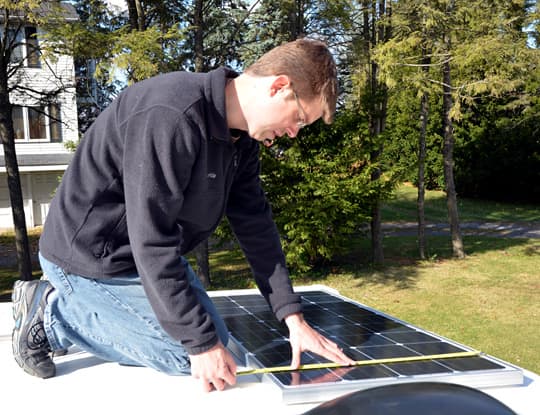
Then, we measured the dimensions of the Zamp 150-watt solar panel. It measured 26.5” wide by 58.25” long. Fortunately, our eleven-foot floor plan offered plenty of roof real estate options to place a panel of this size.
Since we wanted to leave room for adding more panels in the future, we placed the single panel where it would fit best and work in a two or three panel installation. Again, we only anticipate needing one 150-watt panel given our positive experience with the 150-watt installation on the Northstar, and similar experiences with other solar-equipped truck campers.
For efficiency, we decided to place the single panel and junction box on the driver’s side front. An additional panel could later be placed on the passenger’s side front leaving just enough space between the panels to walk and inspect roof seals. A third panel is not likely, but could be added on an available space towards the rear of the camper roof.
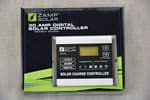 |
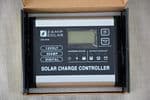 |
 |
Above: The 30-amp 5-stage PWM (pulse width modulation) solar charge controller with LCD display – click to enlarge
Once the locations for the roof mounted solar panel and junction box were determined, we moved inside the camper to plan where the Zamp solar controller should be mounted. We considered several factors including (a) where we wanted the controller to be located, (b) where it would be easiest to run the required wiring, and (c) avoiding propane lines, heat ducting, and plumbing.
After nixing a few locations that conflicted with the above requirements, we found an inset panel area under the wardrobe closet. This would be a relatively convenient location for daily observation, was directly underneath the planned junction box installation point, and was suitably distant from anything that would interfere with it.
Tom was pleased that the wire run distances between the solar panel, junction box, and solar controller would be kept as short as possible. As he explained, the solar panel system would preserve more of the power it collected from the sun if the wire lengths between the panels, junction box, controller, and batteries were kept to a minimum.
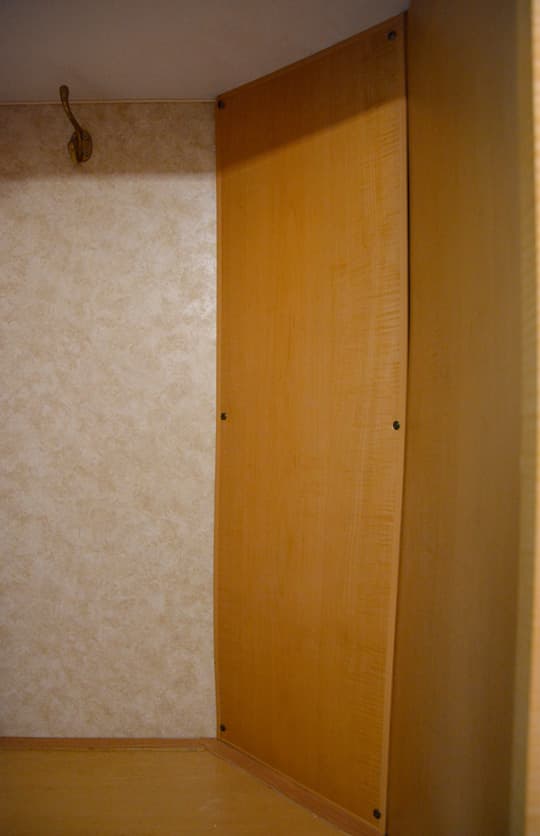
Above: Removable panel in our wardrobe closet where we ran wires from the junction box
On the back wall of our wardrobe closet, we discovered a removable panel where the original manufacturer ran wires for the entertainment system. Tom recommended using this area to run the wires from the junction box on the roof to the solar controller below. Had we not found this removable panel, we would have carefully tacked the wires from the junction box to the side cabinet wall with plastic cable tacks.
Installing the Solar Panel on the Roof
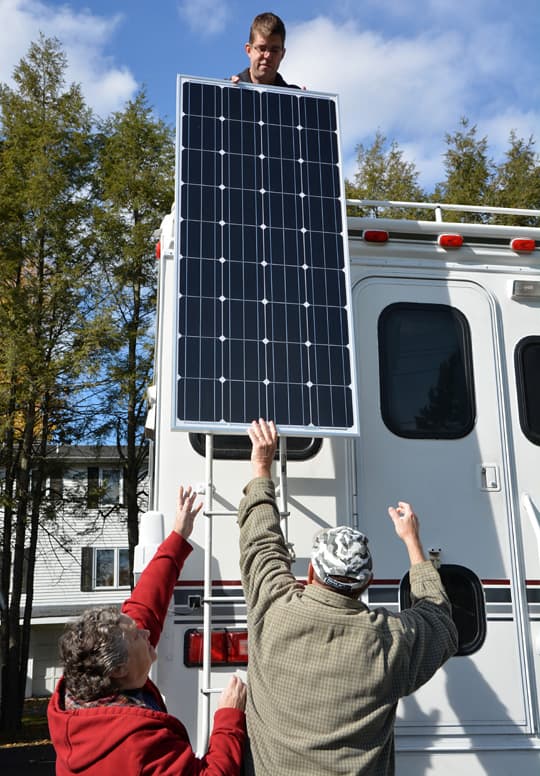
Above: Pat and Tom Emerick helping Gordon get the solar panel on the roof
 |
 |
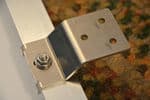 |
Above: Attaching the feet brackets onto the panel
We prepared the solar panel for installation by screwing the solar panel feet brackets to the panel.
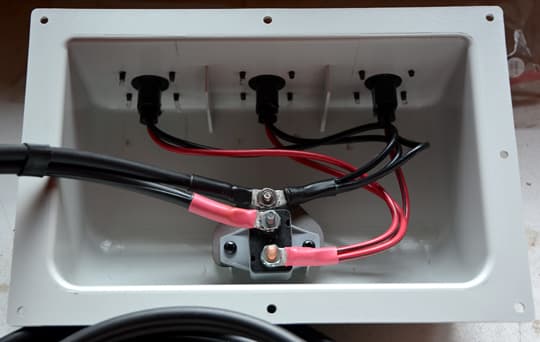
Above: The wiring inside the Zamp junction box
With the panel now on the roof, we connected the 8-gauge wires to the Zamp junction box including the corresponding positive and negative wire connections. Tom had us check and re-check these wire connections with a multi-meter to make sure they were done correctly.
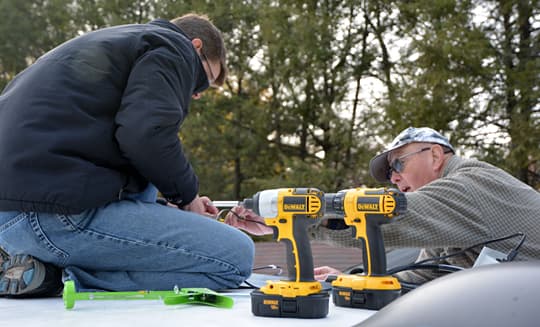
Above: Gordon and Tom checking and re-checking the wiring
Next we connected the wire leads from the Zamp solar panel to the corresponding wires from the junction box. To connect the wires, we used the crimp connectors included in the Zamp kit and shrink wrapped the crimped connections with a heat gun. The shrink wrap was strongly recommended by Tom to protect the crimped connections from the elements.
 |
 |
 |
Above: Crimping the connections – click to enlarge
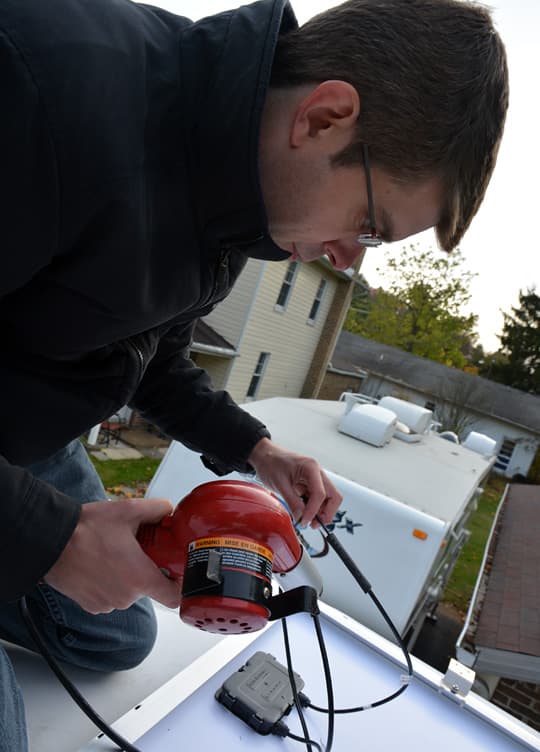
Above: Shrink wrapping the crimped connections with a heat gun
Then it was time to do something we would otherwise never do; purposefully drill a hole in the camper’s roof. Once drilled, the hole would pass the 8-gauge wire from the junction box down through the wardrobe to the solar controller. Then the hole would be filled with Sikaflex 715, the same roof sealant used on the rest of the camper roof, and covered with the junction box, itself sealed with Sikaflex 715.
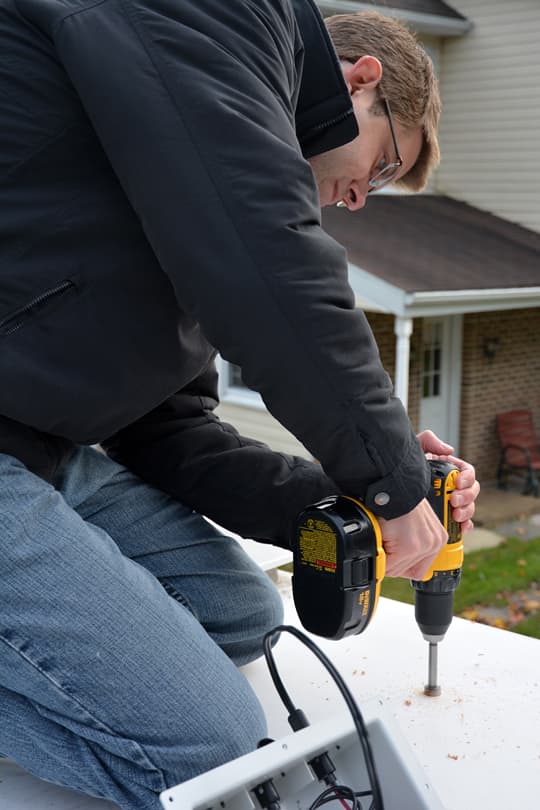
Above: Drilling the hole in the roof for the 8 gauge wire
 |
 |
 |
After asking, “Are we sure about this?” a few dozen times, we drilled the hole. As Gordon drilled, rubber TPO, luan plywood, several inches of closed cell foam insulation, and more luan plywood came up. We knew we needed to drill this hole, but it was still somewhat terrifying to see it happen.
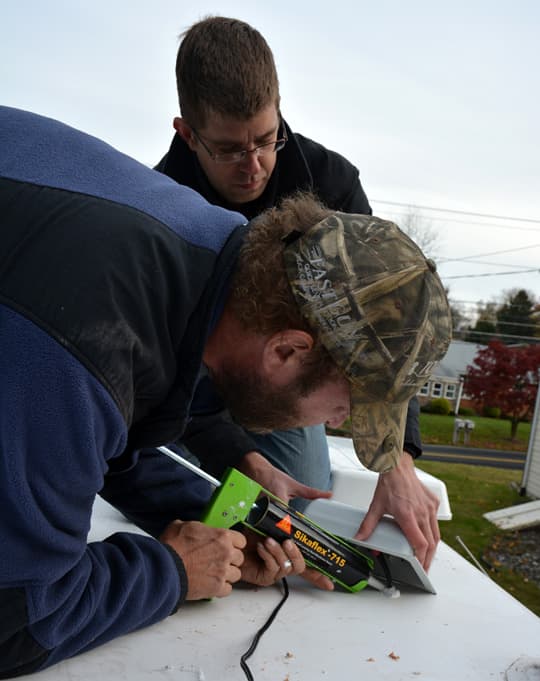
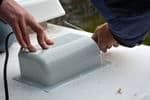
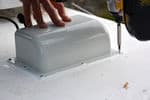
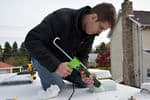
Above: Michael Emerick applying Sikaflex 715 around the 8 gauge wire
 |
 |
 |
 |
 |
 |
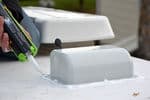
Above: Caulking the junction box tight to the roof
With the hole drilled, the 8-gauge wire was fed into the camper and underlying wardrobe through the hole. Then Sikaflex 715 was applied into the hole at the point where wire emerged.
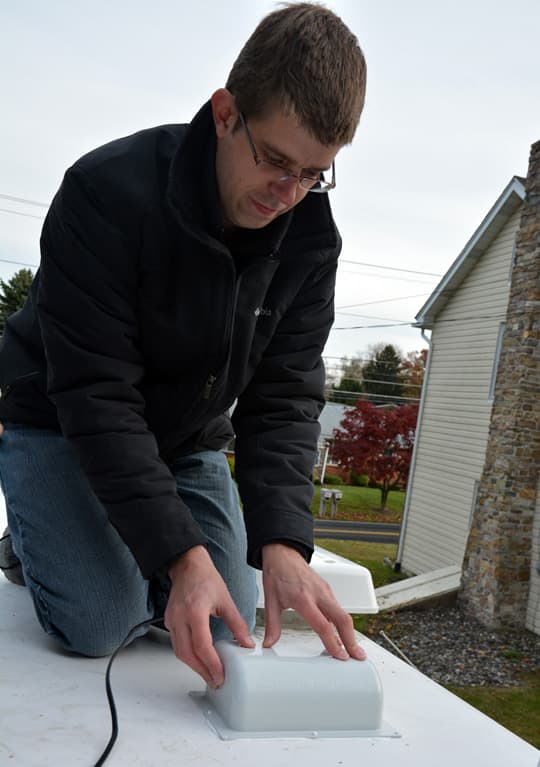
Above: Gordon positioning the junction box after Sikaflex has been applied
Sikaflex was then applied to the bottom edges of the junction box before the junction box was placed into position above the 8-gauge wire. The junction box was then screwed into the roof with stainless steel screws. Once the screws were in, Sikaflex was applied to the base of the junction box, and smoothed out for consistent coverage by hand.
Securing the solar panel to the roof was next. Gorilla tape was used to hold the panel wiring to the inside upper panel. Then the panel was carefully flipped over and placed into its previously determined position on the forward driver’s side.
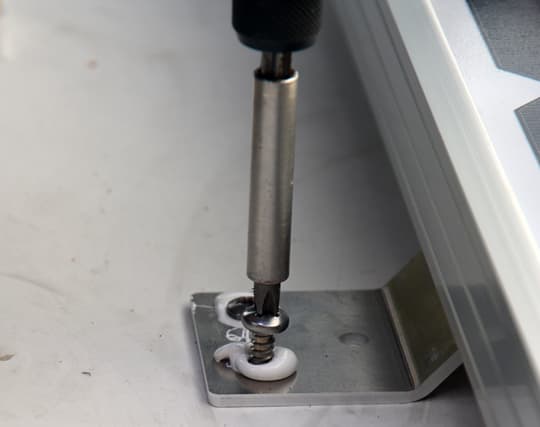
Above: The solar panel bracket feet being secured onto the roof
Again, stainless steel screws were used with a dab of Sikaflex 715 to secure the panel to the camper’s roof. When the screws were in, Sikaflex 715 was used to cover the solar panel bracket feet.
Next: Read about how Truck Camper Magazine and Team Emerick install the Zamp Controller, finish the install, and test the solar system. Then Gordon and Angela kill two batteries, and learn an expensive lesson; Installing A Solar Controller.
