Welcome to the fifth entry in October’s Medium Mod Contest. One Medium Mod will be published in every Email Alert in October. At the end of the month, we’ll hold a reader vote to determine October’s winner. Click here for information about the 2020 Mod Contest, including how to enter.
Steve M., Fruita, Colorado
Under Counter Storage For Tools, Kitchen Items, and Toiletries
2018 Toyota Tacoma
2018 Palomino SS-500
I was frustrated by the lack of storage and stowaway space in my camper. My thought was that the open space above the refrigerator and propane tank and the space below the main countertop was being wasted.
I have seen other campers utilize this space with under counter storage, so I used that idea to design my own system. The idea was to not sacrifice any countertop space and try to add as little weight as possible to the camper. The goal was to gain some storage for tools, kitchen items, and toiletries.
For this upgrade, I used all 1×2, 1×3 and 1×4 construction grade whiteboard. It is inexpensive, lightweight, and strong.
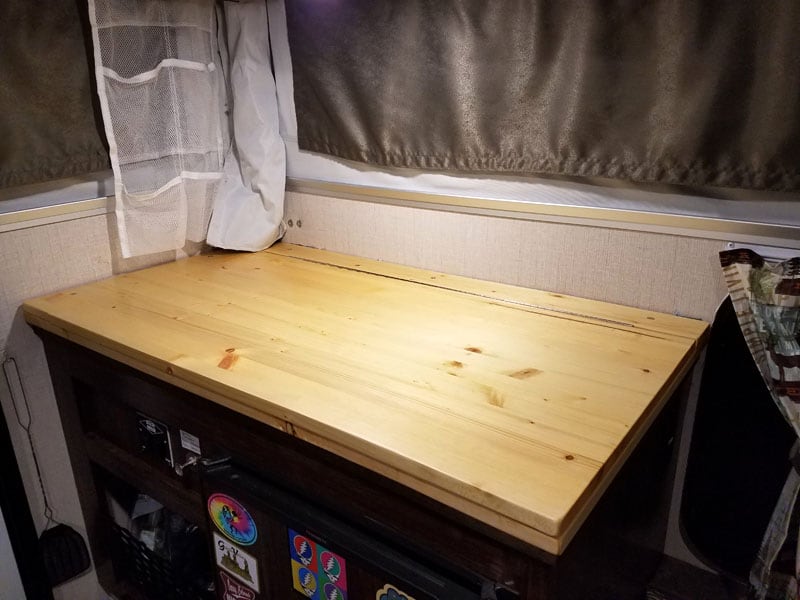
The top of the countertop is a 3/4-inch fabricated pine board. The bottom of the inset boxes are 1/4-inch plywood. After I pulled the old countertop off, which was a pain in the butt considering the 400,000 staples Palomino used to attach it to the cabinet, I cleaned everything up and reinforced the unfinished sides of the cabinet with 1×1 pine material. The 1×2 ripped in half.
Then I measured the opening length, width, and depth for both sides of the cabinet. The shallow box is above the refrigerator so that there is still room for insulation and airflow. The deeper box is above the propane tank cabinet. I also had to work around the electrical lines running inside the cabinet.
The boxes were built to the correct dimensions and then attached to the frame I built with the whiteboard. I used a natural stain and three coats of polyurethane on the bottom section. I attached it to the countertop with wood screws.
The top was cut to the same outside dimensions as the bottom. I cut out the lid and attached a piano hinge and a door catch to help keep it down while traveling.
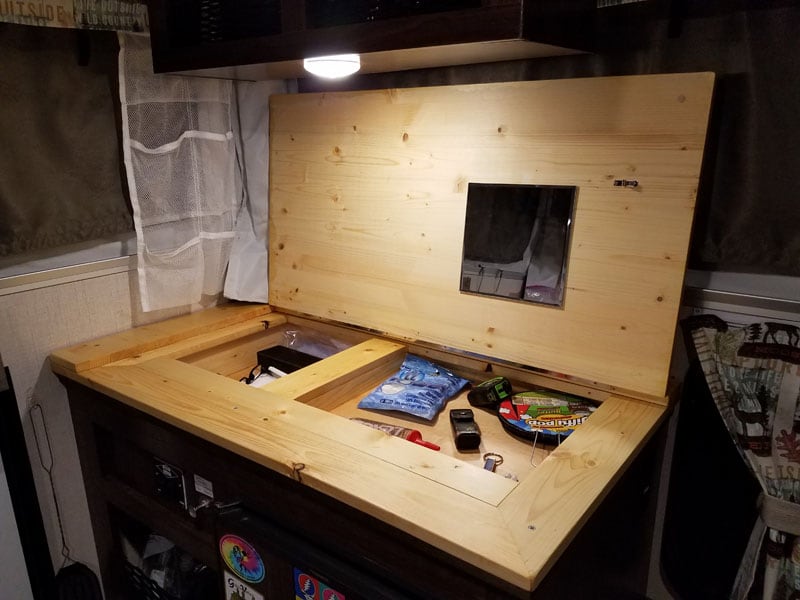
The top of the new countertop has six (yes six) coats of polyurethane because I wanted to make sure it can be kept clean. Then I added a $3 craft mirror underneath (see picture above).
Other materials I used were Gorilla wood glue and a Kreg Jig with pocket screws. The pocket screws were a nice touch so that the inside of the boxes have no screws showing. Next winter I plan to build a natural wood counter under my stove and sink to match this one.
Being that this just barely got completed, we haven’t field tested it yet. What I can tell you is that we won’t have to have a toiletry bag hanging from the ceiling anymore. We also now have a very convenient place to keep our dish towels and Jiffy Pop.
It took me about 10-hours to complete this modification and cost me approximately $100. In my opinion, the skill level of this modification is medium.
Disclaimer: The modifications above are submitted by Truck Camper Magazine readers. It is your responsibility to make sure that any do-it-yourself modification project you undertake is safe, effective, and legal for your situation.
Enter Your Mods Now!
If you’d like to enter a modification you’ve done on your truck camper, click here. You can enter as many mods as you want, at any time. Good luck mod makers!


