Welcome to the fourth entry in April’s Medium Mod Contest. One Medium Mod will be published in every Email Alert in April. At the end of the month, we’ll hold a reader vote to determine April’s winner. Click here for information about the 2023 Mod Contest, including how to enter.

Donna Lloyd, Tampa, Florida
Tambour Door in a Lance Camper
2021 Ram 2500
2021 Lance 825
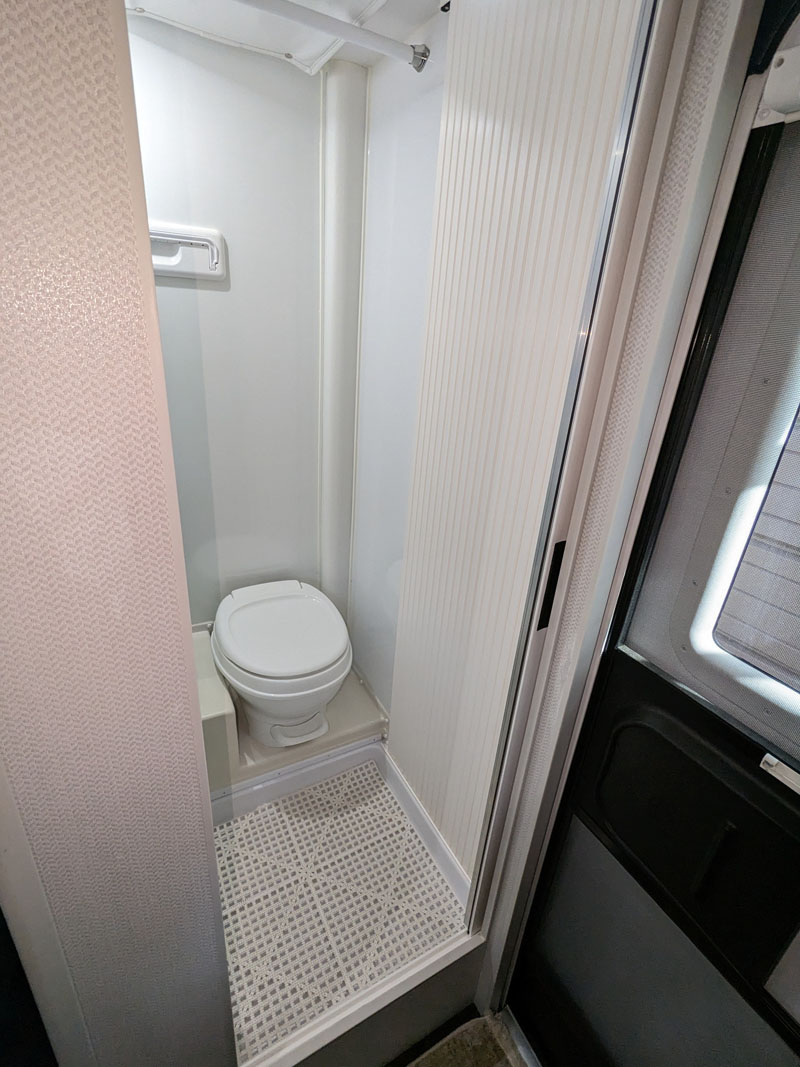
I love my Lance, but not the bathroom door. It was difficult to latch and would hit the dinette cushions when I tried to open it. The door had to be closed at all times or it would get in the way.
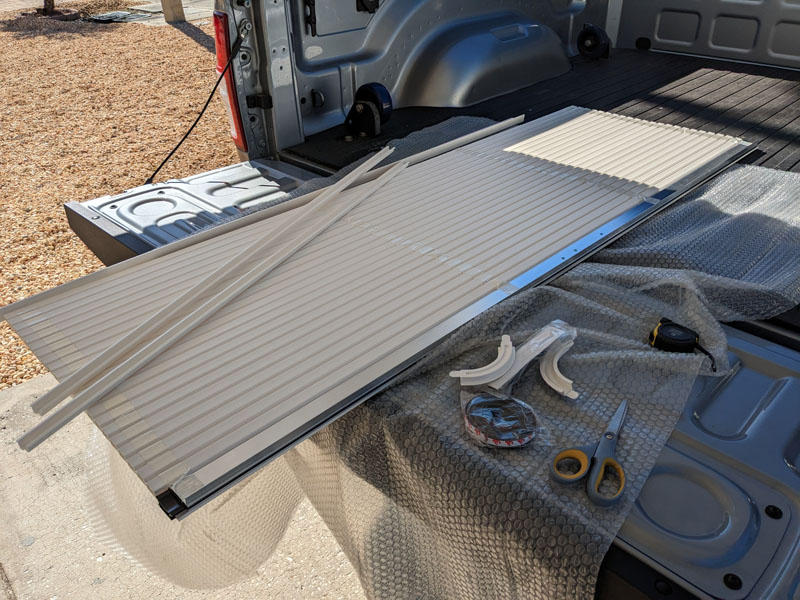
I decided to replace the OEM door with a tambour door in my Lance 825. My new door kit was well-packaged and arrived in Florida from the UK in perfect condition.
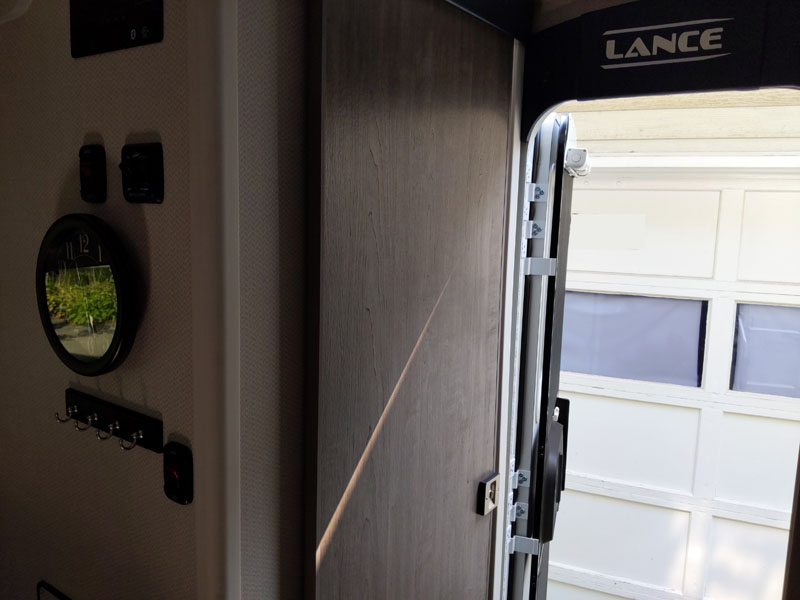
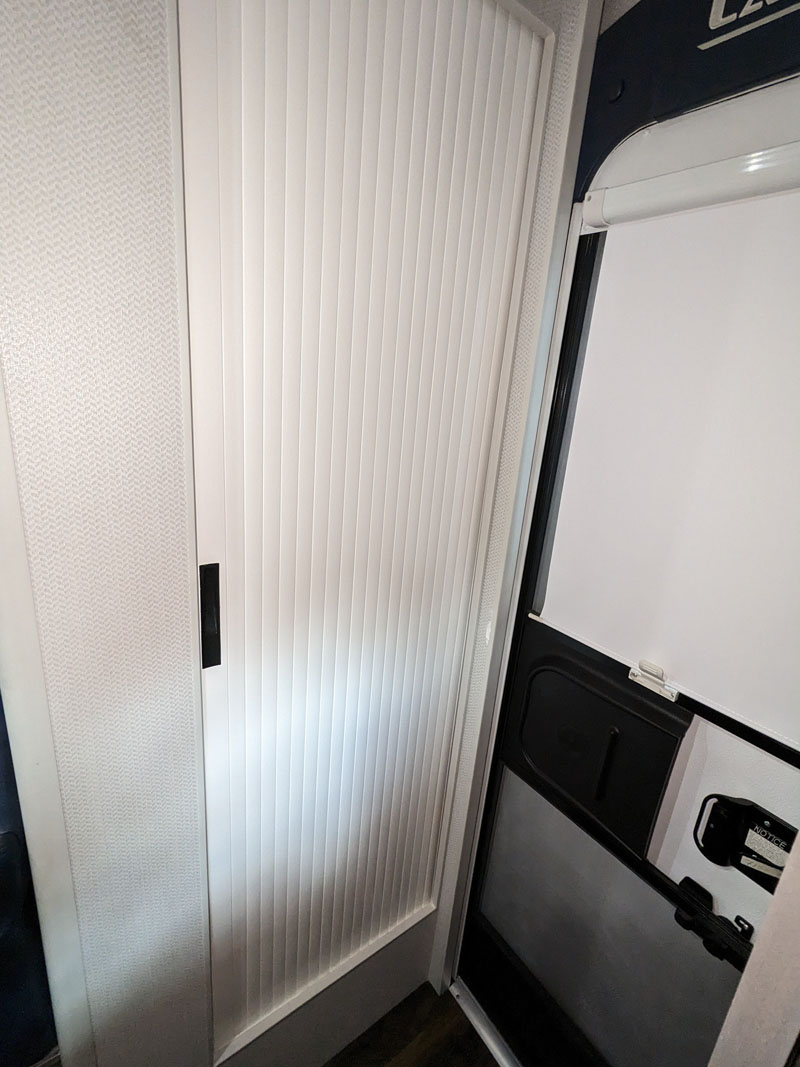
Pictured above is the OEM door I removed. I also removed the shower curtain and bracket.
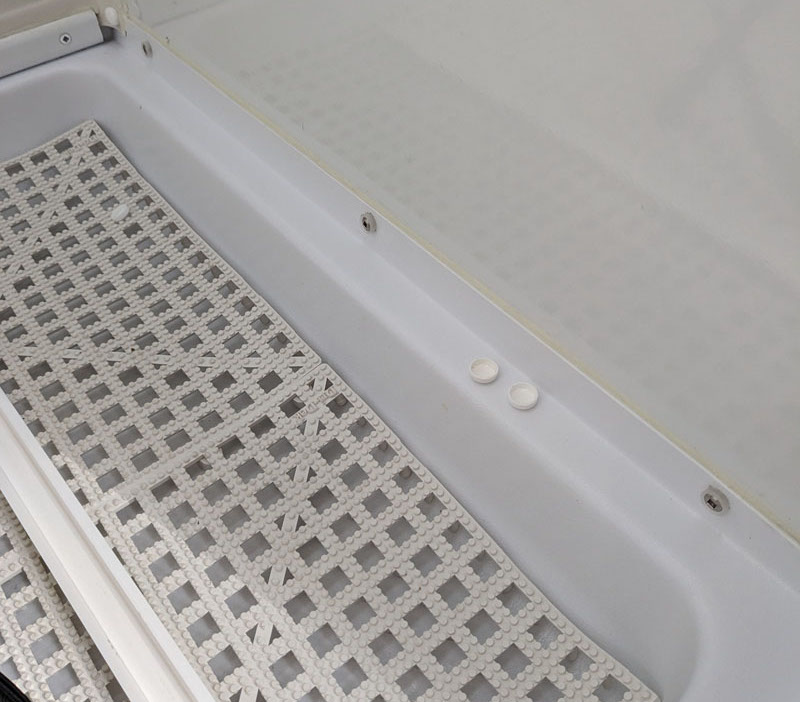
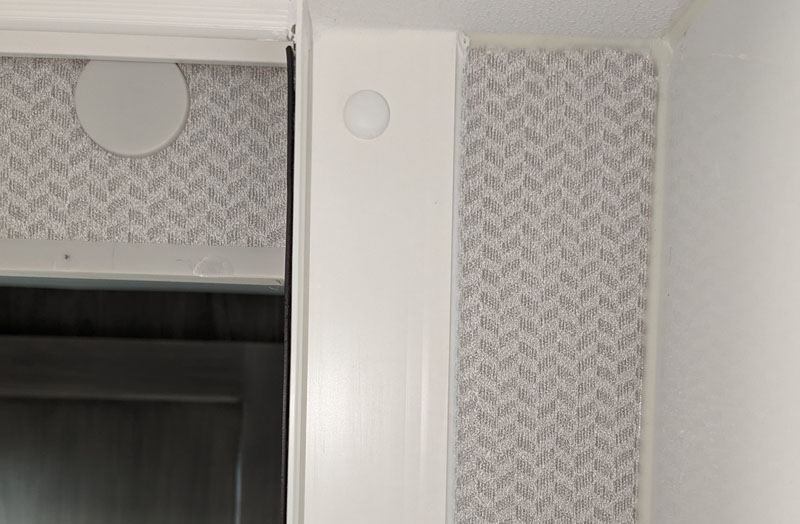
Step 1: I removed six white screws with caps and replaced them with countersunk stainless steel screws so the lower track would lay flush.
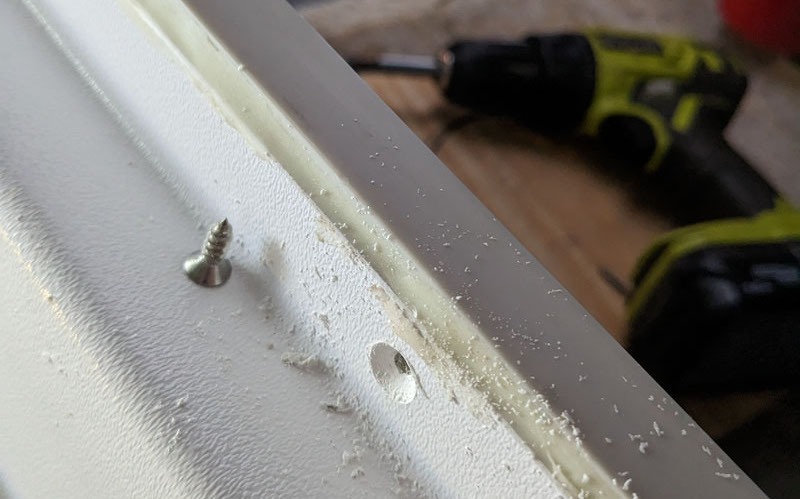
I covered the screws with white sealant. I saved the screw caps and used them to secure the door stop in step 9.
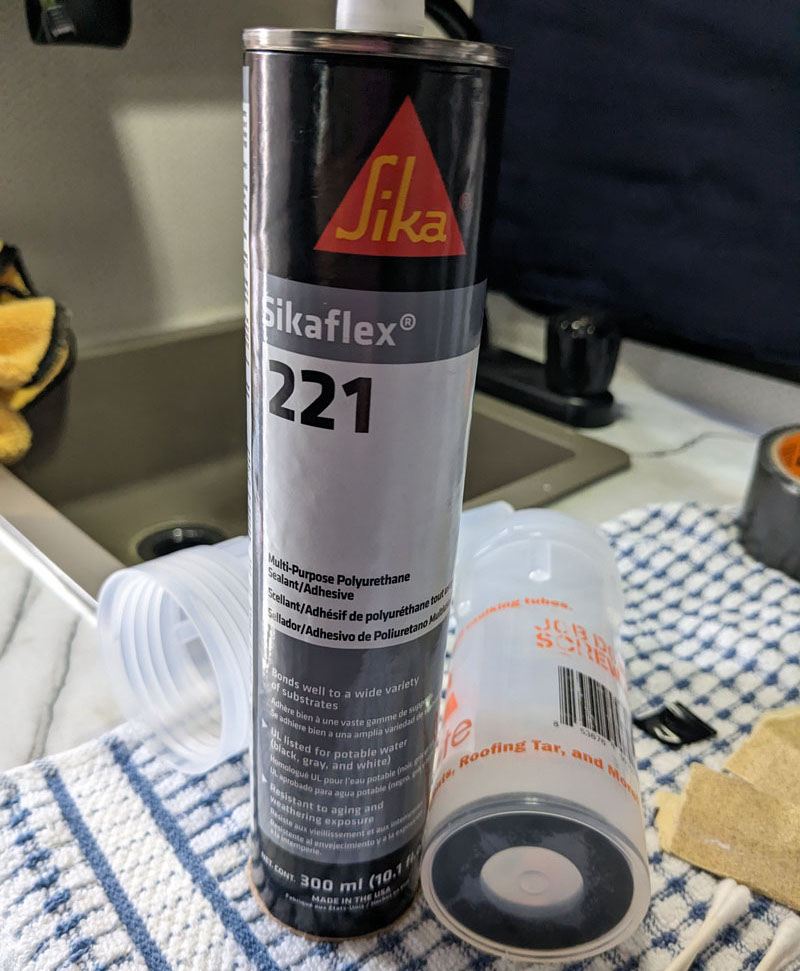
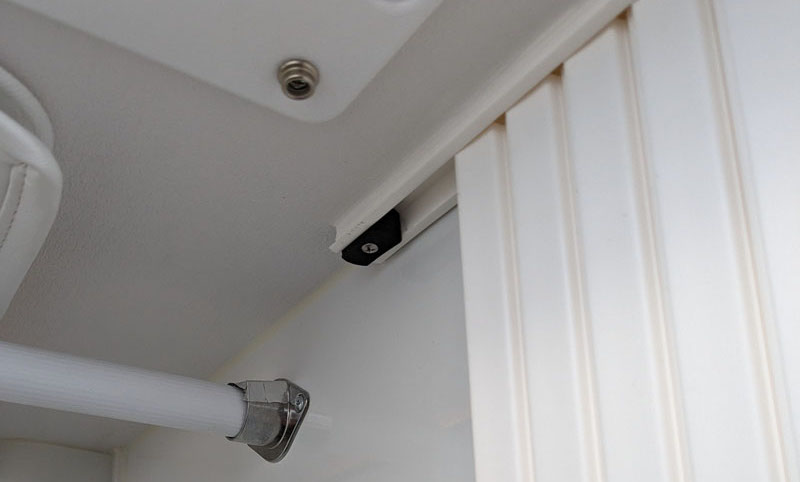
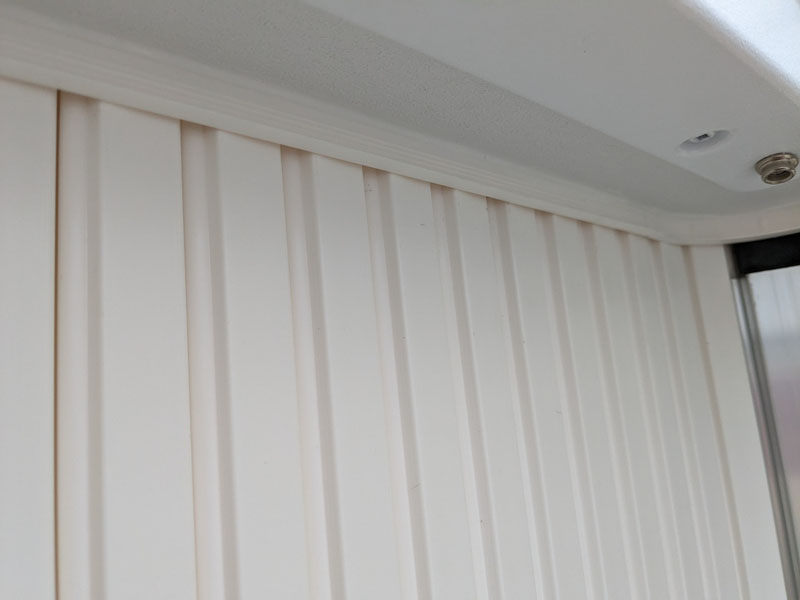
Step 2: I used white Sikaflex-221 to glue the upper and lower 90-degree elbows. This was the only adhesive I used. I waited until the next day to test fit and install the top track.
Step 3: I used a hacksaw (24 TPI) to cut the track. For the top track, I used Sikaflex and a few small flathead screws in the center of the track which did not interfere with the sliding door. My ceiling is wood, not fiberglass. I waited overnight for the Sikaflex to dry, and sanded the inside of the upper elbow so the door would move smoothly, and did another test fit.
Step 4: I removed the door to install half of the lower track. I did not install the last piece of the lower track at the door opening. I waited for the adhesive to cure overnight.
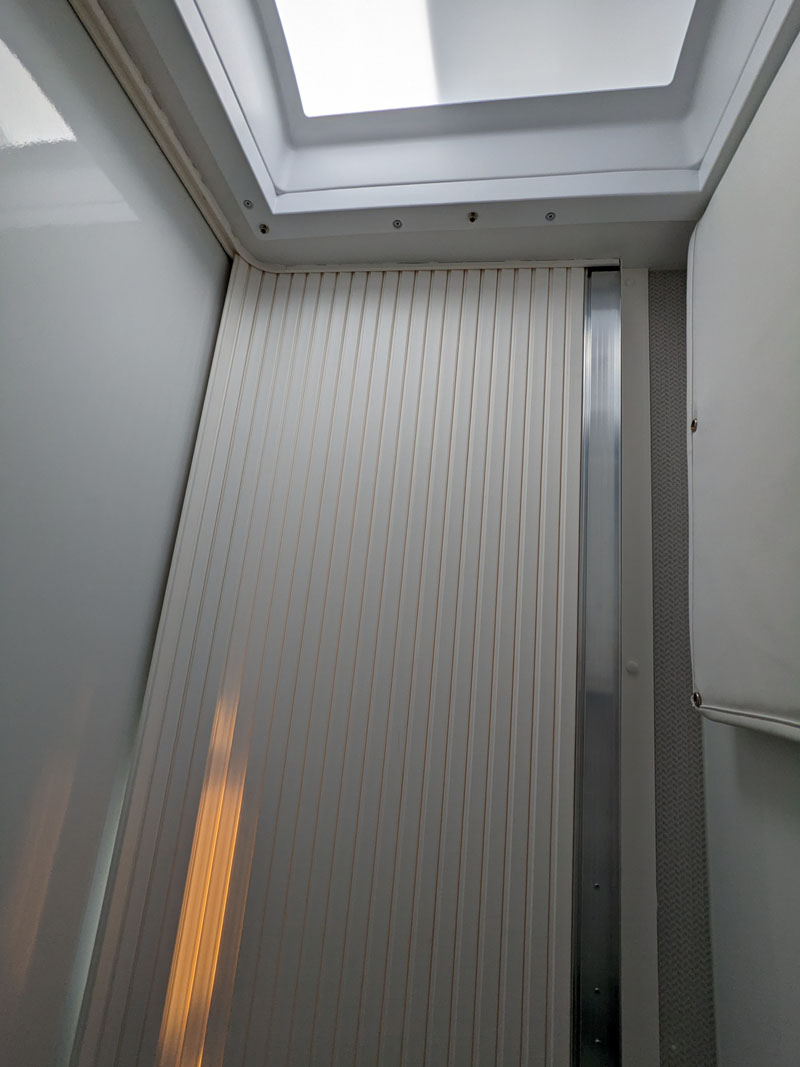
Step 5: The next day I lifted the door into the upper track, and slid it all the way back so I could glue the last remaining lower track.
Step 6: I glued the final piece of track.
Step 7: I removed the tape and the clear protection film.
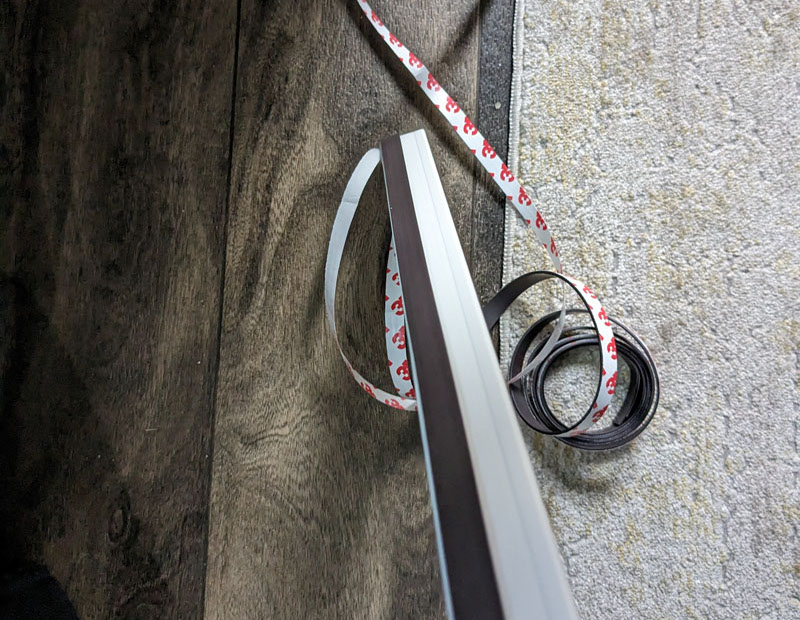
Step 8: I added a rubber stopper to the top track.
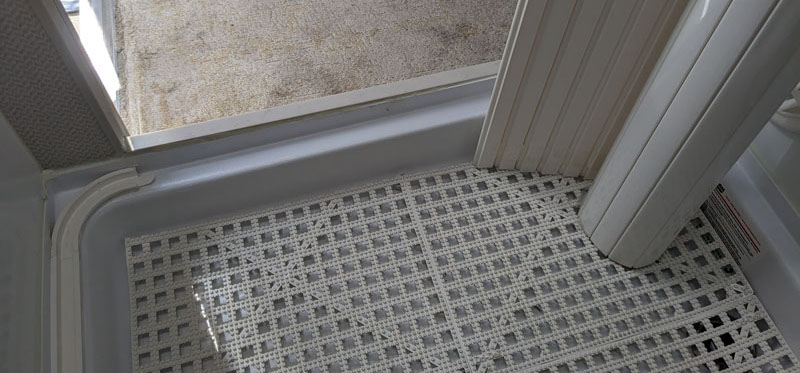
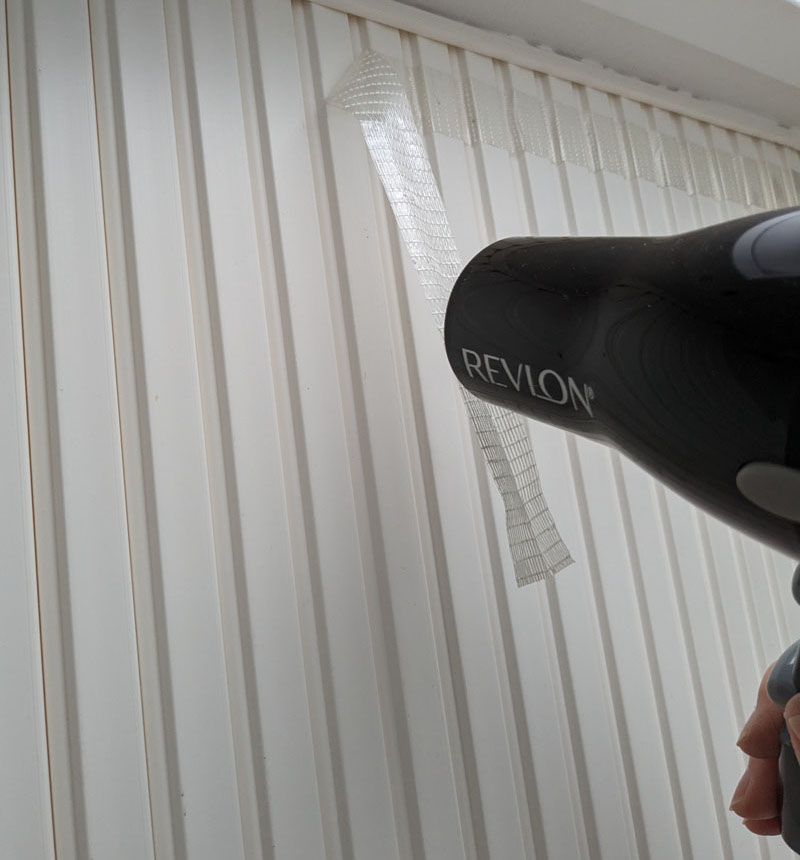
Step 9: I attached the magnetic strip and glued the door stop with Sikaflex. I had to trim the door stop a ½-inch due to the way my shower pan was installed.
I used four stainless steel screws and the screw caps I saved in step 1 to help secure the door stop.
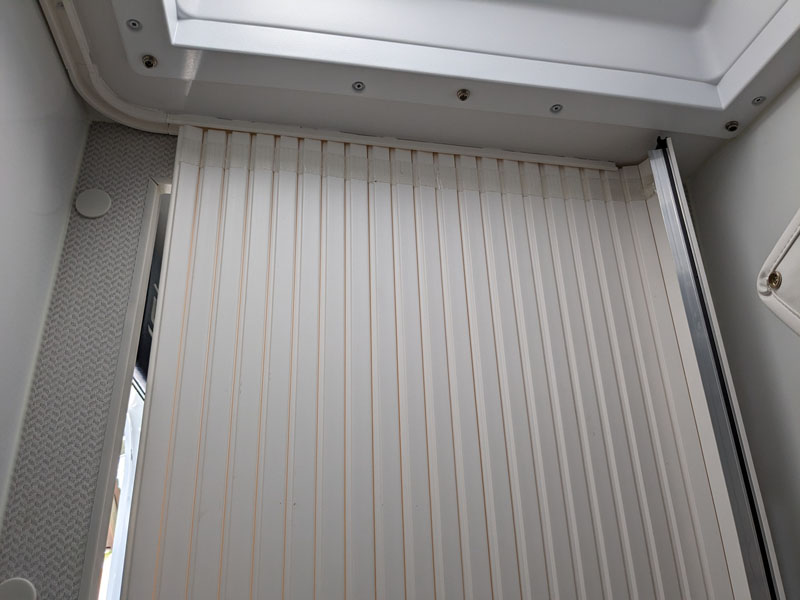
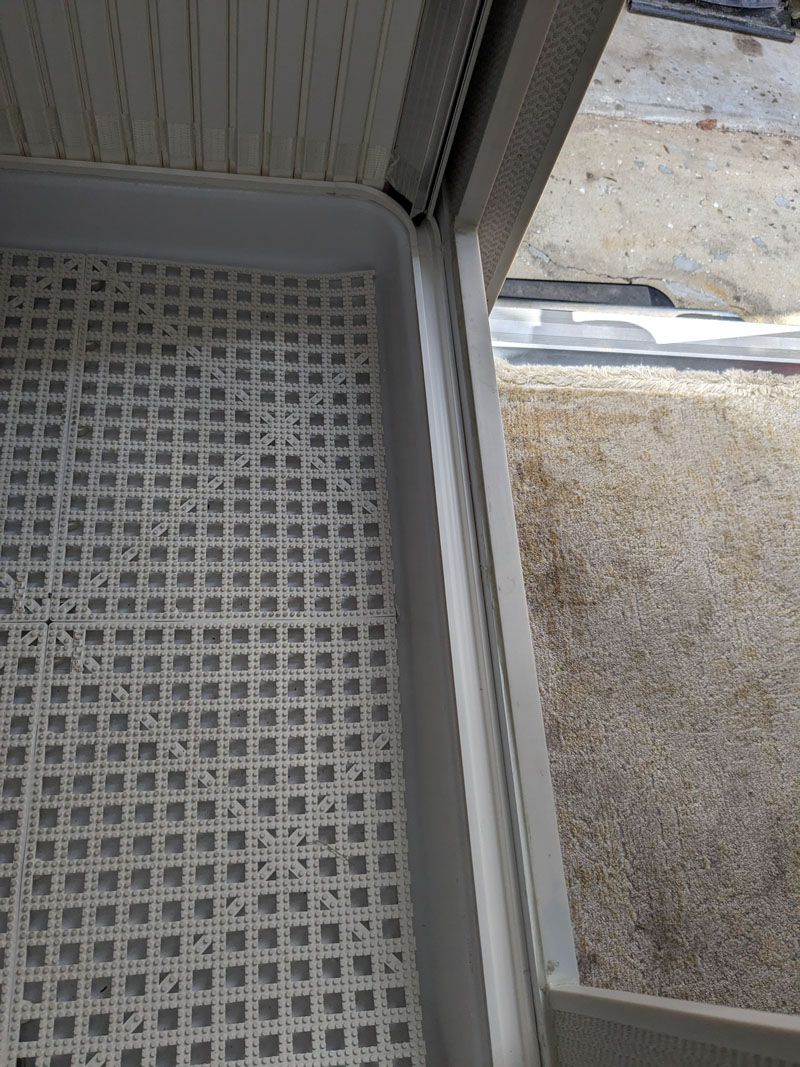
Step 10: I used bathroom silicone along the tracks to make it look nice. I sprayed the door and tracks with 303 UV protectant. I can open and close the door with one finger.
Tips: I measured my door opening every six inches and my height wasn’t consistent. It was off by ½ inch. I used the smallest height measurement. The tracks are 3/8 inch deep so that gave me some wiggle room.
I measured in inches, converted it to millimeters and Rhys at thedour.co.uk double-checked my measurements. I did not need to worry about the tracks because he figures that into the measurement I gave him.
The tools I used were a hacksaw, screwdriver, and caulk gun. I used a drill for five minutes to countersink the screws along track area. I am not a carpenter and was able to install this myself.
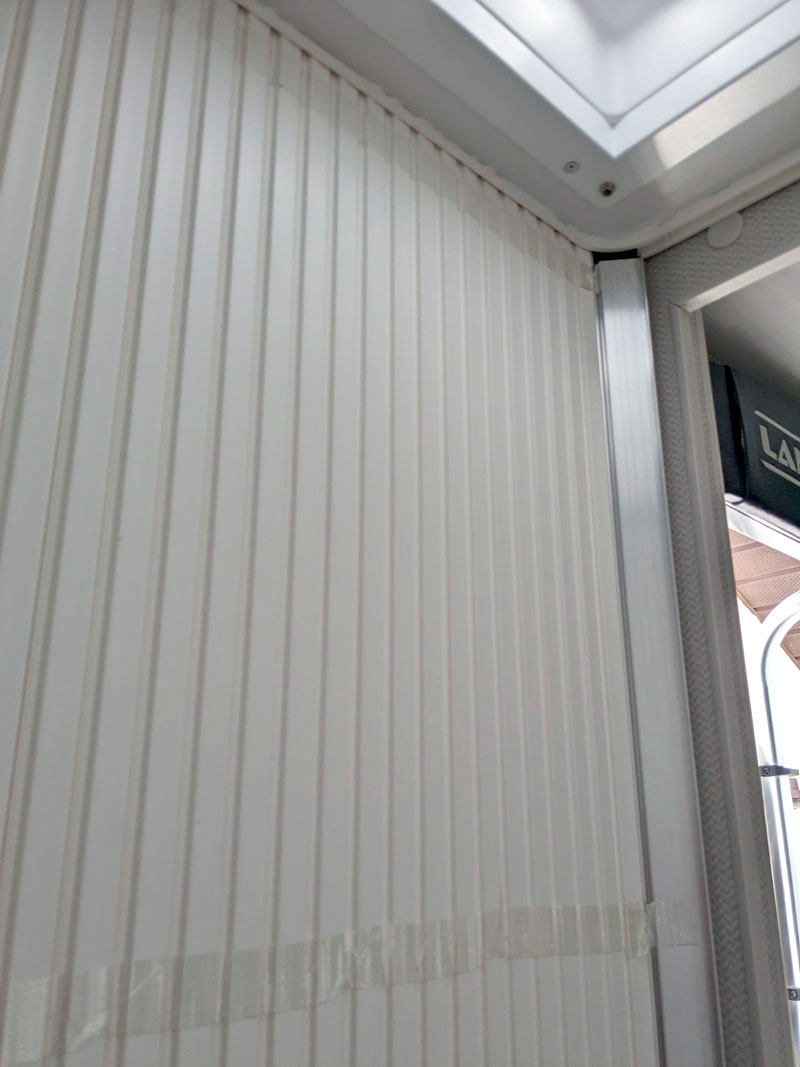
It’s beautiful and I love it!
Materials Used:
1. Tambour door – $325 US delivered to my door (I used PayPal and they did the currency conversion)
2. Sikaflex 221 from Amazon – $20
3. Extra stainless steel screws (Home Depot) $5
It took me 20 hours to complete this modification and cost me $350. In my opinion, the skill level of this modification is medium.
Disclaimer: The modifications above are submitted by Truck Camper Magazine readers. It is your responsibility to make sure that any do-it-yourself modification project you undertake is safe, effective, and legal for your situation.
Enter Your Mods Now!
If you’d like to enter a modification you’ve done on your truck camper, click here. You can enter as many mods as you want, at any time. Good luck mod makers!


