Welcome to the third entry in February’s Medium Mod-Ster Contest. One fresh and tasty Medium Mod will be published in every Email Alert in February. At the end of the month we’ll hold a reader vote to determine February’s winner. For information about the Mod-Ster Contest, including how to enter, click here.
Neil and Yoly Mullen, Dawsonville, Georgia
Pressurized Fresh Water System
2016 Ram 2500HD
2018 Eureka Camper
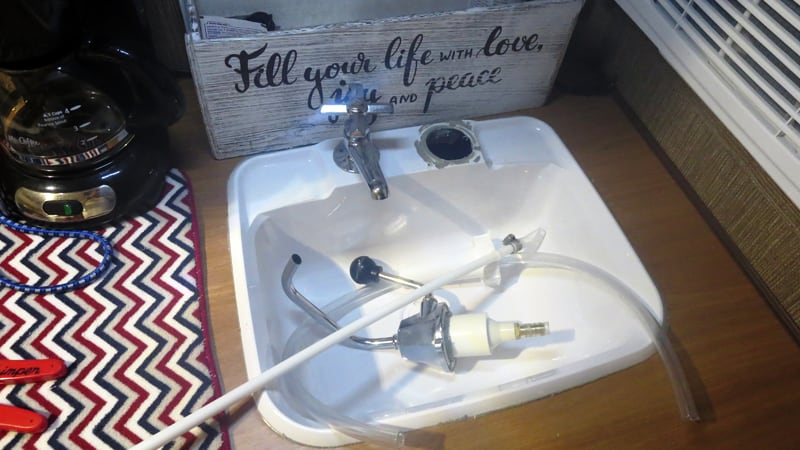
Our Eureka Camper came with a city water connection and faucet. For dry camping, the camper came with a standard hand-action lever-pump to transfer water from the fresh water tank to the sink. This component contains its own separate outlet.
Each cycle of the lever (back and forth) moves a slug of water out of the spigot. Water does not stream out. Since one hand is necessary to operate the lever, it’s impossible to even wash your hands. It would take about 5-minutes to fill the sink by design. I wanted a conventional pressurized water system.
I chose an inexpensive ($29) 12-volt pump based on its small volume (1 gallon per minute) and low power consumption (2.5 amps). I didn’t need to use any more water or power than necessary.
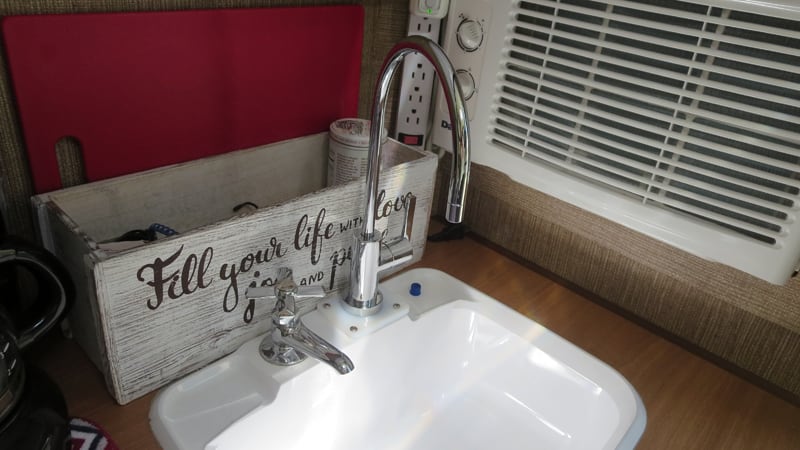
I then found a single faucet ($32) used for cold water dispensing for a wet bar. It had a nice 9-inch riser to the outlet which would allow space for pans and larger items. It is sized perfectly, dispensing its stream directly in the center of the sink. It also swivels side-to-side.
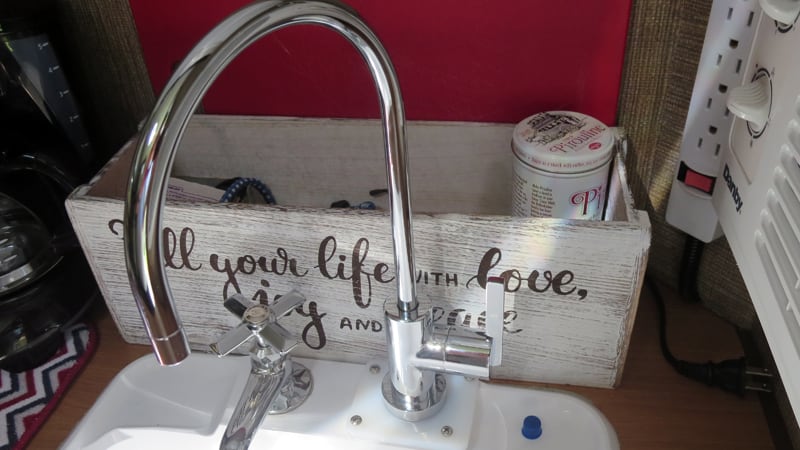
I had to make an adapter plate for the faucet mount after removing the hand-pump assembly. For the adapter plate, I used a piece of nylon plate that I had already purchased.
The switch has a blue LED light that indicates the circuit is active. There was lots of room beneath the sink to mount all the components.
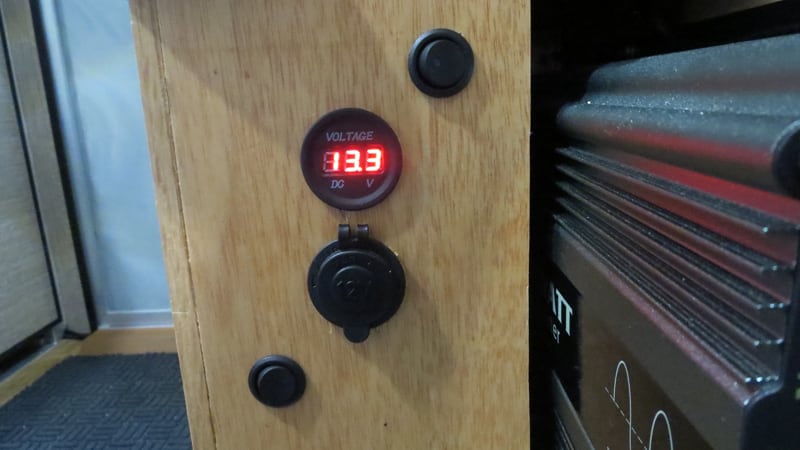
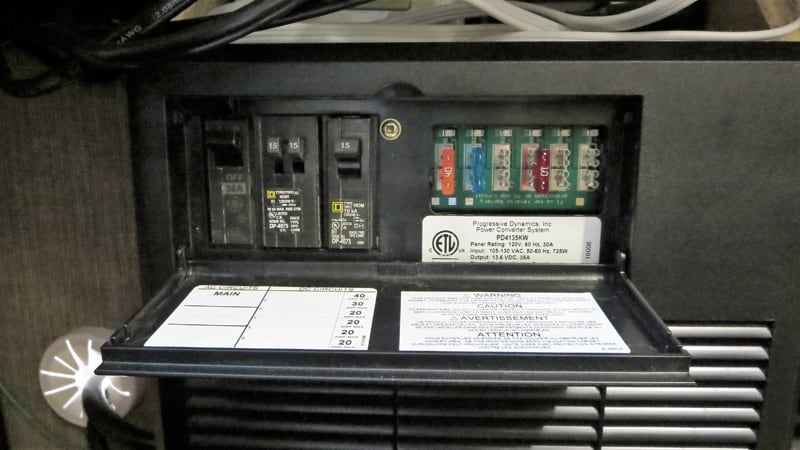
I used a leftover rocker switch mounted to my electrical panel and routed a circuit through one of the unused 12-volt circuits (10-amp fuse) in the converter to the pump.
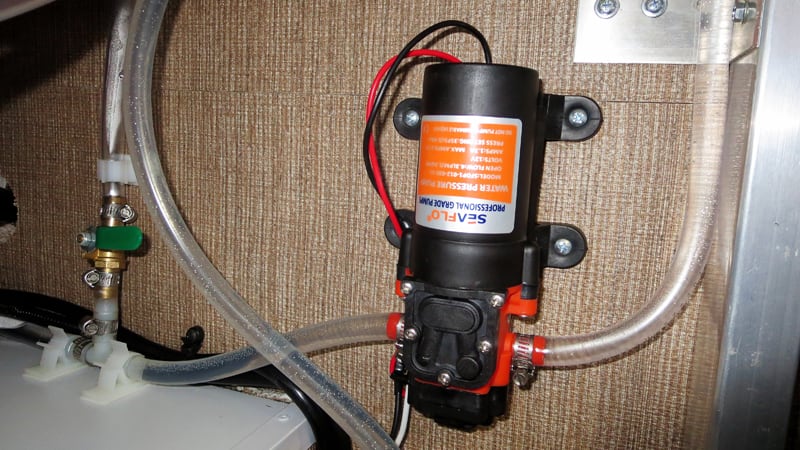
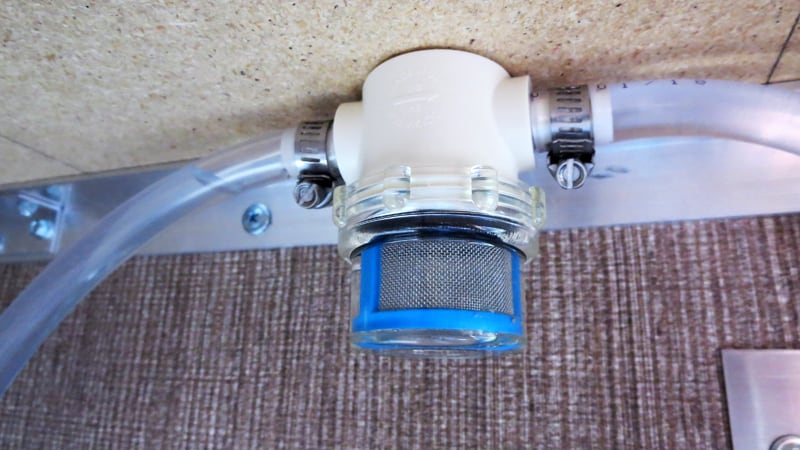
I mounted the pump on the back wall and pulled water from the tank through a #50 mesh strainer ($9). From the pump, the line went to a tee passing through it to the faucet.
The other outlet in the tee went to a ($11) brass (drinking water approved) shut off valve. From this valve I connected an 8-foot length of vinyl hose that connects to a 5-foot shower head/hose assembly.
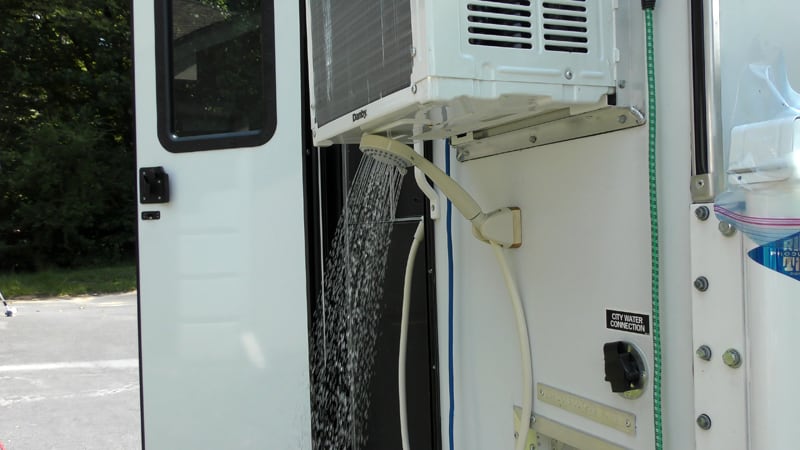
The holder for the shower head sits 6-feet off the ground at the back of the camper. The shower head and hose stores in the sink compartment where the pump is located. I leave the shower head disconnected as that allows me the use of the hose to fill the flush tank on the porta-potty when needed.
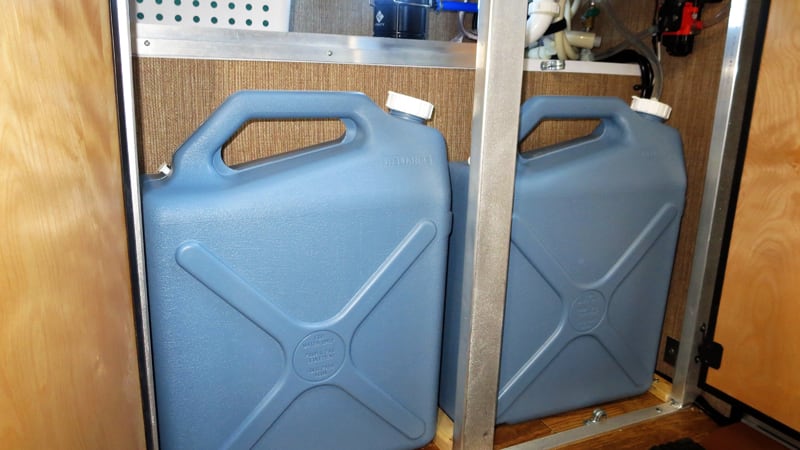
The ($16) shower head has a sliding lever creating two stream strengths and one shut-off position for water conservation. I also purchased an additional 6-gallon fresh water tank, doubling my stock capacity to 12-gallons.
Everything works perfectly. The faucet looks and works great and the rubber mounts on the relatively small pump makes it the quietest running water pump of any of our six previous water systems on a variety of RV type products.
Items purchased for this project were a 12-volt pump, bag of ten hose clamps, 10-feet of 3/8-inch vinyl hose, a 6-gallon water tank, a shower head (included mount), a shut-off valve, a 3/8-inch plastic tee, a #50 mesh strainer and the faucet.
It took me five hours to complete this modification and cost me $133. In my opinion, the skill level of this modification is medium.
Disclaimer: The modifications above are submitted by Truck Camper Magazine readers. It is your responsibility to make sure that any do-it-yourself modification project you undertake is safe, effective, and legal for your situation.
Enter Your Mods Now!
If you’d like to enter a modification you’ve done on your truck camper, click here. You can enter as many mods as you want, at any time. Good luck mod makers!
