Welcome to the seventh entry in October’s Medium Mod Contest. One Medium Mod will be published in every Email Alert in October. At the end of the month, we’ll hold a reader vote to determine October’s winner. Click here for information about the 2023 Mod Contest, including how to enter.
Craig Huff, McHenry, Illinois
Making A Bigger Battery Bay
2021 GMC 3500
2022 Eagle Cap 1200
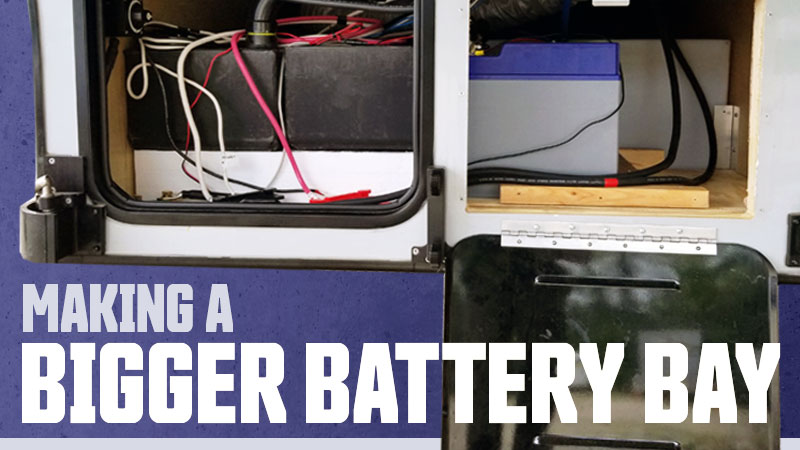
The original battery bay didn’t really suit the batteries I had bought.
As you can see in the before pictures, the wiring was a rat’s nest that begged for fixing. I also discovered that the engaged battery disconnect wasn’t preventing a current draw on the battery bank.
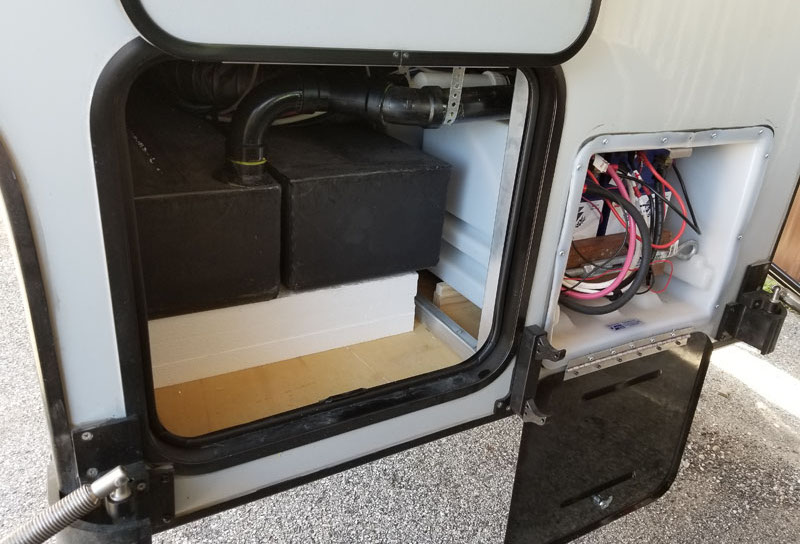
A word of caution about this mod: If I were using lead acid or AGM batteries, I would have purchased batteries to fit the sealed battery compartment to prevent potential outgassing into the camper. Since I’m using lithium batteries, venting isn’t necessary and electrolyte spills aren’t an issue.
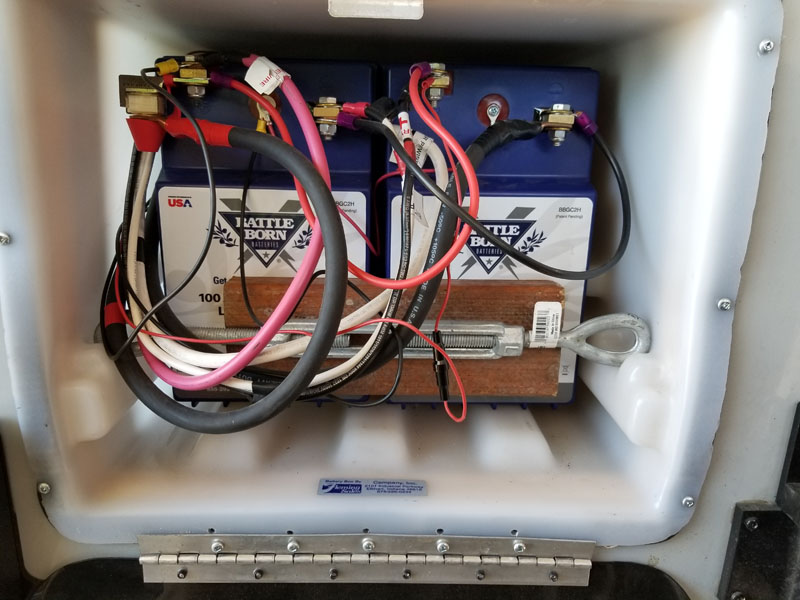
Above: We recommended changing the metal turnbuckle to a non-conductive material
First, I slid a tape measure into the battery box space to get some idea of the available space; length, width, and height.
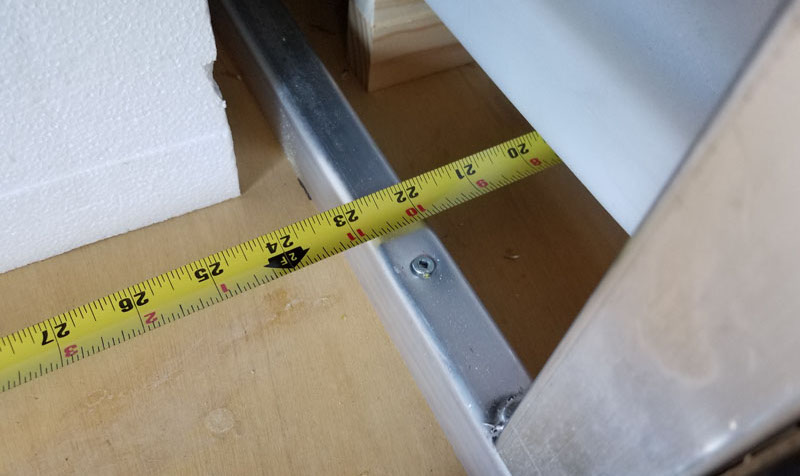
I decided could do better if I took out the battery box which was basically a polyethylene bucket turned on its side.
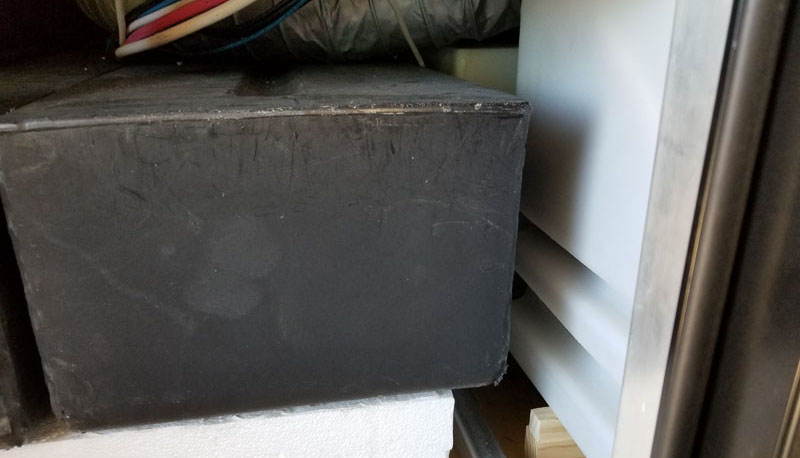
After carefully disconnecting all the wiring to the batteries and removing them, I took out the original battery box and discarded everything but the door latch striker plate, which I reattached to the top sill.
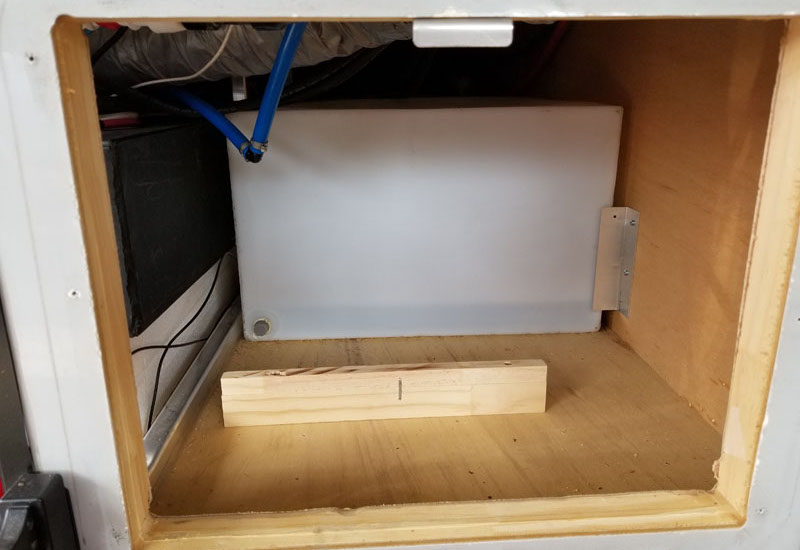
Then I removed the wood battery box support from the basement floor.
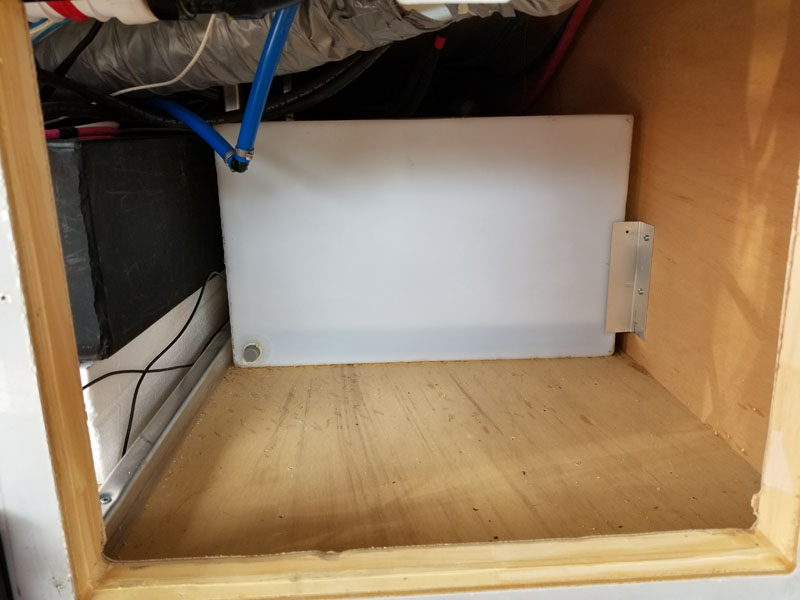
Now that I had full access, I measured the space more accurately. I decided to make a platform resting on top of the centerline aluminum box frame rail to gain an additional inch or so in width. Never throw away space if you don’t have to!
I cut the 3/4-inch plywood to fit the available space and used scrap lumber to make a support framework, which I screwed to the underside of the platform.
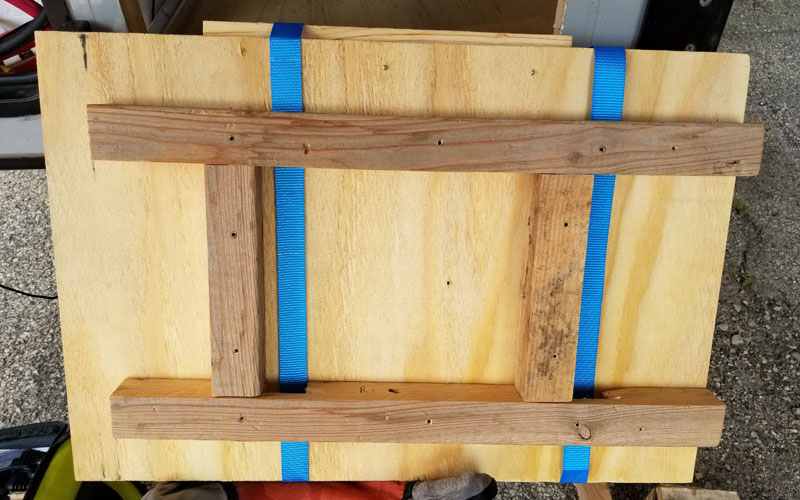
It then took some serious Tetris-Fu to get the assembly through the battery bay opening. Once it was through, I turned it right side up and set it down on the floor before running additional screws down into the floor.
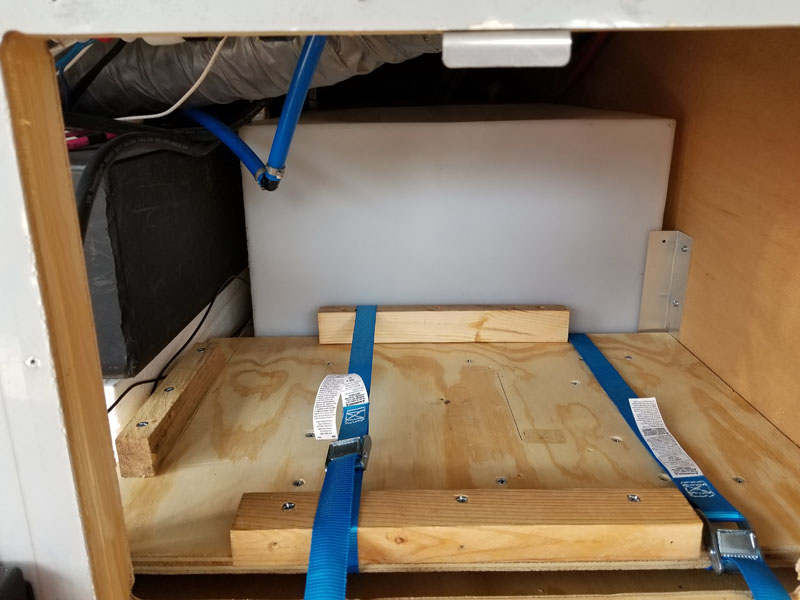
To secure the batteries in place, I decided to use lashing straps. I had to pull it all back out to cut a slot-ways in the support framework for the straps to run through. Then I had to put it all back in again.
I secured pieces of scrap lumber along the rear edge and left side with screws for battery stops. This keeps the batteries from sliding into the fresh water and black water tanks. Then I put the batteries in place for fit and added a front stop board.
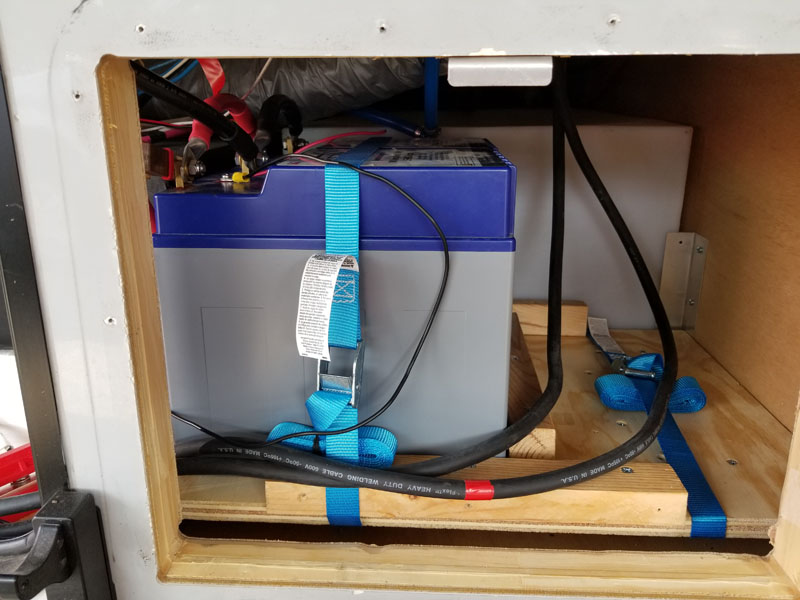
It was nice to then prove my measurements were accurate. There really was room to add two more batteries to the right of the existing two, but just barely. Since that would be a future upgrade, I put a final stop board to the right of the batteries and secured them in place with the lashing straps.
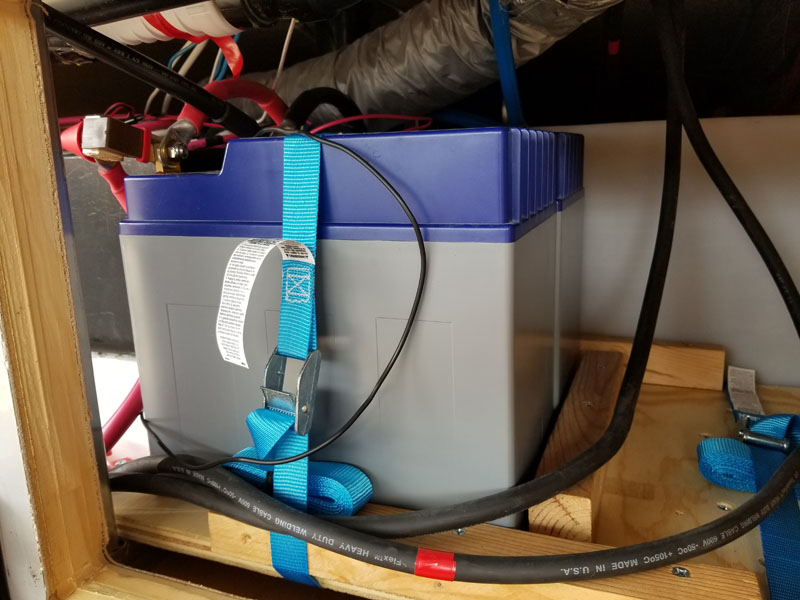
Next, I needed to solve the rat’s nest of wires and simplify what connected directly to the battery bank.
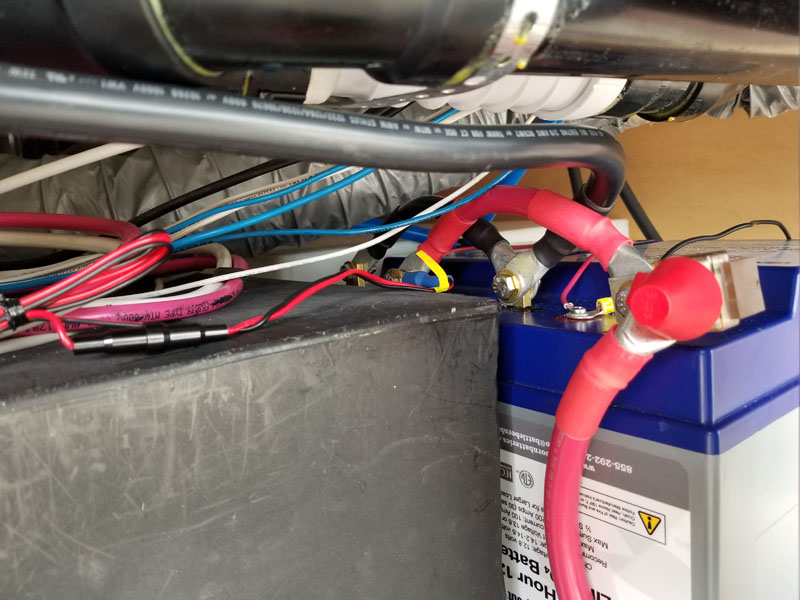
Using available space on the basement floor in front of the grey and black water tanks, I placed terminal blocks for the positive and negative power connections, the battery monitor shunt, and connected all the power cables.
Running out of room on the floor, I placed my new battery shutoff on the left side wall. I put the shutoff in the negative line between the battery bank and the shunt because I had discovered (go ahead, ask how) that the aluminum framing was bonded to the negative side of the 12-volt service. Now, with the switch turned off, there is no connection to the battery bank and no possibility of arcs, sparks, or phantom battery draining.
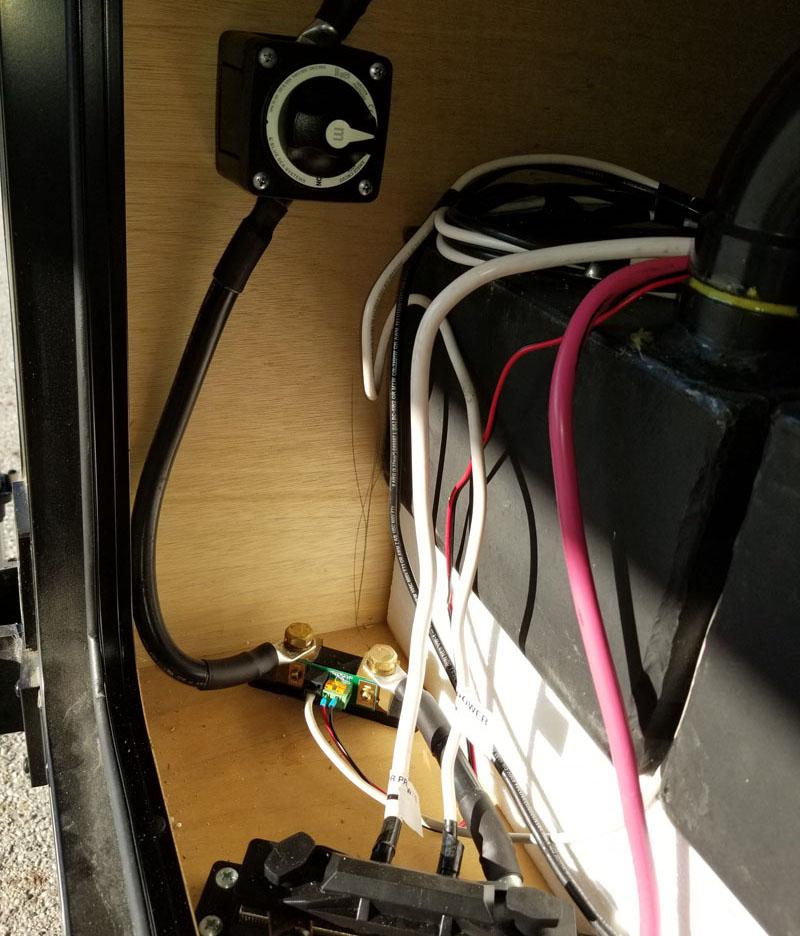
The long negative cable from the shutoff to the battery bank was secured to the ceiling with cable clamps. I ordered a longer cable because the original one would reach the battery bank, but didn’t have enough slack to secure it to the ceiling. That was about a $20 lesson in being too eager to save money.
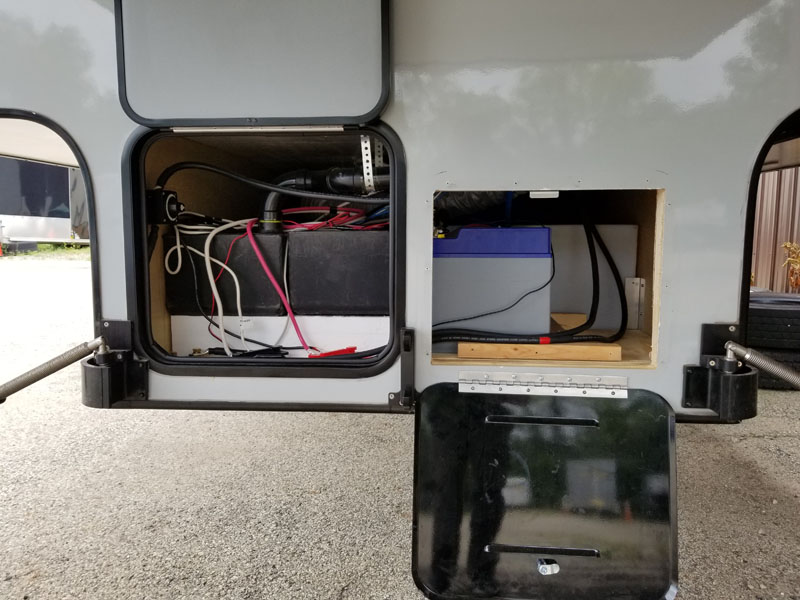
The next step was to seal the vents in the battery compartment door with Flex Tape, apply insulating foam, and trim it with a knife after it hardened. Forget the directions about waiting an hour for the foam to set up. Give it at least two hours (and this was on an 80-degree day).
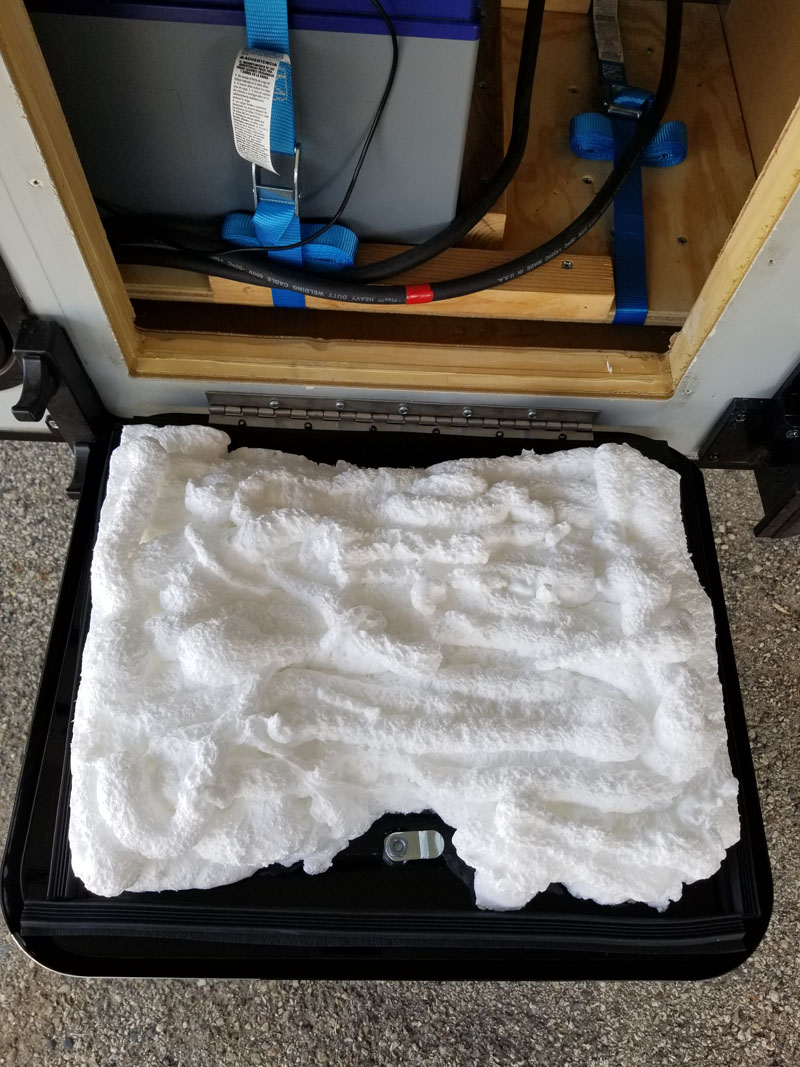
The finishing step was applying weather seal tape around the edges to seal between the door and the camper wall. I had to double-stack the narrow tape on top of the wide tape to compensate for the dishing of the door. This prevented the tape from contacting the camper wall surface. Notice that the top strip of the weather seal was made wide (longer) so that it extended to the outside edges of the side strips, minimizing the possibility of water dripping down and finding a path into the inside of the compartment.

Now that the project is done, I can be sure when the batteries are disconnected, figure out what wires are for what, and even have room to increase my battery bank from 200Ah to 400Ah, if I give in to temptation.
I bought the terminal blocks, battery switch, and cables online from the supplied links, while the rest were bought locally. Store links are provided detailing most of the products I used.
Black 4 Stud 400A Terminal Block – $59.95
Red 4 Stud 400A Terminal Block – $59.95
Blue Sea Systems 300A Battery Switch – $27.51
Various Length 2/0 Copper Cables w/ 3/8″ lugs – $90.38
3/8″ Thick x 3/4″ Wide x 10′ Roll of Window Seal Tape – $7.99
5/16″ Thick x 19/32″ Wide x 10′ Roll of Auto/Marine Weatherseal Tape – $13.99
Loctite TITE FOAM Spray Foam Insulation – $7.97
Plastic Cable Hanger Clamps – $1.83
2 pack of 13′ x 1″ 200# Rated Lashing Straps – $5.48
4″ x 5′ Roll of Black FlexSeal Flex Tape – $14.87
2’x2’x¾” BC Plywood from Home Depot -$14.52
Miscellaneous bolts, nuts, washers, and screws from local hardware stores were $7.15. All told, including sales tax, materials cost was $326.42.
I worked on the mod a bit at a time, so I lost track of how much time it took. Not counting the time spent shopping for parts, it probably took about 12 to 15 hours with fitting trials and trying different ways to arrange things. It was kind of like playing Tetris.
In my opinion, the skill level of this modification is moderate, if you’re good with woodworking and careful with connecting wiring. Two hundred amps worth of battery can make for some interesting light shows – you know how I know.
Disclaimer: The modifications above are submitted by Truck Camper Magazine readers. It is your responsibility to make sure that any do-it-yourself modification project you undertake is safe, effective, and legal for your situation.
Enter Your Mods Now!
If you’d like to enter a modification you’ve done on your truck camper, click here. You can enter as many mods as you want, at any time. Good luck mod makers!
