Welcome to the fourth entry in October’s Medium Mod Contest. One Medium Mod will be published in every Email Alert in October. At the end of the month, we’ll hold a reader vote to determine October’s winner. Click here for information about the 2020 Mod Contest, including how to enter.
David Romero, Shreveport, Louisiana
Four Quadrant LED Light Replacement
2017 Ram 2500
2017 Cirrus 820
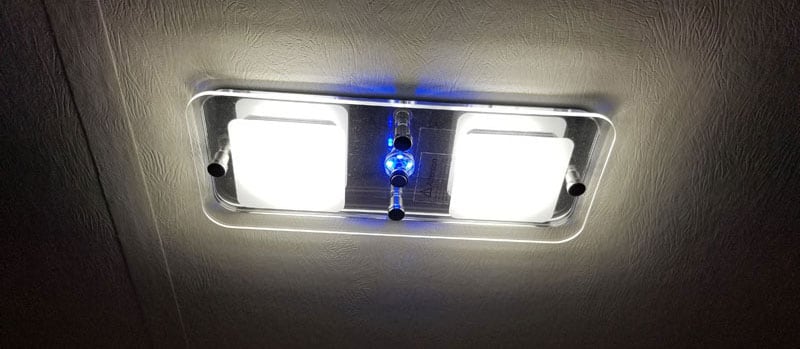
The first light I replaced was the light above the dinette table in my Cirrus 820 camper. It was a nice light, but there just was not enough light output for some situations.
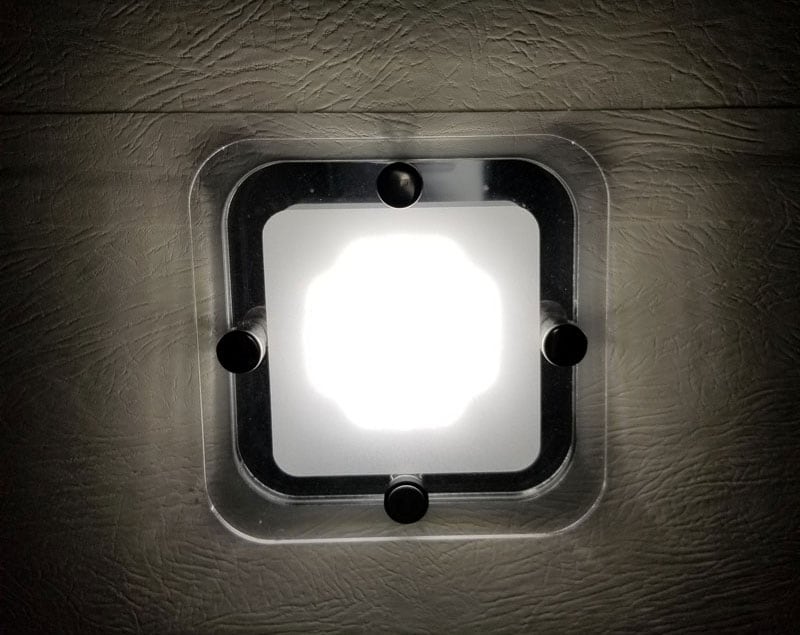
On the ceiling was a single LED light unit that did not have any modes. It was either on or off. This fixture resides at the back door between the bathroom and the coat closet and produces very little light. I found I needed much more light.
I screwed up when I ordered the larger lights off of eBay. They were four-quadrant lights like I wanted, but were only 3000K (warm white) and were very yellow for my liking. I knew better, but I did not pay attention. I ended up searching on AliExpress and found the correct ones for less money and in stock.
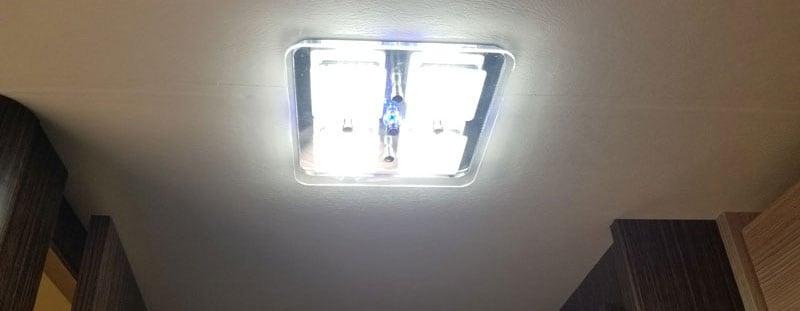
Pictured above is the new unit installed in the main hallway. There are a few screws and you must be careful to remove the old units as they had two-sided tape. Take your time and some dental floss and it can be removed in just a couple of minutes. The wiring is straight forward.
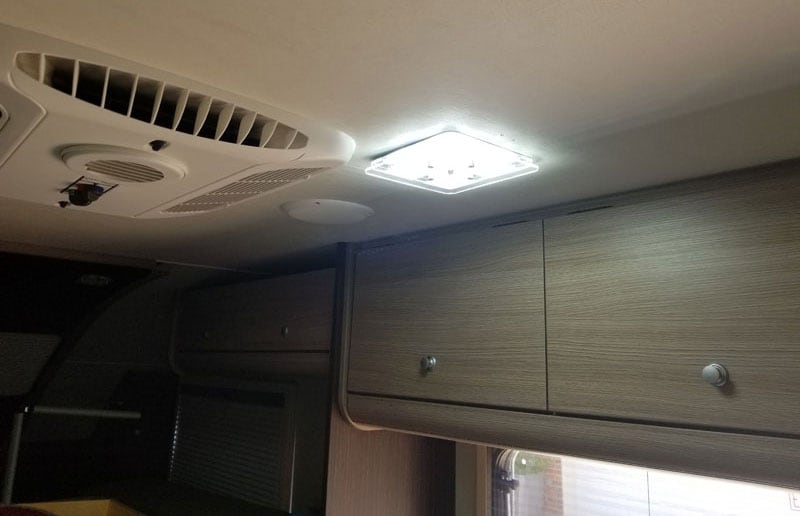
This is the new four quadrant light in place. It is nice to have a lot of light when needed. Or, you can reduce the amount of light because it has four levels of power and a night light.
You can see through the cycling that it has a pattern of lighting up sections of each quadrant for light output.
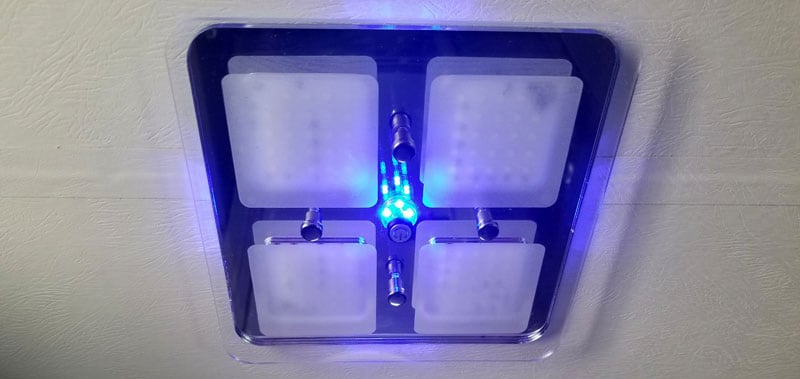
First, here is the night light mode. Push the off-on switch. It is the button in the center of light that is blue.
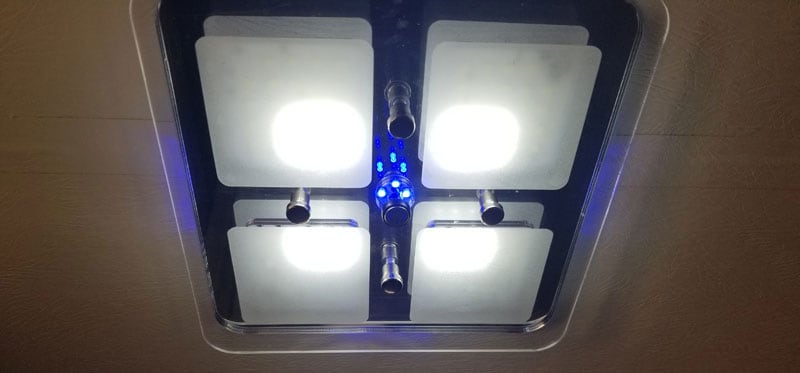
Above is low power, which is the second push of the switch.
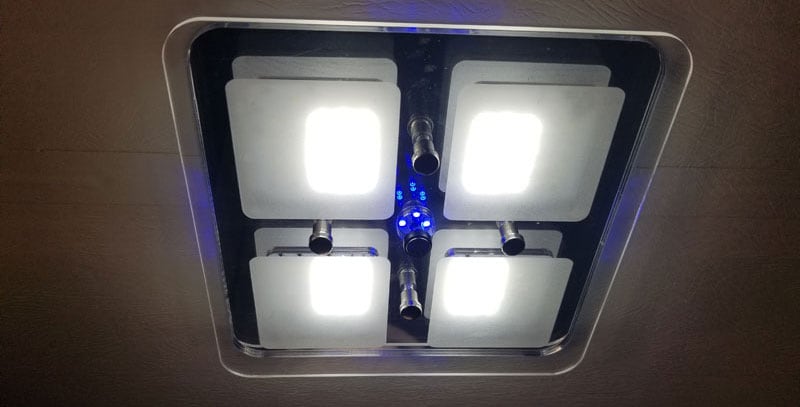
Above is medium power, which is the third push of the switch.
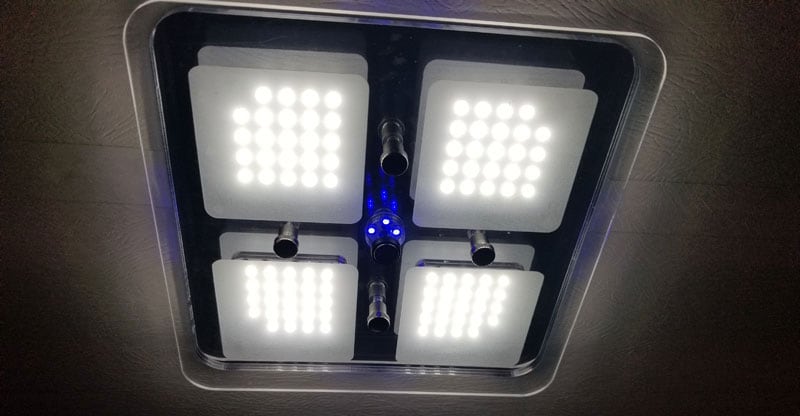
Above is high power, which is the fourth push of the switch. The very last push will shut the light completely off.
It’s a clean and easy install. Replacing the factory light with a single unit has made a huge difference. And now I have adjustable light levels.
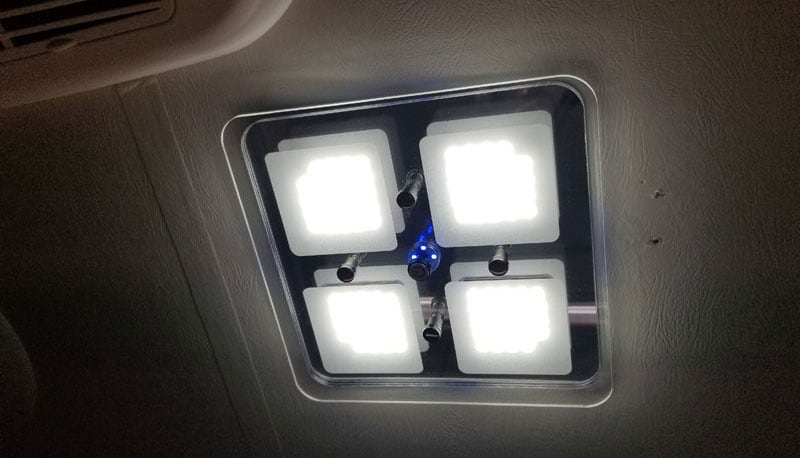
The photo above shows the final installation above the dinette. I still have two small holes from the original light install. I was unable to position the new light to cover all of the holes. I have since used some white silicone to fill these holes. Unless you are really looking for them, you don’t see the silicone.
The removal and replacement took about an hour for both lights. The cost was a total of $50 for the two LED lights. Installation was easy because it was only four screws from each light and two 12-volt wires to disconnect and reconnect.
Disclaimer: The modifications above are submitted by Truck Camper Magazine readers. It is your responsibility to make sure that any do-it-yourself modification project you undertake is safe, effective, and legal for your situation.
Enter Your Mods Now!
If you’d like to enter a modification you’ve done on your truck camper, click here. You can enter as many mods as you want, at any time. Good luck mod makers!
