Welcome to the first entry in February’s Mini Mod Contest. One Mini Mod will be published in every Email Alert in February. At the end of the month, we’ll hold a reader vote to determine February’s winner. Click here for information about the 2023 Mod Contest, including how to enter.
Philip and Mary Bogardus, Bothell, Washington
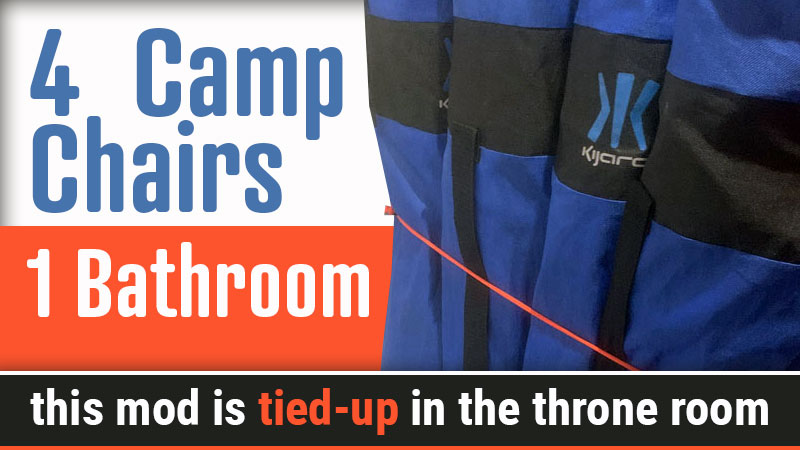
Four Camp Chairs, One Bathroom
2014 Ford F350
2018 Northern Lite 8-11 EXSE
I remember that famous Allen Iverson quote, “We talking about storage. Not camping. Storage. We are talking about storage, man.” Okay, maybe that wasn’t an Allen Iverson quote, but it still applies to our world of truck camping with the problem of where to store everything neatly, orderly, and efficiently. That ends up becoming our game. So, this one is about storing your camping chairs and keeping them there.
When we go camping in our Northern Lite 8-11, we like to have four folding chairs with us. Even though there are only two of us traveling, we often invite others over and need two more chairs for our guests.
If there are more guests, then that then it becomes BYOC – “Bring Your Own Chair”.
We use the Kijaro dual-lock portable chairs from Walmart. We have tried many chairs over the past four years and have found these chairs affordable, sturdy, comfortable to sit in and they collapse down to a fairly compact size. The best place we have found to store the chairs was in the shower area. The problem was that we would store them there, travel to the next destination, and open the bathroom door to find… yep, you guessed it. Chairs were laying all over the place in a jumbled mess along with anything else that bounced around.
After a few minutes, we would have them straightened out and ready to use. I knew I needed a plan to keep these chairs in place during our travels.
In our bathroom, the shower walls are a two-piece type with a joint at about mid-height. On this joint, there is a metal band and screw attachment to secure and seal this joint. I found some Stainless Steel D-Ring Pad Eyes on Amazon that were the perfect size for the existing screws.
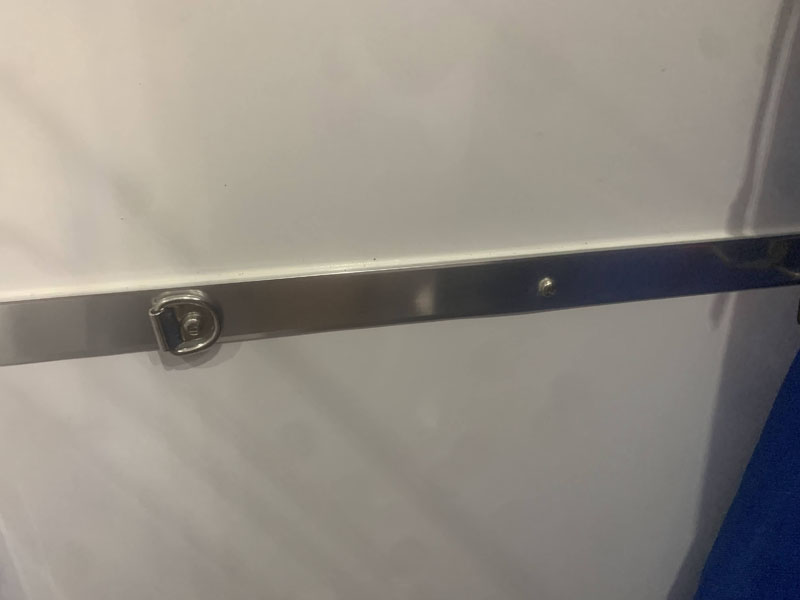
There are five D-Ring pads per package so I removed the existing screw, applied a little dab of silicon sealant to the screw and screw hole (just to make sure the screw hole stayed watertight), and attached the D-Rings where I thought they would be most useful around the shower enclosure.
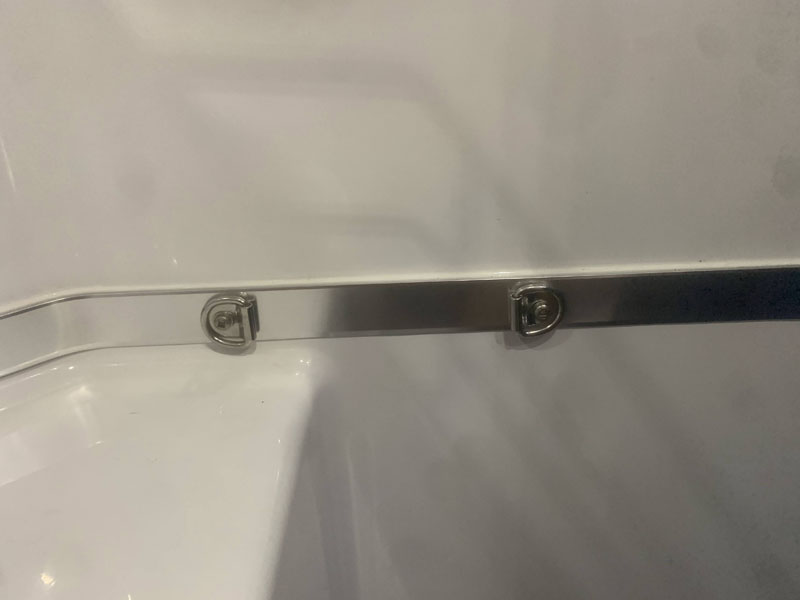
Don’t worry if you guess wrong because you can easily move them anytime you want to a better position.
At my local Home Depot, I found a rope tightener that was very similar to the NiteIze CamJam XT. The one I bought included a separate end hook. The CamJam doesn’t have this extra hook so you could use any S hook or the NiteIze S-Biner for the other end.
I then connected the rope tightener to the D-Rings with the adjustable end closest to the bathroom door.
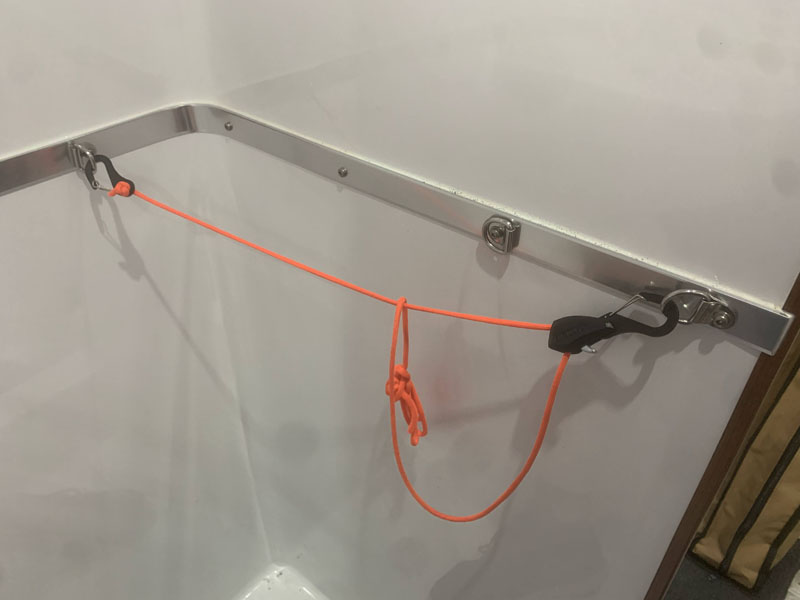
All that was left to do was stand up the four chairs along the wall, put the cord around the chairs, connect the clip to the D-Ring by the door and pull the rope tight. It doesn’t have to be super tight, just taut.
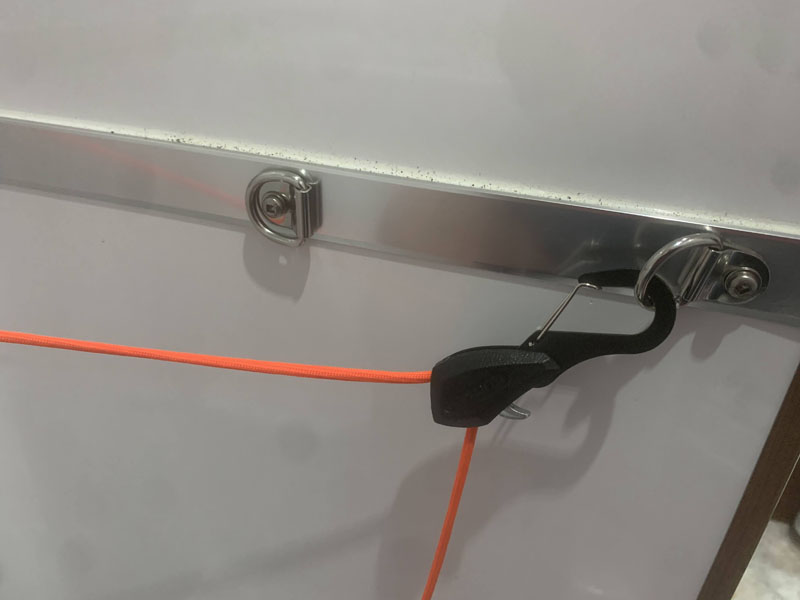
With the multiple D-Ring connection points you can store more chairs, less chairs, fold-up tables or most anything. You have a ton of options to store and hold in place just about anything you can dream of. The bathroom storage world is your oyster!
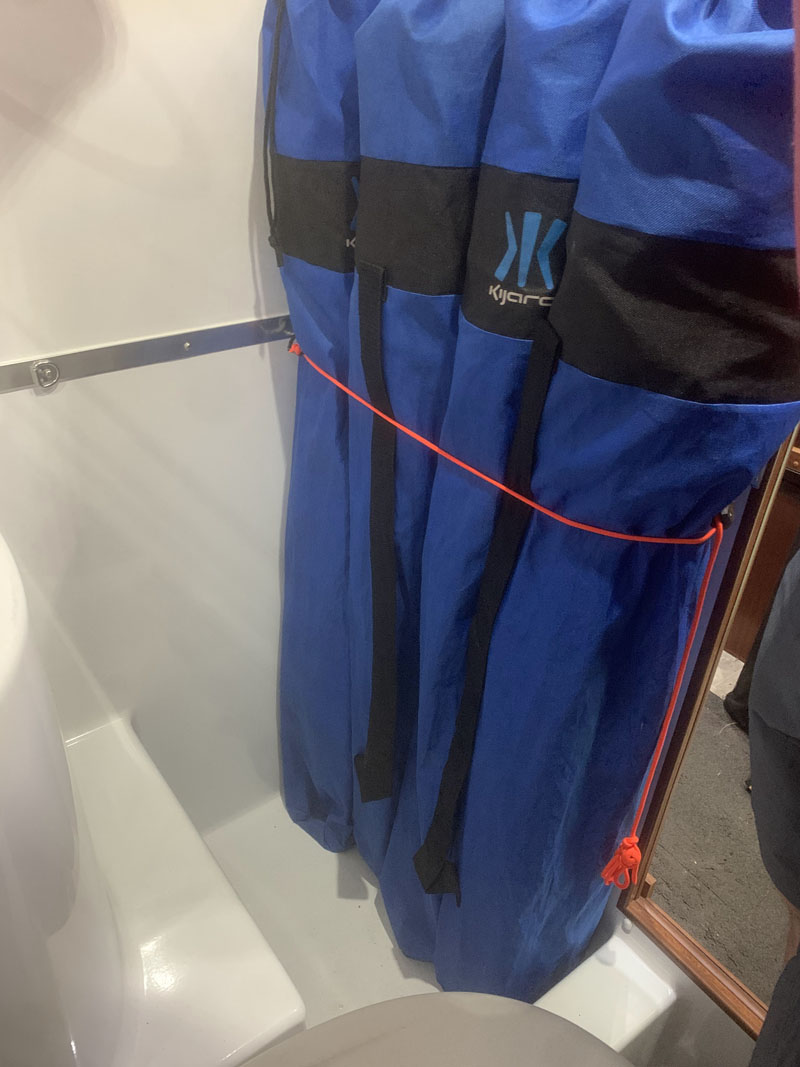
Upon arrival at our destination, our chairs are always neatly stacked against the wall like little soldiers ready for active duty. You just loosen the cord, remove the clip hook, take your chairs out and go outside to enjoy a few adult beverages while watching the sunset. Try this simple mod to help you spend more time camping and less time ranting about organization like Allen Iverson did.
We already had the chairs. We needed five D-rings that were $10 and a
rope tightener that was $10 ($14 if you use the CamJam/S-Biner combo).
It took me one hour at most to complete this modification and cost me $20-25. In my opinion, the skill level of this modification is super easy.
Disclaimer: The modifications above are submitted by Truck Camper Magazine readers. It is your responsibility to make sure that any do-it-yourself modification project you undertake is safe, effective, and legal for your situation.
Enter Your Mods Now!
If you’d like to enter a modification you’ve done on your truck camper, click here. You can enter as many mods as you want, at any time. Good luck mod makers!
