Welcome to the eighth entry in March’s Mini Mod Contest. One Mini Mod will be published in every Email Alert in March. At the end of the month we’ll hold a reader vote to determine March’s winner. Click here for information about the 2020 Mod Squad Contest, including how to enter.
Ivan Hass, Seattle, Washington
Pillow Retainer
2017 Toyota Tacoma
2017 EarthCruiser GZL300
I kept pushing the pillow off the bed onto the floor. Then I had to go get it.
On my pop-up camper, the wooden bunk folds out and is supported by lift-up braces. Then a mattress section slides forward.
I’m tall and my head is at the bunk end when sleeping. When turning and changing to my side, my pillow would fall off the end to the floor.
Remembering to hold on to the pillow reduced the times it fell off to one or two a night. Thinking that an extension was needed, I considered a sliding board on drawer slides or a small fold out section with a pivot brace like a drop leaf table. The question was, how big would the board need to be and how would it fit around the beds support braces?
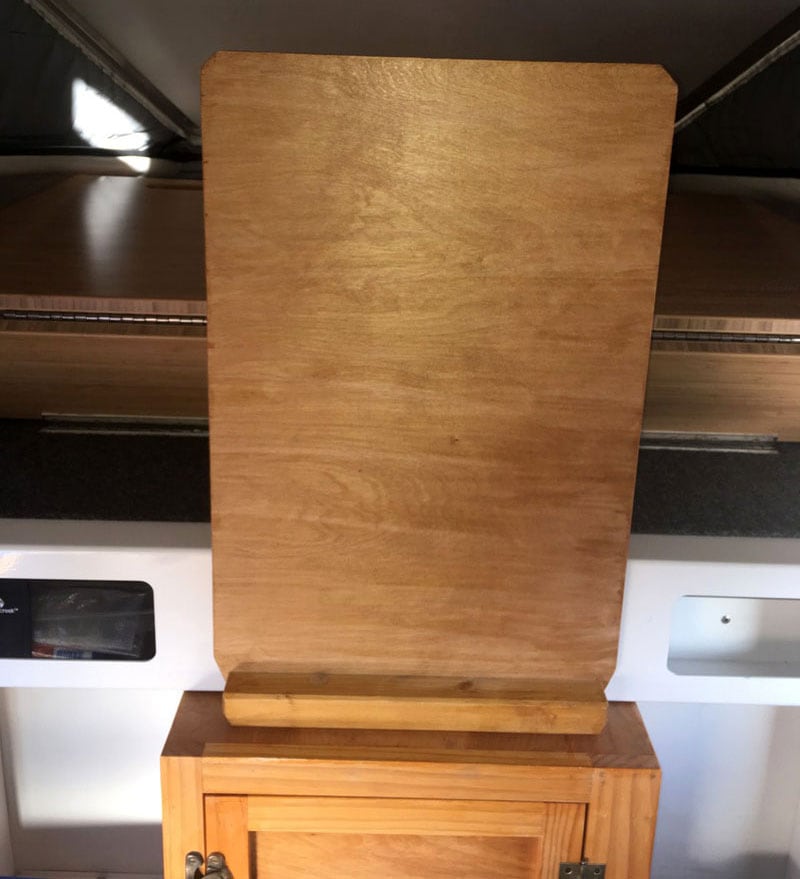
I went to the camper to mock up what might work. I slid a piece of quarter-inch ply under the mattress and moved it about to figure how big the extension should be. About 18 to 24-inches wide and 12 to 18-inches long looked good.
While thinking about how that size board could be attached to the folding bunk board – and how it was going to stay up – the light came on! It stays up by being between the mattress and bunk board. When I am in bed, my weight would keep it from moving.
The ply went back to the shop. I added a cleat to the end, rounded all edges and corners, and finished with a coat of shellac. Done.
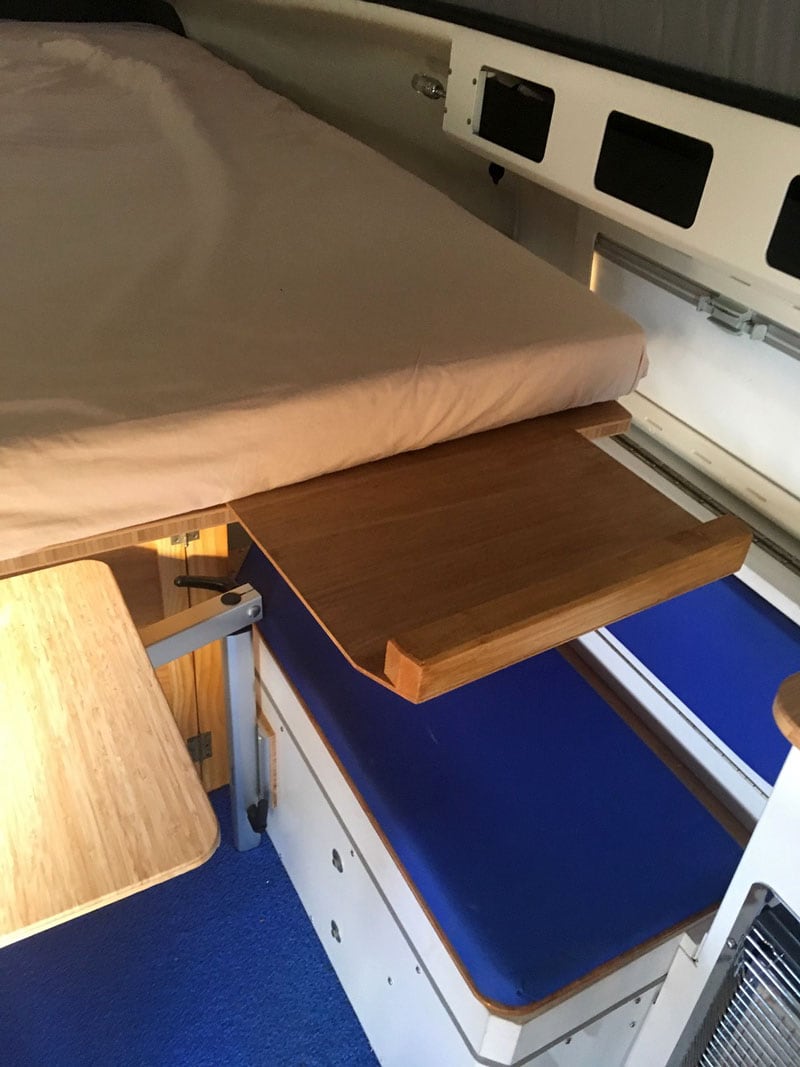
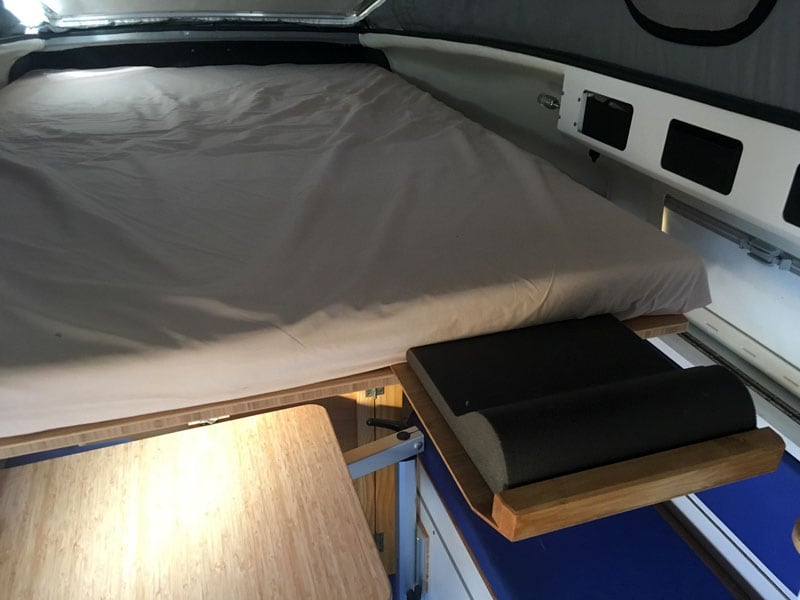
Now I slide it under the mattress, add a piece of foam and a small back pack pillow as filler and it works very well. The board rides between the pantry cabinet and table when traveling.
This modification pretty much solved the problem and easy to set up.
It took me 2-hours to complete this modification. Pondering time took several weeks of sketching what-ifs. It didn’t cost me anything to make the mod because I had everything here. All materials were cutoffs from other projects and the shop always has shellac on the shelf.
In my opinion, the skill level of this modification is easy.
Disclaimer: The modifications above are submitted by Truck Camper Magazine readers. It is your responsibility to make sure that any do-it-yourself modification project you undertake is safe, effective, and legal for your situation.
Enter Your Mods Now!
If you’d like to enter a modification you’ve done on your truck camper, click here. You can enter as many mods as you want, at any time. Good luck mod makers!


