Storage gets spicy, cords velcroed, turnbuckles covered, beds divided, grey tanks expanded, and cabovers gripped. These 10 mini-mods are so easy that even a truck camper can do them!

Welcome to the second 10X10 Mod Tournament. Please review the following ten mini-mods and vote for your favorite. We will announce the winner next week. For more information about the 10X10 Mod Tournament, including how to enter, click here.
1. Kathy Dresbach, White, Georgia
Easily Accessible Spice Jar Storage
2015 Ram 3500
2016 Eagle Cap 1165
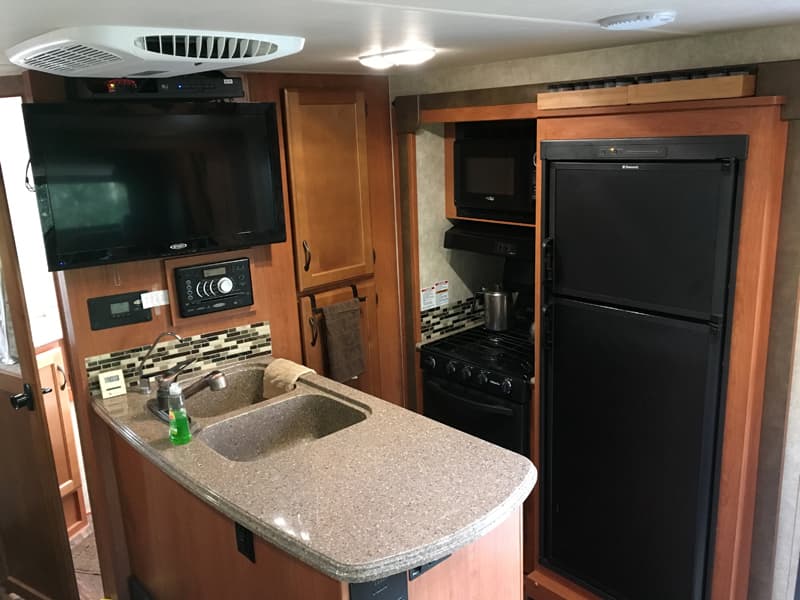
I wanted a place to put my spices in our Eagle Cap 1165 triple-slide truck camper. I first tried to put them in the cabinet and they slid around. Then, I bought teak storage boxes that are intended for utensils. You can get teak storage boxes at any kitchen supply store.
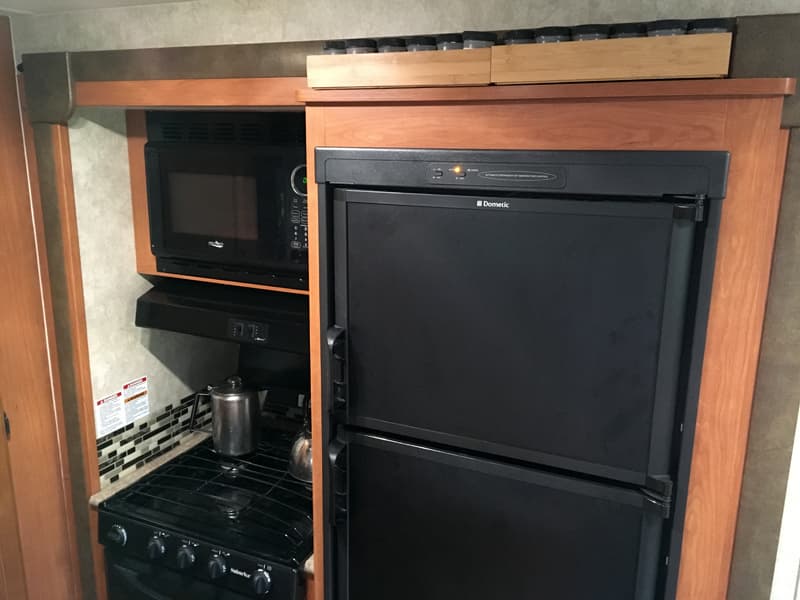
I used velcro on the shelf and on the bottom of the box. They just sit up there. If I want to take them down, I simply pull them off.
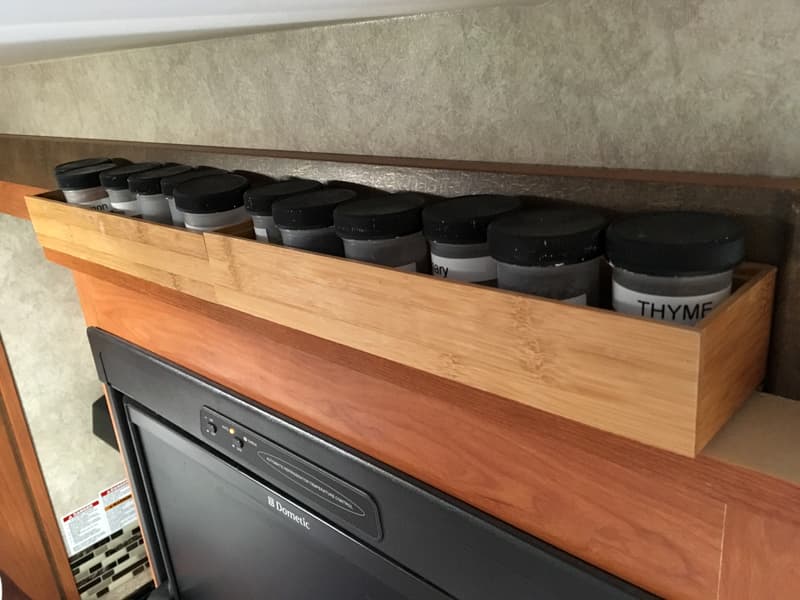
I bought six spice jars at Hobby Lobby for $2. Then I painted the lids black to make the jars less obvious, and labeled them. Now the spice jars are easily accessible and never move when we’re driving. They also don’t interfere with the slide room.
It took me one hour to paint the lids and label them. The mod cost under $10. I grow my spices, so I don’t have to pay for those either. In my opinion, the skill level of this modification is easy.
2. Bruce Allison, California
Velcro Holder for Camper’s Umbilical Cord
2017 Ram 3500
2012 Adventurer 910FBS
When we get to a campsite, we release our Torklift Fastgun turnbuckles and level the truck camper with the jacks. We also disconnect the 12-volt seven-pin power cord connecting truck camper to the truck.
The 12-volt seven-pin power cord would hang down from the truck camper and very often end up under the camper when we loaded the camper back into the truck. While loading, we would have to pay careful attention to the cord. One of us would have to pull it to the side and out of the way while the other worked the jacks. Inconvenient!
If we ever forgot, we would run the risk of cutting or chaffing the small gauge wires in the power cord, ruining our holiday and causing an expensive repair. 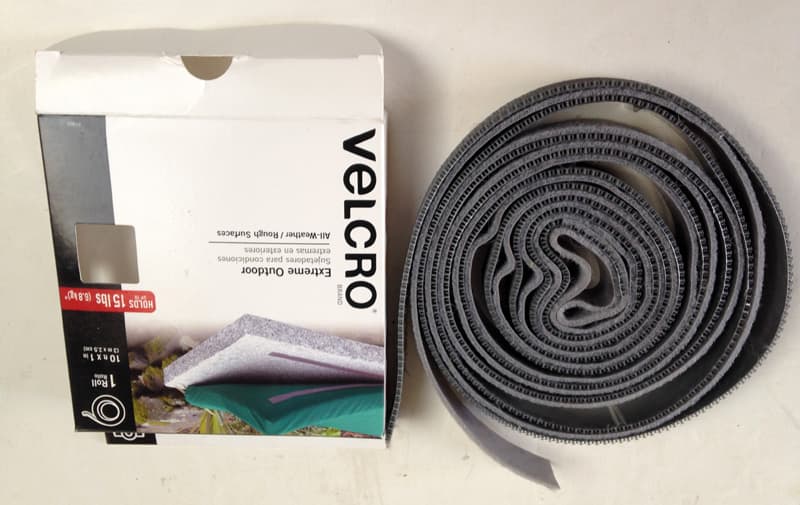
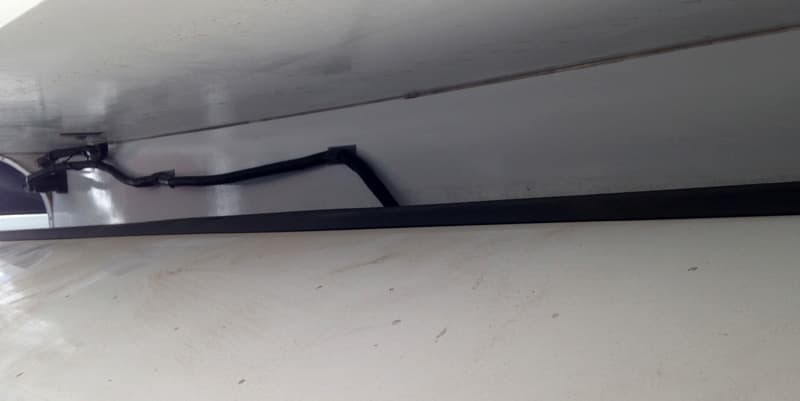
To fix this problem, I purchased some heavy duty velcro and stuck the cord to the side of the camper in the truck bed.
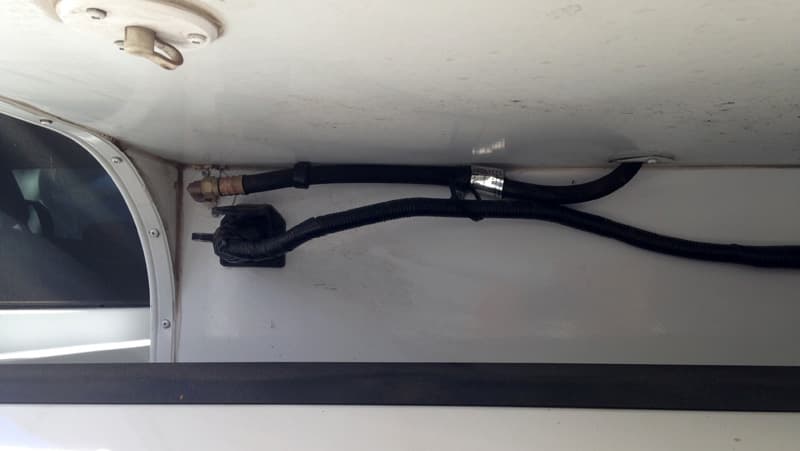
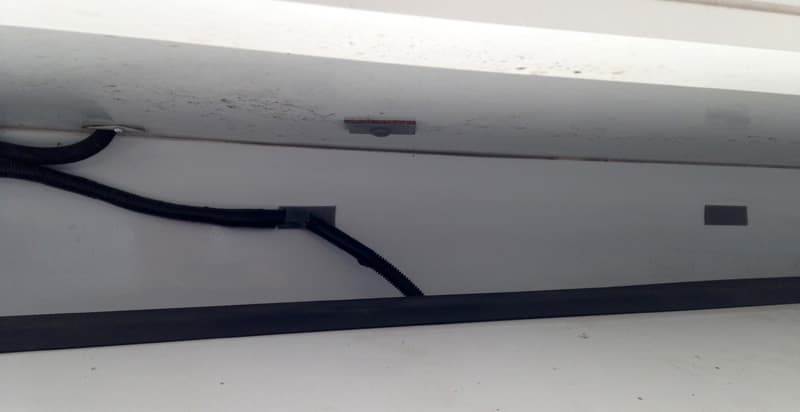
It is high enough to clear the inner wheel housings and it’s off the truck bed. Now we don’t have to pay attention to the cord, and it’s safe from possible damage.
If you have velcro, it’s free. In my opinion, this mod is very easy.
3. Keith and Wanda Webb, Columbus, Texas
Torklift Fastgun Lock Protector
2007 Chevy 3500
2009 Lance 981
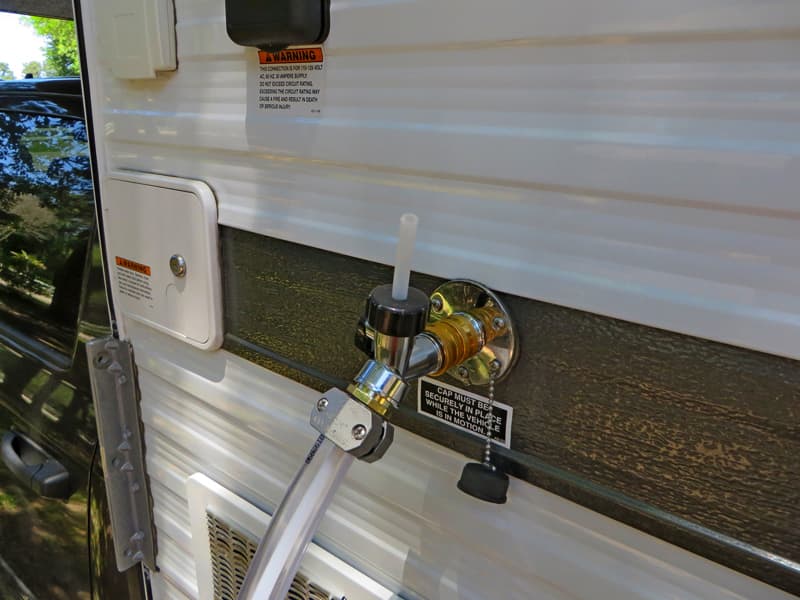
The original plastic caps and strap that protected our Torklift Fastgun locks deteriorated from UV sunlight and weather exposure. I looked for alternative method for protecting the locks from dirt.
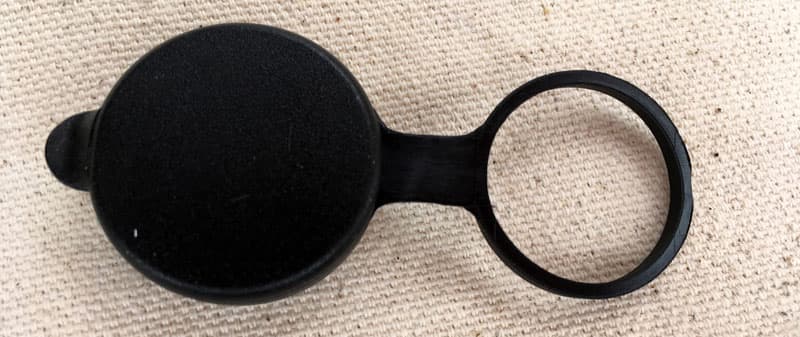
The solution I found was to employ rubber male hydraulic quick-disconnect covers that are used on agriculture equipment. Every manufacturer of hydraulic quick-disconnect coupling systems offers covers to prevent their systems from getting dirty.
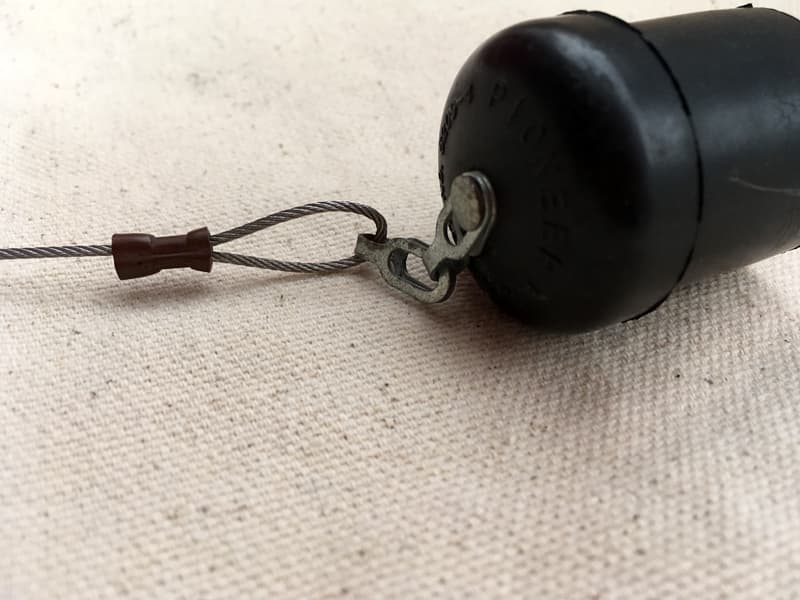
I found rubber quick-disconnect protectors at a Tractor Supply store. They fit perfectly on Torklift’s Fastgun pin locks.
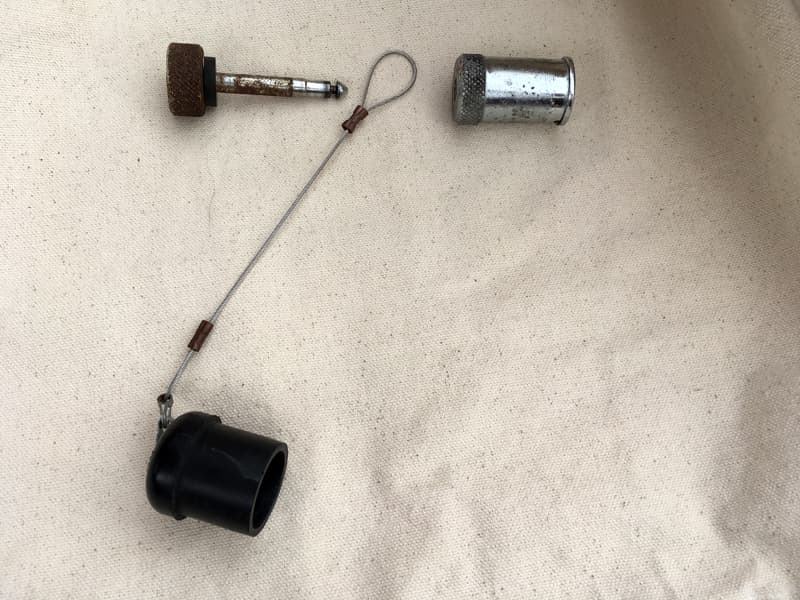
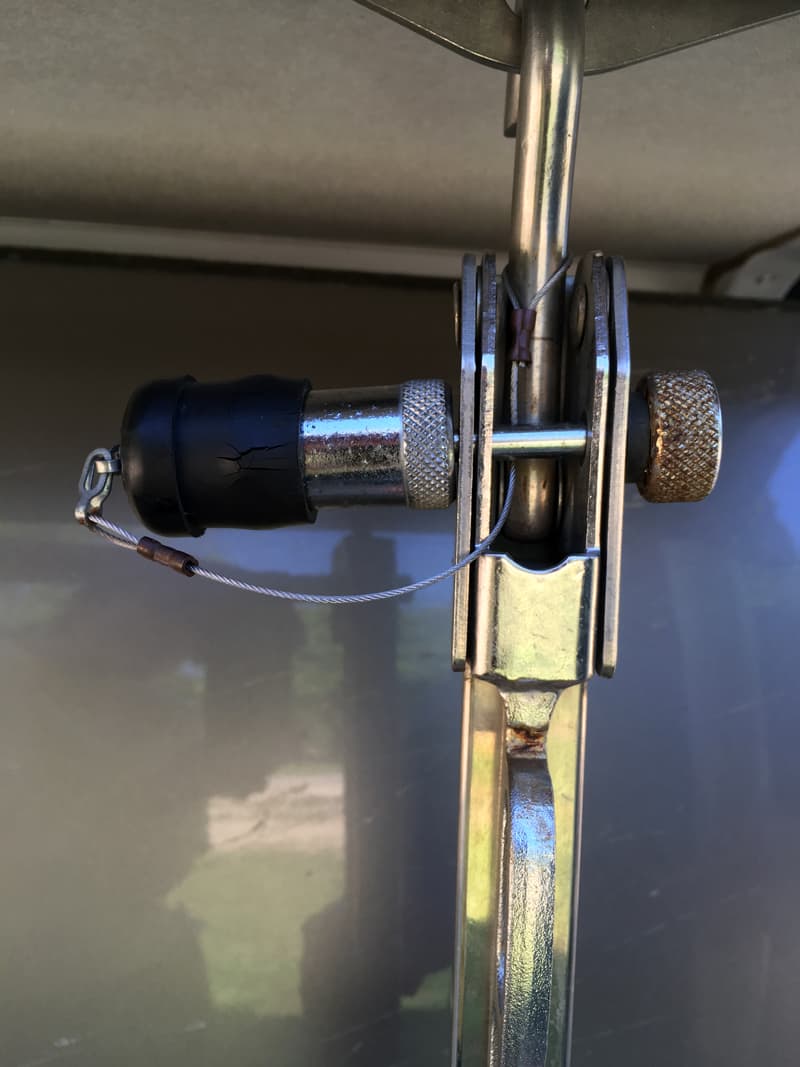
I used 1/16-inch stainless steel cable. I crimped one end using a 1/16-inch cable ferrule to the rubber cover. The other end of the cable is crimped into a loop. That loop slides into the two pieces of the Fastgun lock (see picture).
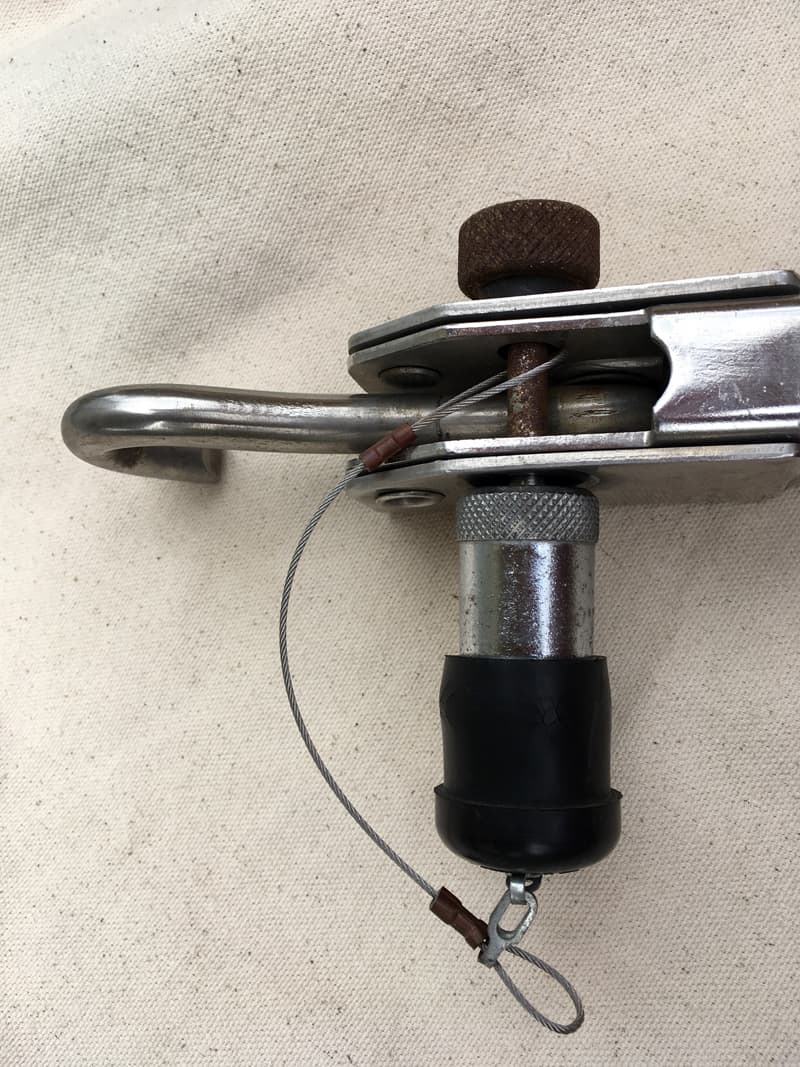
I use the lock as normal, sliding the new cable onto the pin of the lock. It works perfectly!
It took me 30 minutes for all four turnbuckles. This modification cost $5 for each turnbuckle. In my opinion, the skill level of this modification is easy.
4. Doug Robinson, Glen Burnie, Maryland
Split Queen Mattresses For Easier Bed Making
2016 Ford F350
2016 Northern Lite 10-2EX RR Dry bath
Putting sheets on the queen sized bed was very difficult for my old and crash-damaged arms and shoulders. The mattress was very heavy and wedged into its space in the truck camper. We could not lift it. Even getting a corner up was difficult. Plus, one had to crawl over the mattress to get to the two front corners. There had to be a better way to manage changing the sheets.
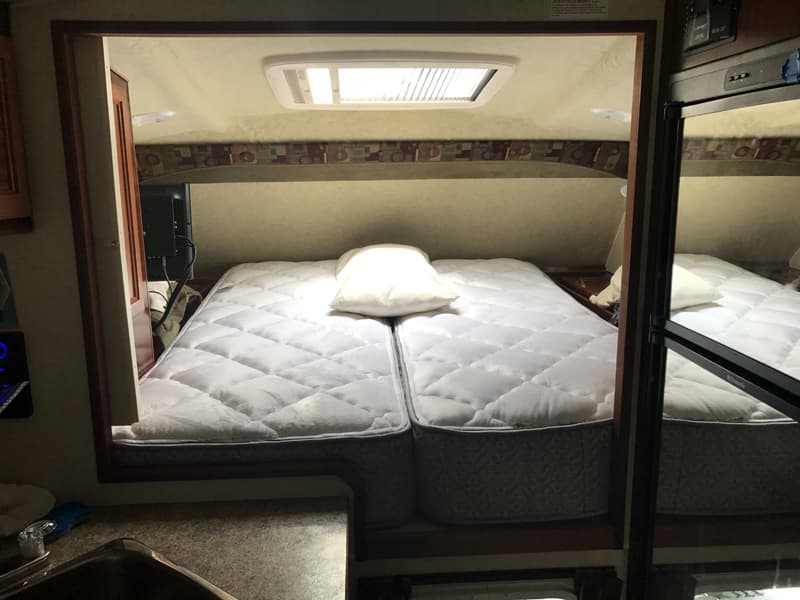
We ordered a custom made set of split queen mattresses. After checking out the comfort and firmness of the regular queen sizes, two mattresses 30×80-inches in size were ordered, each half the width of the queen size. I can lift and carry one of them.
I put the mattress pads and sheets on each mattress and then put them in place in the truck camper. Because the original queen is tapered on one end to follow the contour in the nose of the camper, I made a 1-inch rigid foam wedge to elevate the front of the mattress to better fit in the space. It also cuts down on snoring.
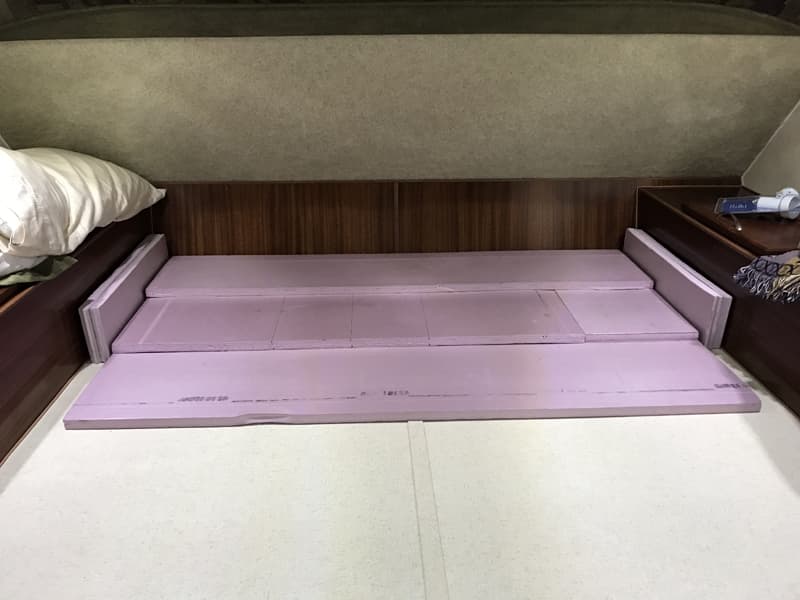
Since we are both less than 6-feet tall, we fit. Raising the head of the mattresses puts us closer to the curved wall.
Making the bed is now an easy process and does not require three arms and two people. It is also possible to take the mattresses out when not camping to let the air circulate.
The mod took me two trips to mattress store. It also took an hour to cut and fit the foam. The high-end spring foam mattresses cost me $700. In my opinion, the skill level of this modification is easy.
5. Mike Clark, Denham Springs, Louisiana
Increased Grey Holding Capacity
GMC 2500 HD
2005 Lance 845
For about $10, we purchased a 5-gallon collapsible water jug and a cheap short water hose. I took the top off the water jug and cut the hose to about two feet. We screwed one end to the grey water outlet on the camper, and put the cut end in the jug.
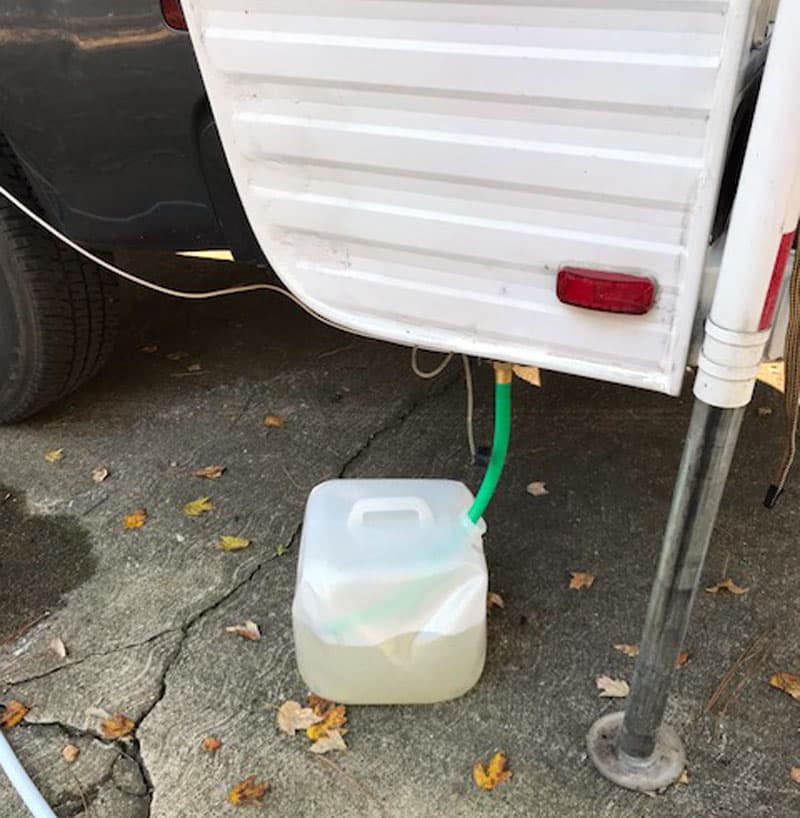
By doing this we increased our grey holding tank from 14 gallons to 19 gallons. When it’s full, we can use the jug for flushing the toilet while boondocking, or we can empty it in a bath house. With the jug being collapsible, we can take several trips and increase our grey water holding capacity as much as we need.
This mod has worked great. We are no longer limited to camping near the bath house. We can take a bath or clean dishes without the worry of not having grey water capacity. We also don’t have to carry a portable roll-around water container.
Our black tank can last a week, but the grey could only last a day if we were showering. With this modification we are still able to follow the rules of the campground.
It took me 10 minutes to complete this modification and cost me $20. In my opinion, the skill level of this modification is easy.
6. Tracy Rivera, Juneau, Alaska
Wire Stacking Shelves in Cabinet
2016 Ford F-350
2016 Northern Lite 8-11 SE
My wife and I usually travel with one rain coat and one warm coat each. This leaves lots of unused space in our coat closet. We would try to stack stuff around our coats, but we couldn’t see around the coats and would forget what we had stored.
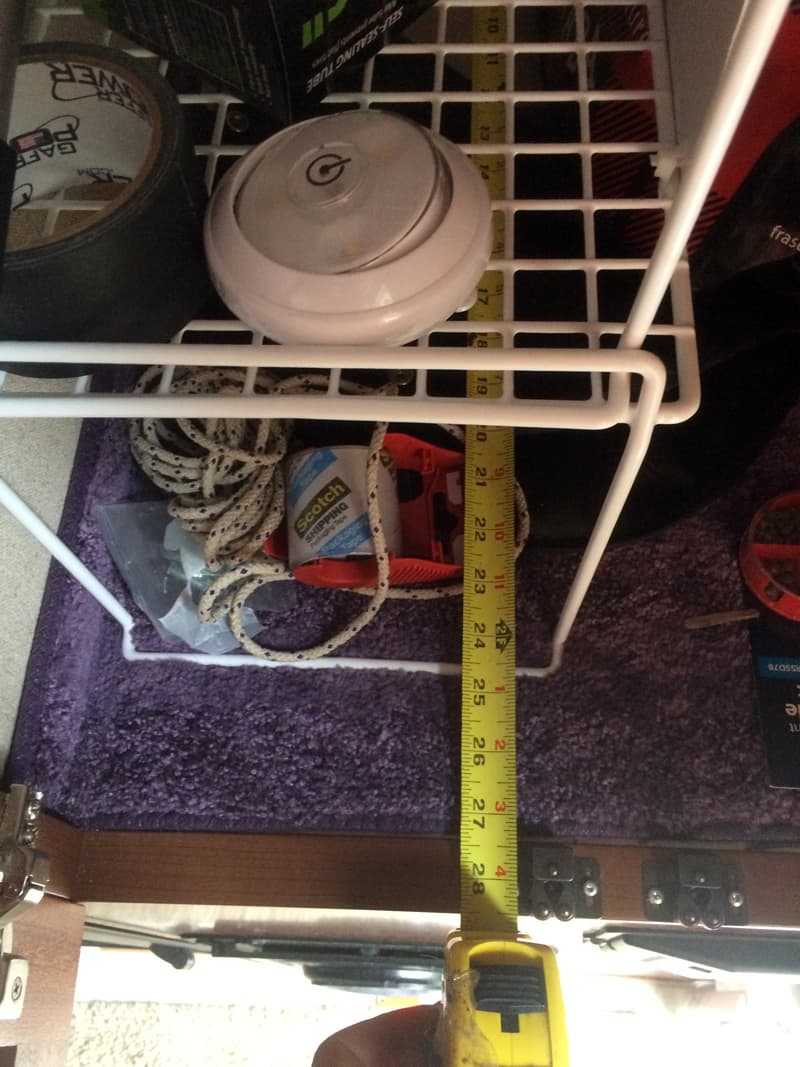
I found 9×24-inch wire stacking shelves at Fred Meyers. I stacked four of them together and then plastic zip tied them.
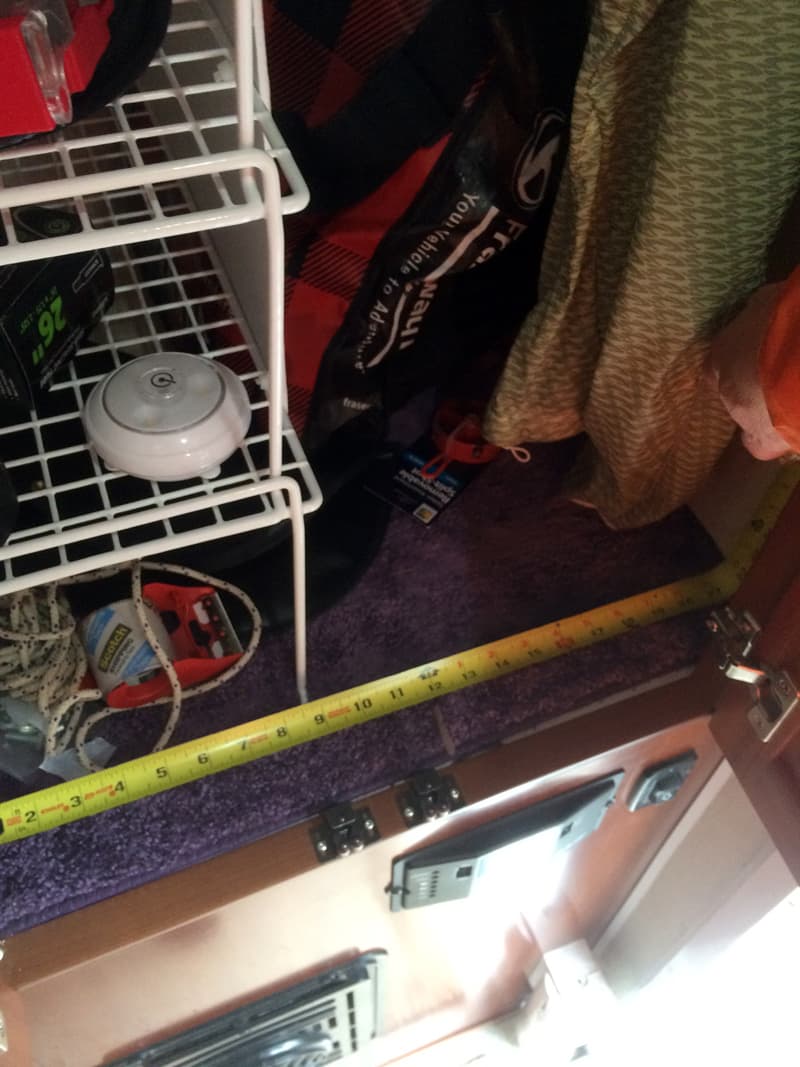
I used Elmers fiberboard for the side edge that is next to the coats. I wanted something light weight and white in color so I could see easier in the closet. I zip tied the Elmers fiberboard to the shelves. I also zip tied the rack to the coat hanger so it does not move.

It’s fantastic! I have a better use of space and now we can see what’s in the closet.
It took me 1.5 hours to complete this modification and cost me $30. In my opinion, the skill level of this modification is easy.
7. Neil and Yoly Mullen, Dawsonville, Georgia
Step Riser to Cabover
2016 Ram 2500 HD
2016 Adventurer 80RB
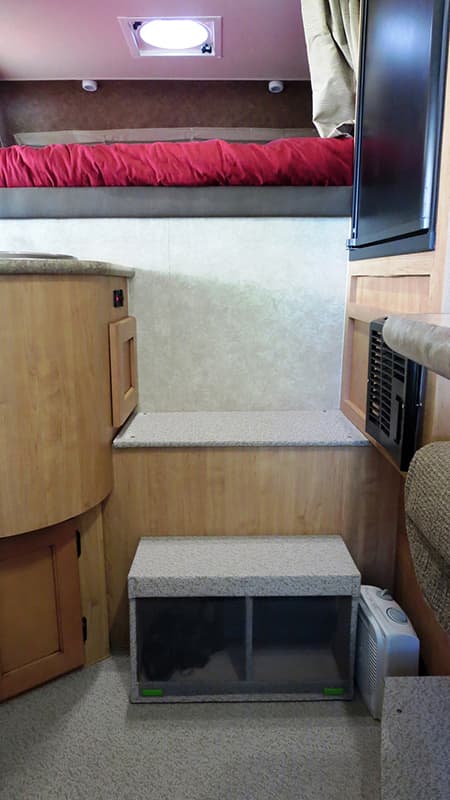
Our primary modification was a step riser for accessing the cabover bed area. Yoly is not tall, so she has short legs. The initial 22.5-inch step up from the camper floor was difficult for me, let alone her. Coming down from the cabover bed area was actually harder than stepping up.
I could easily see Yoly, half asleep in the middle of the night, getting up for bathroom access in the dark, misjudging the long drop-off, and falling. This simply had to be addressed. It also makes me wonder if the manufacturers camp in their own units.
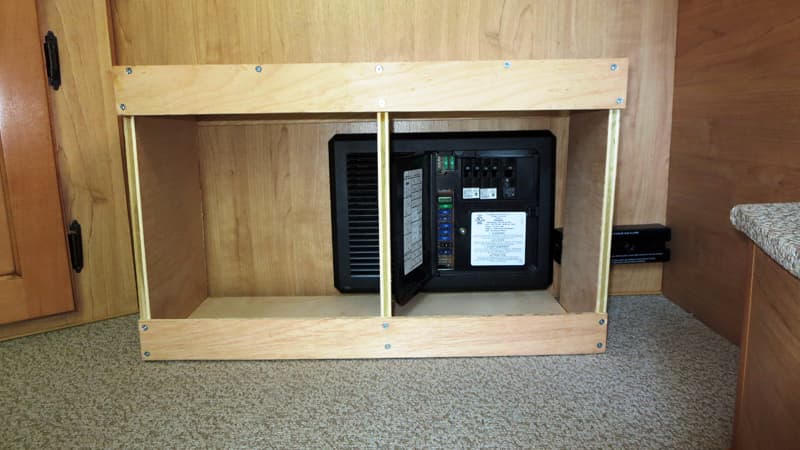
The step riser is constructed out of wood, glued and screwed together and covered with the same floor material as the OEM floor covering.
The step riser actually rests flat on the floor (full box section) so all our weight is carried by the floor itself. It is through-bolted with a 1/2-inch thick strip of birch laminate on the inside of the vertical wall section to locate and stabilize the assembly.
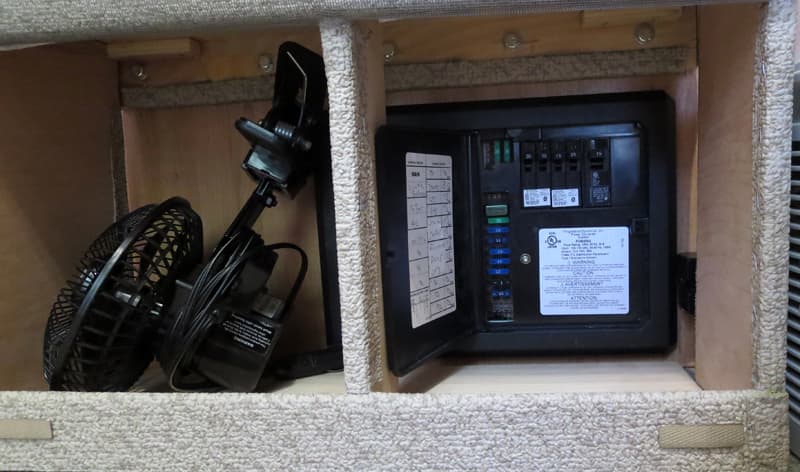
The step riser covers the converter, so it has an open front covered with soft screen material for proper ventilation and access. The screen is secured with two magnets at the bottom.
Here’s a video I made of this modification:
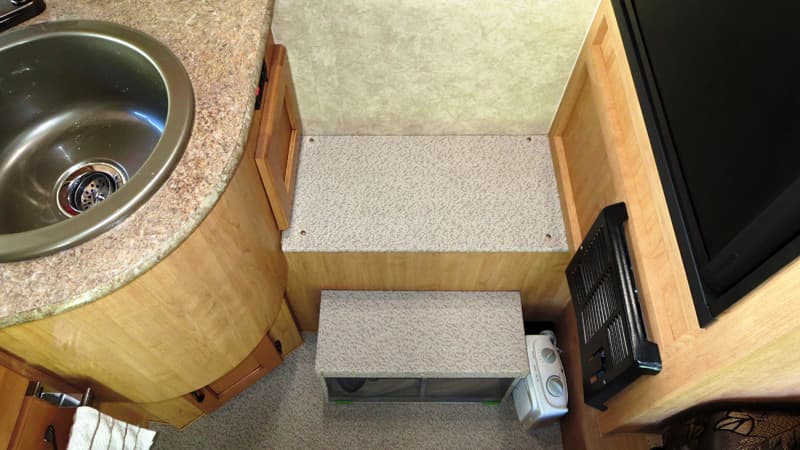
The step riser makes a world of difference! Getting up and down from our cabover bedroom is now much safer and easier. Over fifty nights of camping and about 10,000 miles of use, it has been trouble free.
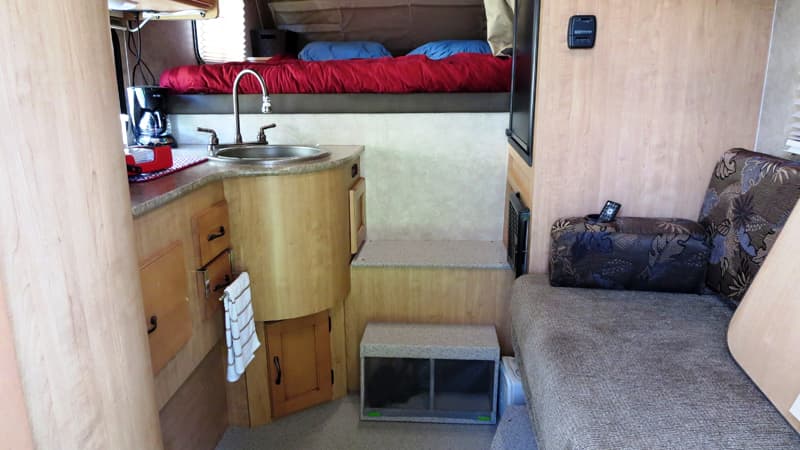
The step riser also makes a great little jump seat with back support. It can be utilized for sitting in a position that allows one to look out the back door while putting on shoes or boots.
It took me five hours to complete this modification and cost me $100 (covering material was $78 from the manufacturer). In my opinion, the skill level of this modification is easy.
8. Bill Elwell, Spring, Texas
Vent Tube For Easier Water Flow
2016 Ram 2500
2016 Four Wheel Camper Hawk
I installed a grey water collection tank, (PVC pipe) under the bed of my truck to replace the folding bucket set on the ground, (previous mod seen here).
To route the drain line into the tank required dropping down under the truck’s frame and up into the top of the pipe. This routing made a trap for water.
With the small diameter opening in the 90-degree elbow, air pressure would build up in the drain line just enough to prevent the sink from draining.
I was having a similar problem with my previous container on the ground. If the hose had a bend in it, it would trap water. My solution was to install a vent tube in the primary drain line at the top. This allowed air in the line to escape and the water to flow freely.
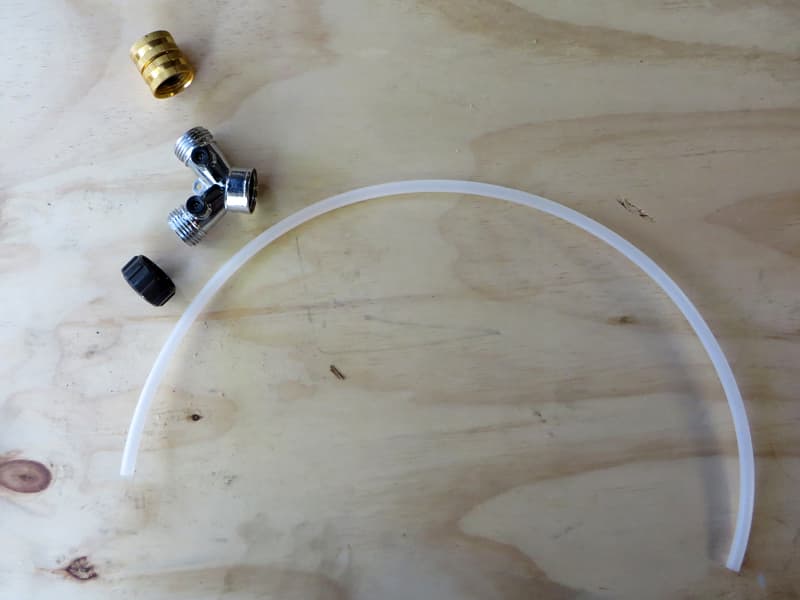
I purchased some simple parts at the local home center; a hose splitter, a hose cap, a female/female garden hose connector, and 18-inches of small plastic tubing.
I drilled a hole in the hose cap for a snug fit with the tubing, filled the inside of the cap with silicone sealant, and screwed it onto the hose splitter.
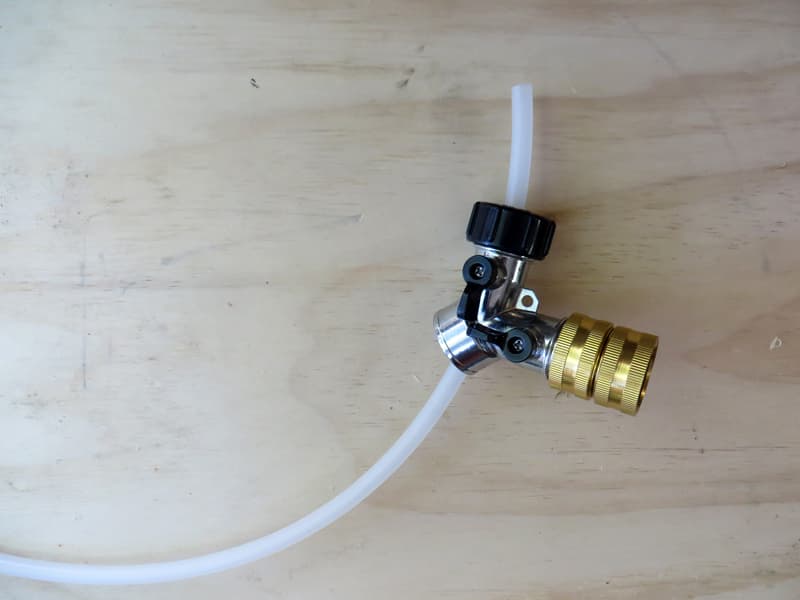
The tubing was then inserted into the drain hose which was threaded into the end the splitter. The hose connector was attached to the remaining outlet and attaches to the drain fitting on the side of the camper.
I leave the drain hose with the vent fitting assembled and remove the coupler from the side of the camper. In my case, there is a short section of drain hose that comes from the tank and connects in the wheel well. This allows my 3-foot jumper hose with the vent to be attached to either the sink drain or the shower drain; depending on what I need to drain and collect.
It works great. The water now drains as fast as the faucet fills the sink.
This mod took me 15-minutes to complete this modification and cost me $15. In my opinion, the skill level of this modification is easy.
9. James Lande, Desert Hot Springs, California
Three Easy Mobility Mods
1997 Dodge Ram 2500
1985 Lance 300
These mods fall in line with the ongoing conversation at Truck Camper Magazine about camper design for the elderly and disabled. Specifically, these mods make it a little easier to get in and out of the camper and loft.
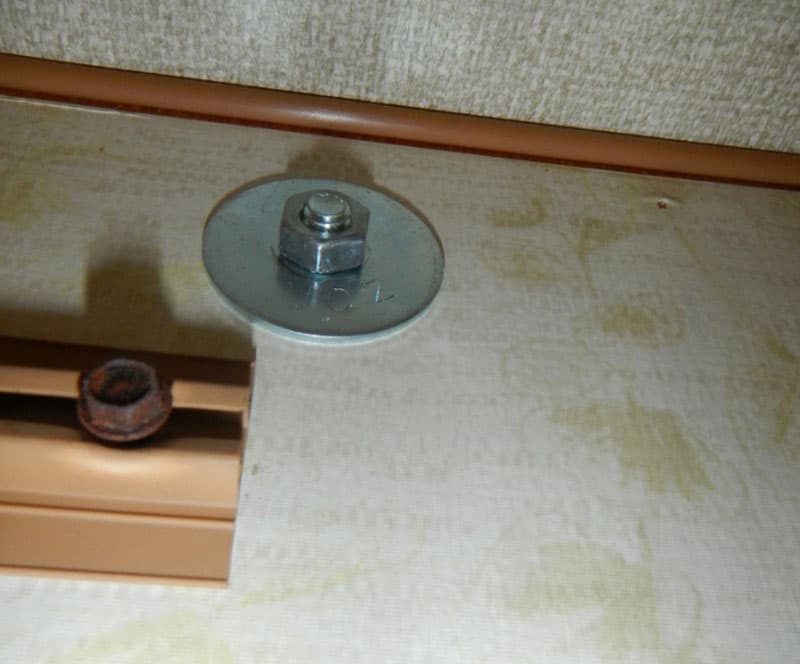
There was not much for handholds to pull oneself up the stairs and through the entry when handicapped in the legs. The loft had only one high shelf below the mattress, with no handholds. I needed something to grab on to for that climb into the loft.

The loft now has a grab bar. It was $69 and is a Bed Rail Economy Bed Handle from MTS Medical Supply. It slides under the mattress and provides an adjustable horizontal railing to assist with the climb up into the loft. This enhancement rates as easy. You just push it under the mattress.
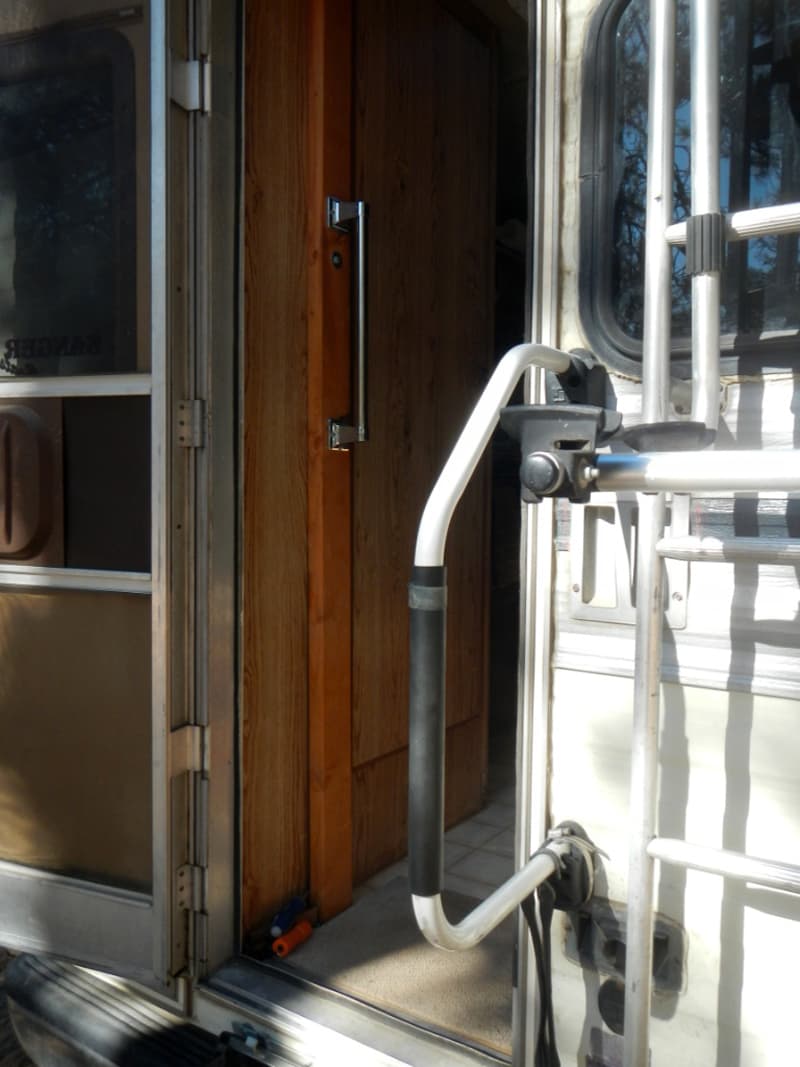
Just inside the doorway you can see another grab bar mounted on the wall next to the wet bath door. As the RV wall is only thin paneling, attaching a grab bar directly to the wall is a bad idea. It would not take much effort to rip the bar right out of the wall with a good pull.
To add the required strength, I bolted a 2×4 to the wall using 5-inch x 1/4-inch hex bolts and nuts with 1.5-inch washers. Then I screwed the grab bar onto the 2×4 using the screws that came with it.
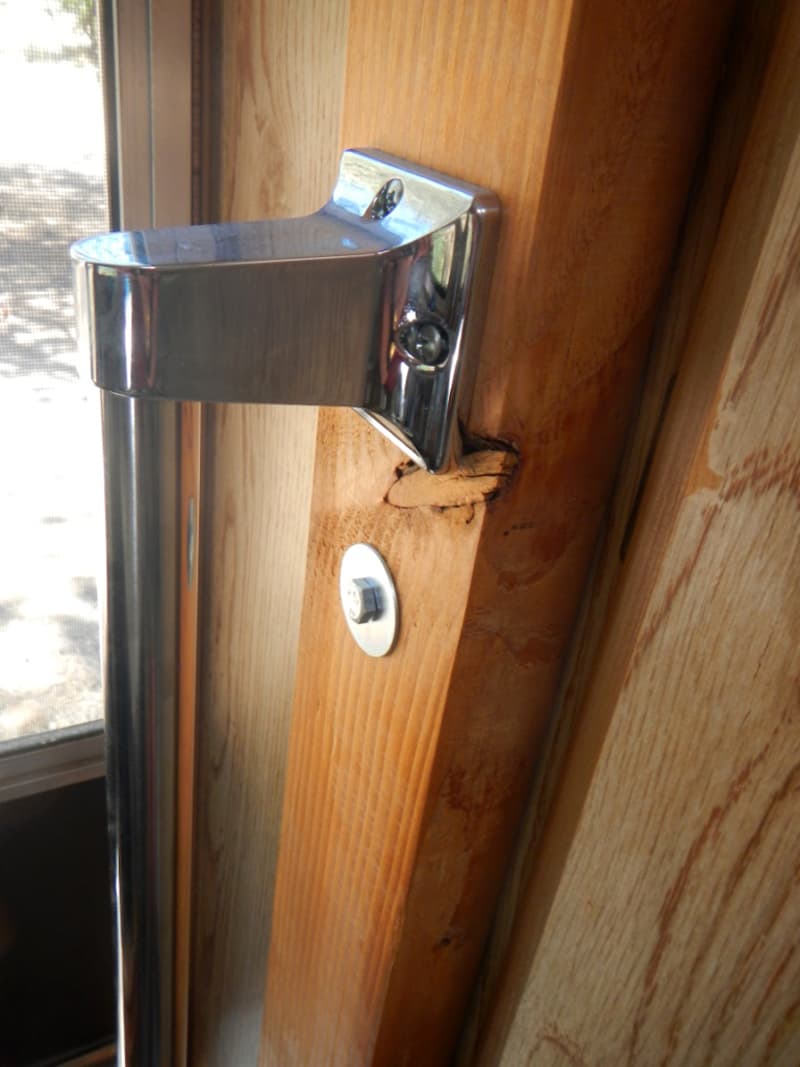
One bolt is located halfway up the 2×4, and the other bolt is at the top of the 2×4. The 2×4 is not secured at the bottom because the other side of the wall is in the wet bath. Molded plastic liner covers the wet bath wall to a height of about four feet.
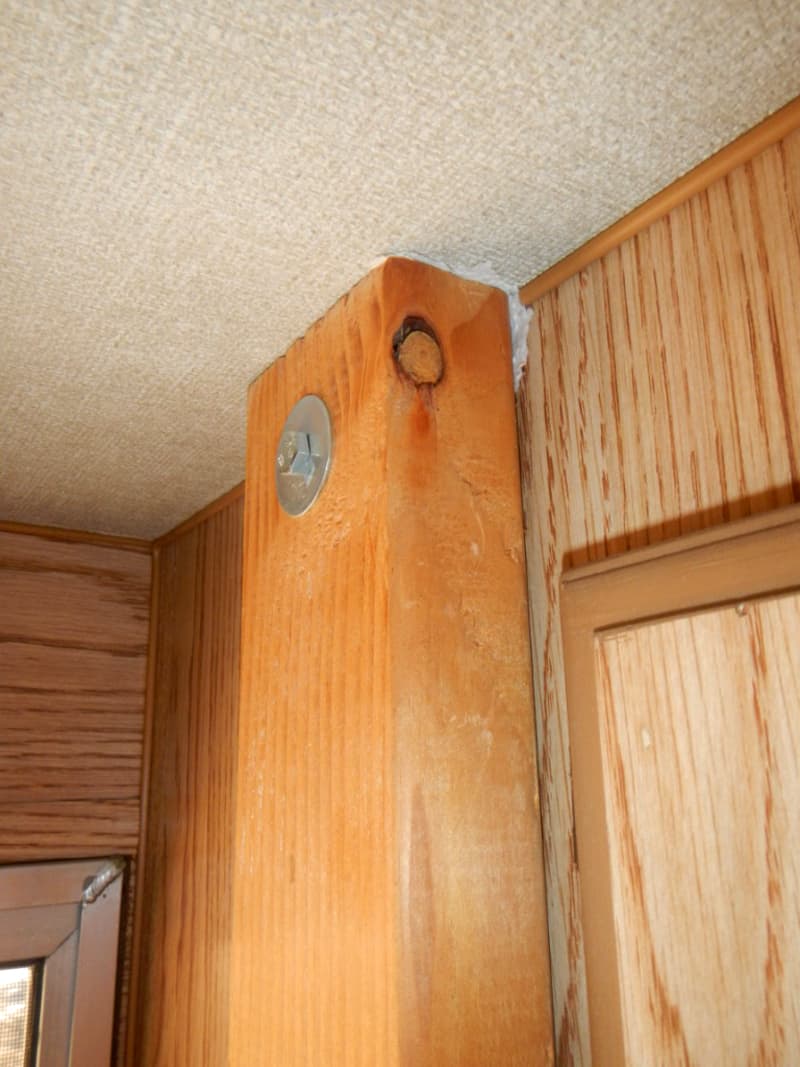
To keep the mod simple, I did not wish to drill through the plastic wall liner. The other two bolts come through the wall into the wet bath above the plastic liner.
This grab bar just inside the door is a major assist as there are no other handholds to help with that last step into the camper.
The Glacier Bay grab bar cost $15, and the 2×4 cost $8, both at Home Depot. The hex bolts and nuts, and washers, cost less than $5 at a local hardware store. So my total for this last mod was about $28. It rates as easy, and took me (limping about) maybe three hours.
A grab bar was installed outside the door to help climbing the steps into the rig. These are quite common now and I mention it only in passing. Mine is a Lend-a-Hand available for about $30. It’s bolted to the frame next to the door, over the Lance door handle, and can swing right or left to lie flat against the camper’s wall.
A hose clamp prevents this grab bar from swinging to either side as I could be locked in the rig if the bar were closed against the door while I was inside. A dealer installed this grab bar as a courtesy when performing other work, but I wanted to mention it as another place a mobility mod could be added.
The climb through the entry is still a struggle, but at least it’s less difficult now. And there is less danger of losing my grip and falling backward out the entry.
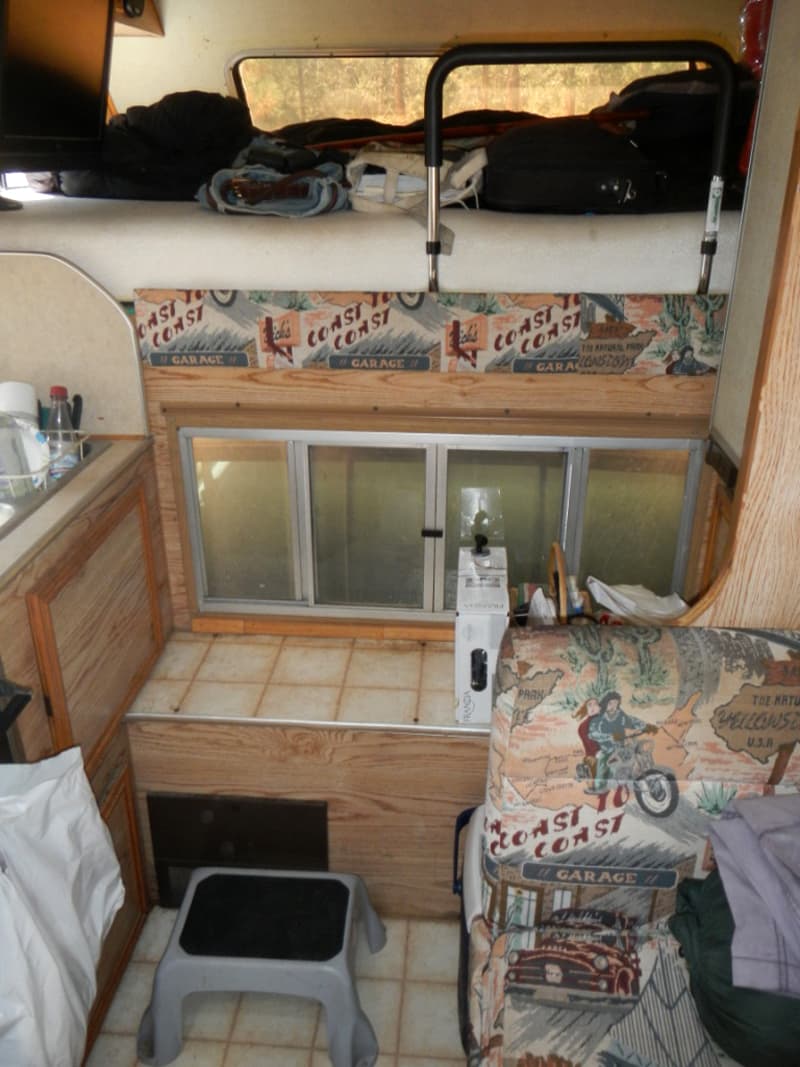
The climb into the loft is now less difficult. We put our left foot on the step stool, pull on the grab bar, and lift our right foot up to the shelf. Then we pull again and shift our left foot onto the galley sink counter, push and pull up onto the loft mattress, squeeze into the 20-inch space between the mattress and ceiling, and roll over. It helps coming down, too, and there are no worries about rolling out of bed in my sleep.
It took me four hours to complete these modifications and all three mods together cost about $127. In my opinion, the skill level of this modification is easy, easy, and easy.
10. Ron Richardson, Costa Mesa, California
Fastgun Labels With Nail Polish
2014 Ram 3500 Mega Cab
2012 Wolf Creek 850
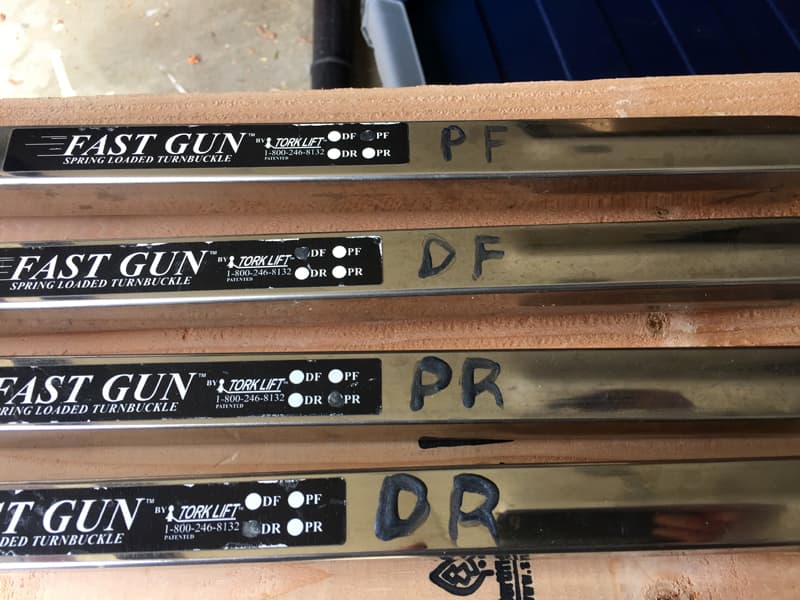
I use Torklift Fastgun turnbuckles like a lot of truck campers. The Fastguns have a spot to mark their specific install location; Driver Front (DF), Driver Rear (DR), Passenger Front (PF) or Passenger Rear (PR).
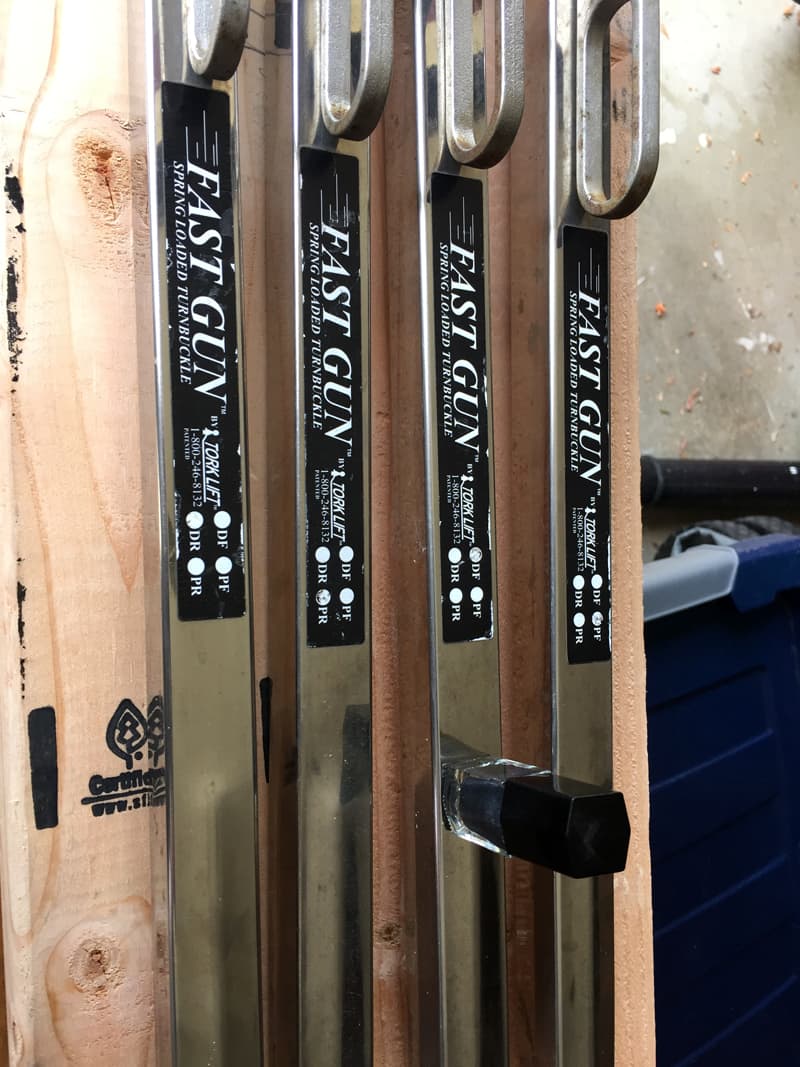
Once a camper is loaded, these markings allow the Fastgun turnbuckles to be quickly installed at their correct tie-down point. In the past, a permanent marker was used but, over time, these markings wore off.
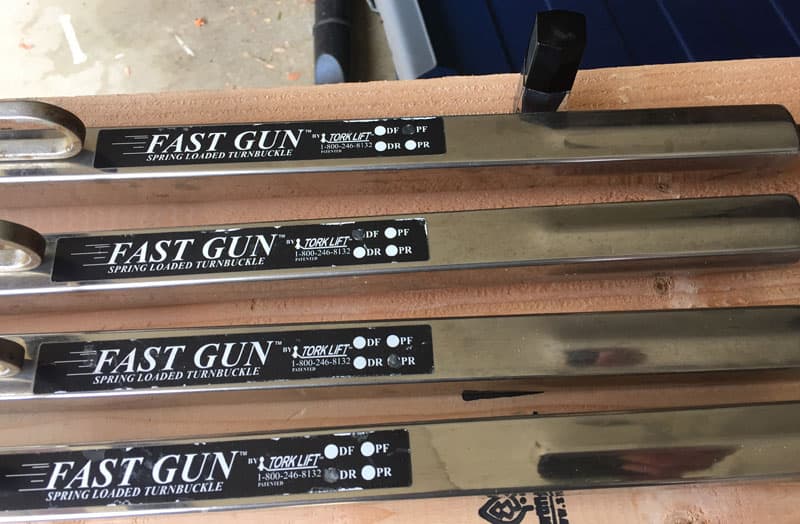
I now use a dark shade of nail polish. While I was at it, I decided to paint initials of the location. This should hold up better than the marker. The cost was free since my wife had some nail polish.
Click here to vote for your favorite three mods from this month’s contest.
Disclaimer: The modifications above are submitted by Truck Camper Magazine readers. It is your responsibility to make sure that any do-it-yourself modification project you undertake is safe, effective, and legal for your situation.
Enter Your Mods Now!
Click here to enter mods into our Truck Camper Modification Contest. You can enter as many mods as you want, at any time. Good luck mod makers!


