What started as a rough Facebook Marketplace find became a six-month, thousand-rivet, frame-out rebuild project. Today, Brian Uerling’s Avion C-11 is a modern family adventure rig with classic aluminum bones. Icon restored!
Don’t tell anyone, but we have something of an ulterior motive behind our annual Truck Camper Calendar Contest. Make no mistake, we absolutely love seeing everyone’s amazing truck camper photos roll in and go out of our minds with joy watching the calendar vote unfold each year. It’s fun, it’s exciting, and honestly, it’s one of the highlights of our publishing year.
That said, we’re also on the lookout for standout rigs that could make for interesting—no awesome—Truck Camper Magazine features. And that’s exactly what happened a few months back.
Enter Brian Uerling and his Avion C-11. He submitted a gorgeous shot of his vintage camper for the calendar, and we were instantly hooked. When we reached out, Brian sent us a gallery of the restoration process, and our curiosity shifted into full-blown awe. This wasn’t just a clean-up job or a fresh coat of paint. This was a ground-up revival of one of the most iconic aluminum campers ever built.
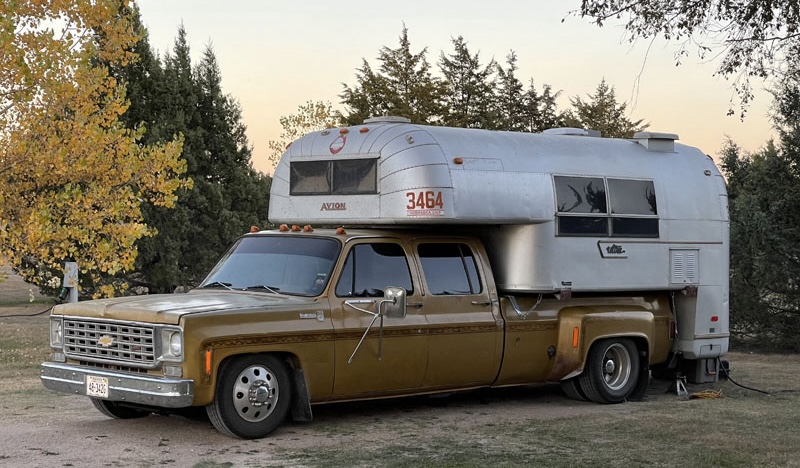
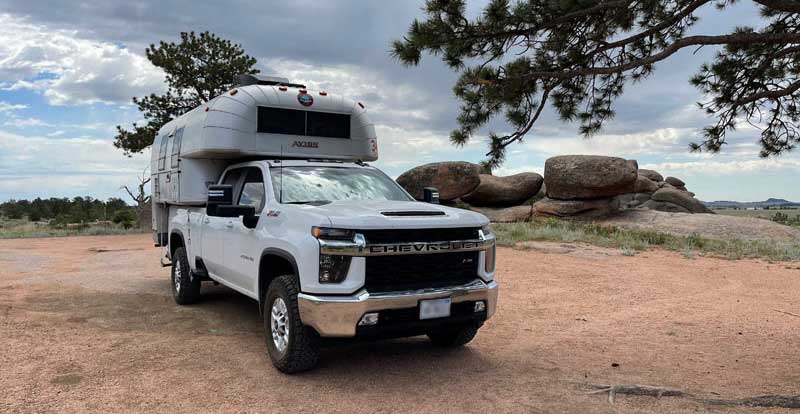
The story begins, fittingly, with a truck. Brian owns a 1975 Chevy C30 pickup affectionately named Colonel Mustard. Looking for a camper to pair with his truck, he found the Avion on Facebook Marketplace. It was advertised to be in far better shape than it really was, but Brian saw good bones in that classic aluminum shell.
What followed was six months of late nights and weekends stripping the Avion to its frame, saving what could be reused, and rebuilding everything else: wings, floor, cabinetry, wiring, plumbing, and over a thousand rivets. Piece by piece, Brian brought the camper back to life. Along the way, he blended craftsmanship with modern practicality—custom cabinetry, a stainless-steel shower pan, an upgraded lithium battery system, on-demand hot water, and even a Kiddo-Bunk for his kids.
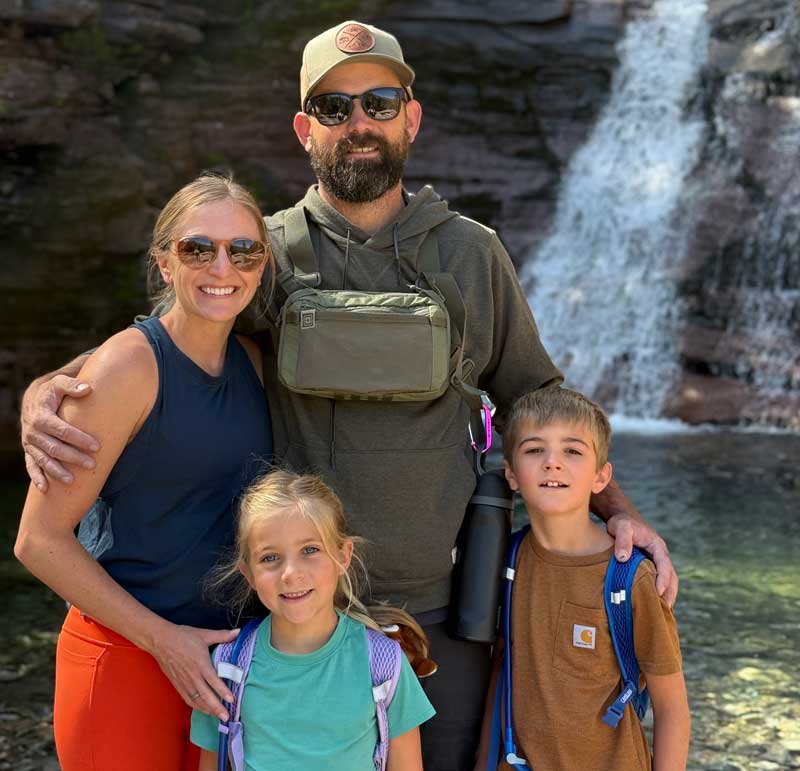
The result is more than just a restored camper. It’s a reliable, road-ready rig that’s already carried Brian and his family on adventures from Yellowstone to the San Juan Mountains—and promises countless more memories to come.
For a deep dive into the details behind this camper, we asked Brian to share his experience of rebuilding an Avion C-11.
What led you to acquire and restore an Avion?
It started with my 1975 Chevy C30 pickup, which we call Colonel Mustard. I swapped the engine from a 1996 Dodge and a 6-speed transmission from a 2006 RAM. I originally bought the Avion C-11 to use with Colonel Mustard for local trips.
I found the Avion on Facebook Marketplace. It was described to be in much better condition than it actually was. I decided to restore it because we wanted to go on longer adventures as a family, and I wanted the camper to be more comfortable and reliable.
I chose an Avion because of its aluminum structure. I knew it would have good bones to start with. Working nights and weekends, the project took around six months to complete.
Did you have any prior restoration experience?
I have been building and remodeling things my whole life. My father is a carpenter. Growing up, I learned a lot from working with him.
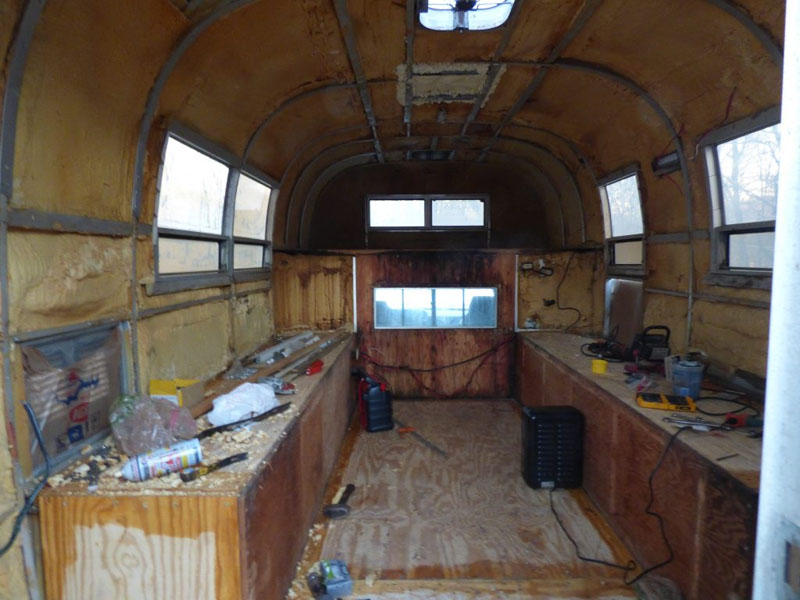
From the pictures, it looks like quite a project. Where did you begin?
I started by removing everything I wanted to attempt to reuse. This included all of the cabinetry and the liner panels. Then I removed the wings, keeping them as complete as possible to use as templates.
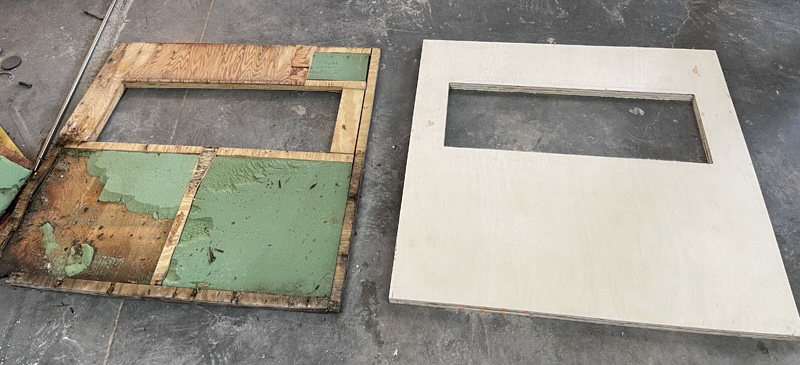
After the wings were installed and secured, I braced everything and removed the floor. Just like the wings, I used the old floor as a template.
Before I reinstalled the floor, I laid down some new vinyl sheet flooring. After the floor, I moved onto the front wall.
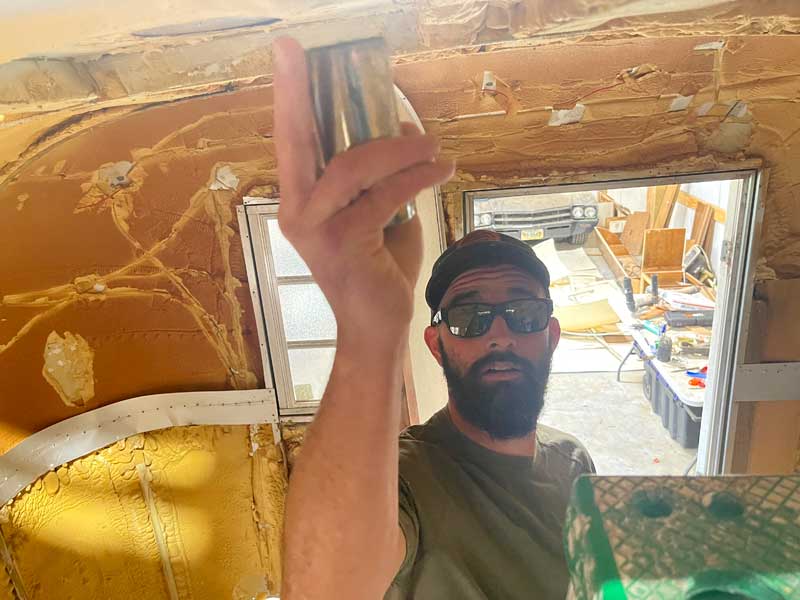
Once I had a structurally sound shell, I started repairing holes and patching penetrations in the aluminum. I had some help from my brother. You can see him holding the buck on the interior of the rivets (pictured above) while I use an air hammer on the outside.

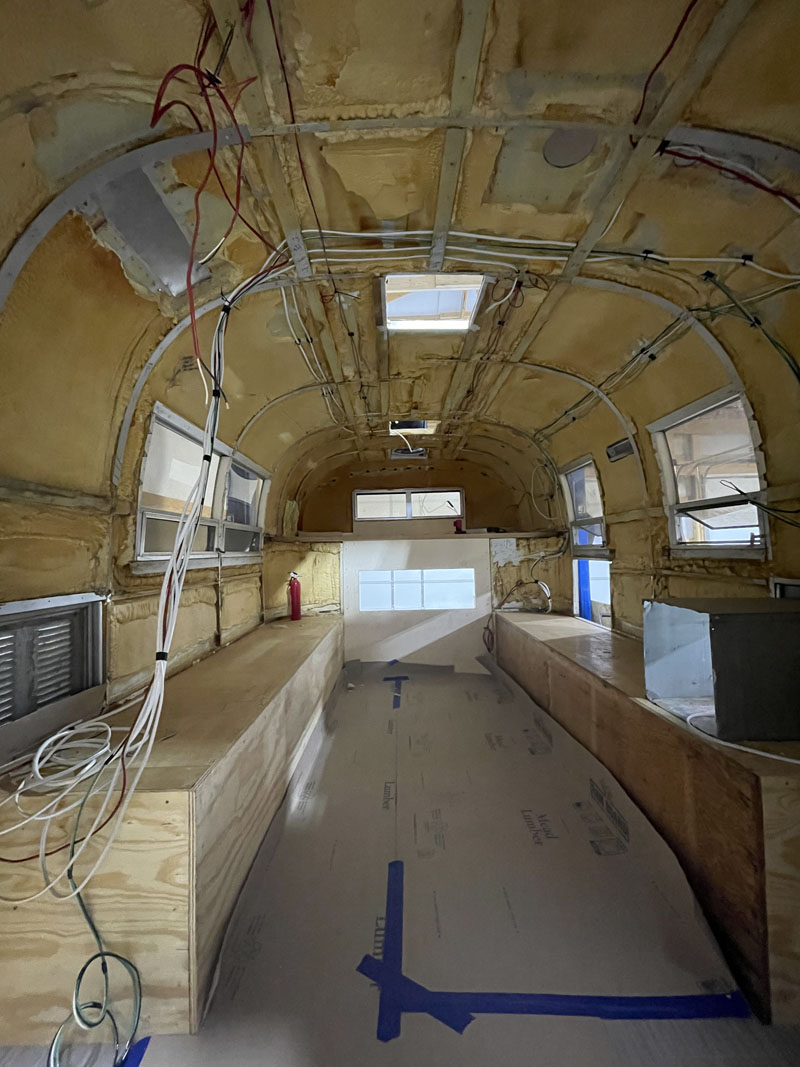
I needed to run all the new wiring and plumbing before touching up the spray foam and reinstalling the interior skin. I can’t remember how many pop rivets it took, but I know it was over 1,000. Then, I painted the skin.
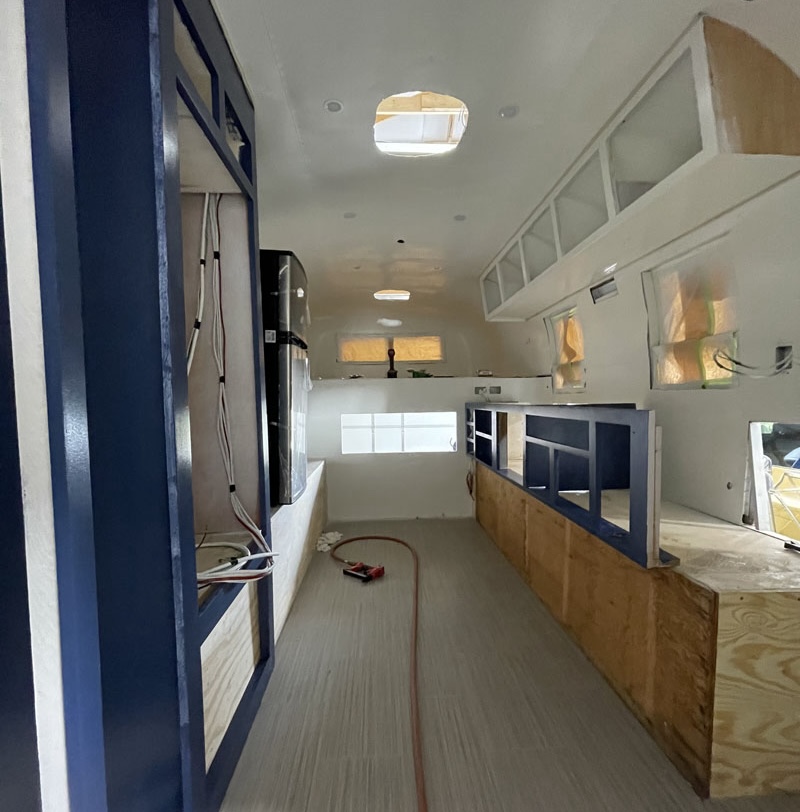
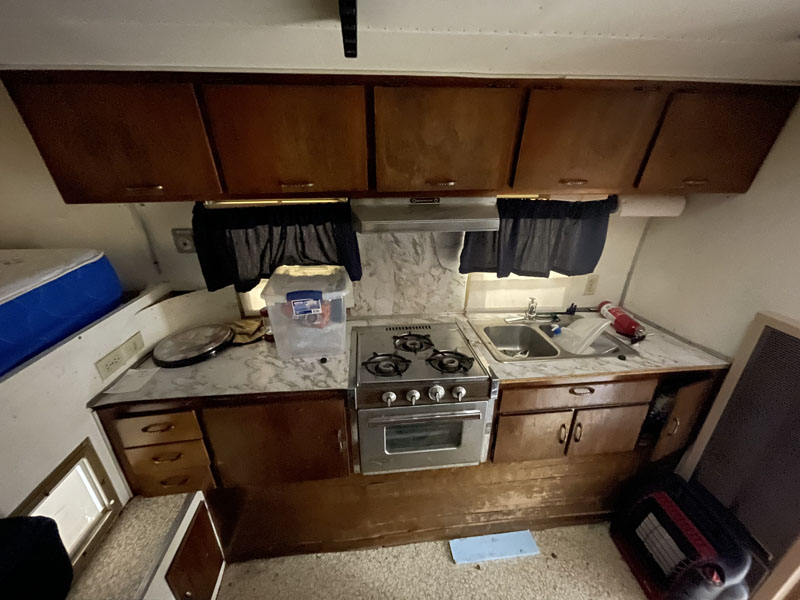
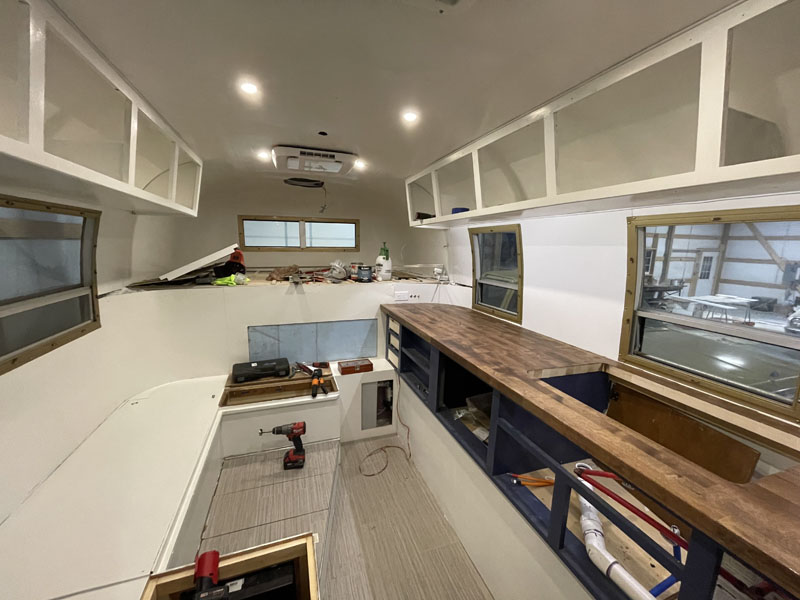
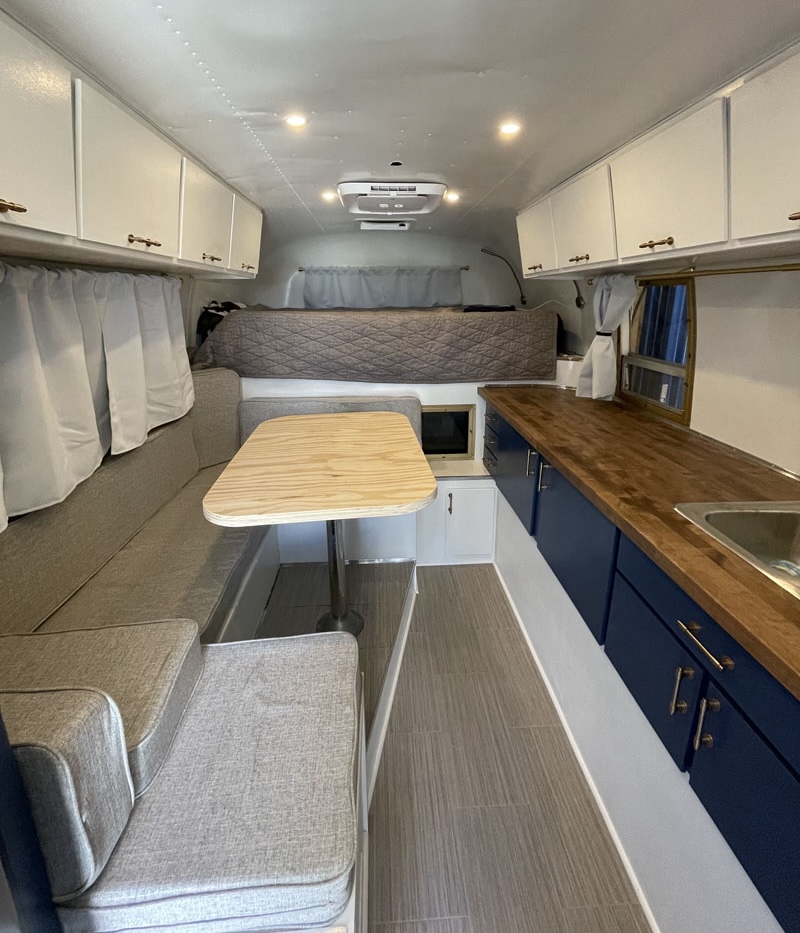
The next step was restoring all the cabinets, including making new cabinet doors and drawer faces. We decided we wanted storage more than a stove, so I removed the stove and added a cabinet. I also needed to enlarge the opening for the new 12-volt refrigerator.

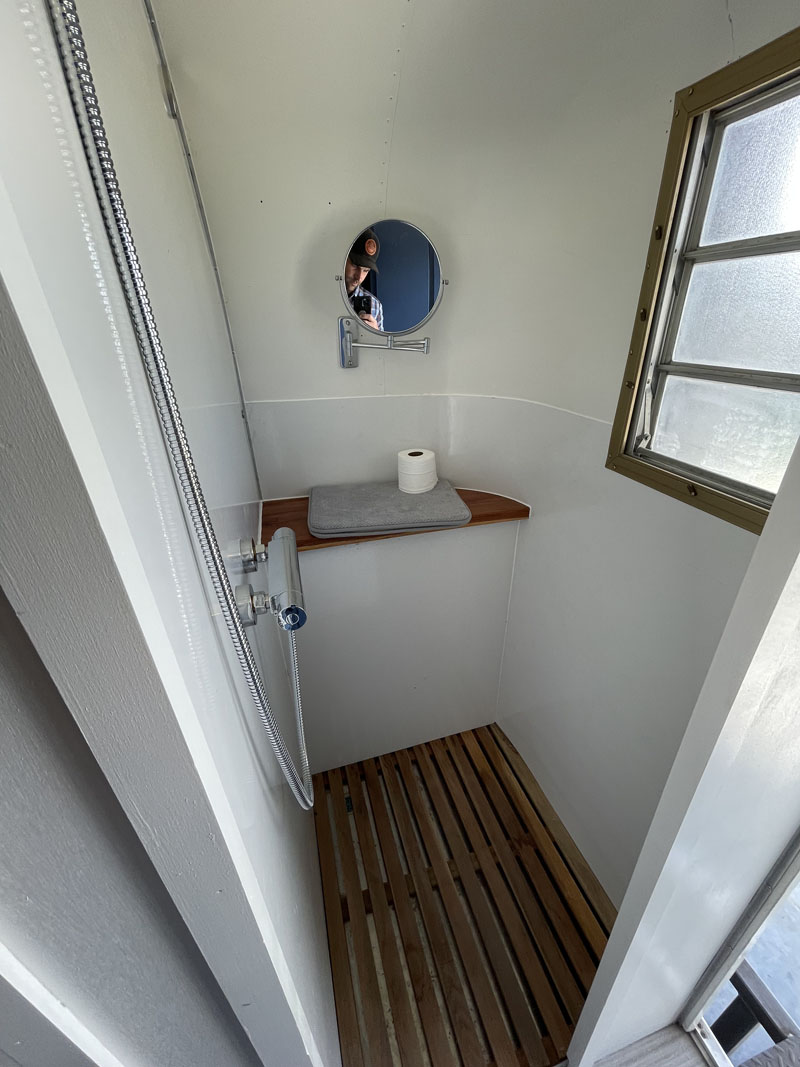
In the bathroom, I built a stainless shower pan and a cedar floor to drop in. We went with a grey tank only and opted for a Thetford porta-potty that can be moved outside when you need to use the shower.
After that, it was just reinstalling everything and completing the electrical system.
Talk to us about the tank capacities and the water heater you selected.
The water system consists of a 21 gallon fresh water tank and a 22 gallon grey water tank. I’ve actually now installed two propane on-demand water heaters. The first one would not produce hot water above 4,000 feet. I just installed a Fogatti on-demand that is good up to 9,000 feet. That’s a much better fit for us, as most of our trips are in the mountains.
How did you go about upgrading the battery and electrical system?
I went with a single 200 amp-hour LiFePO4 battery as the foundation, which gives me plenty of capacity without the weight penalty of traditional batteries. To keep tabs on it, I installed a Victron Energy SmartShunt Battery Monitor with Bluetooth, which lets me check all the vitals—state of charge, voltage, current draw—right on my phone.
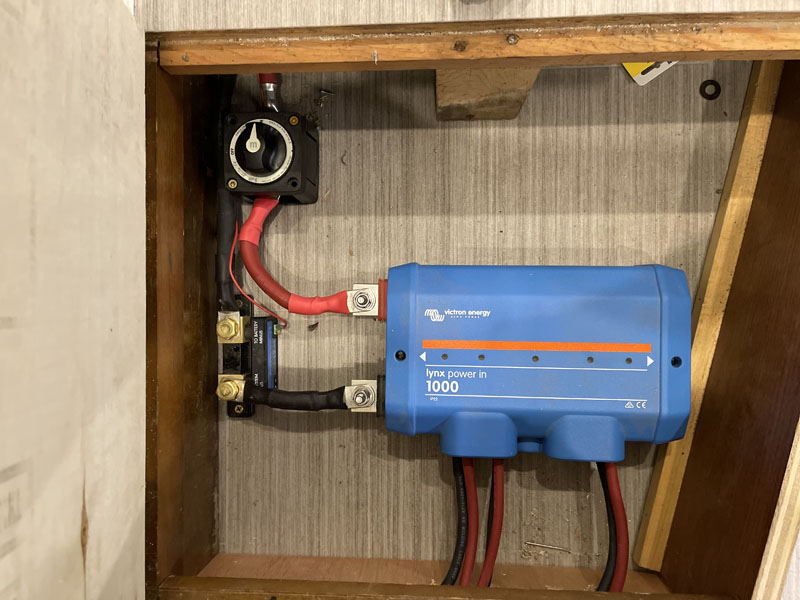
For connections, I used a Victron Energy Lynx Power In Battery Connector. It essentially acts as a bus bar and external fuse, making it easier to tie together multiple charging sources. It’s especially handy if I decide to expand with parallel battery strings later on.
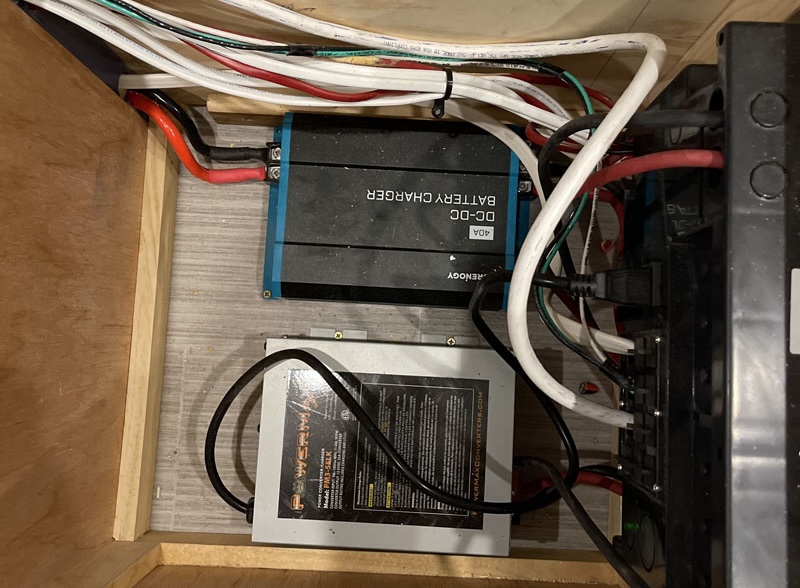
For charging on the road, I installed a Renogy 12V 40A DC-to-DC charger. I wired it directly from the distribution block in my pickup, but I set it up so that the charger only engages when I flip on the fog lights. That means whenever I’m driving, I can decide when the camper battery charges off the truck alternator. With this setup, I can usually bring the battery up to a full charge in less than half an hour of driving.
For shore power situations, I added a PowerMax PM3-55 RV Power Converter, which gives me a high-performance 110V to 12V DC power supply with a 55-amp capacity. That way, when we’re plugged in, I can charge the battery and run the camper’s lights and outlets without a hitch.
Why did you decide not to install solar panels?
All we have is the 12-volt refrigerator, the two electric fans, the lights and charging our phones. Without charging, I think our battery would last at least four days. We move about every day so the DC-to-DC is more than sufficient for our needs. It will charge the battery in about thirty minutes of drive time.
With the Lynx Power, I can add solar panels at any time.
Were there any major challenges during the restoration?
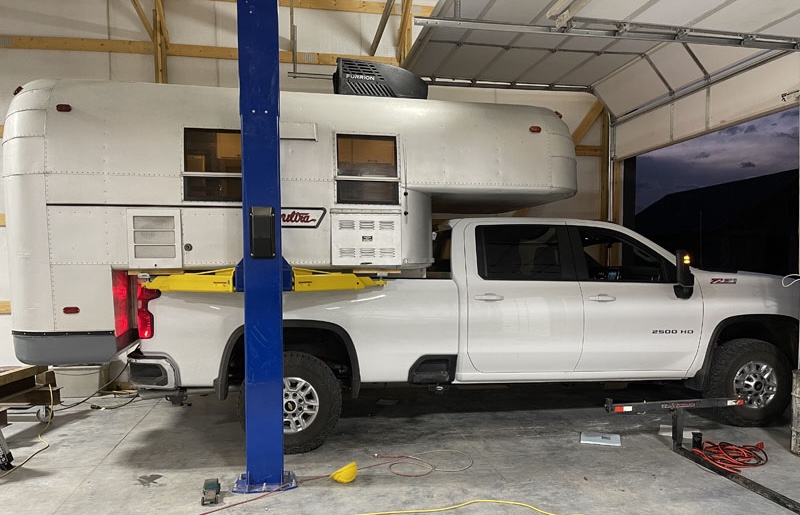
The biggest issue was what to do with the original style jacks that loaded the camper. I wanted a better solution, so I bought a two-post car lift that I use to load and unload the camper. It’s much safer. Other than that, it was just staying focused and chipping away at it little by little.
What did you do with the rear deck/landing?
The rear deck is just a receiver hitch I made with a small step, a cooler, and water storage.
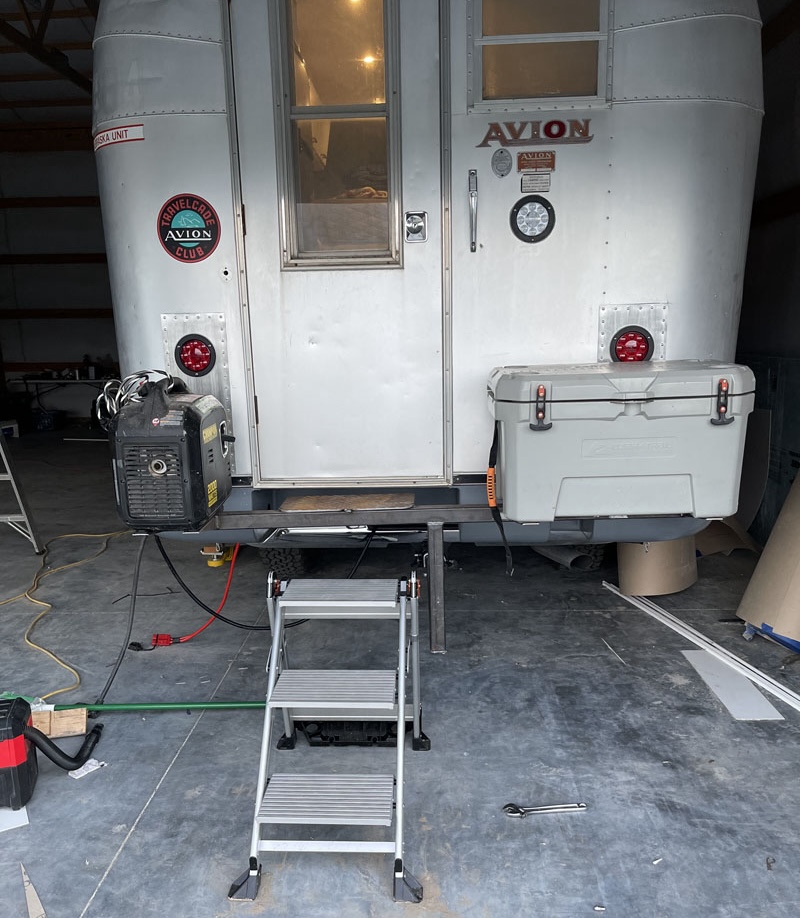
Tell us about the Travelcade Avion Club sticker on the back.
The Travelcade Avion Club was a travel and social club for owners of Avion travel trailers and campers between 1959 and the early 2000s. The club was gone by the time I bought my Avion, but I found a reproduction sticker. I thought it was neat.
Now that your restoration is complete, what’s still original?
The shell is original, and some of the cabinets.
That’s incredible. Where have you been with your Avion so far?
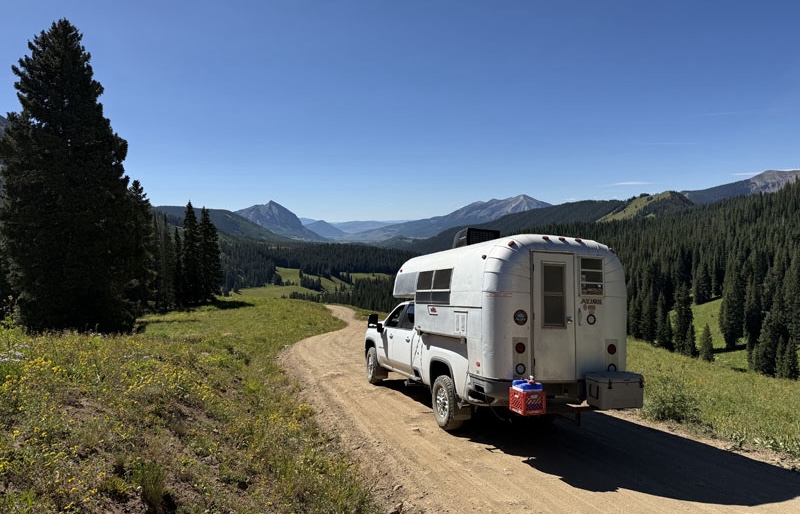
We make it a point to take the Avion on at least one big trip every year, and it’s taken us to some incredible places.
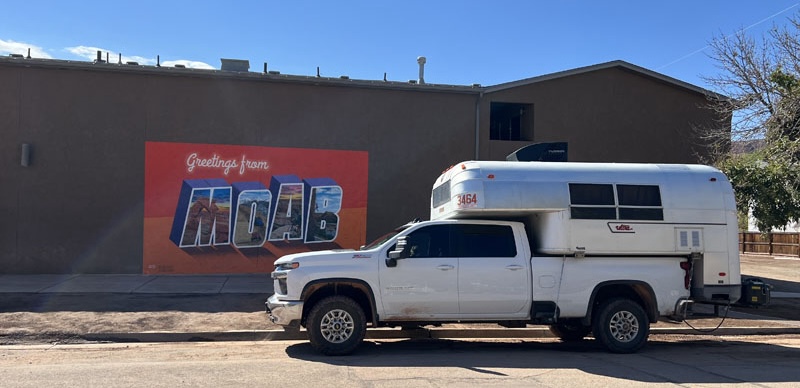
We’ve camped in Yellowstone and Grand Teton National Parks, explored the arches and red rock of Utah, and stood on the edge of the Black Canyon. We’ve wandered through the ancient cliff dwellings at Mesa Verde, hiked the dunes at Great Sand Dunes, and marveled at the sweeping landscapes of Canyonlands.
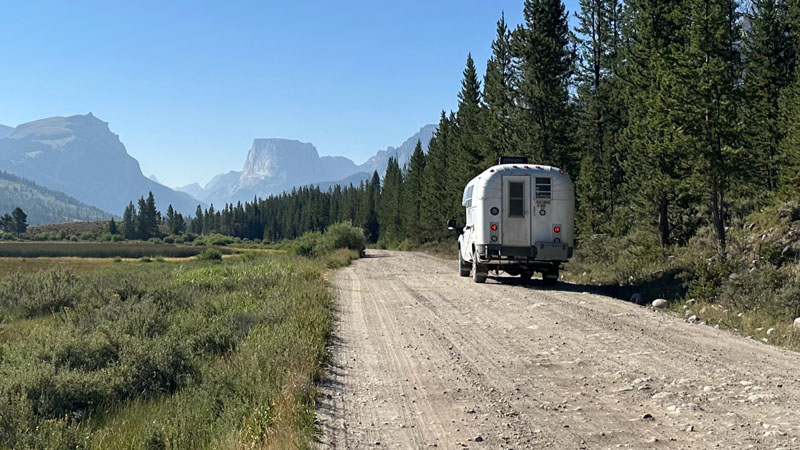
We’ve also made it up to Green River Lakes in Wyoming’s Wind River Range, driven the breathtaking Million Dollar Highway through the San Juan Mountains, and spent countless nights in national forests along the way.
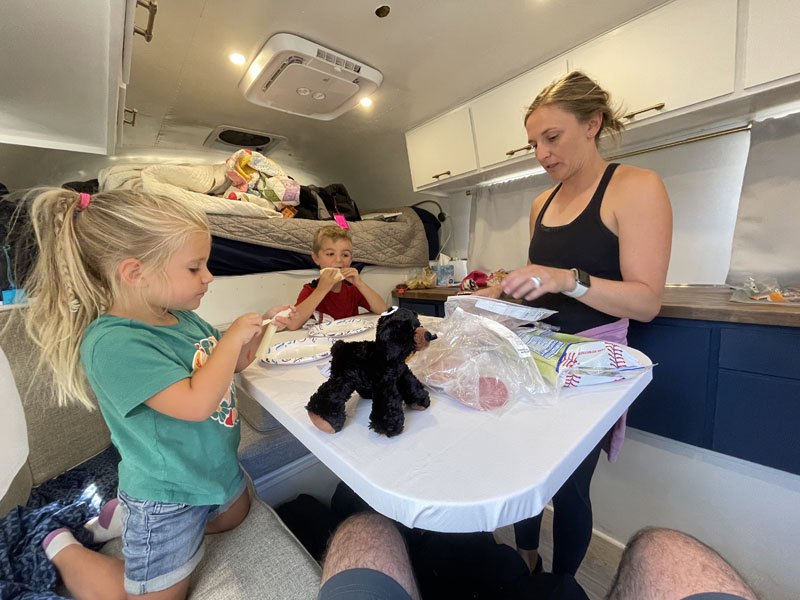
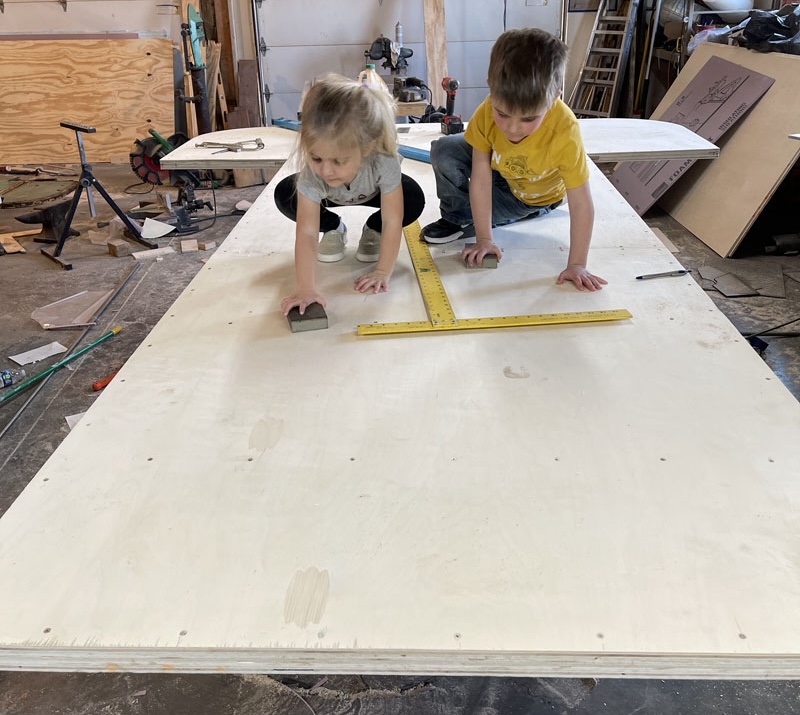
The kids absolutely love the camper. At one point, I floated the idea of maybe upgrading to something bigger, but they were quick to shut that down. They told me they love this camper and didn’t want anything else.
This past year, they were starting to get a little too big to share the dinette bed, so I picked up a Kiddo-Bunk. It fits perfectly on the dinette and gives each of them their own space. It’s made traveling even easier and kept that sense of adventure alive for them.


