With the help of Hallmark RV, a Goal Zero Yeti Pro 4000 lithium battery system is retrofitted into our twenty-year-old truck camper. This is like dropping a warp drive into a VW Beetle. How did this radical installation go? Hang on!

It’s no secret that I’ve been a skeptic when it comes to lithium batteries. We have been offered lithium batteries numerous times, but always declined in favor of the practicality, reliability, and cost of AGMs. After all, we aim to showcase affordability alongside the amazing go anywhere, camp anywhere, tow anything capabilities of truck camping.
Fate had other plans. Early last summer we visited Goal Zero to finally meet the company behind our beloved Goal Zero Yeti 400 portable lithium power station. The Yeti 400 charged off our house solar-battery system (via a 12-volt connection) and provided our laptops with off-grid 110-volt pure sine wave power. It was an indispensable part of our working on-the-road lifestyle.
During that visit, we darn near fell over a new product in the Goal Zero research and development area. I asked if this large box on the floor was a new refrigerator. The Goal Zero team said it was actually a new lithium battery system, like our Yeti 400, only with 315 Ah. I almost immediately broke out in my, “Muhahaha!” laugh just thinking about it. If ever there was a moment to tempt me to lithium, this was it.
This past October Goal Zero announced the Escape Ecosystem including the Yeti Pro 4000 that I nearly face planted over. That led to a series of planning sessions with Goal Zero about exactly how and where the components would fit into our twenty-year-old camper. We took detailed measurements and photographs and sent them to the Goal Zero engineering team. All signs pointed to yes and an install date was set for a week after Overland Expo West.
We had originally planned to install the Escape System at Goal Zero headquarters in Draper, Utah, but ultimately went to Hallmark RV in Fort Lupton, Colorado. The team at Hallmark has a keen interest in cutting-edge battery and electrical technology and knows our truck camper from previous projects. Goal Zero was also eager to have a camper manufacturer be involved in the process and agreed to fly out to Hallmark to help with the installation. Game on.
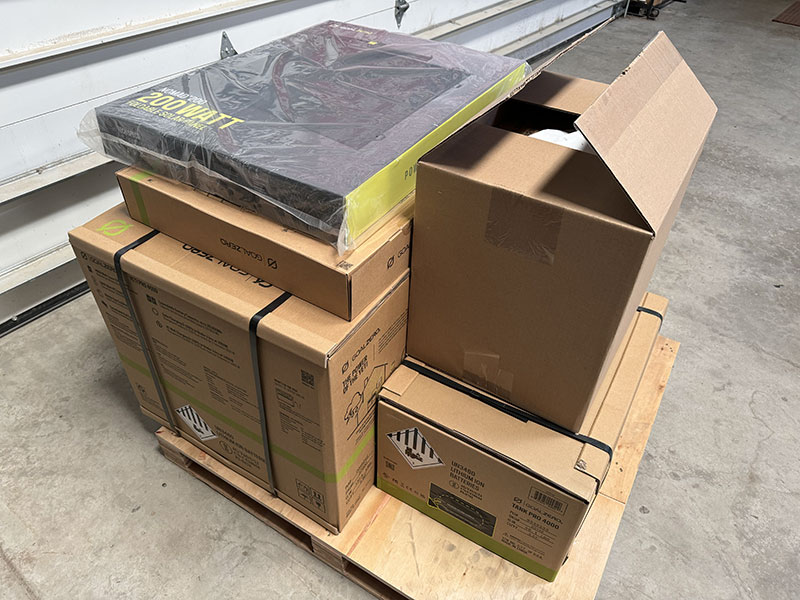
Above: The Goal Zero Escape Ecosystem arrives at Hallmark RV
After Overland Expo West, we made our way to Hallmark and found a pallet of Goal Zero products waiting. Not everything on this pallet was destined for our camper, but Goal Zero wanted to have everything on hand should it be needed.
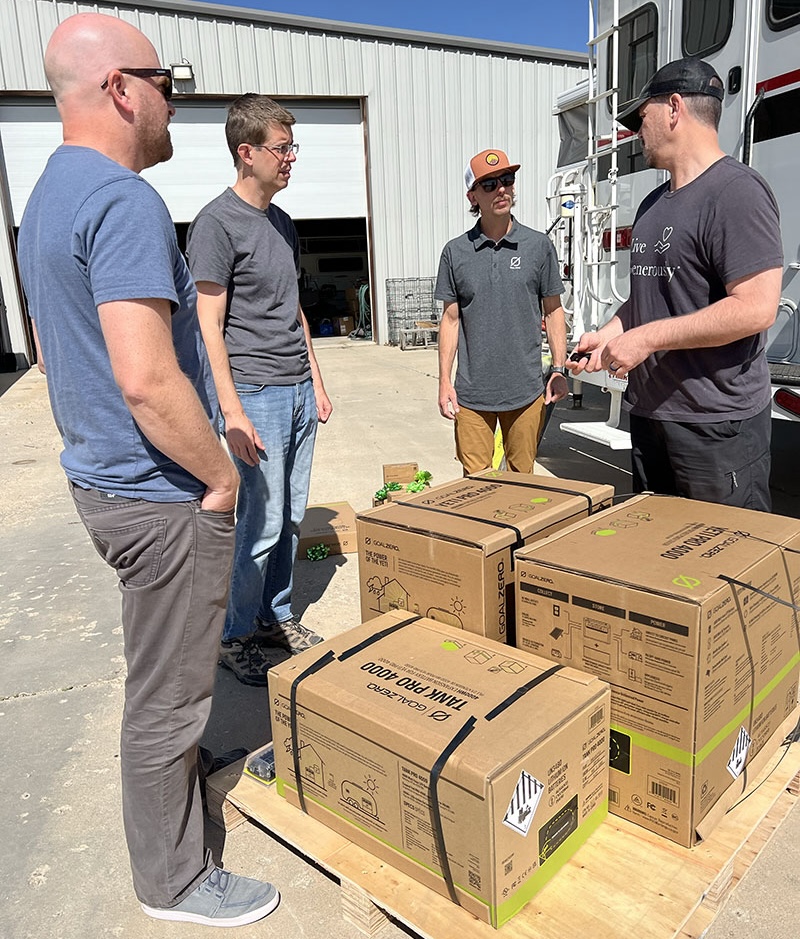
Jeffrey Harps, Business Development, and Brogen Reed, Application Support Engineer, flew in from Goal Zero on the first day. After the introductions with the Hallmark team, we went through the installation plan.
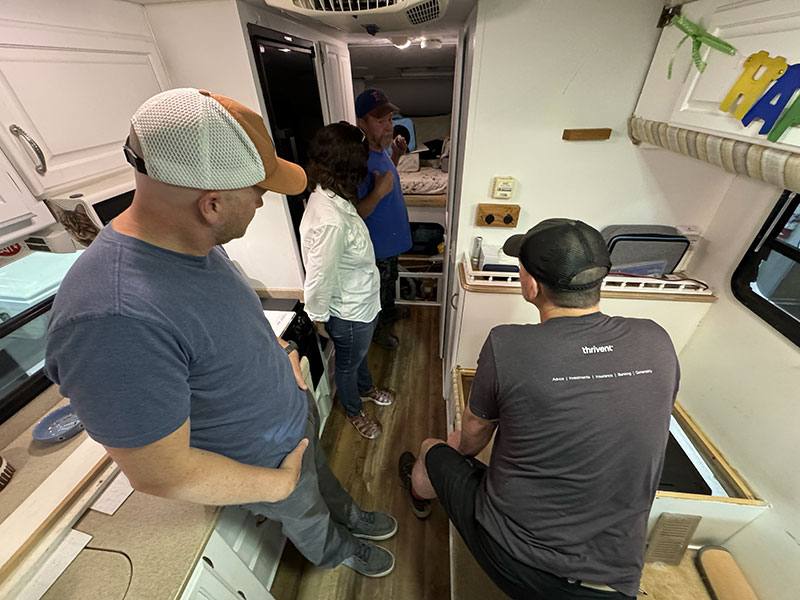
Above and below: The Truck Camper Magazine, Goal Zero, and Hallmark teams in our camper discussing the installation plans
Plan A was to install the Goal Zero Yeti Pro 4000 under the rear-facing dinette seat. That idea quickly went out the window due to the lack of an unimpeded path to the existing electrical connections. I had assumed the basement or space frame voids would make that access easy, but you know what they say about assumptions.
Lesson 1: If possible, have a Plan B install location and plan.
Thankfully, Plan B was a go. We could place the Goal Zero Yeti Pro 4000 unit where our current electrical system was located; under the step to our cabover. All of the electrical connections came into that area and there was just enough space for the unit.
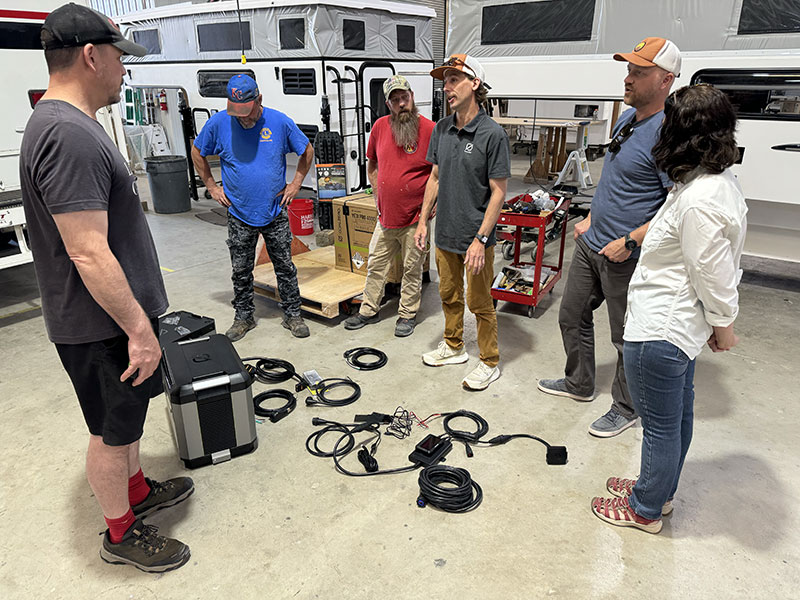
Above: Brogen Reed, Goal Zero’s Application Support Engineer, explaining how the Goal Zero Escape Ecosystem would be wired into our camper
Next came the fun part. Box by box, we opened the Goal Zero components we would need for the installation. This included a Goal Zero Yeti Pro 4000, Tank Pro 4000, Escape Remote Display, and all the cabling. Once unboxed, the Goal Zero team placed the components and cables on the ground to get a visual of the completed system.
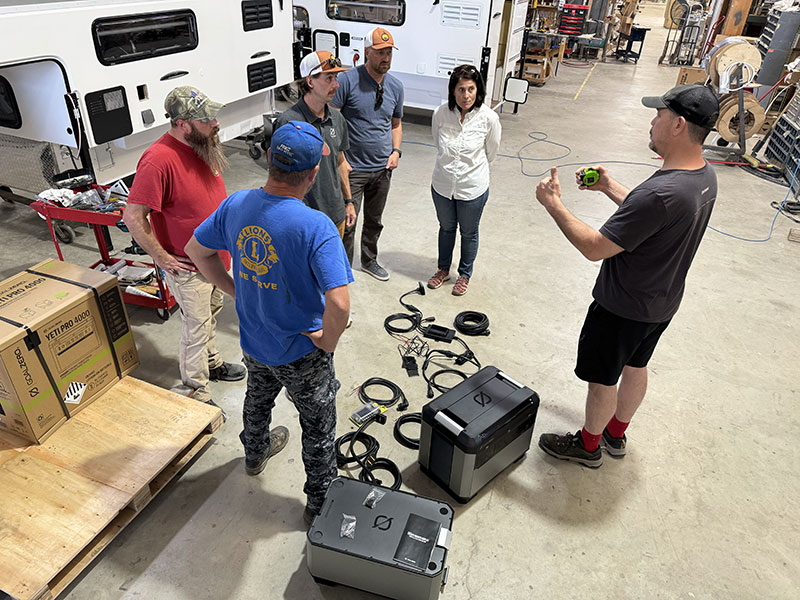
Above: Matt Ward of Hallmark running through the final install and wiring plan
Lesson 2: Lay the system out and test it before installing it.
Brogen and Jeff then took us and the Hallmark team through the ins and outs of the Goal Zero Escape System. They showed how the cables are plug-and-play, and unique for each input and output. Then they discussed which cables would need to be connected to what wires in our camper.
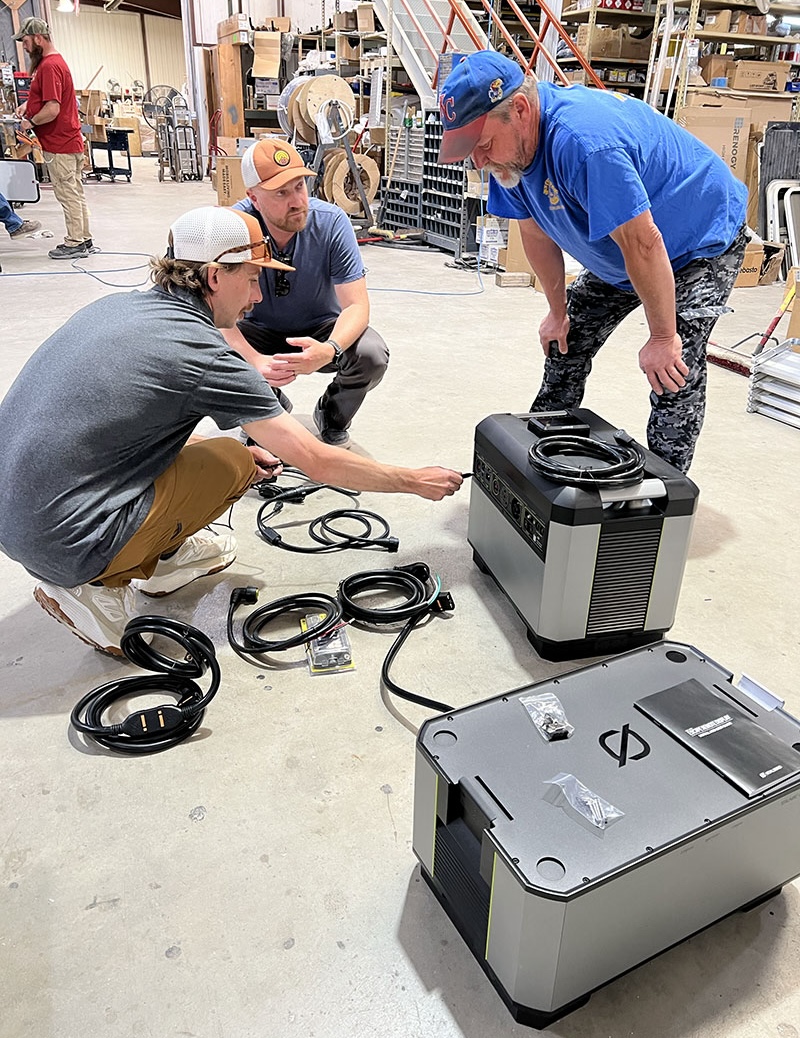
For example, the solar cables coming down from the roof would be connected to the Goal Zero solar cable. Then that cable would be connected to the solar input on the Goal Zero Yeti Pro 4000. Even as non-engineers, the integrated system and how it connects was logical.
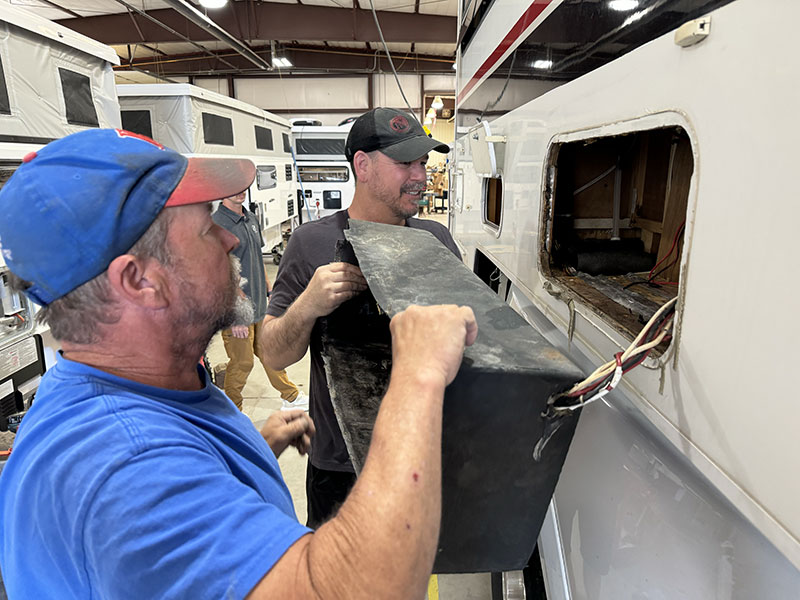
Above: Matt Ward and Lee Collins of Hallmark remove the original battery compartment shroud
Matt Ward of Hallmark removed our two Group 31 AGM batteries from our exterior battery compartment. When that didn’t create enough space, Matt removed the plastic shroud inside the compartment opening the compartment to the inside of the camper. Not only are lithium batteries sealed, but the Goal Zero Tank Pro battery is rated as water-resistant and dust proof. No battery shroud necessary.
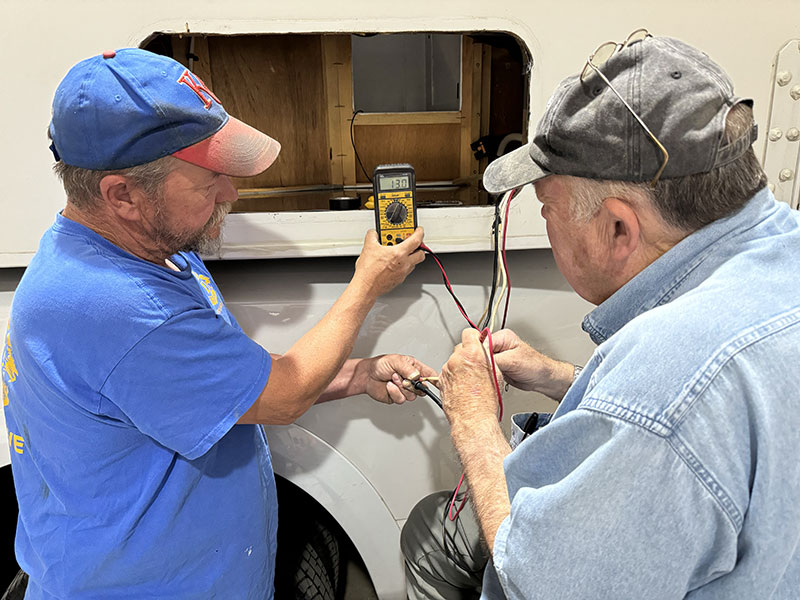
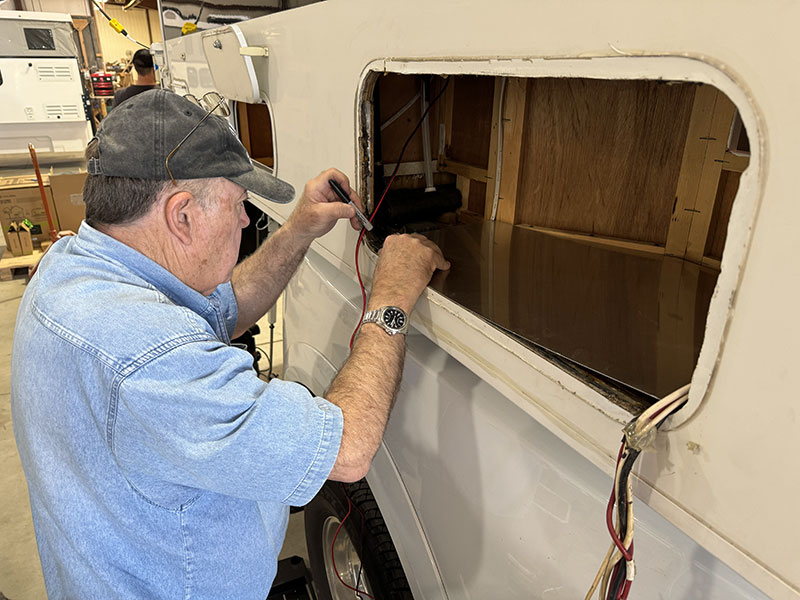
Above: Bill Ward and Lee Collins of Hallmark test and trace our camper wiring
Before proceeding with the installation, Bill Ward and Lee Collins of Hallmark tested and traced every wire in our Gordian Knot electrical system. Without a doubt, this was one of the most time-consuming parts of the installation. It might have been easier to hack the electrical rat’s nest in half with a long sword and start over, but cooler heads prevailed. Wire-by-wire, cable-by-cable, component-by-component, Bill and Lee decoded, labeled, and processed the old electrical system for the conversion.
Lesson 3: Have your current electrical system mapped out and labeled.
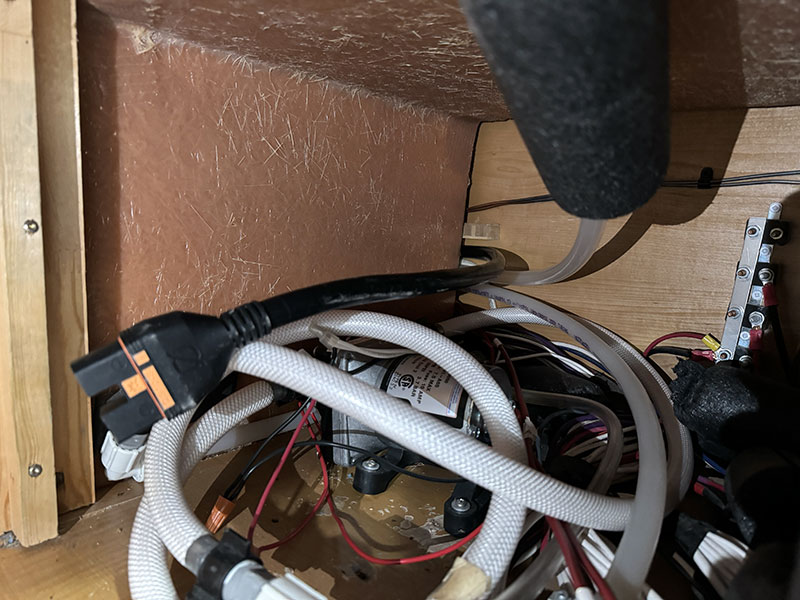
Above: This photo was taken inside the battery compartment. Note how tight the fiberglass shower stall (center left) fit to the wall leaving little room to fish cables through
The next challenge was fishing the Goal Zero Tank Pro cable between the fiberglass shower and the front wall. The folks who designed our camper clearly didn’t intend for anything to go through this space and left little to work with. Matt eventually used a wooden wedge to move the shower just enough to sneak the cable to the cabover step-up area.
Lesson 4: Plan how you’re going to run/fish potentially thick cables.
Matt and Bill Ward of Hallmark later added a metal floor to the battery compartment, finished the compartment opening, and installed blocks and straps to secure the Tank Pro battery.
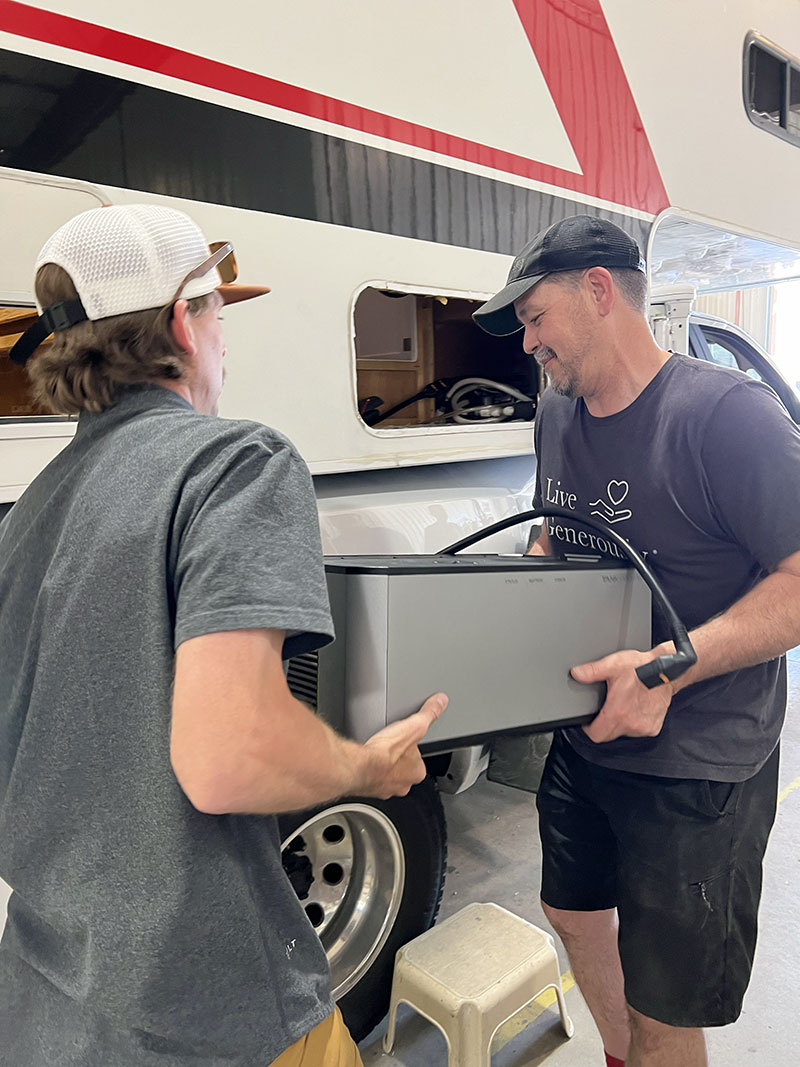
Above: Brogen Reed of Goal Zero and Matt Ward of Hallmark lift the Goal Zero Tank Pro 4000 battery into the battery compartment
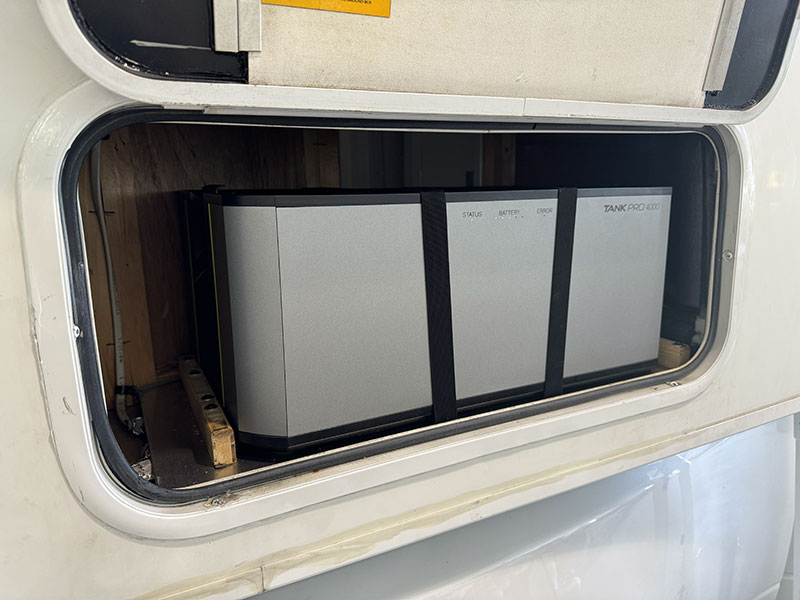
Above: That’s 210 Ah of Group 31 AGMs going out, and 315 Ah of Goal Zero lithium going into the same battery compartment space. So far, so good.
The next day Lee wired every electrical connection to the corresponding Goal Zero cable. With the camper wires already painstakingly identified by Lee and Bill, this process went relatively smoothly.
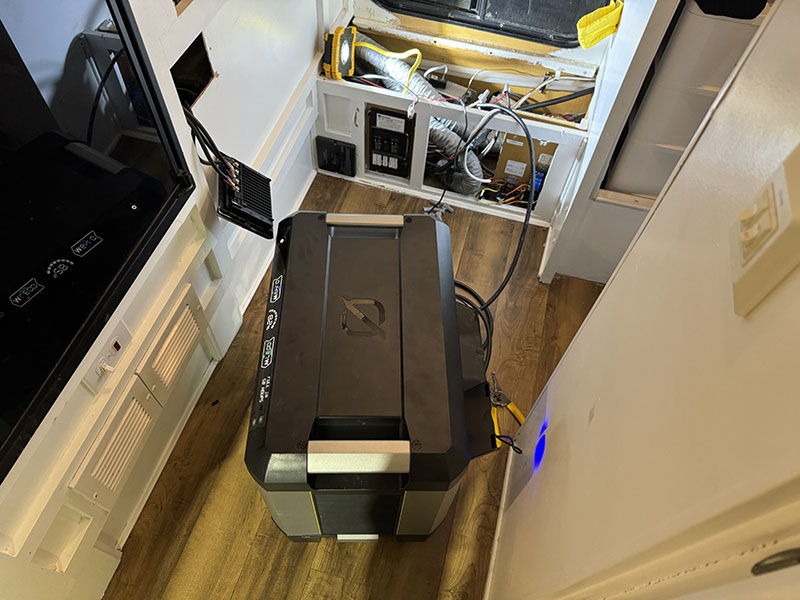
Above: Testing the Goal Zero connections to make sure the plan was working
Next, Lee brought in the Goal Zero Yeti Pro 4000 and connected all the Goal Zero cables to it. This was a test to make sure all the connections and components were working properly.
At the moment of truth, the 12-volt turned on and the lights worked. Then Lee turned on the 110-volt on the Yeti Pro 4000 and that too came to life. So far, so good.
Lesson 5: Before finalizing the install, dry fit and test everything.
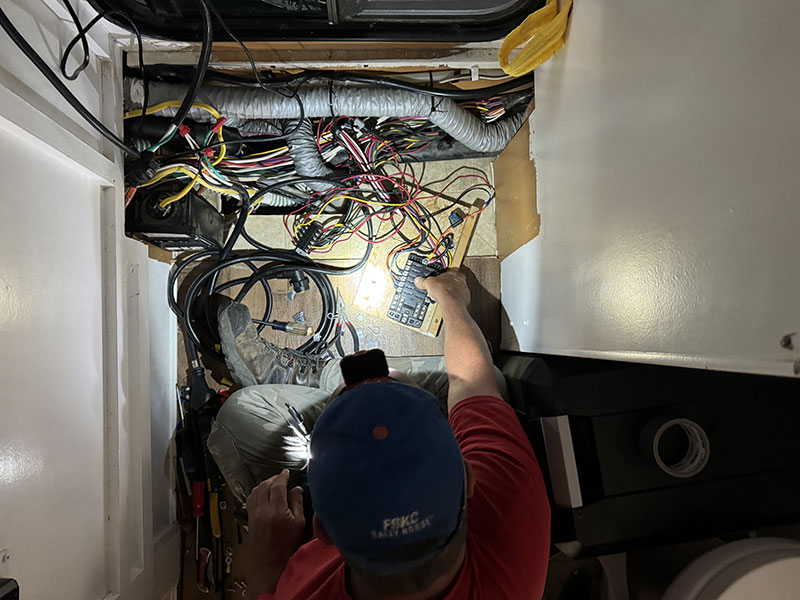
Above: With the power off, Lee removed the cabover step and installed the new fuse block
With that step completed, Lee dismantled our cabover step and installed our new Blue Sea 5026 ST Blade Fuse Block. Goal Zero had recommended the Blue Sea product for our application and it’s easy to see why. It’s a fantastic fuse block.
One by one, Lee moved the 12-volt wiring from our original fuse panel to the new fuse block. It was meticulous work and Lee did a phenomenal job. Based on his meticulous effort, I later suggested to the Hallmark leadership team that Lee be renamed Saint Lee. None objected.
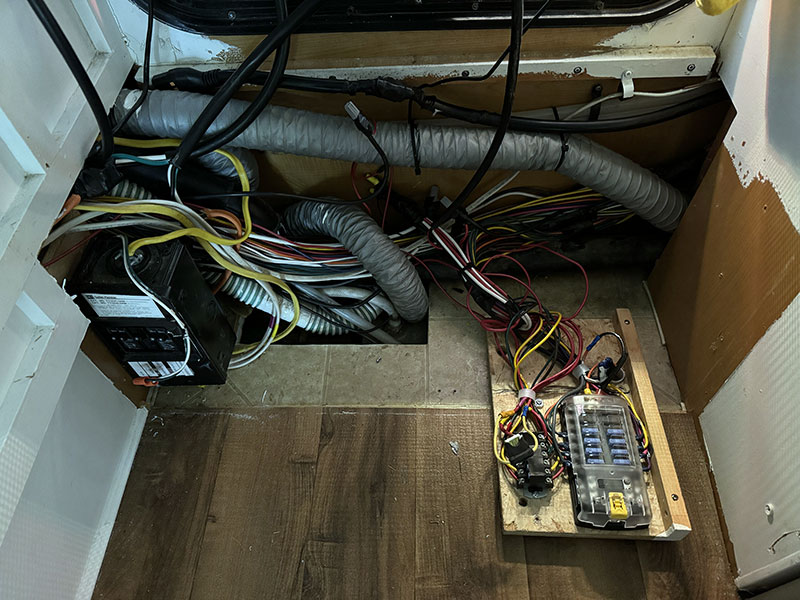
Above: The Blue Sea 5026 ST Blade Fuse Block wired up (lower right)
With the Goal Zero cables connected to the corresponding camper wiring, the Blue Sea fuse block replaced and wired, and the cabover step space cleared, Lee moved the Goal Zero Yeti Pro 4000 into position and connected the cabling. Once more he tested 12-volt and 110-volt power and everything worked.
If you’re wondering how we access our new fuse panel, it’s not ideal. We need to lift the Goal Zero Yeti Pro 4000 up and away from the step area. In the future, we will move the fuse panel to a more accessible position, but that change would need to wait for another day.
Lesson 6: Campers are never done. One mod leads to another.
Lee installed a block on the floor to prevent the Goal Zero Yeti Pro 4000 from moving during travel. Next, Bill and Lee added spacers on the side and from the wall to accept a board. This board would lay on these wall blocks and the top of the Goal Zero Yeti Pro 4000.
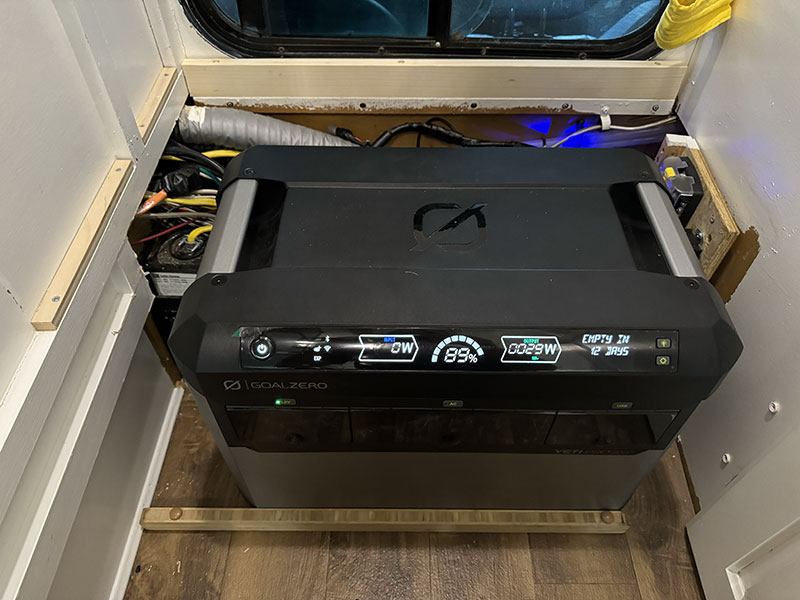
Above: The Goal Zero Yeti Pro 4000 wired up and turned on in our camper
The resulting board is now our step up to our cabover. We had some initial concerns about effectively stepping on the Goal Zero Yeti Pro 4000 a few times a day, but Goal Zero said the unit is built like a tank. If anything, our new step is significantly stronger than the one we had. It’s also a bit taller and deeper, but we’ve adapted to the change quickly.
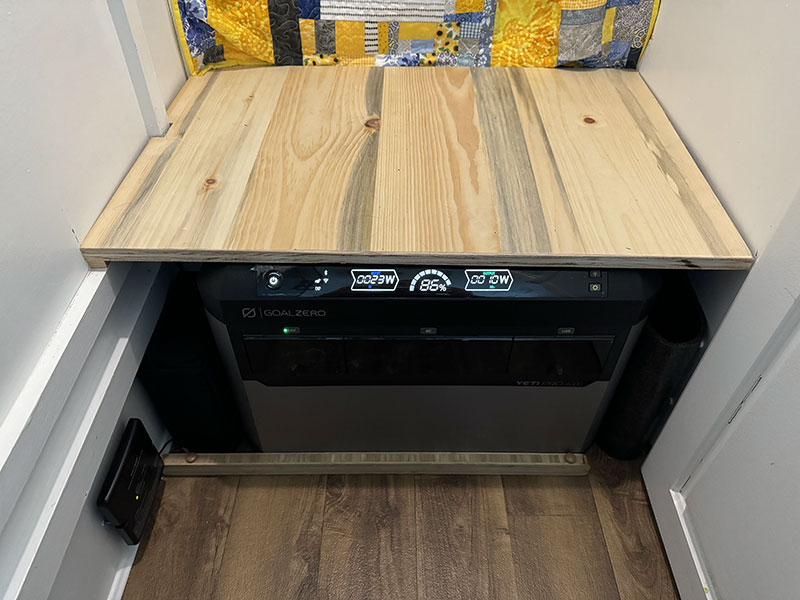
Above: Our new cabover step is a bit more powerful than the previous one
Lesson 7: When in doubt, reach out to the manufacturers with questions.
Not including the rebuild after our accident, this was by far the biggest modification we’ve ever done to our camper. Believe me when I say we had hesitations about removing our working AGM battery bank and old, but operational, electrical system. That stated, the Hallmark team pushed through numerous unforeseen challenges and completed the project with aplomb.
The next challenge is testing the Goal Zero Escape System in the wild, under real truck camping circumstances, over a number of months. We are already several weeks into this test.
There have been a few significant challenges. This is to be expected with a product that has never been installed in a truck camper before. Fortunately, the Goal Zero engineering team has been on speed dial and working with us on solutions. We have also tapped into the brain trust of some amazing fellow truck campers. We will be explaining the challenges and solutions in our forthcoming review.
Once we feel we have a firm grip on the performance of this system—and not a moment sooner—we will report our findings. So far, it’s been a revelation. It really is like dropping a warp drive into a VW Beetle. Time for the sea trials. Make it so.
For more information on Goal Zero’s products, visit their website at GoalZero.com. Click here for a Goal Zero brochure.
