Storage bumpers have become a popular feature for truck campers. Here are two incredible custom fabricated storage bumpers built by Truck Camper Magazine readers.
Submitted by: Ron Richardson, 2014 Ram 3500, 2012 Wolf Creek 850
As a family of four with a dog, storage in a concern. After seeing some of the storage bumpers that Torklift was manufacturing, I decided to make my own.
I do not have the aluminum welding skills that Torklift has, so I made my bumper out of fiberglass. Prior to making the bumper, my fiberglass experience was limited to part jobs from many years ago.
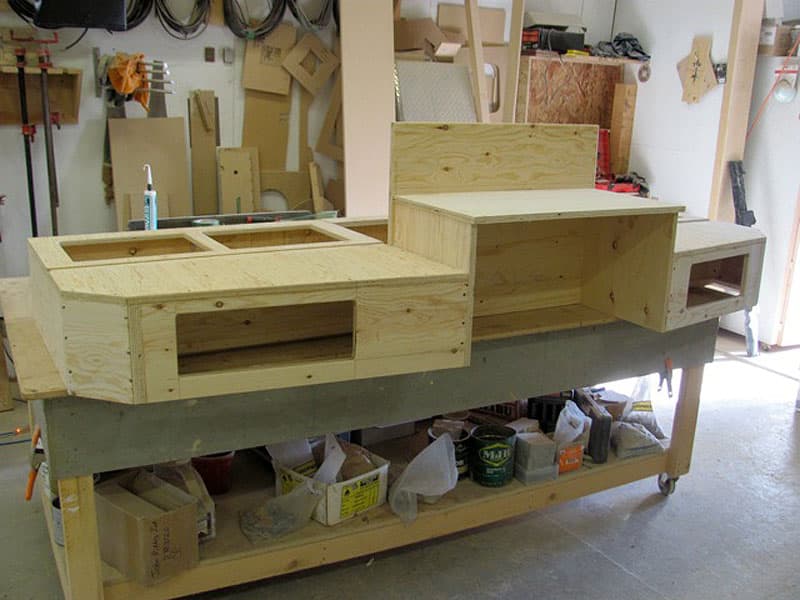
Before I started, I did research with YouTube videos, and jumped in. I was only building one bumper, so I did not need a mold. Instead, a light weight wood frame was built out of ¼-inch plywood and 1.5 by 1.5-inch framing.
The fiberglass would be laid directly onto the wood framing. My research showed that fiberglass does not like sharp edges or corners, so the 1.5 by 1.5-inch pieces would need profiles. Seven profiles were made in total so that the fiberglass could adhere to the wood frame.
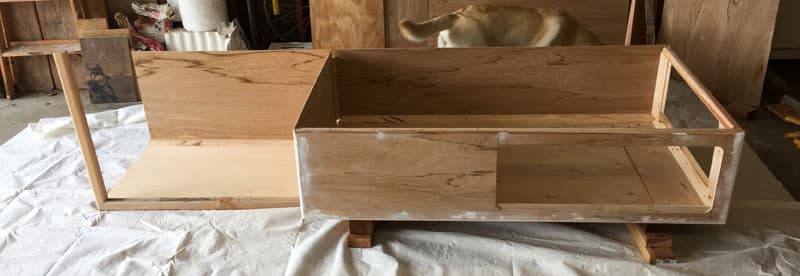
Above: This photograph shows the wood frame before fiberglass was applied.
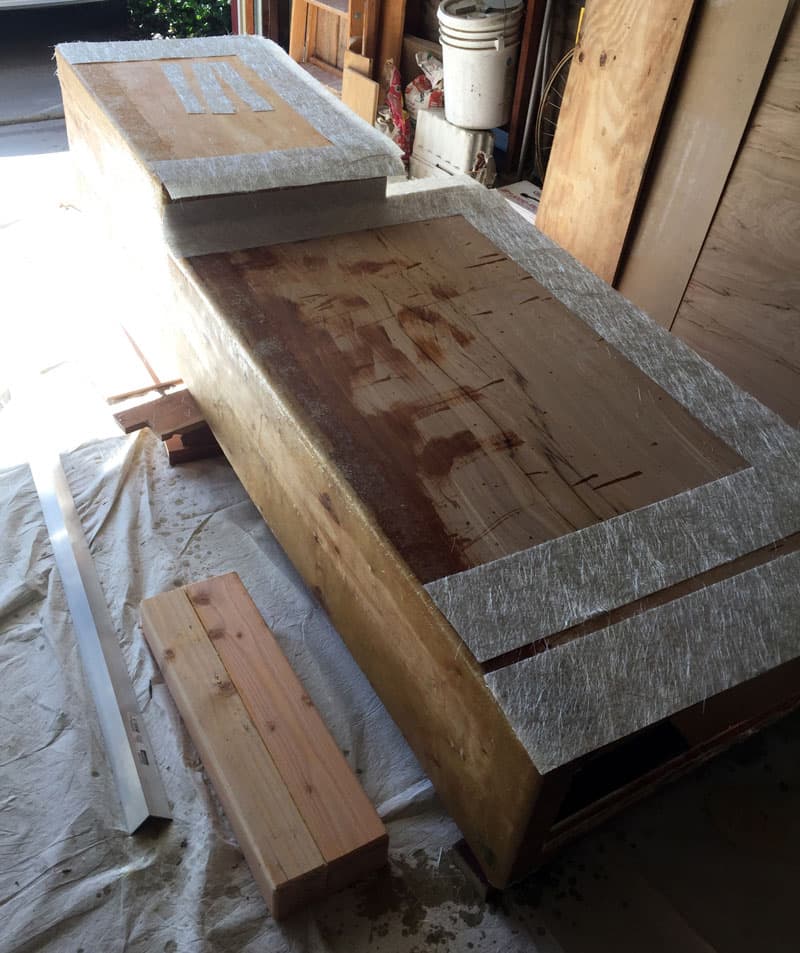
Above: Here you see the bottom of the storage bumper. A fiberglass mat was applied to the corners and edges. Woven fiberglass was applied to the body.
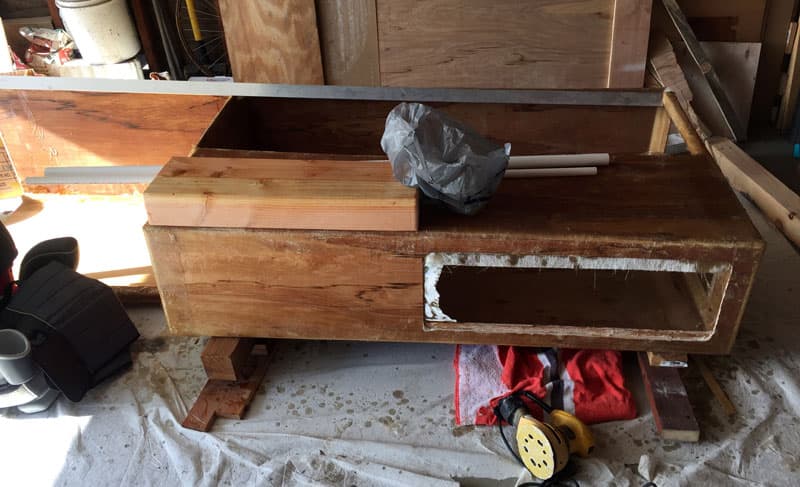
Above: Clear fiberglass before it was trimmed.
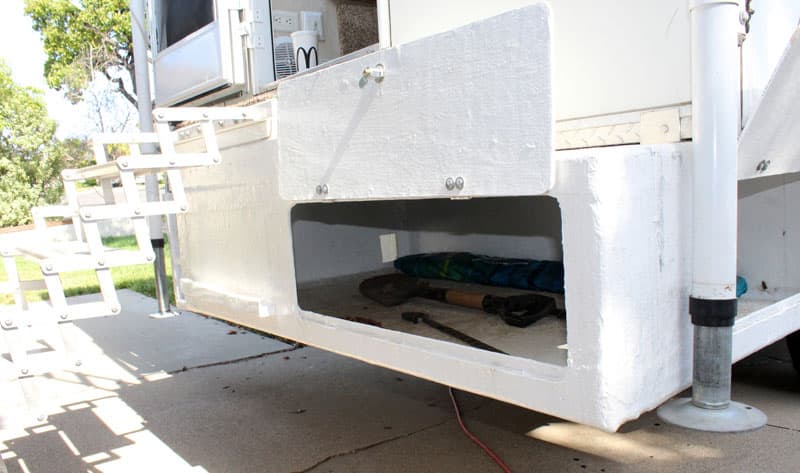
Above: White gel coat was applied and the box was mounted to the overhang of the camper.
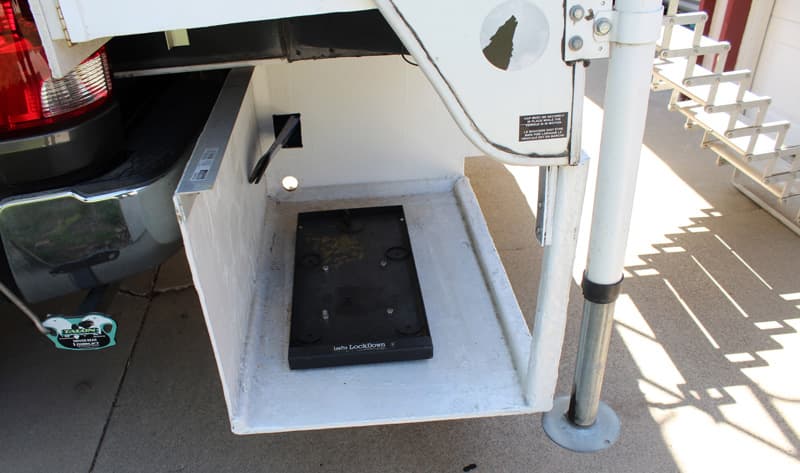
Above: I created a space for the generator.
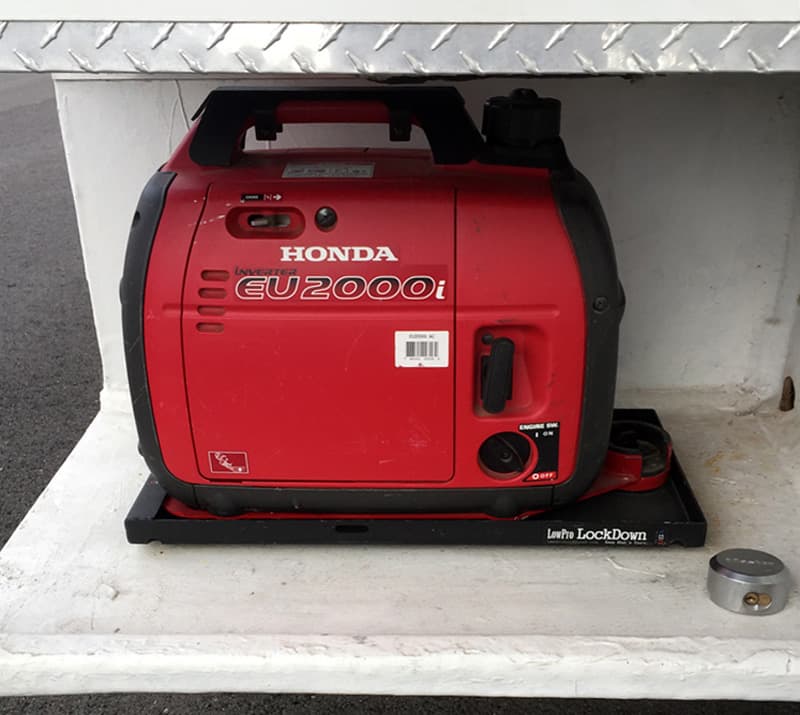
The generator is locked down with LowPro LockDown and a chain connected to the trailer hitch.
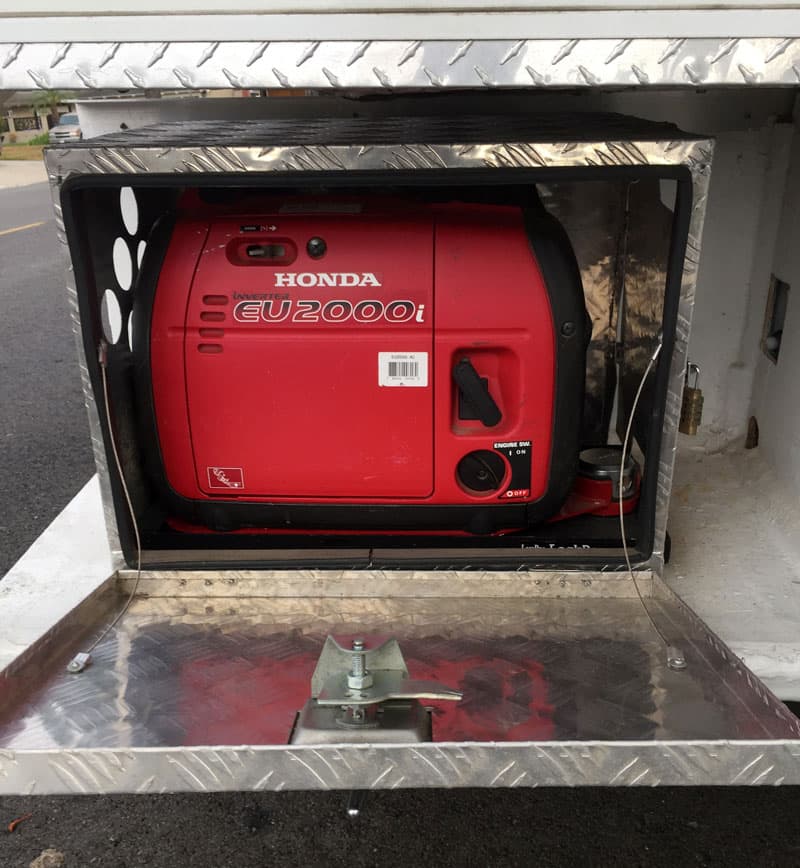
It is covered with a modified aluminum box.
Above: Storage is accessed from the rear and side of the box.
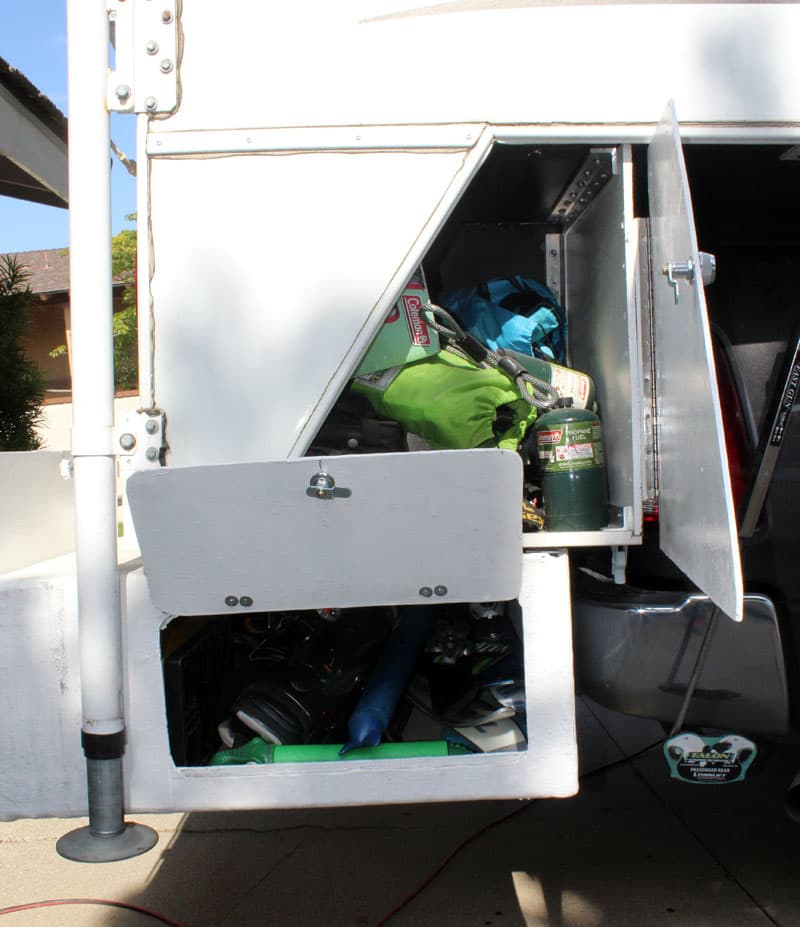
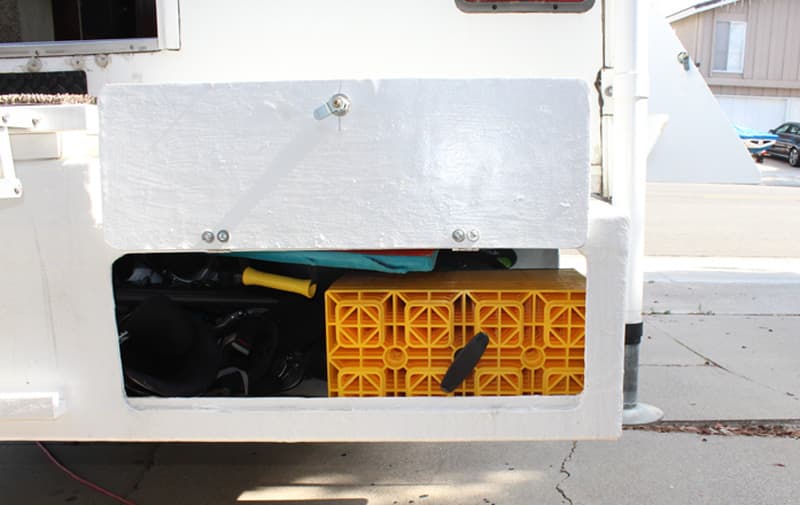
Also, storage compartments were created under the wings of the camper.
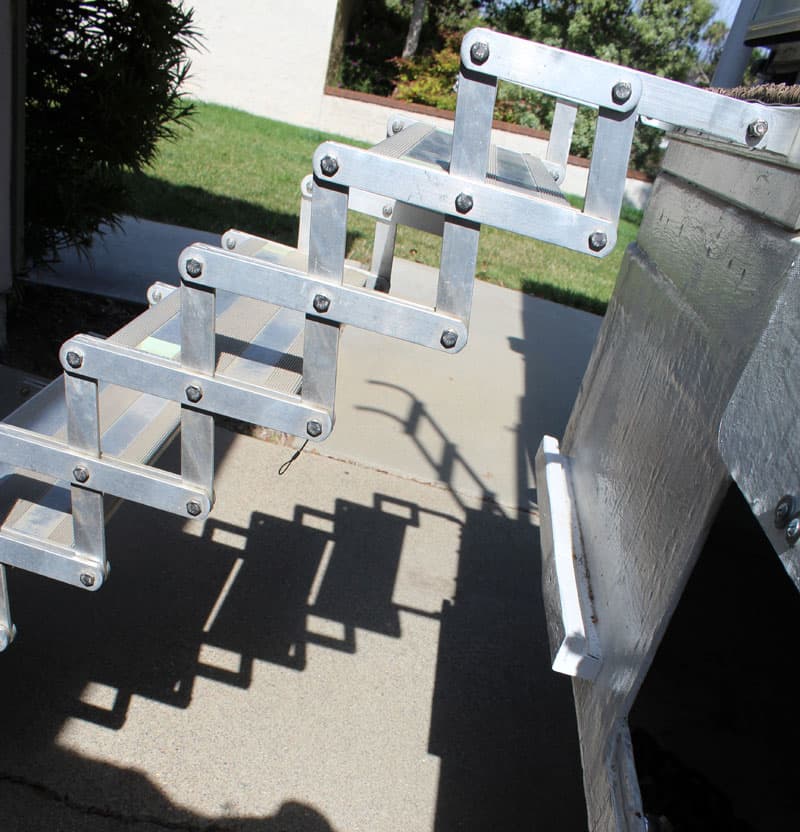
Above: Torklift stairs were mounted to the box.
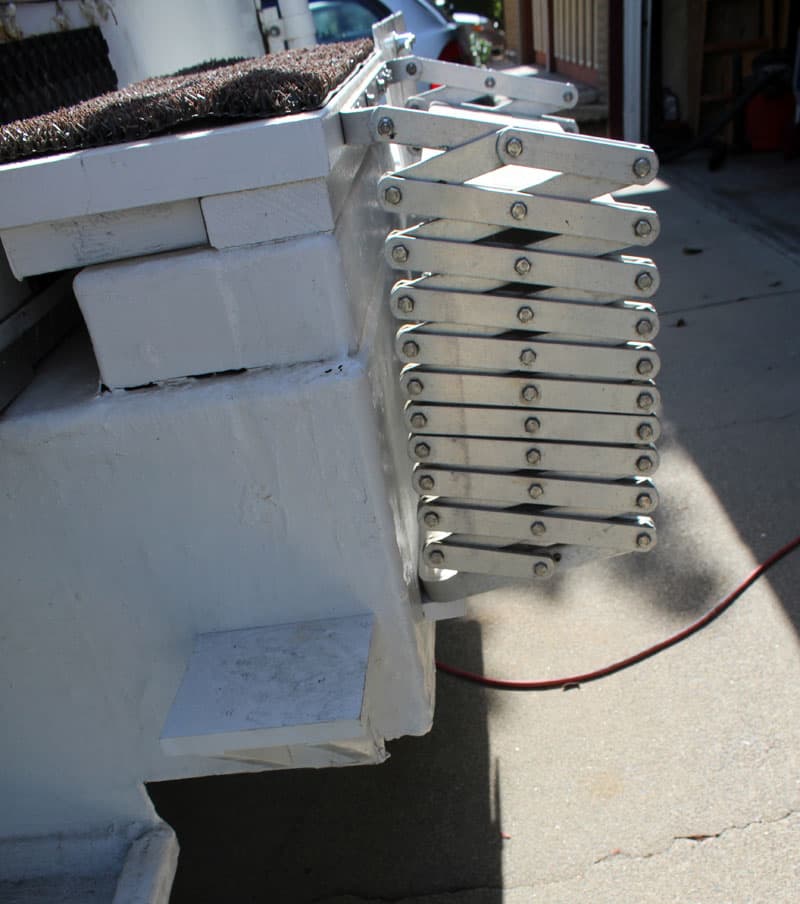
Above: This photograph shows the stairs in the collapsed position. The top stair on the bumper has a RV rug for wiping our feet.

Above: Some of the stuff we keep in the storage bumper.
The storage bumper has worked out great for us. We now have a place to store outside stuff. The only thing I would change is the location of the generator. Where it is allows for a 16-percent grade difference before it will hit the ground. I would like it higher to create more ground clearance.
This project is hard. It requires design, wood working, fiberglass, and general construction. It took two months to complete with over 100 hours.
The materials for the storage bumper cost $600. We already had the Torklift stairs and the generator locking system (without generator) cost $300.
Submitted by: Wes Hargreaves, 2016 Ford F-450, 2006 Snowbird 108DS
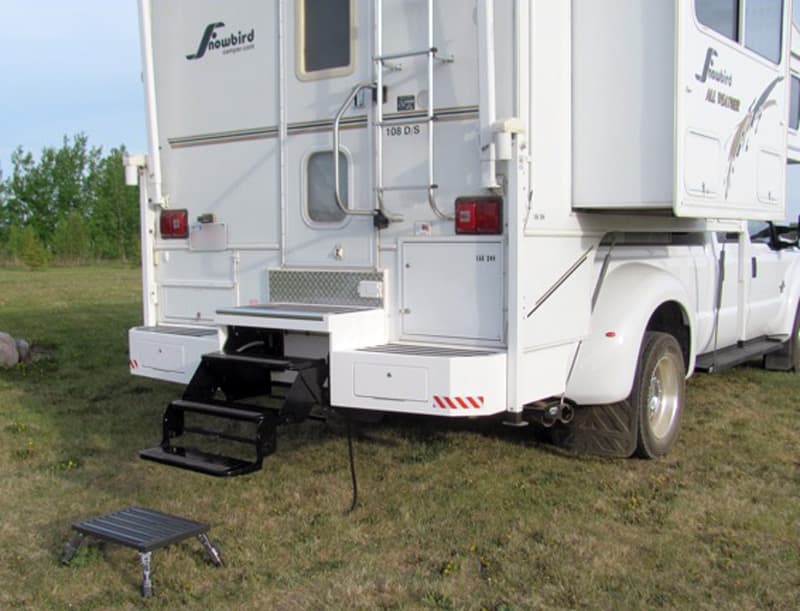
As we all know truck campers usually lack a few things because of the limited space available. I wanted to address three main things: (1) more stuff storage, (2) more grey tank storage, and (3) a better, safer, and more user friendly way to enter and exit the camper.
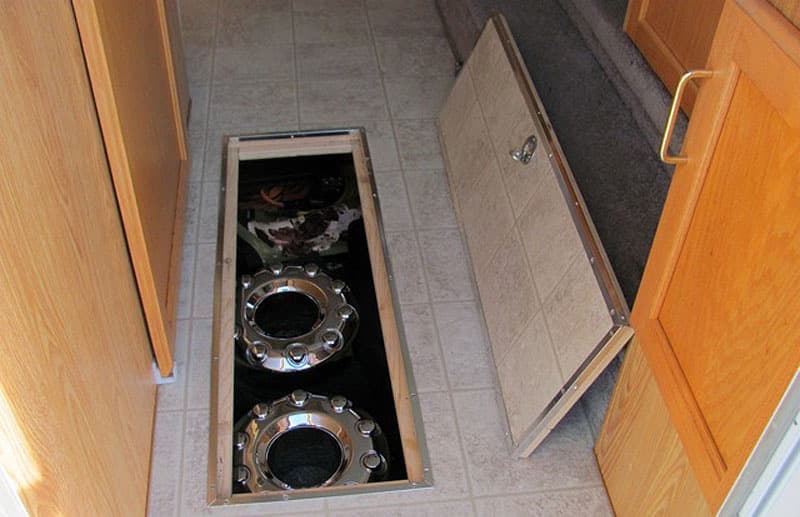
This camper had a tunnel in the basement area where an aluminum stair system was stored. This tunnel and stair system was accessed from under the door. Every time you needed to get in the camper, out it came.
Above: Camper before the modification
This stair system was much too narrow, especially when we are being pulled by Madi, our Pointer. We are explorers and do not usually spend more than a night in one location. Also, we have many stops on our travels. The stair situation was a real pain.
Grey storage is an issue for most of us. Having a dry bathroom with a walk-in shower was one of the features we were looking for. However, the height of the drain in the shower meant that the shower water went into the black tank at the rear of the camper in the basement.
The black tank in our camper is small, which is fine for toilet use, but two short showers and you may get something you don’t want between your toes as the tank over fills. Adding some piping in the rear step mod for grey water storage (shower) was a must.
Stuff storage can be an issue, especially on a long haul. Some things don’t take up much space, but you don’t want them inside (fluids for the truck, sewer hose extension and fittings). These can be stored in the exterior compartments.
The now unused tunnel where the old stair system was stored can now be a large secure storage area for seldom used items.

Above: Interior hatch, and access to the old stair tunnel is now storage
I cut a hatch through the floor inside the camper to access this area.
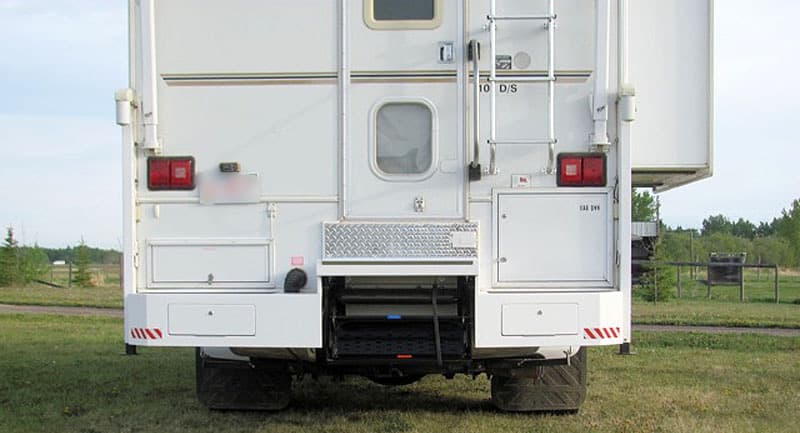
A large rear step storage unit was constructed to deal with our wants. A three step set of RV stairs was installed that folds down with minimal effort and provides 24-inches of wide, non-slip footing.
In the largest of the storage cavities, 4-inch ABS piping was installed for grey water storage from the shower. I managed to add about 14 gallons of grey storage, which is plenty for two quick showers. The remaining cavities are for dirty item storage.
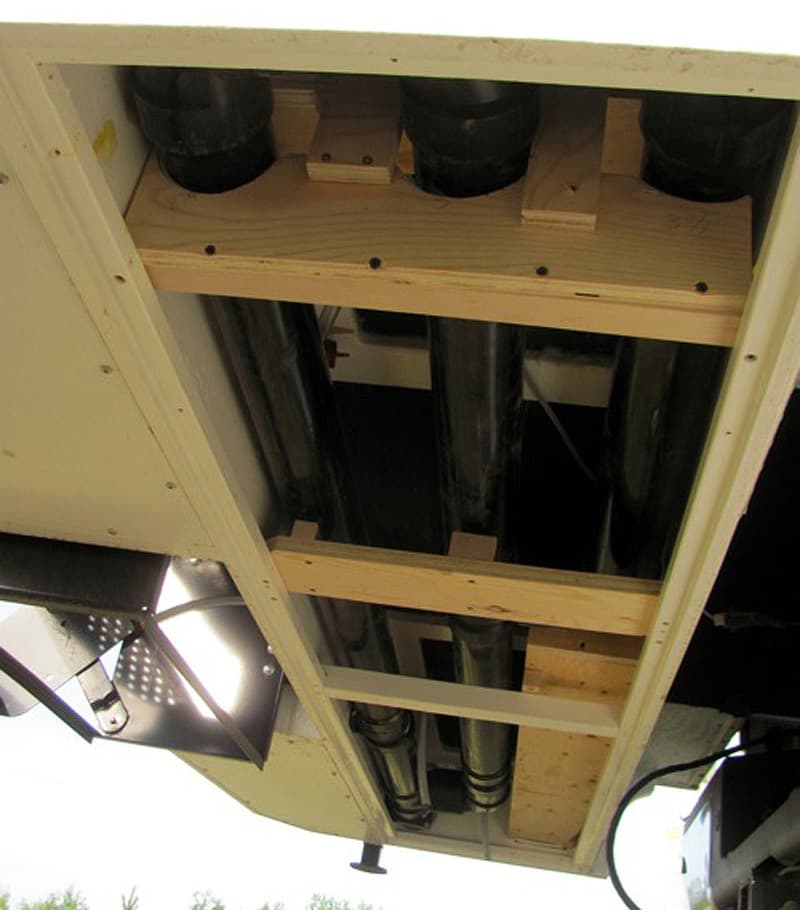
Above: 4″ ABS pipes for grey storage for the shower
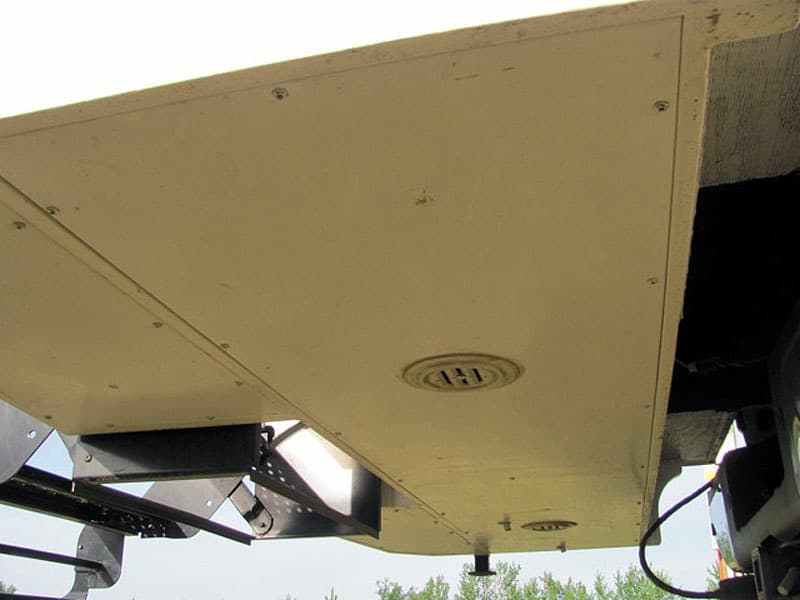
Above: Under side is closed in, but removable with vents
The unit is made of exterior spruce plywood. All construction assembly was made with fasteners and waterproof adhesives.
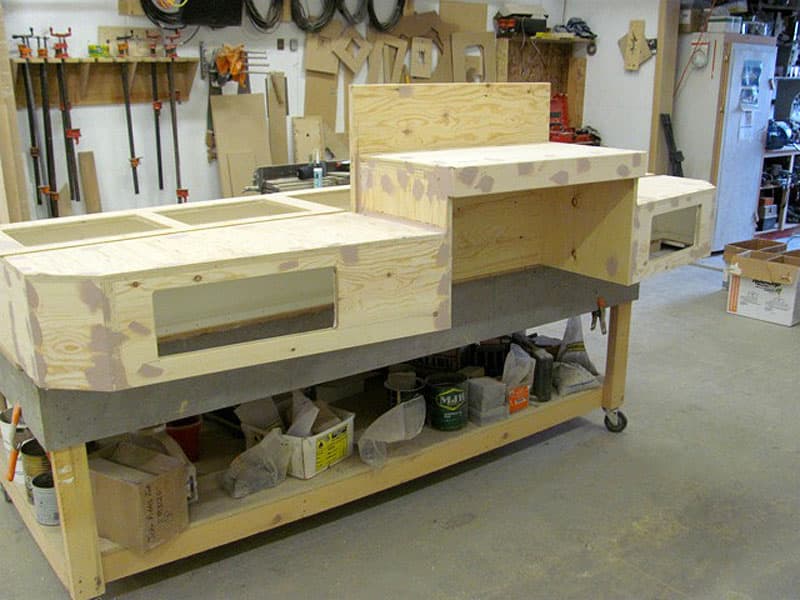
Before any paint was applied, the entire unit was coated with two coats of thickened fiberglass resin, hopefully to stabilize the wood work before the final finish of a few coats of marine enamel.

Above: Driver’s side dump and sewer pipe storage
The entire unit was bolted to framing under the camper, sealed with caulk, and non-slip tape was applied to horizontal surfaces.

Above: Final dump gate valve on driver’s side
Previously, the camper had a rear facing dump outlet. It now dumps from the side with a gate valve I installed. It’s accessed through one of the small rear storage compartments.
Above: Installed high enough for hitch extension if ever needed
We have been on two trips so far since the modification and are very pleased to say we are very happy with the results. Stopping and having quick access to the camper is no hassle. We no longer have any surprises in the shower.
Having extra storage has made the camper just what we were looking for. Also, the new basement storage is low. Heavy items (we are rock hounds) can be stored in this area with out adversely effecting the way the truck camper handles.
The step and storage system is heavy with the RV steps installed. We dump daily if possible so we keep that weight to a minimum, but the right size truck is important.
It took me 30 hours to complete this modification and cost me $750. In my opinion, the skill level of this modification is hard to very hard.


