Seven fellow truck campers add shelving, create end tables, install fiddle rails, modify cabinets, and more to improve their cabover storage. Need more storage? Make it.
The inventive spirit of truck camper owners never ceases to amaze us. As truck campers, we are bound and determined to make our campers meet our requirements. Need more storage? Where’s the saw? Missing an outlet? Here comes the drill and 12-volt wire. This is a creative can do community if there ever was one.
What follows are seven compelling examples of cabover modifications to add storage, and more.
Submitted by: Vic Smith, 2013 Adventurer 89RB, 2015 Ford F350
I’ve owned three campers since 1981. All of them have had long storage hampers next to the bed; either on the sides or on the headboard. It was frustrating to use these storage hampers as the hamper lid does not remain open.
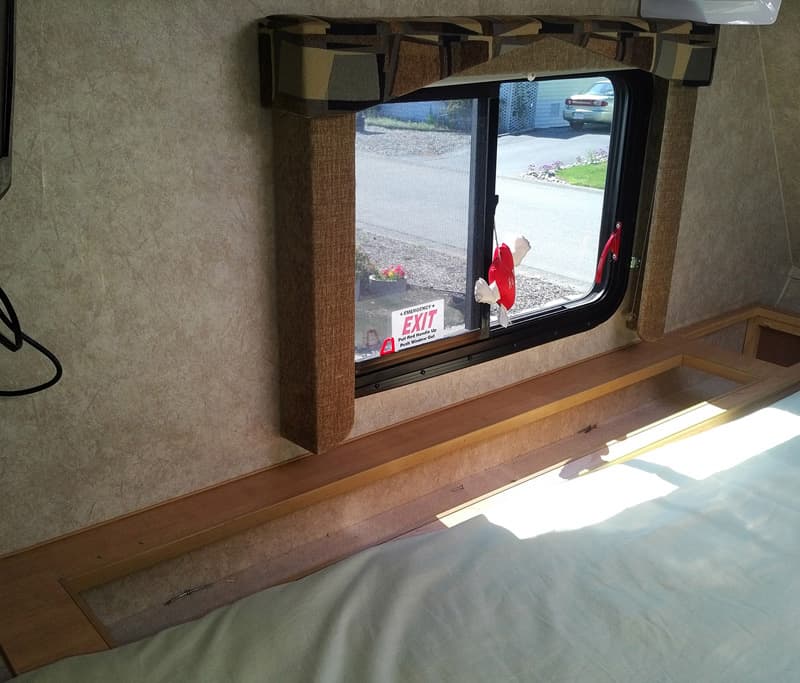
Additionally, the opening is 60-percent of the total length of the hamper storage area. Many items get stuffed into the far ends and are difficult to keep organized or reach without taking everything back out.
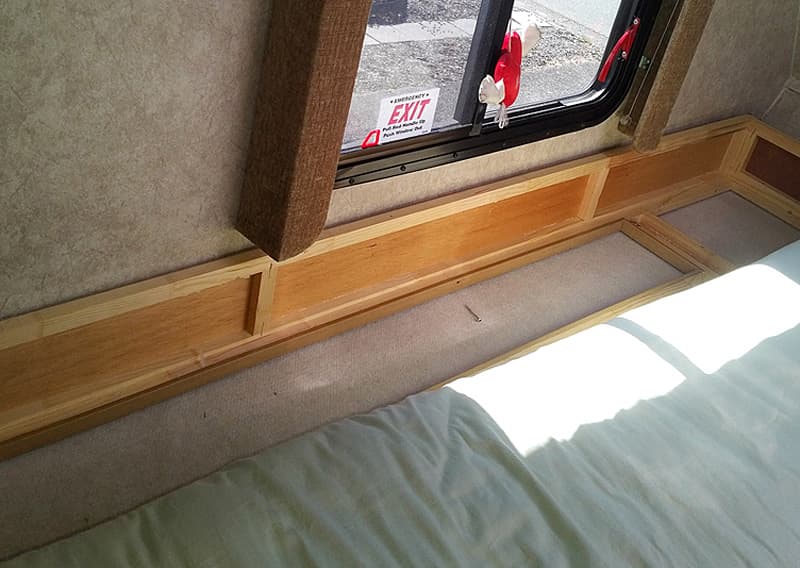
Not wanting to completely discard the storage hamper (in case I wish to return the unit to factory settings), I removed the long door and hid it under the mattress. I then removed the 20 plus wood screws that secured the cabinet into the overhead floor and walls. When that was completed, I turned the L-shaped cabinet over putting the finished wood side towards the wall under the window.
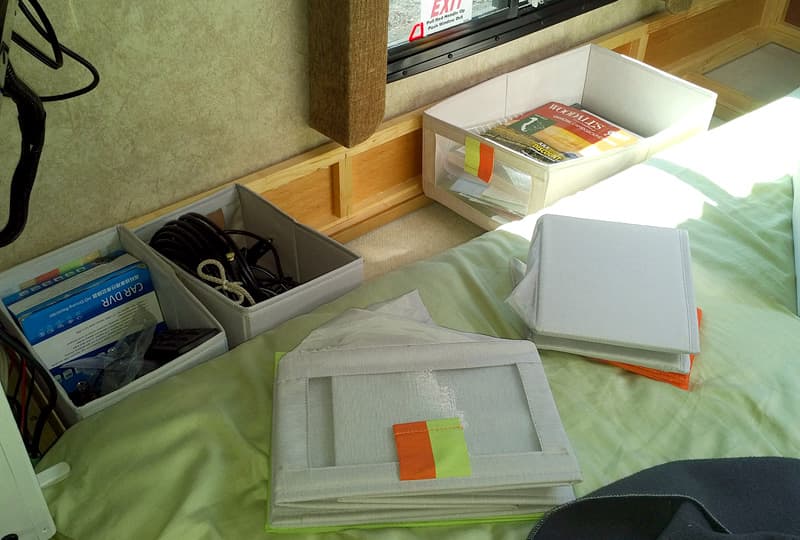
IKEA has folding fabric storage boxes. The 10-inch by 8-inch boxes were $4 Canadian and the 10” x 16” boxes were $10 Canadian. They fit perfectly.
Now, everything is better organized. We have better storage usage and ease of access. It’s a vast improvement.
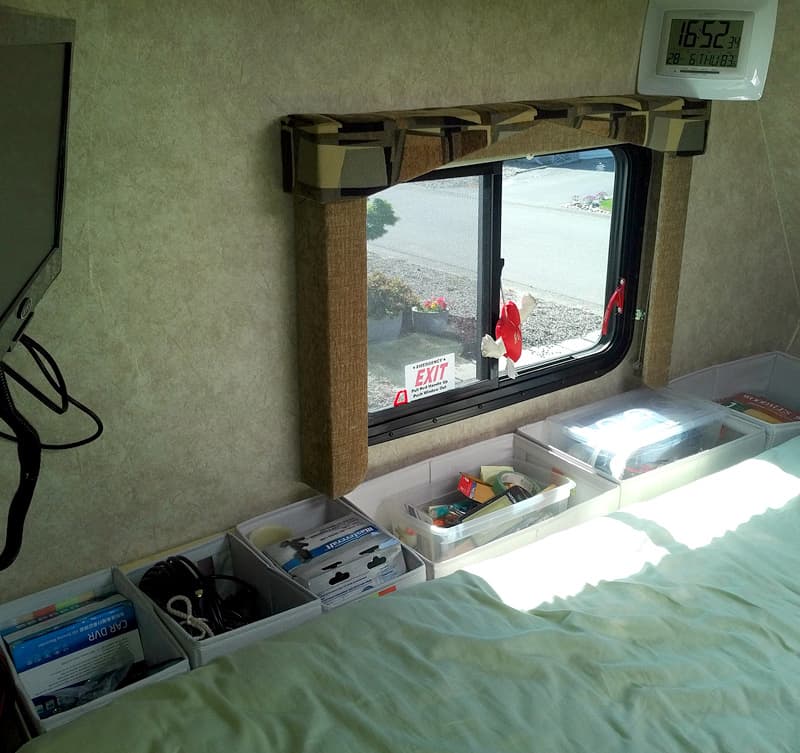
A camper is something that needs to be worked on. It is not a pretty showcase or a shrine. So often the RV manufacturers put in cabinets that really are difficult to use on a daily basis. My unit is still clean, neat, and tidy – and now even more functional.
This modification was $42 for the IKEA folding boxes. In my opinion, the skill level of this modification is easy to medium. The final result is priceless.
Submitted by: Chuck and Jodie Ramsey, 2012 Chevy Silverado 3500, 2014 Adventurer 116DS
Spending up to seven months at a time in our truck camper, I was tired of the piles that collected on the bedside counter in the cabover section of our camper.
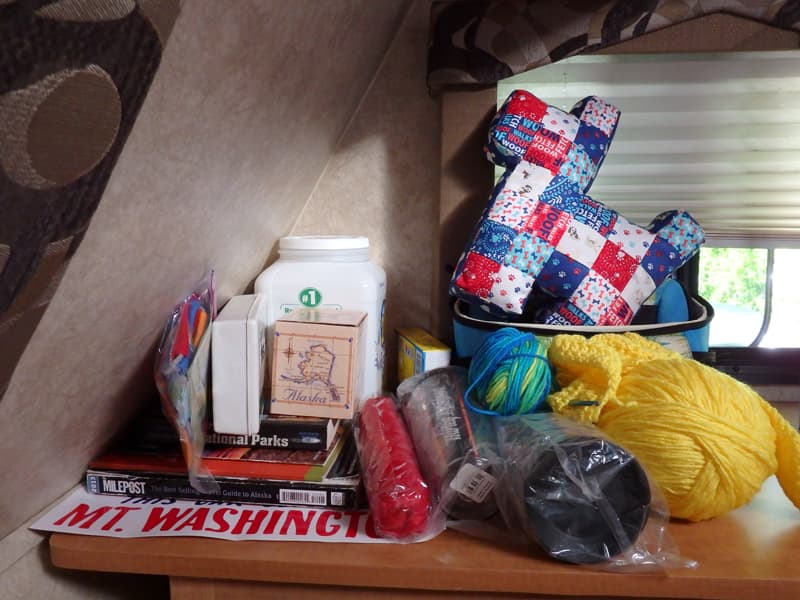
I’d have to dig through the pile to find the hat, camera, pamphlet, laundry supplies, craft projects, souvenirs, or whatever that found its way to the general collection place during the trip. And, if I wanted to open or close the window in that spot, everything had to be moved and then returned.
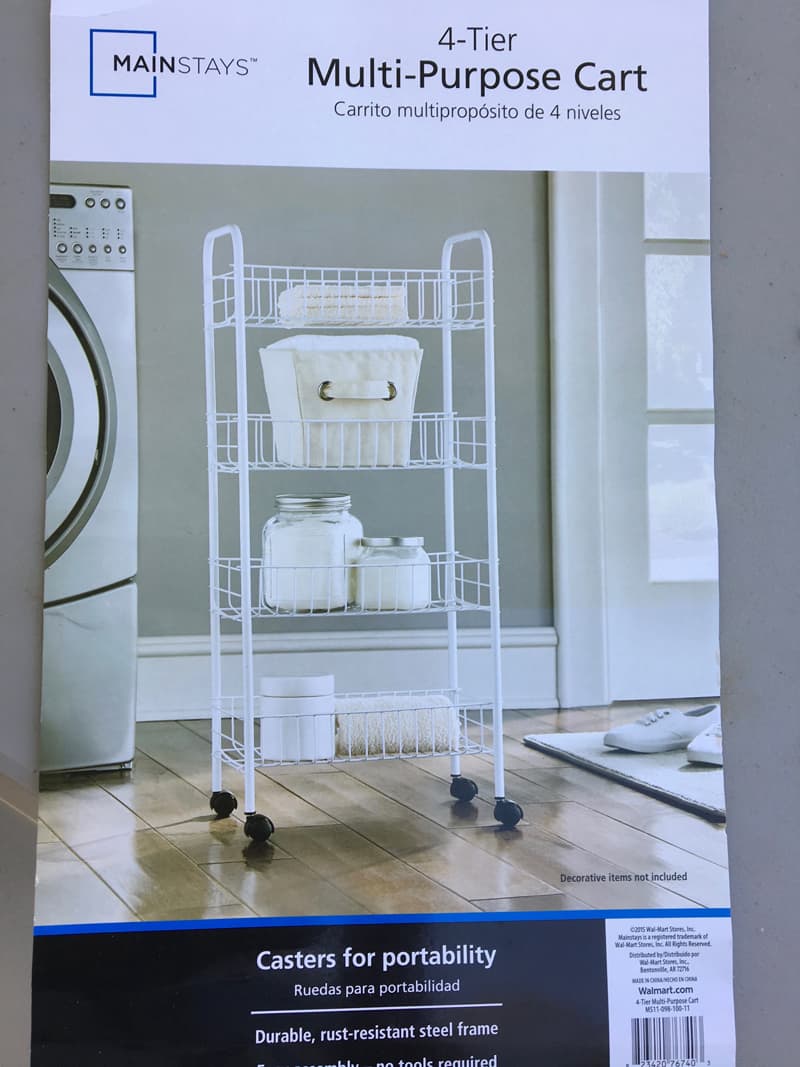
After measuring the available space, the best shelving unit I found only met two of the three dimensions. The problem was that it was too tall and blocked the overhead cabinet door.
We used a reciprocating saw and cut off the bottom section of the shelving legs. This reduced the number of shelves for our use from four to three. We were then able to push the plastic foot pads out of the cut portion and reuse them. The unit came with casters which we did not use.
The shelving unit was fastened to the closet wall and window valance with plastic clips and screws to prevent it from sliding while traveling.
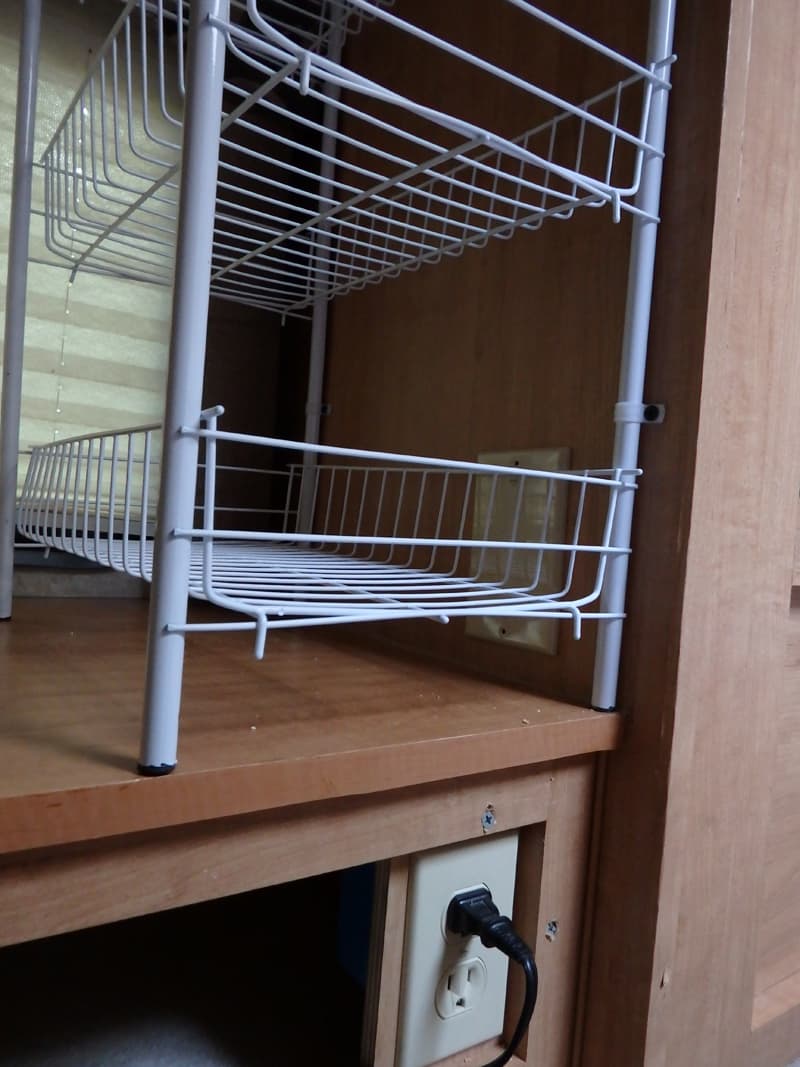
Prior to attaching the shelf in the space, we realized that the one electric outlet in the bedroom was now blocked. Our decision was to relocate the plug to the open area under the bedside counter.
A small board was cut and attached to the open area and a new electric outlet box was installed. The original plug wire was not long enough to reach the new position, so we had to rewire the box. A cover plate was put over the original outlet hole.
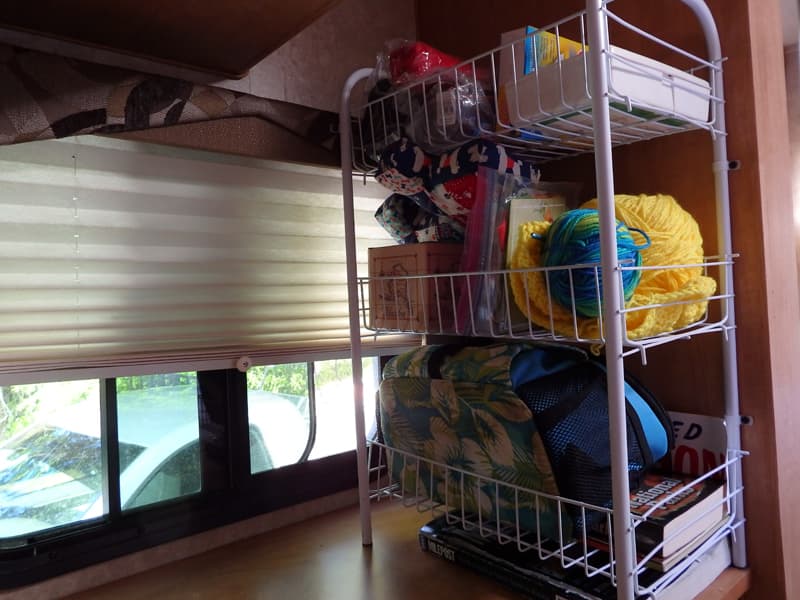
The extra storage this mod created is fantastic! I can easily access the item(s) I want without having to dig for them. We blocked a few inches of the window but, with the wire shelves, sunlight and breeze still pass through easily. Please note that this window is not the emergency exit window. We would not have done this mod if it were.
It took me one hour to complete this modification. The cost of this modification was $30. Half of the expense was for the shelf unit. The other half was for the electric box and wiring. In my opinion, the skill level of this modification is medium because of electrical wiring.
Submitted by: Kathy Dresbach, 2015 Ram 3500, 2016 Eagle Cap 1165
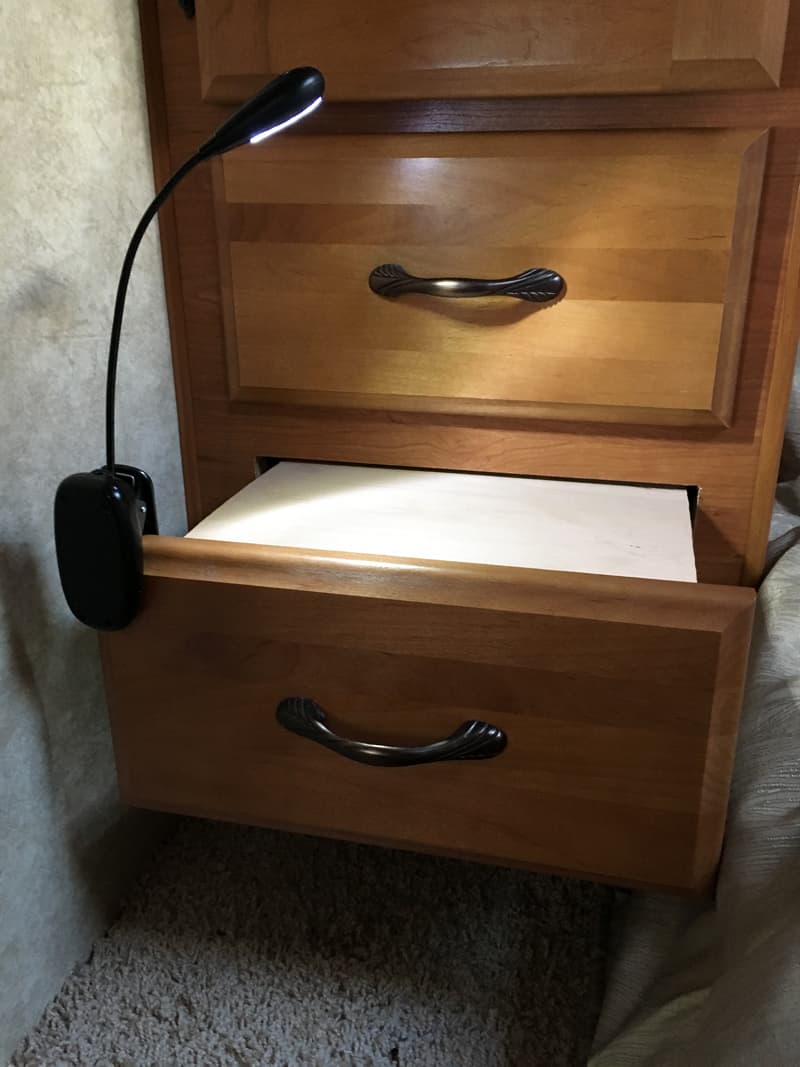
I wanted a nightstand. I didn’t have one, but my husband has one on his side of the bed.
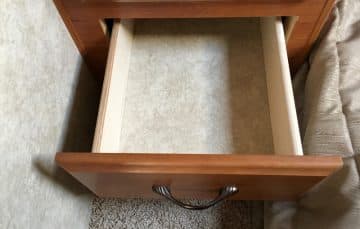
To make my nightstand, we cut a piece of wood that fits the exactly the width of the drawer. The wood has to be thin enough so that the drawer can still close.
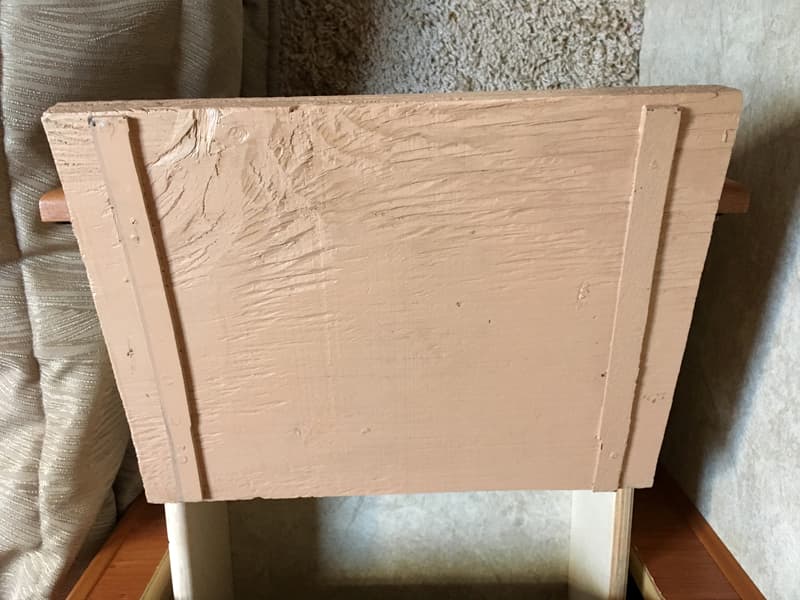
We put a 1/8-inch by 1-inch plastic strip on the bottom side of the shelf. The strip fit on the inside of the sides of the drawer preventing the wood from sliding side to side.
 |
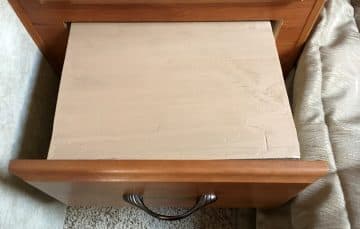 |
You can stain or paint it if you want. We attached a clip-on light to the drawer for light at night. We got the light on Amazon.
The nightstand mod has worked out wonderfully! It took me one hour to complete this modification and cost me $0 because we had all the materials. In my opinion, the skill level of this modification is medium.
Submitted by: Jim Goodrich, 2006 Chevy 3500, 2009 Lance 1191
Our Lance 1191 has a shelf above the hanging wardrobe closet beside the bed. Things we store up there inevitably slide off the shelf onto the bed.
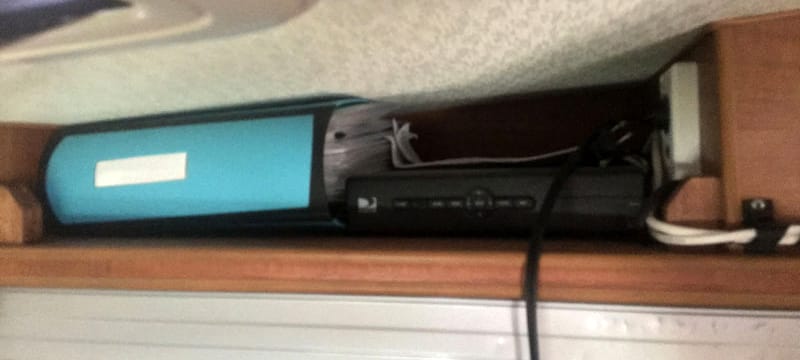
During our sailing days, we had the same problem. Shelves would empty on each tack. The solution on boats is a simple device called a fiddle rail.
Fiddle rails are usually made of a wooden rod or slat that spans the gap on the shelf. Fiddle rails can be secured permanently or removable to blocks on either side of the shelf. When in place, the rail blocks items on the shelf from sliding off.
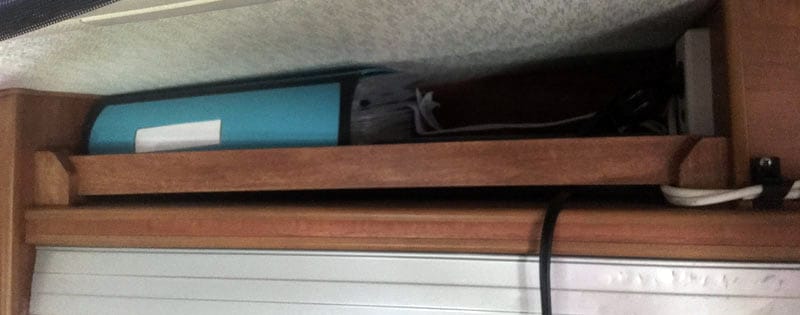
I made a fiddle rail for my problematic shelf using a piece of 1-inch by 1/4-inch by 48-inch poplar that can be found at Lowes or Home Depot in their lumber section. To make the end pieces, I cut three 3-inch long sections for each end block.
Using one section, I cut it to make an L that is about 1/4-inch wide at the side and bottom. Then I sandwiched the L between the other pieces and glued them together. I added a fourth 3-inch section to give the end piece a little more strength. The thicker part of the end block will face out.
I used a rough sandpaper (80 or 100-grit) to even up all the layers and to round the upper corner (facing the slat) for aesthetic purposes. I trimmed a section out to suit my tastes. See photo of end block (below).
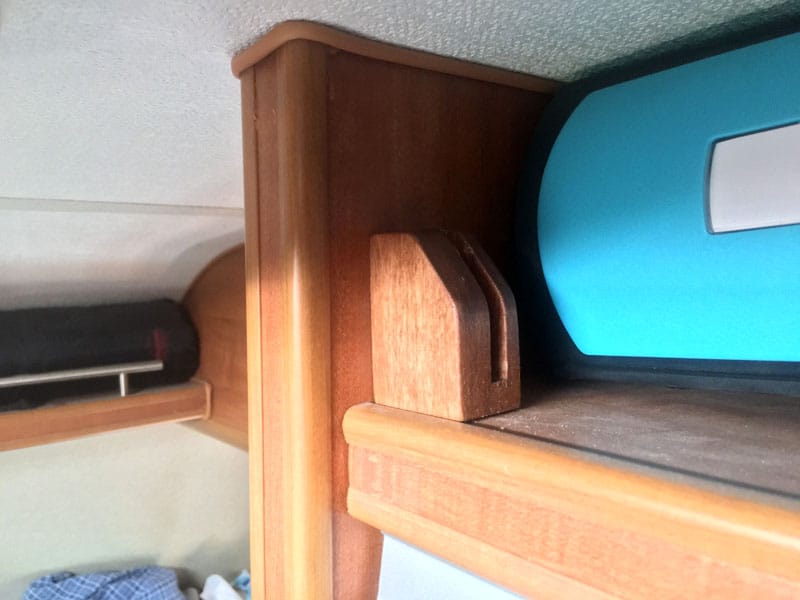
Then, I drilled two holes through the back of the L to secure the block to the wall. I counter-sinked the holes so the slat doesn’t hit the screw ends. I cut the slat so that it fits between the L blocks positioned temporarily against each wall.
The slat may be too thick to fit into the block’s slot. That’s okay because you will sand the end of the slat later to make it thinner. Don’t force the slat into the block slot. The final slat length should be about 1/4-inch less than the span between the Ls.
I sanded the last 3-inches of each end of the slat so that the slat easily slides into the L slot in the block. The sanding should taper from 3-inches from the end to the end. Next, I finished sanding the blocks and slat (220-grit sandpaper, at a minimum).
We have cherry wood finishes on our camper so I stained the blocks and slats to match the surrounding cabinetry, followed by varnishing with satin-finish spar varnish. Then, I screwed and glued the blocks into the walls at the sides of the shelf. To secure items on the shelf, I dropped the slat into place in the blocks.
Submitted by: Casey Cordray, 2015 Toyota Tundra, 2016 Capri Retreat
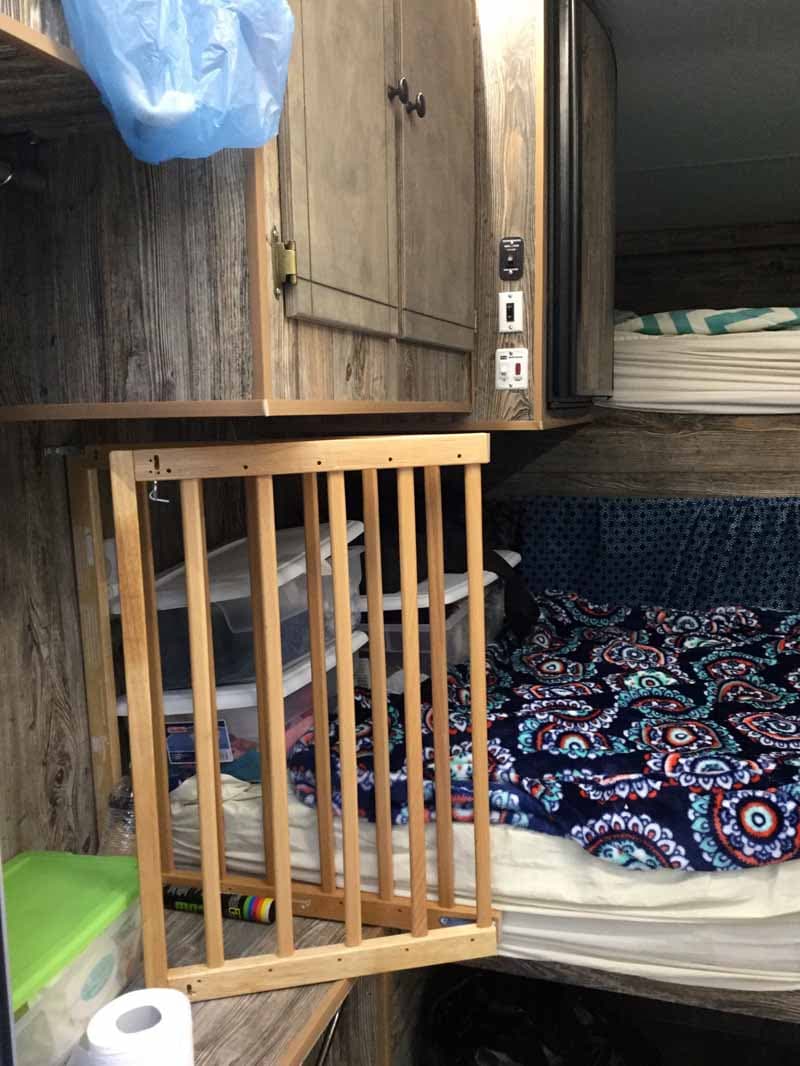
I needed to add clothing storage in our Capri Retreat that didn’t take up the limited space available. With four people (two adults and two children), it gets pretty tight inside the camper, especially once you start bringing in clothing totes!
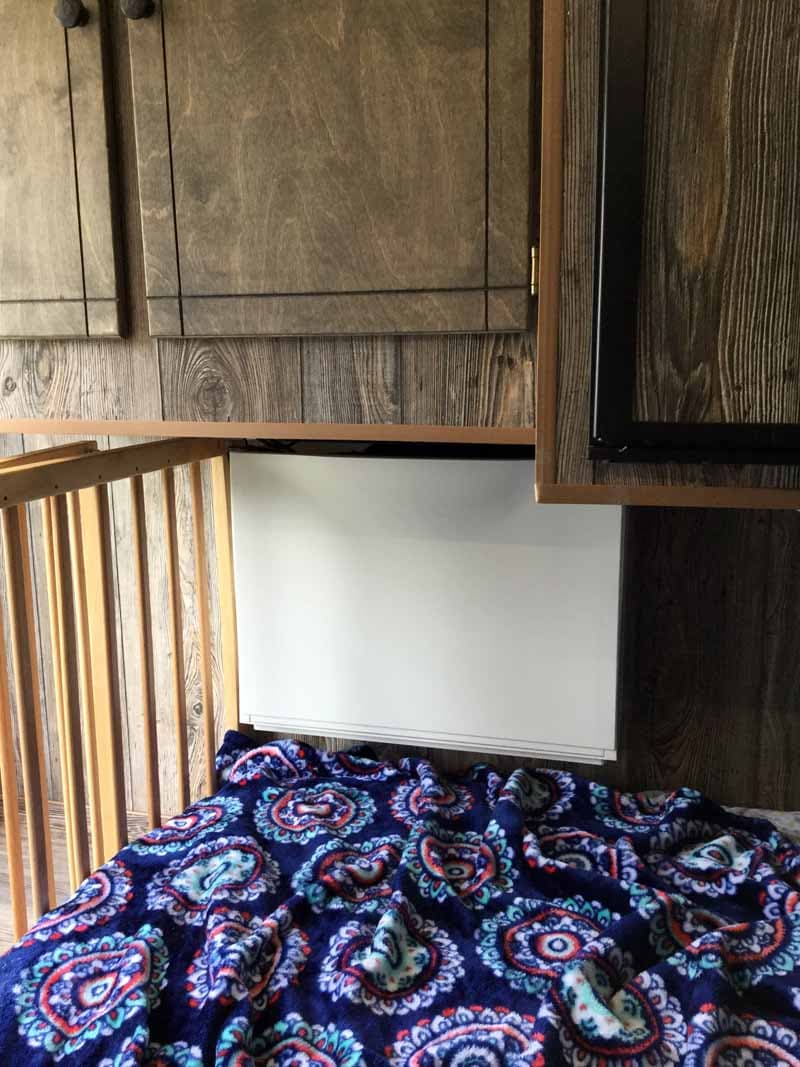
We have wall space under the refrigerator’s cabinet and on the back of the shower wall above the bed. It seemed wasted and it could be utilized.
After searching, I found Ikea Trone shoe cabinets. They’re plastic, weigh about two pounds each, and have quite a bit of storage space. They also have a shelf on the top.
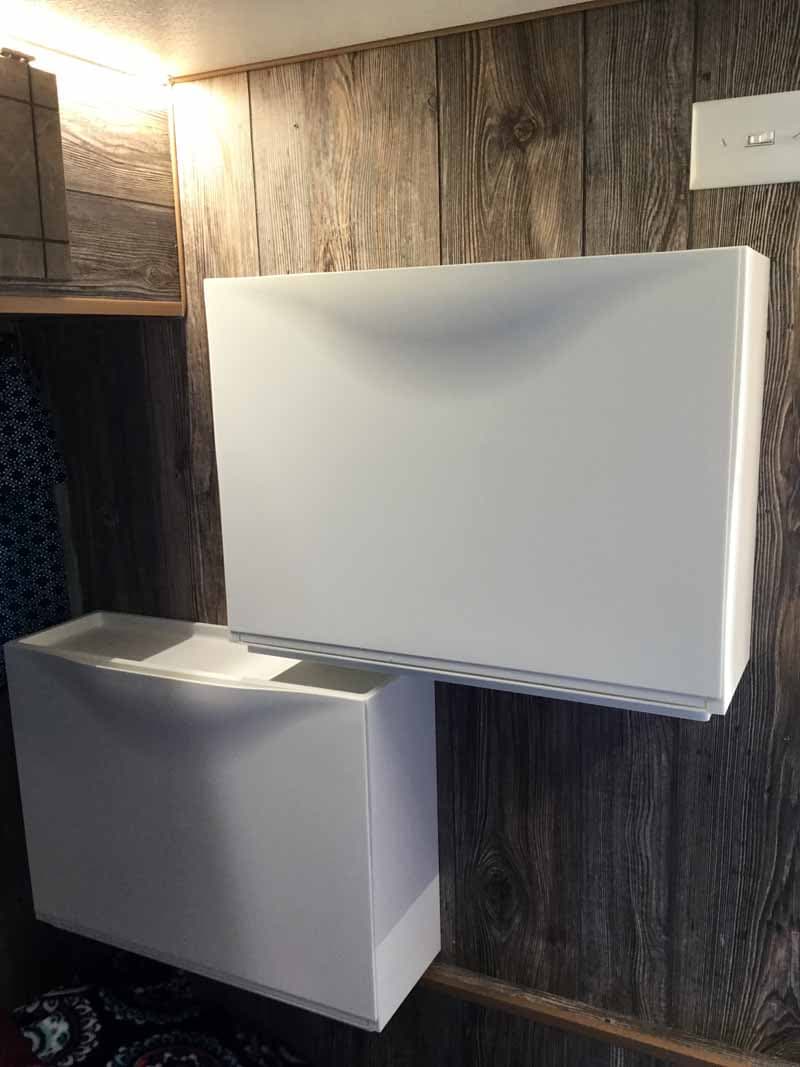
I was able to put two Ikea Trone show cabinets on the back shower wall, one for my husband, one for myself, and one below the refrigerator for our girls to share. As they get older, I’ll add another. They have worked perfectly!
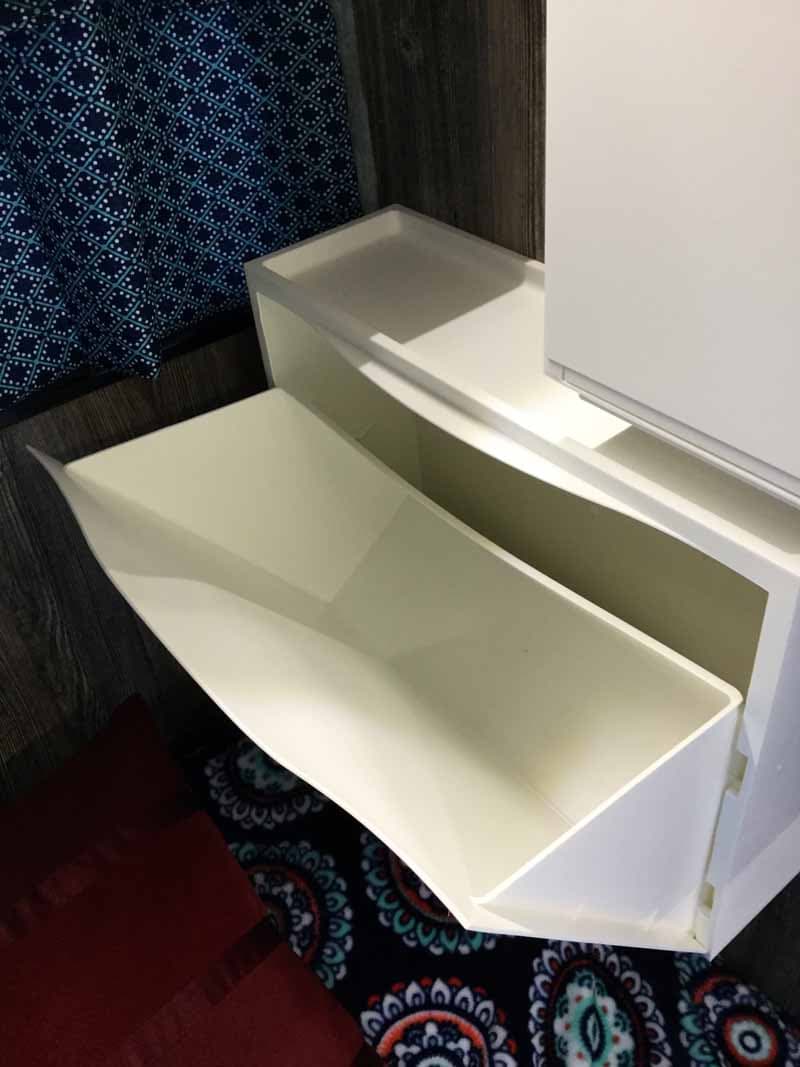
Each box holds about four days’ worth of clothing. They stayed shut during the trip and I could even put diapers and wipes on top without them falling off. Our camper has never been so organized!
The most difficult issue of this mod was making the husband go to Ikea. It took me half an hour to complete this modification and cost me $40. In my opinion, the skill level of this modification is super easy.
Submitted by: Mike Tassinari, 2002 Ford F350, 2016 Lance 1172
In the Lance 1172 on the driver’s side, they have a little hamper in the front of the camper. This was not enough storage for me.
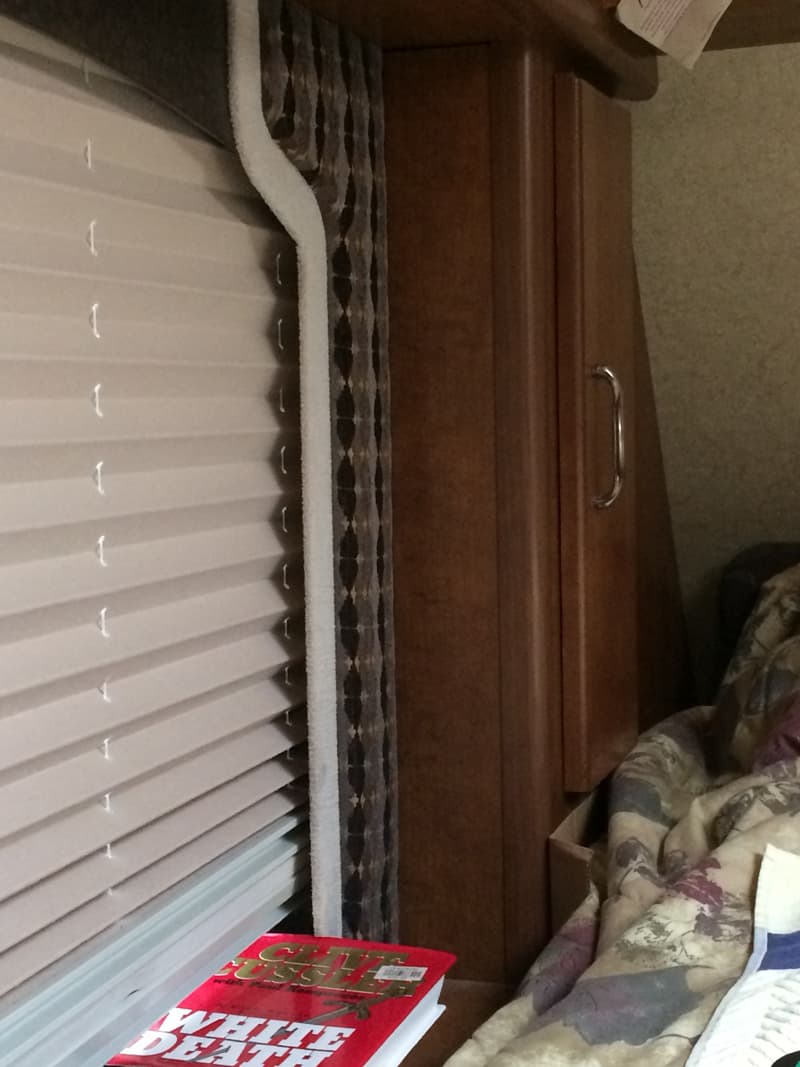
When I was at Lance Campers in California I bought a finished door, LitePly wood, and plastic molding. I then designed and built a prototype of a cabinet out of scrap wood. Since I am not a carpenter, I had a carpenter copy my prototype with the materials I purchased from Lance Campers.
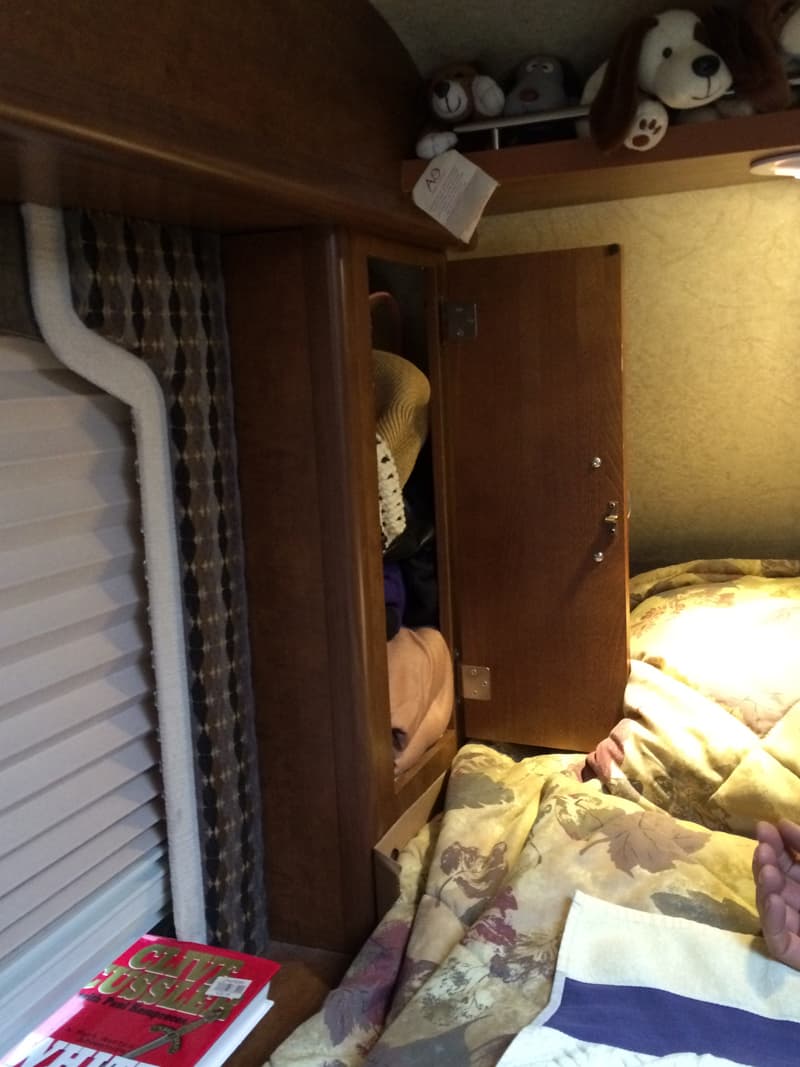
I removed the mattress to do this installation. I then removed the little hamper and put it aside. When the finished cabinet was done, I installed it in the very front of the driver’s side. I put a 1-inch by 1-inch piece of pine wood from my prototype and screwed it into the finished wood. Then I used sheet rock screws to adhere it to the walls.
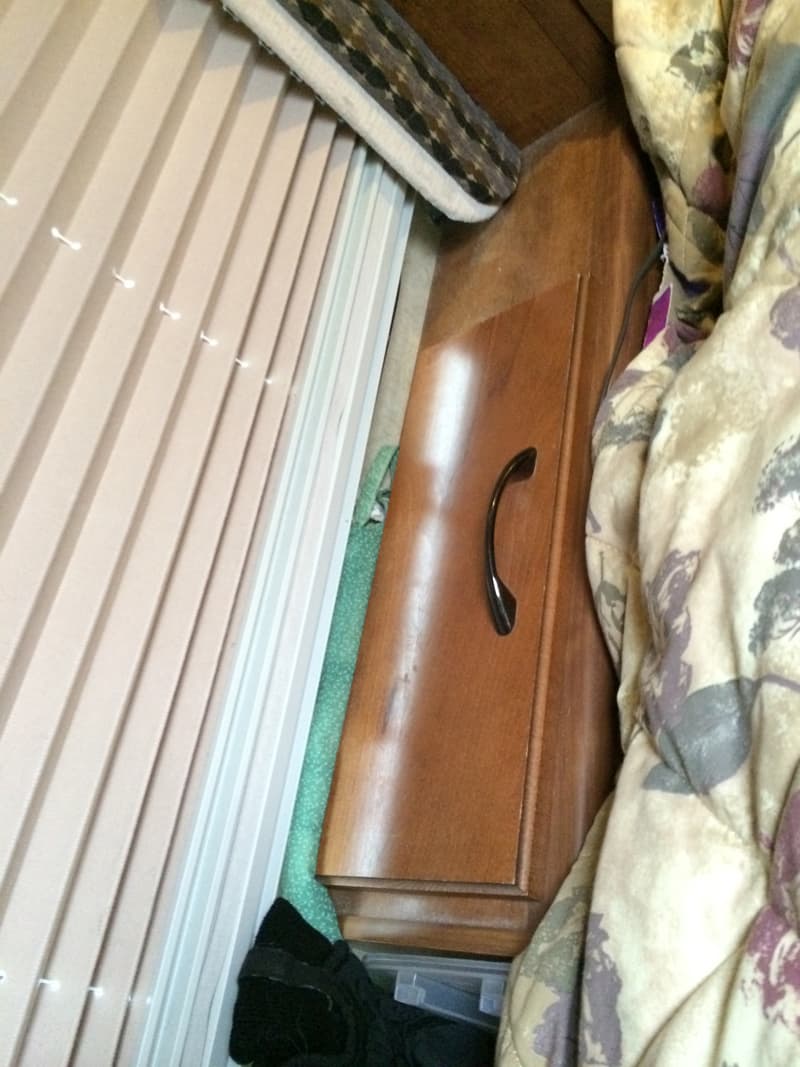
I now have 1-inch by 1-inch of pine wood on each side to screw the cabinet to the walls and nose of the camper. Then I hung the door and installed the two shelves. Then I laid the hamper against the new cabinet and re-screwed it to the wall. We now have a cabinet that no other Lance 1172 has, and it gave us more storage in the cabover.
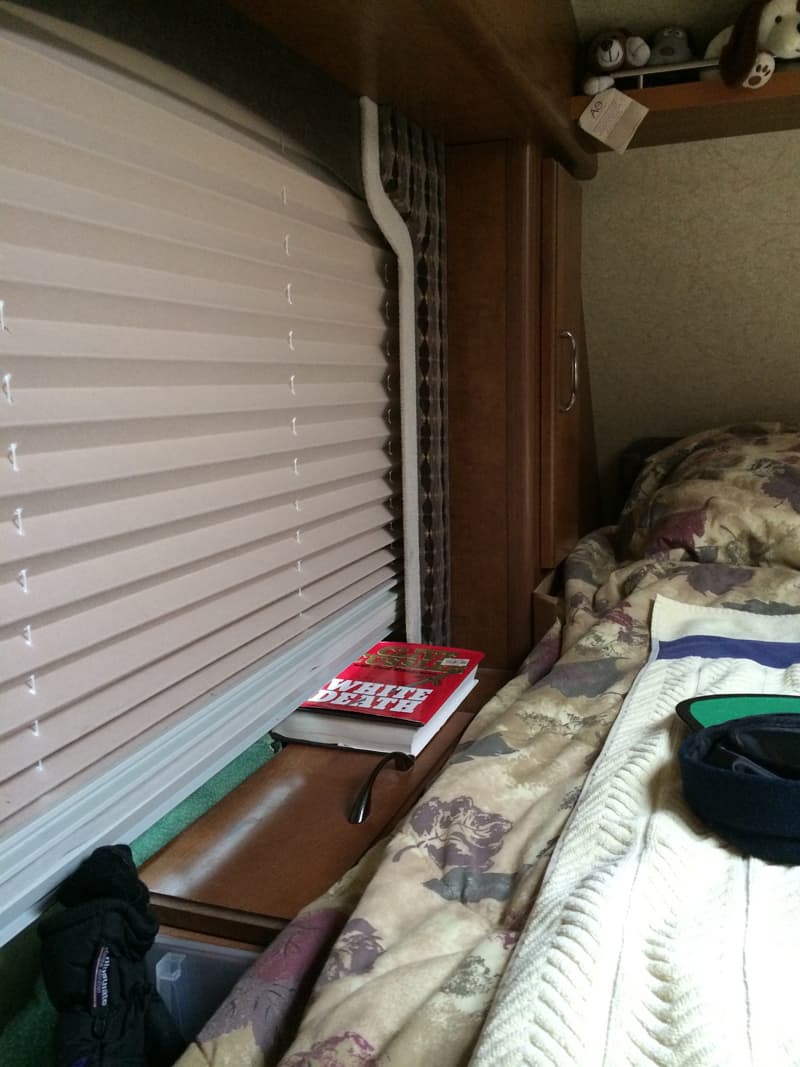
It took me two days to complete this modification and cost me $300 to $400. In my opinion, the skill level of this modification is hard.
Submitted by: David Pellegrini, 2003 Dodge Ram 3500, 2017 Cirrus 820
This effort focused on the bedroom portion of our Cirrus 820. A couple of things drive us in many aspects of our life-efficiency and organization.
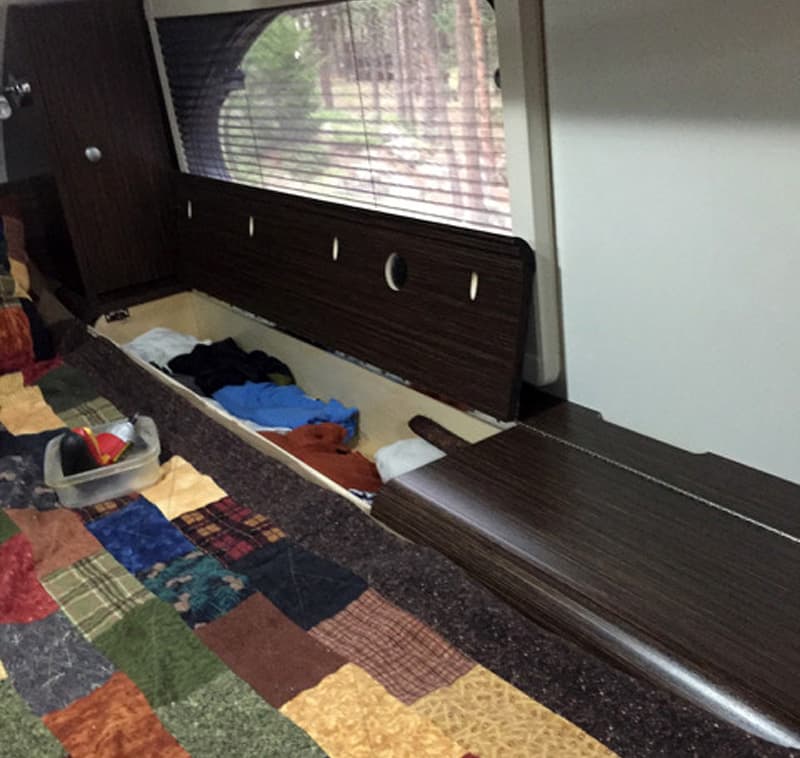
The first thing we wished to modify was the 60-inch long sideboard storage lids.
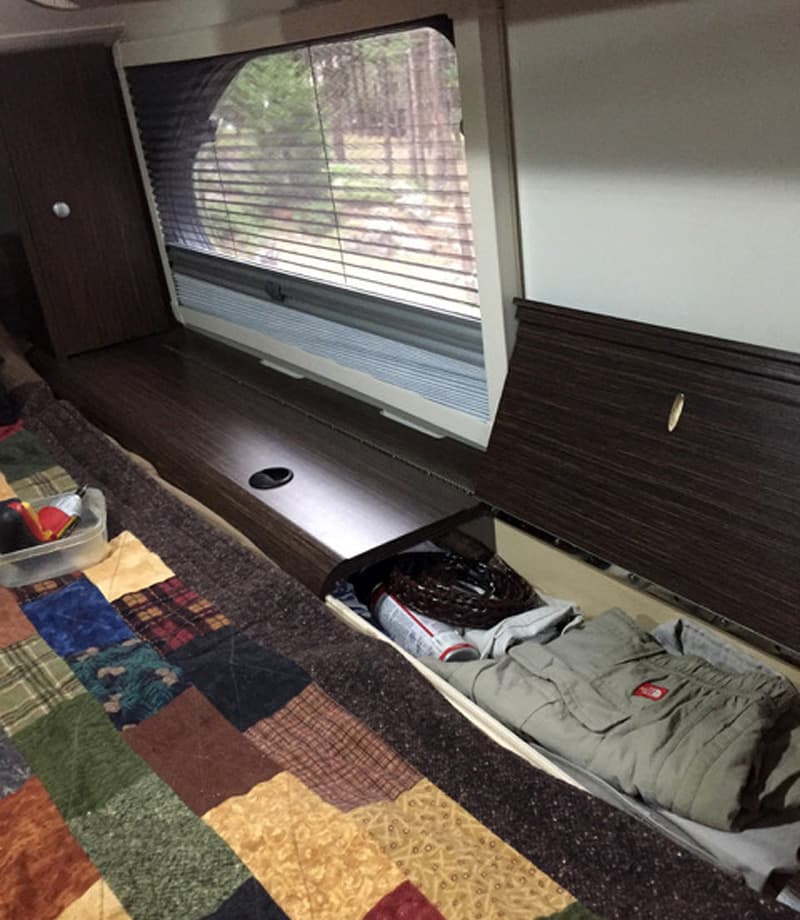
We were cautioned to lift from the factory-installed cup handle very carefully as it was tasked with a significant amount of wood weight and the handles had broken on other rigs. So, making two lifting lids was logical.
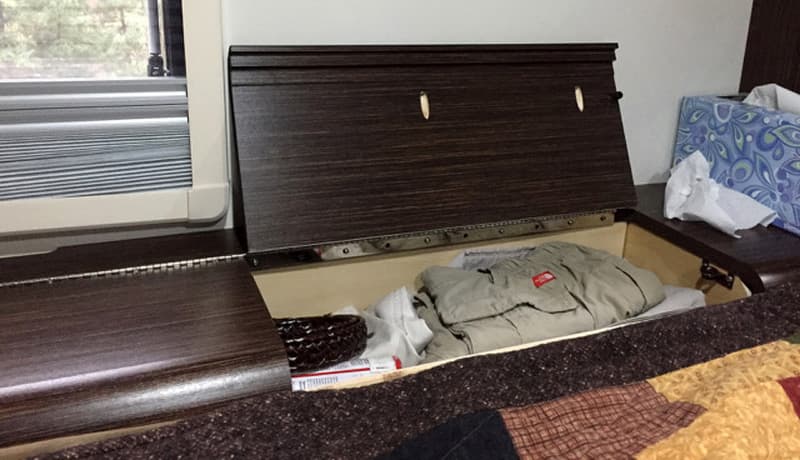
I cut both lids into a 40-inch / 20-inch combination. My wife’s side was further modified with a 3/4-inch divider to separate the spaces. She will fabricate a foam base for her birding scope to rest there while traveling.
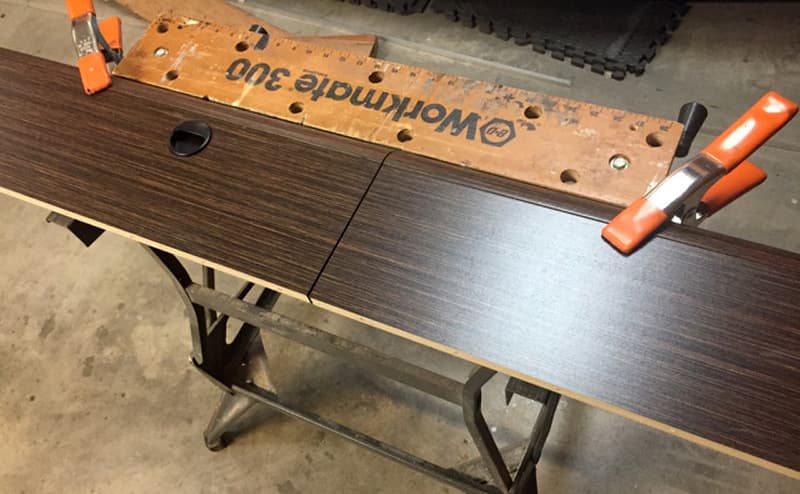
I had to remove the entire length of the piano hinges from the units and lids. I cut the hinge on the lid side, leaving the box edge intact.
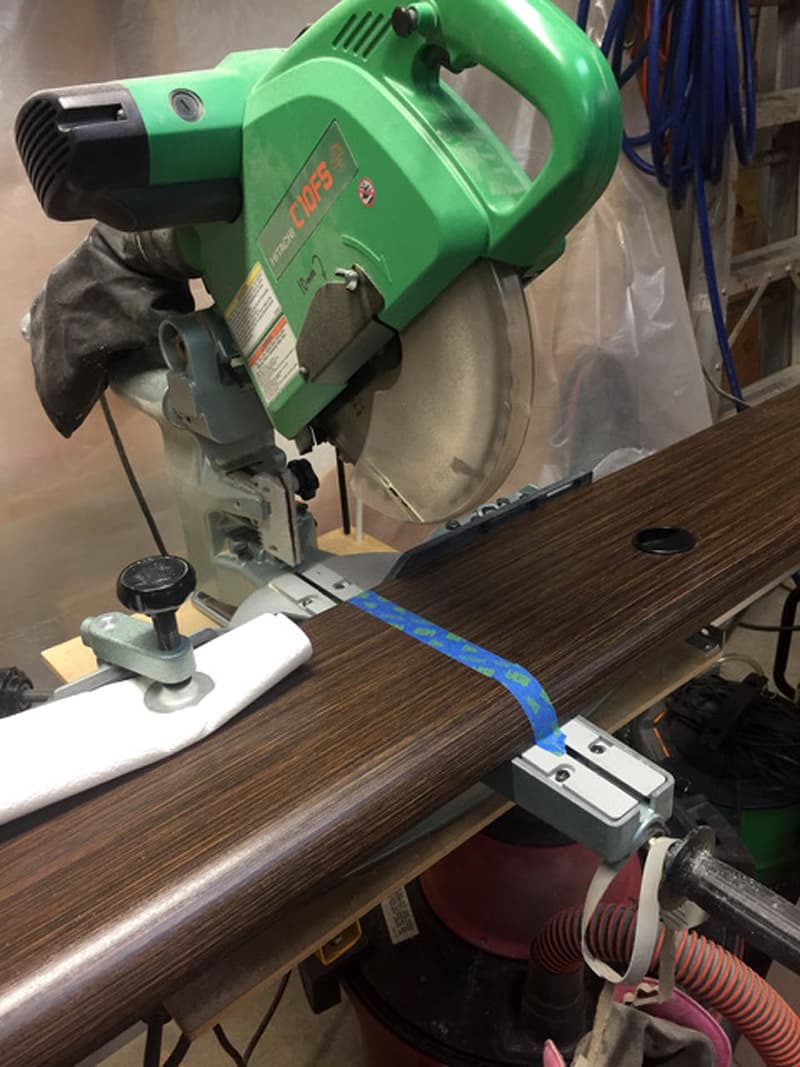
To prevent splintering, I taped the area to be cross-cut on my compound miter saw.
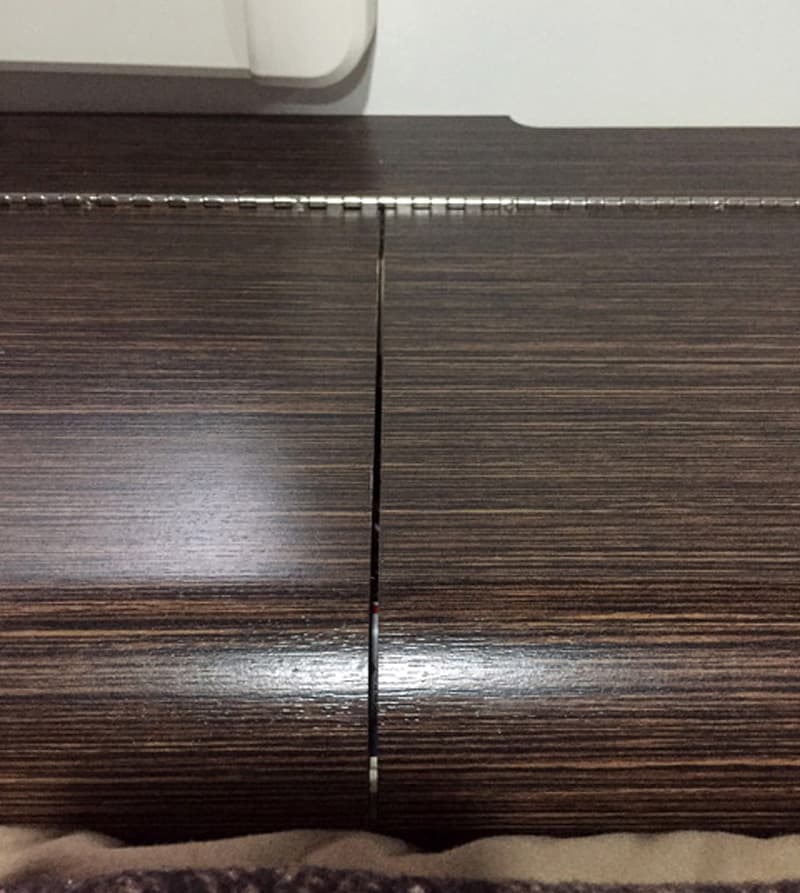
I used a thin kerf blade to minimize the gap it would create.
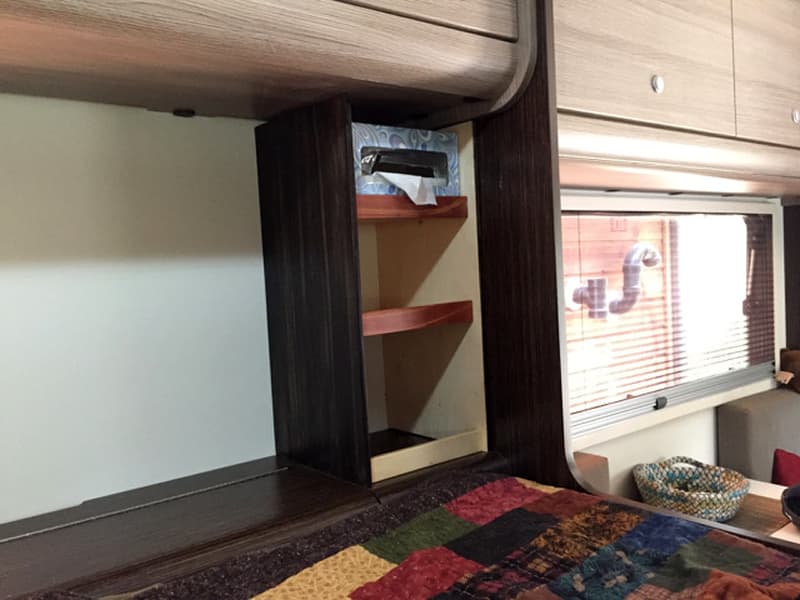
The second addition to the bedroom area is a small shelf system at the end of the sideboard on the passenger’s side of the rig. I made his addition to the passenger’s side because the television took up space on the driver’s side.
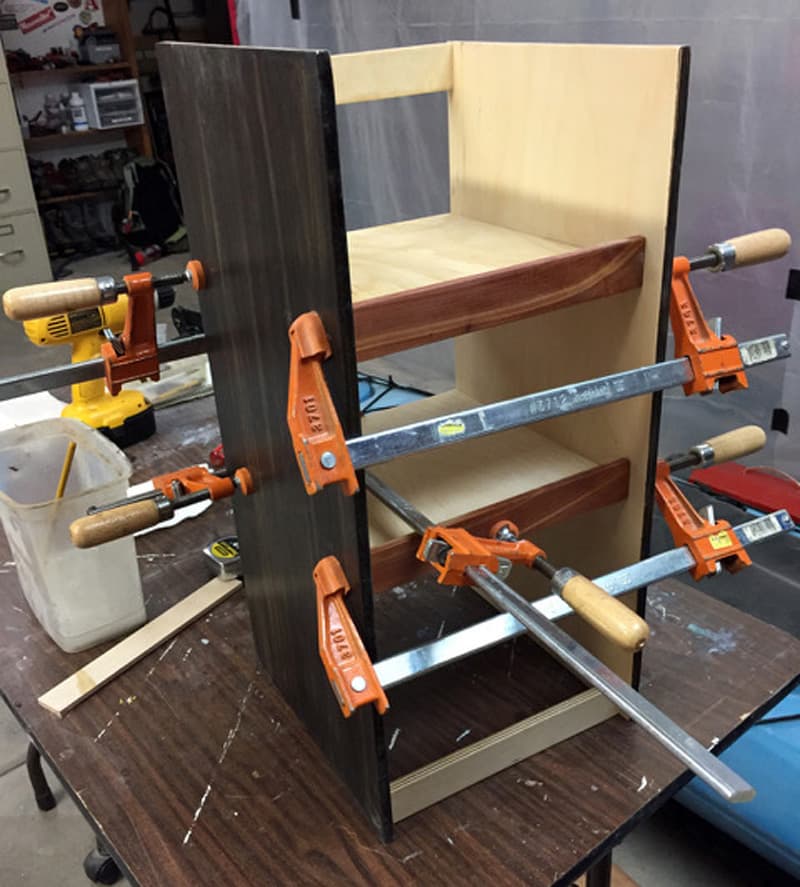
It was fabricated from 3/8-inch Baltic Birch plywood for the sides and 1/4-inch Baltic Birch plywood for the shelves. I dadoed the vertical sides to accept the shelving. This method provides a very strong joint.
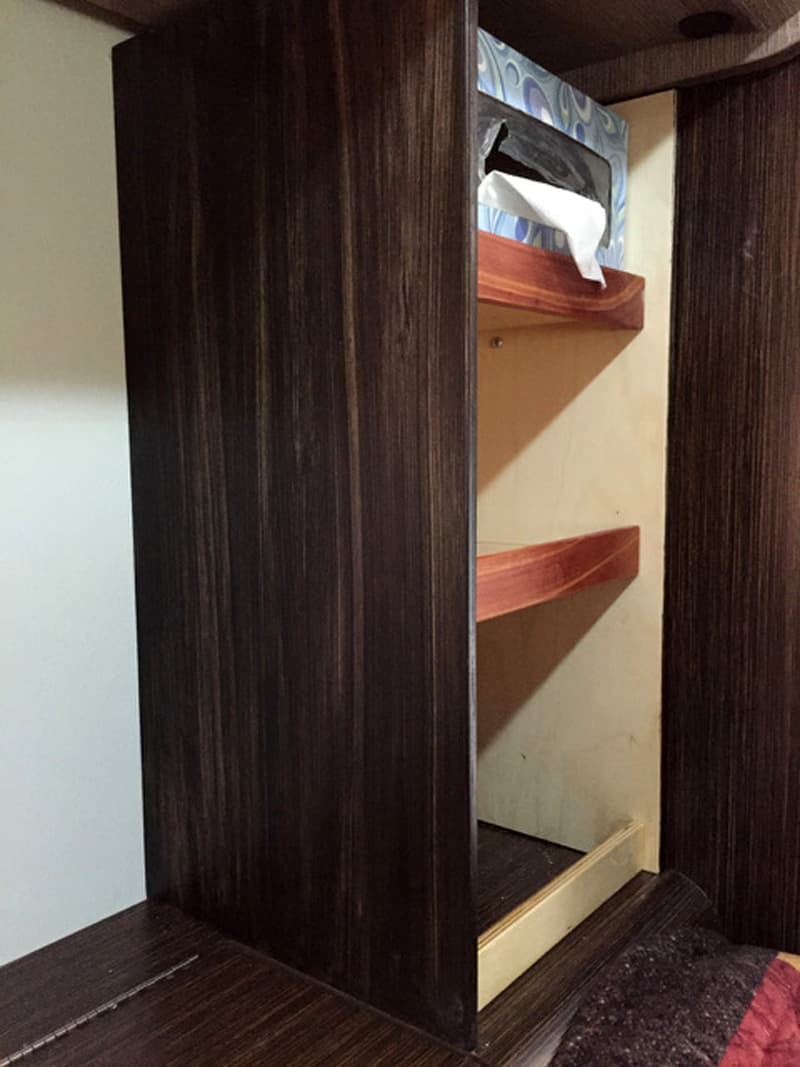
I used only wood glue to bond the shelves to the sides. The lower front and upper rear cross piece were also pinned in place in addition to the glue. The finish was achieved using a sanding sealer on the raw wood, followed by a penetrating stain, a wiping stain, and a topcoat.
A coarse brush allowed me to streak the wiping stain to closely match the factory-supplied laminated panels. For durability, I used a polyurethane top coat which is thinned, applied twice, sanded, steel wooled, and buffed to a silky smooth surface. It is totally water-resistant and very durable.
I just finished both of these modifications. They will provide us with the organization we need to operate in such a small space. Once we begin putting the keys, wallets, watches, and pens into the small baskets on the lower two shelves and have access to our sideboard items via lighter lifting lids, we will be happier campers!
It took me ten hours to complete this modification and cost me about $18. In my opinion, the skill level of this modification is hard.
Disclaimer: The modifications above are submitted by Truck Camper Magazine readers. It is your responsibility to make sure that any do-it-yourself modification project you undertake is safe, effective, and legal for your situation.
