Mini Mods make major impacts with PVC mast, velcro, shoe box drawers, marine vinyl, plexiglass, leftover carpet, numerical levels, sticky tape, L-shape corner braces, a piece of rubber, and some roller shades. Eat your heart out MacGyver!

Welcome to the November 2017 Super Cup Monthly Mod Contest. Please review the following ten Mini-Mods and vote for your favorite. We will announce the winner next week. For more information about the Monthly Mod Contest, including how to enter, click here.
1. Tony Polvino, Downingtown, Pennsylvania
Homemade Exterior Television Antenna
2016 Ford F150
2015 Travel Lite 770SLR
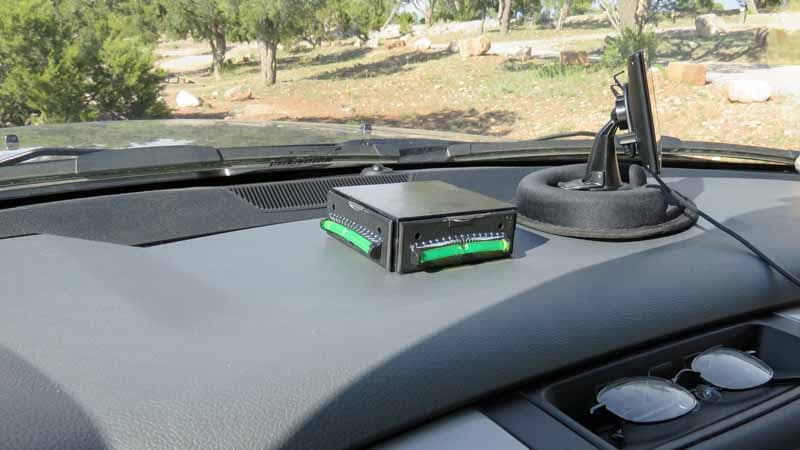
For great television reception without a cable hookup, I built a homemade antenna for my truck camper. It consists of a HDTV antenna panel, 1/2-inch PVC for the mast, 15-feet of cable, velcro on the camper, and a mast.
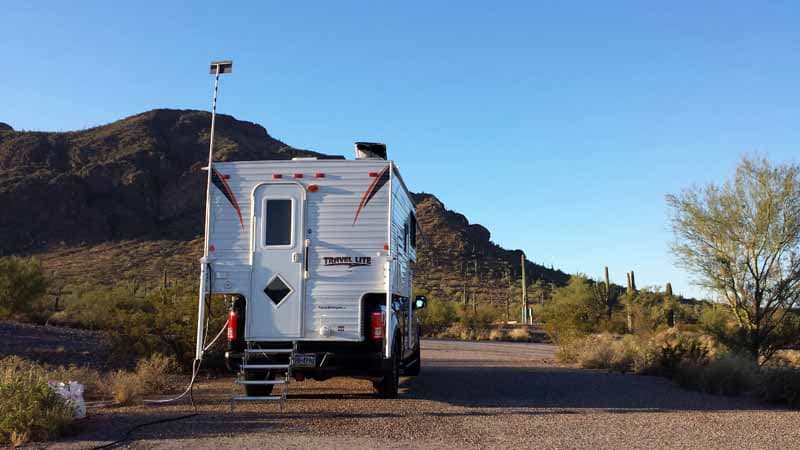
The mast sits on the top of the jack. The cable connects to the cable connection on the truck camper. To aim the antenna, I just turn the mast to whatever direction pulls in the most channels.
I used a PVC coupling in the middle of the mast to gain height. This allows the assembly to easily pull apart to store in the truck bed when not in use.
The HDTV reception varies by location. Near cities I get 15 to 25 channels. In the mountains I get a few here and there. Like anywhere, the terrain is an influence. If there is a signal available, I will get it!
My homemade antenna mod works great! It took me two hours to complete and cost about $25. In my opinion, the skill level of this modification is easy.
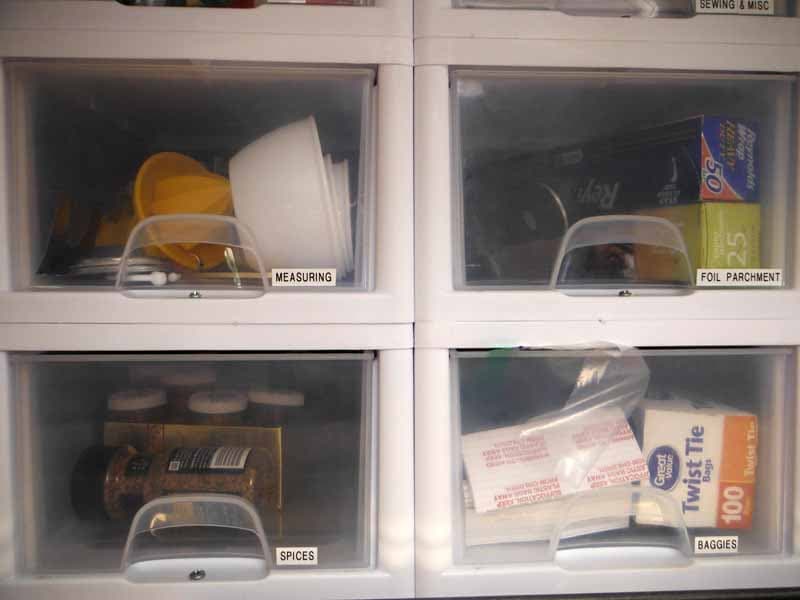
2. Ed Kuivinen, Canal Fulton, Ohio
Bunk Storage Using Shoebox Sized Drawers
2009 Ford F250
2016 Lance 850
One of the many reasons we purchased a Lance 850 truck camper was for the bunk space over the dinette. From the beginning my wife and I planned to use this for storage but weren’t quite sure how to maximize the space.
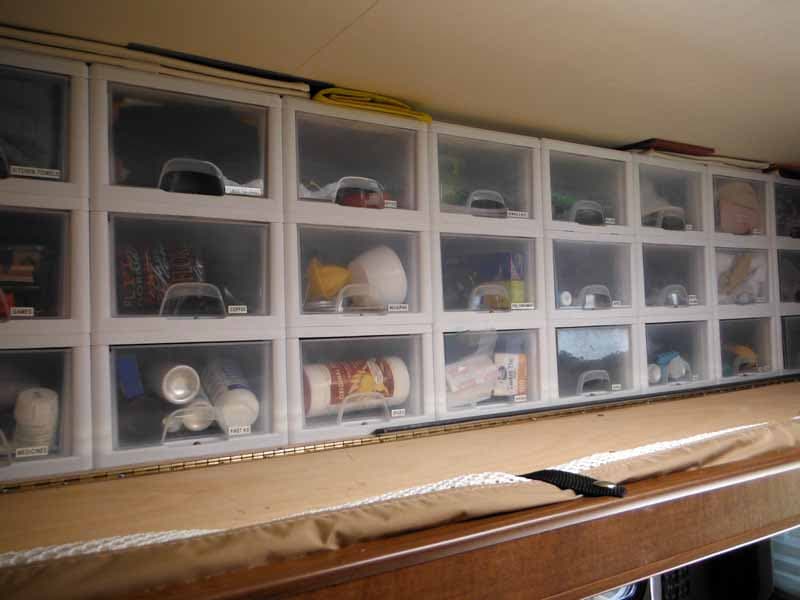
After a lot of thought, we decided to make a storage unit out of individual plastic shoebox-size drawers purchased at Walmart. The depth of the boxes was perfect and allowed us to put the face of the bunk up in the locked position when traveling. That holds the drawers in place.
The finished unit is three drawers high by eight drawers long. I made eight separate units, each of which is three drawers high. I attached each plastic frame together at the front and back. Then I attached the eight separate units together. The bottom drawer frames were then screwed directly into the bunk.
So far it’s working great and my wife is happy! It took several hours to complete this modification and cost $120. In my opinion, the skill level of this modification is easy.
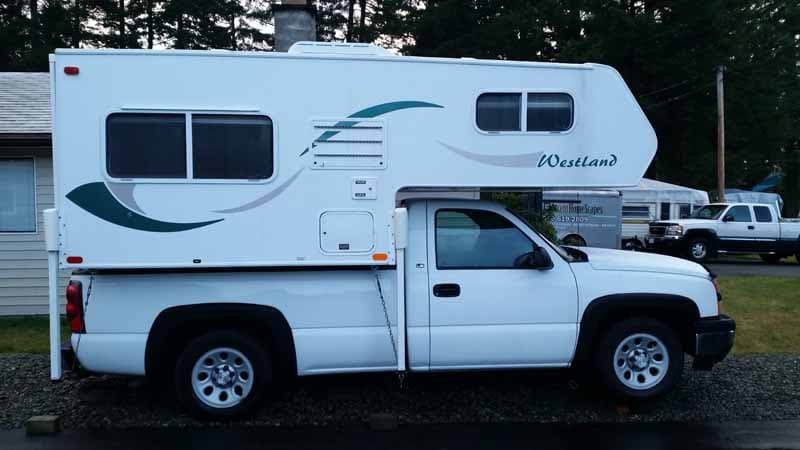
3. Susan and Hector Mabillard, Nanaimo, British Columbia
Happijac Jack Covers
2006 Chevy 1500
2014 Westland 80W
I wanted to keep water out of our Happijac manual jacks. Research was showing us that water can make these jacks hard to use, and we wanted to avoid that.
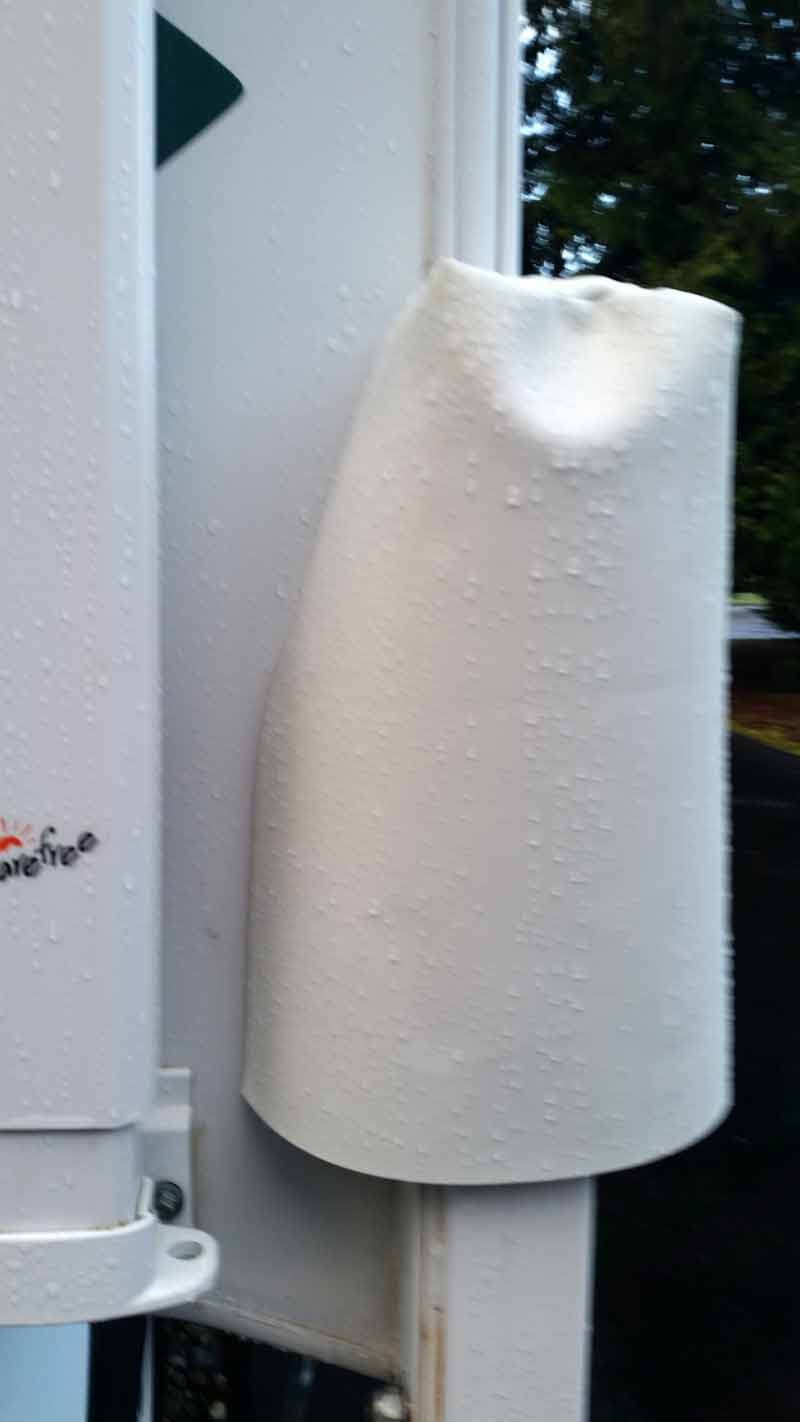
I purchased some marine vinyl and we designed covers for the small square top of each jack.
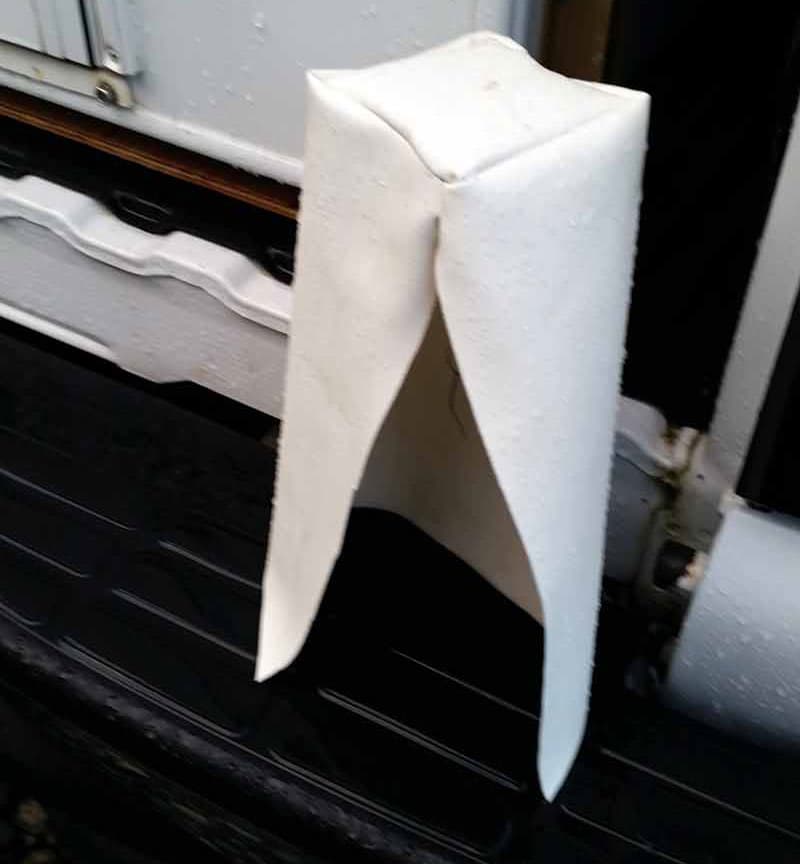
The covers have four sides with one side left open. The open part is the side that faces where the jack attaches.
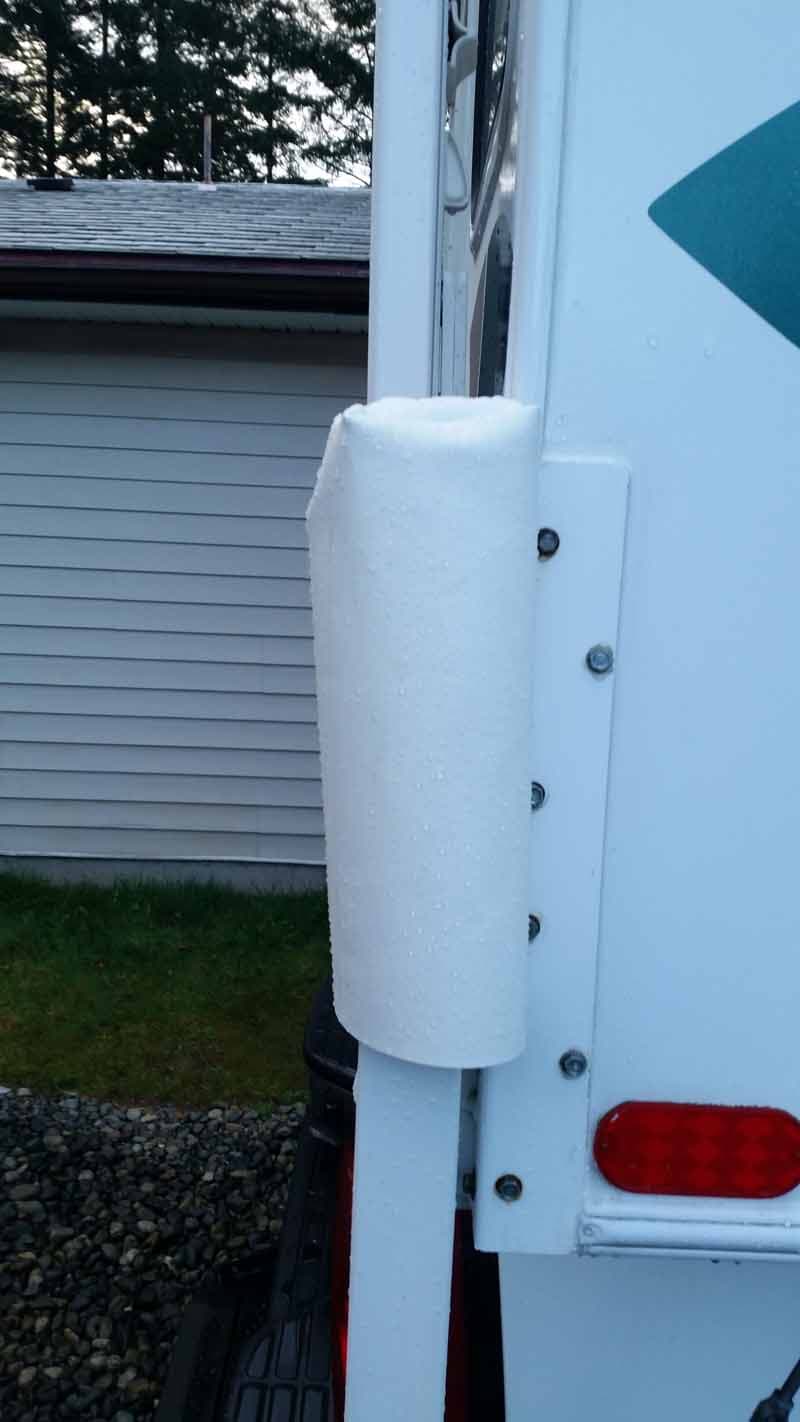
The covers are perfect! They keep the rain out. They are hardly noticeable on the camper as the fabric blends in way better then plastic bags which I have seen some people use. I take the covers off when traveling and put them back on when we stop.
It took about one hour to complete this modification and cost ten dollars. In my opinion, the skill level of this modification is easy.
4. Bruce and Linda Pruitt, Ocala, Florida
Plexiglass Screen Door Inserts
2006 Dodge 3500
2013 Camplite 10.0
Without windows in the rear, our camper interior needed a more open feeling. We also wanted the ability to leave the entry door open for daylight when using the air conditioner or heater.
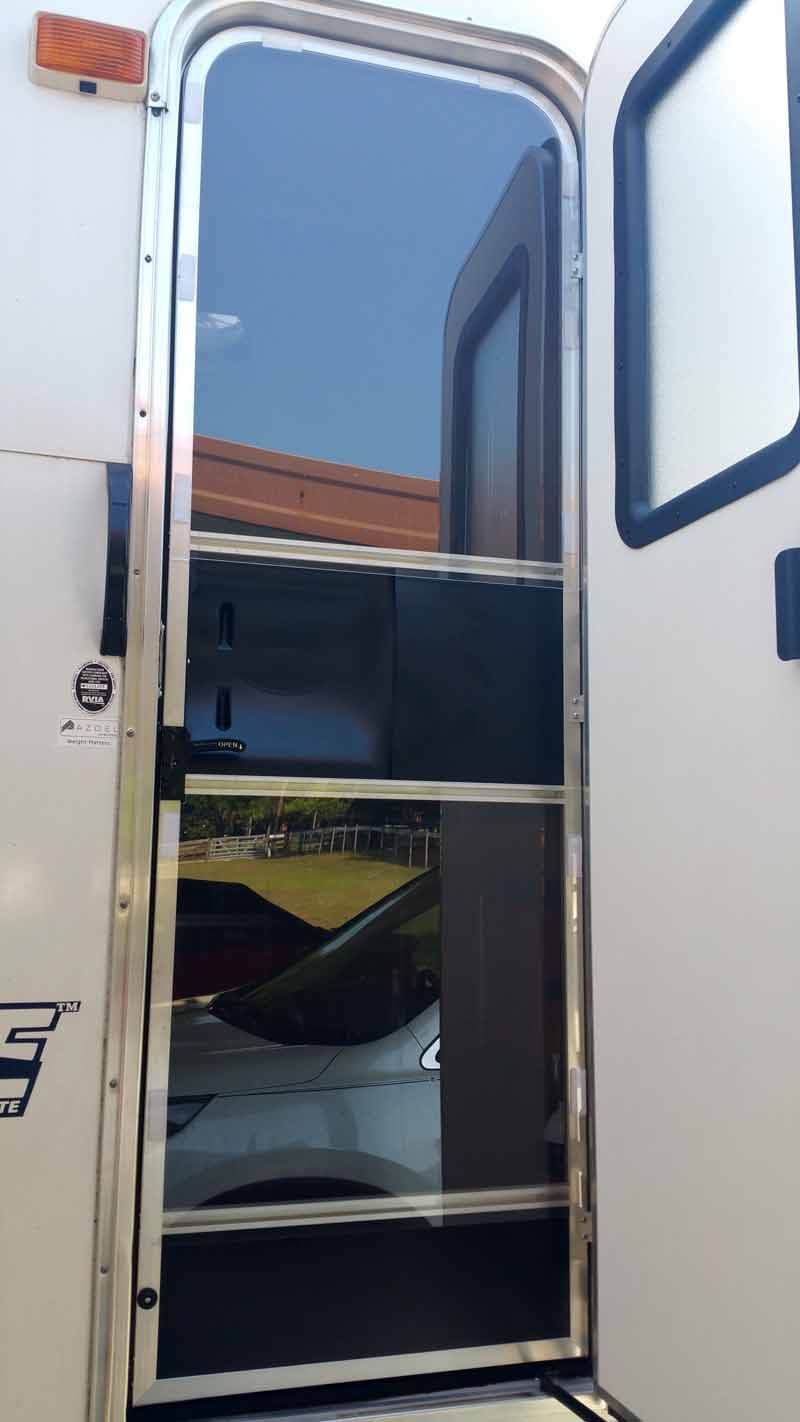
To begin our mod, we took measurements of our screen door. Lowe’s cut plexiglass to the size we needed. We then notched the plexiglass around the screen door latch.
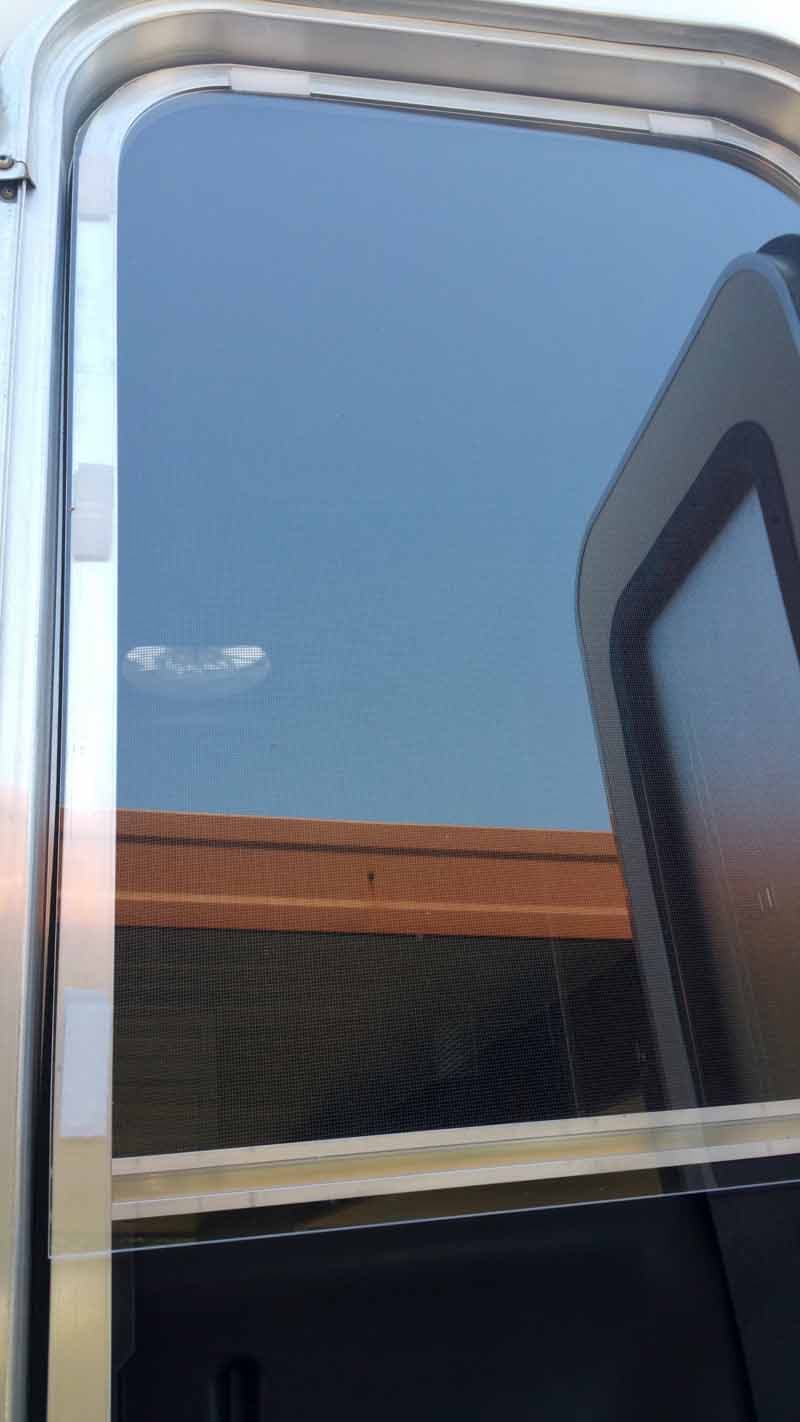
There are two pieces of plexiglass. One is for the upper screen and one is for the lower creep. The plexiglass wouldn’t fit on the inside of the screen door due to the way the door is made. That was no problem because it fit well on the outside of the screen door; between the outside door and screen door. We attached the plexiglass using velcro.
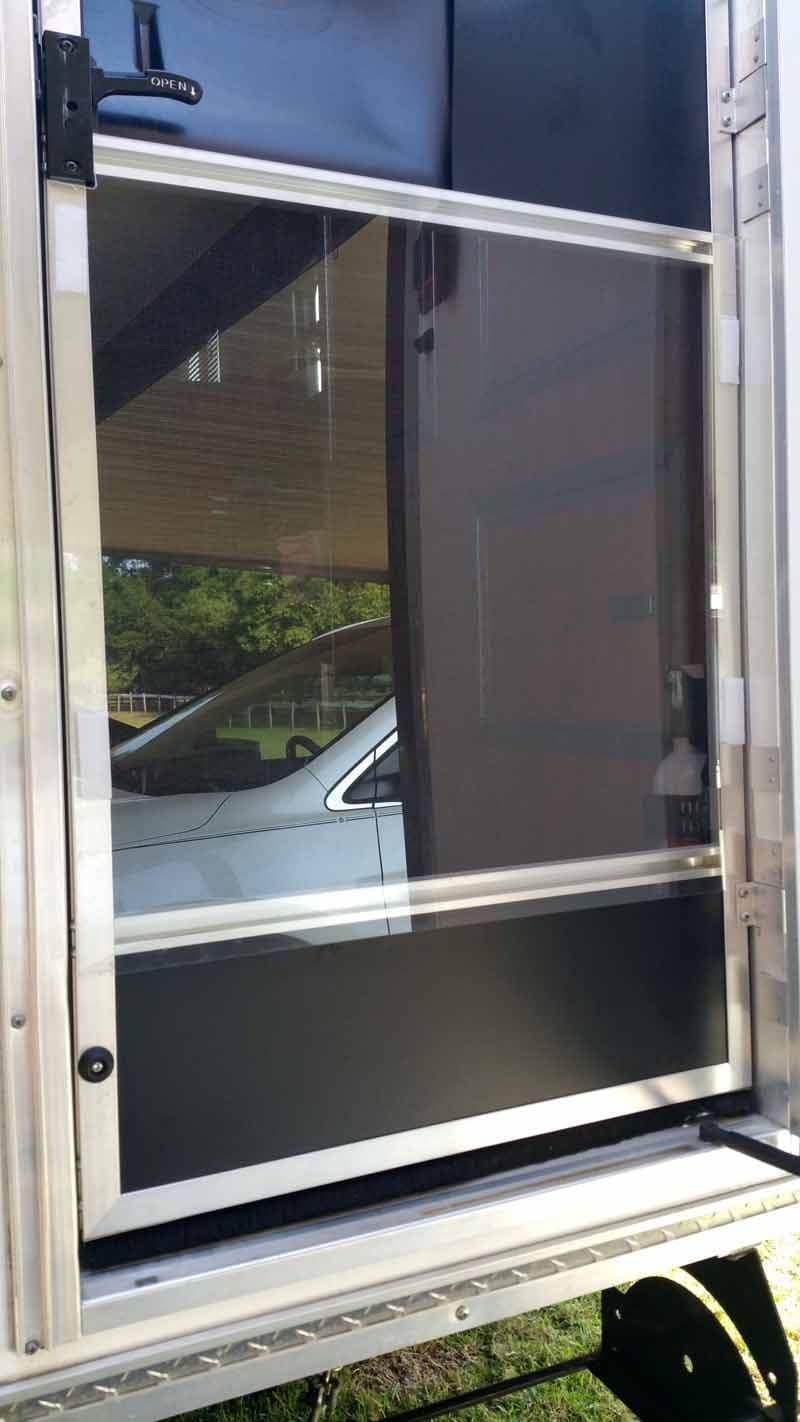
The plexiglass edition has been great because we can now can keep the door open while enjoying our air conditioner. Plus, we can enjoy the view whether it be a mountain or stream. The plexiglass also cut down on the sound from outside.
It took one hour to complete this modification and cost $40. In my opinion, the skill level of this modification is easy.
5. Thomas Bowes, Warren, Michigan
Scissor Steps For Interior Cabover Access
2010 Chevy Silverado
1998 Bigfoot 30C10.11F
We were having trouble getting in and out of the cabover sleeping berth. The single step and steep climbing angle made it tough for both us humans and our beloved canine, Rex.
After giving some thought to building a set out stairs or a platform out of wood, I got to thinking about how much easier it might be to simply install a set of scissor steps.
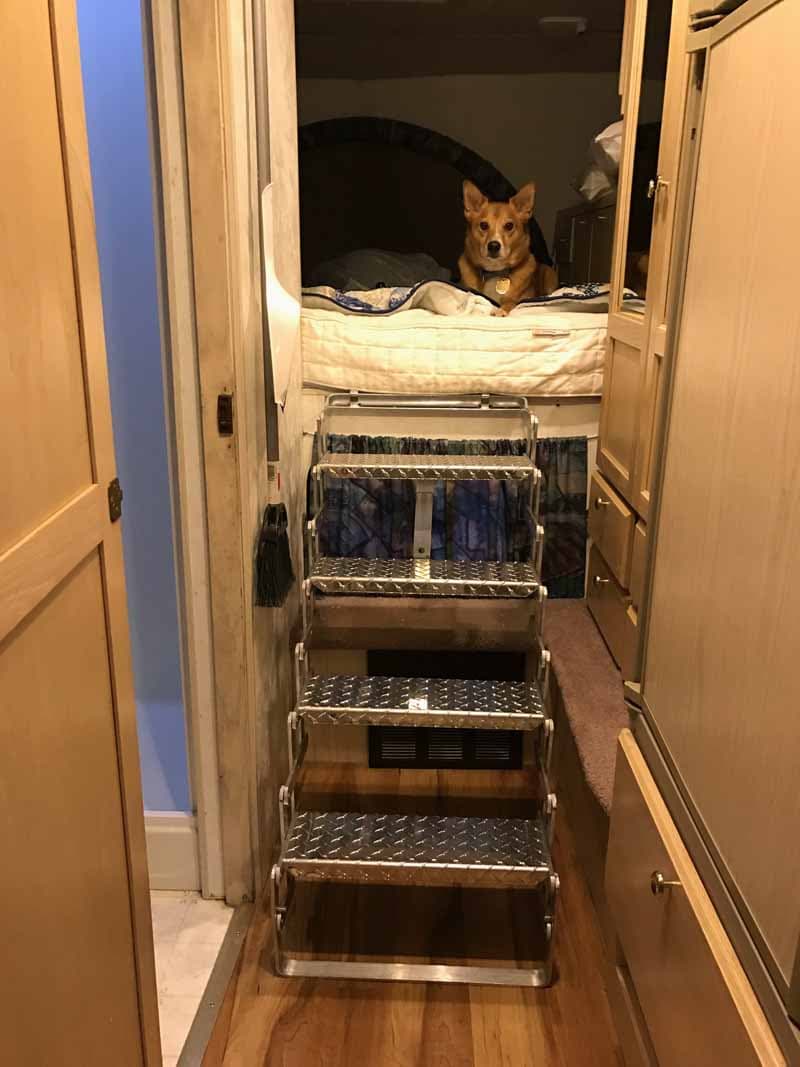
I bought a set of scissor steps via Amazon. It was an easy installation to attach the mounting bracket to one of the framing members at the back edge of the bunk. I had measured the rise prior to the purchase to make sure to get a set that would fit the application.
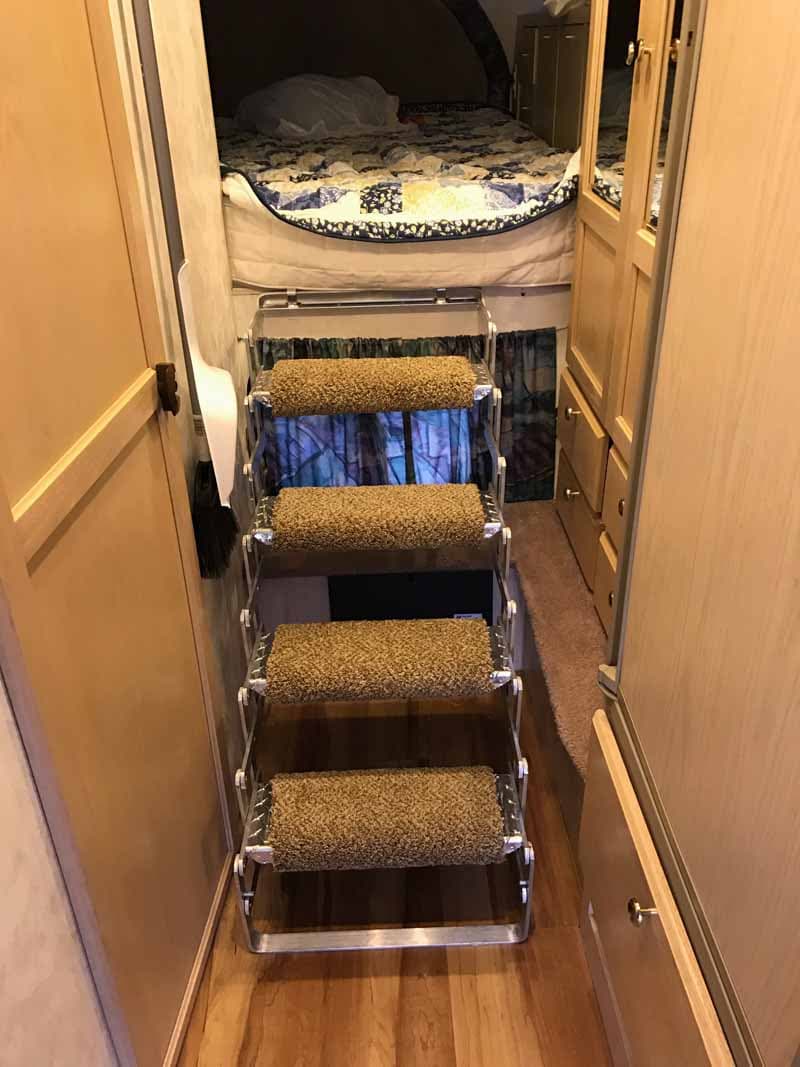
To make the scissor steps more comfortable on our feet, I added some pieces of carpeting that were left over from a recent re-carpeting of a bedroom. I punched some holes in the edges of the carpeting and inserted some brass grommets. Then I simply laced the carpet to the stair treads with some nylon twine, in shoelace fashion.
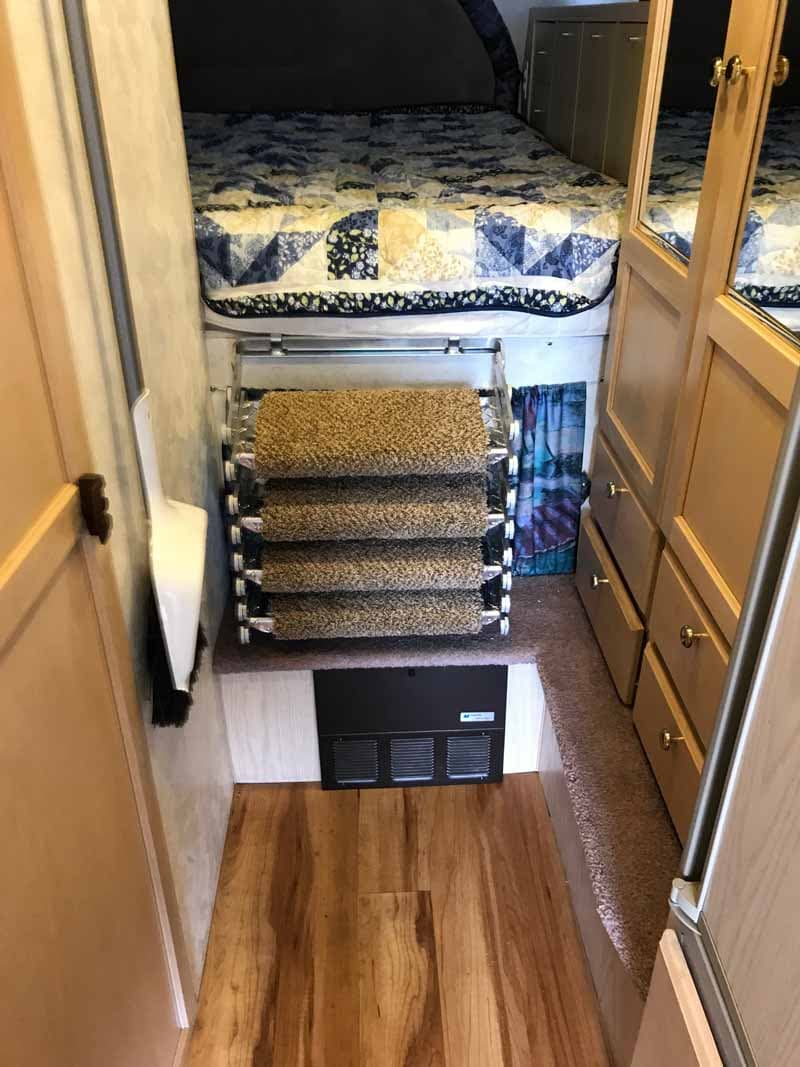
So far the mod has worked well. It is much easier to get in and out of bed and the stairs are easy to remove and stow if access is needed for the drawers and power center that are beside and under them.
It took three hours to complete this modification and cost $250. In my opinion, the skill level of this modification is easy.
6. Bill Elwell, Spring, Texas
Levels In Truck To Level Camper
2016 Ram 2500
2016 Four Wheel Camper Hawk
I wanted to add an easy way to check the level of the camper when pulling into a site.
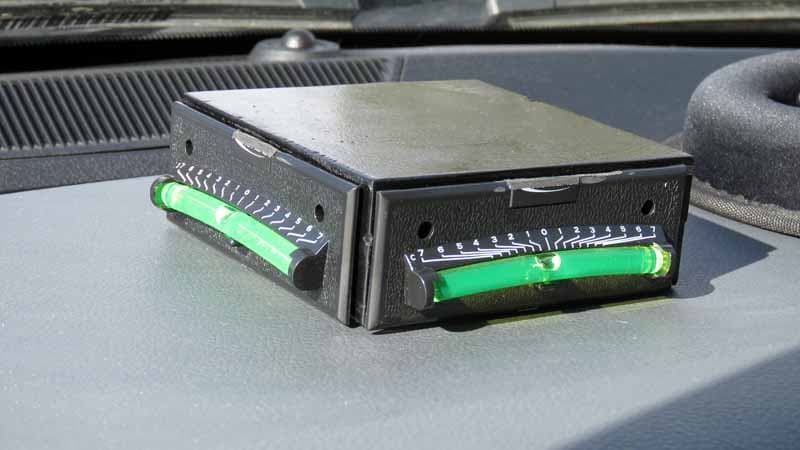
I purchased two long RV levels with numeric scales on them. They were just under 4-inch long and I couldn’t find any place in the cab of the truck to attach them.
I cut two pieces of 3/4-inch plywood to 4-inch square and glued them together to make a foundation block for the levels. A quick shot of black spray paint and it was done.
We leveled the truck using a torpedo level outside and then found that the dashboard had a flat area that worked perfectly. The levels were attached using the provided sticky tape. The project was complete!
The block sits in the arm rest out of the way except when it is in use during the leveling process. After a little practice, the numeric scales come in handy to estimate the number of leveling blocks it will take to level the camper.
The mod works great. It is easy to deploy and easy to see by the driver.
It took fifteen minutes to complete this modification and cost $10, (cost of the levels). In my opinion, the skill level of this modification is easy.
7. Casey Cordray, Glenford, Ohio
Ikea Trone Shoe Cabinets For Clothing Storage
2015 Toyota Tundra
2016 Capri Retreat
I needed to add clothing storage in our Capri Retreat 5 that didn’t take up the limited space available. With four people (two adults and two children), it gets pretty tight inside the camper, especially once you start bringing in clothing totes!
We have wall space under the refrigerator’s cabinet and on the back of the shower wall above the bed. It seemed wasted and it could be utilized.
After searching, I found Ikea Trone shoe cabinets. They’re plastic, weigh about two pounds each, and have quite a bit of storage space. They also have a shelf on the top.
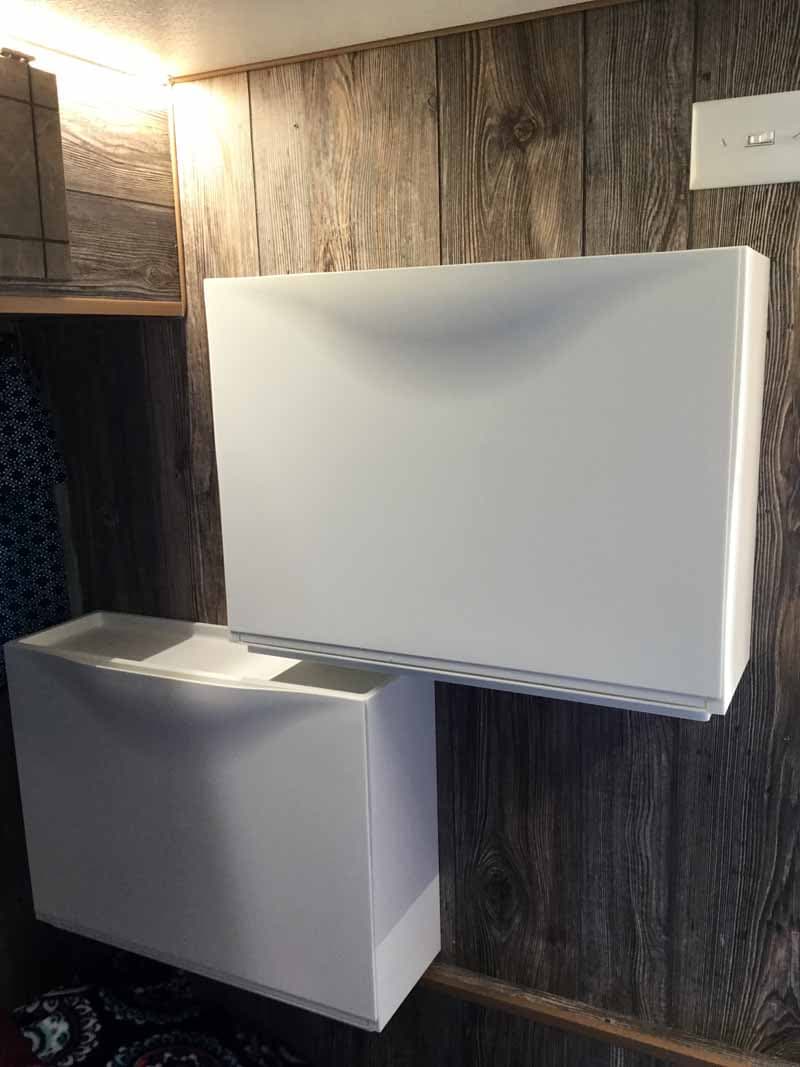
I was able to put two Ikea Trone show cabinets on the back shower wall, one for my husband, one for myself, and one below the refrigerator for our girls to share. As they get older, I’ll add another. They have worked perfectly!

Each box holds about four days worth of clothing. They stayed shut during the trip and I could even put diapers and wipes on top without them falling off. Our camper has never been so organized!
The most difficult issue of this mod was making the husband go to Ikea. It took me half an hour to complete this modification and cost me $40. In my opinion, the skill level of this modification is super easy.
8. Kevin Grigorenko, San Diego, California
Slide-Out Spacer To Increase Storage
2014 Ford F250
2015 Lance 855S
There are a few inches of space between the slide-out and the back wall. I wanted to store thin things like sandals there. If I left things on the floor in this space, they could get in the way of the slide when I slid it in.
I went to Home Depot and had them cut a small piece of thin wood. I also bought three L-shaped corner braces.
I used a hand saw to cut out a corner to fit around the rear slider bar. I screwed the braces to the wood, and then to the rear, mid, and front end of the floor.
This mod has given me nice amount of additional storage.
It took one hour to complete this modification and cost $10. In my opinion, the skill level of this modification is easy.
9. Scott Gallinger, Casper, Wyoming
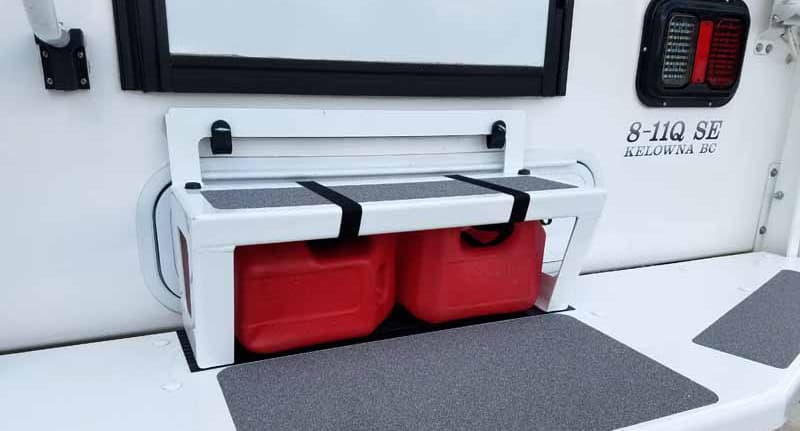
Small Gas Can Storage Under Bumper Step
2017 Ford F350 Super Duty
2017 Northern Lite 8.11 QC SE
We bought a Honda EU2000i portable gas generator, mainly to run the air conditioner if needed while camping and also for a backup should we ever need it.
I always wondered about how I could carry extra gas beyond just what the generator tank would hold. We haul extra gas cans in our ATV trailer, but we don’t always bring the trailer.
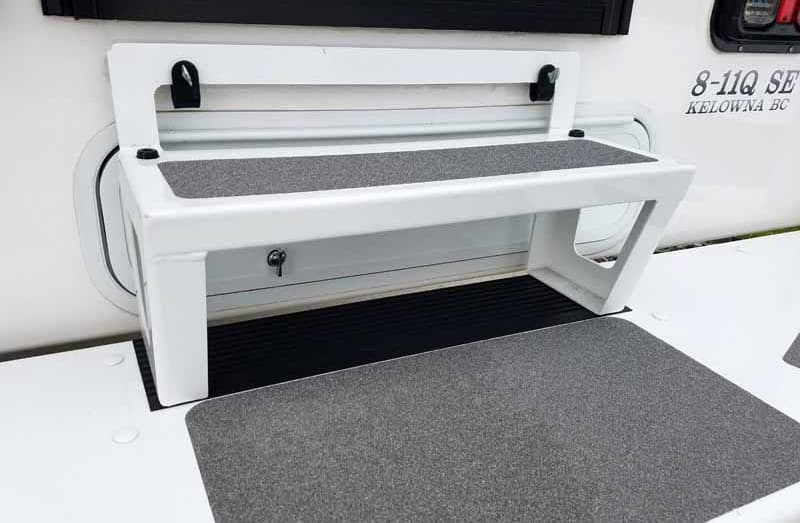
I was looking at the back of the camper one day and thought, “I wonder if I could put a small gas can underneath the top removable step that sits on the landing?”. I just happened to have two one-gallon cans and discovered they fit perfectly under the step.
The tallest a gas can can be and fit in this space is eight inches. That is the measurement from the landing to the underside of the top step.
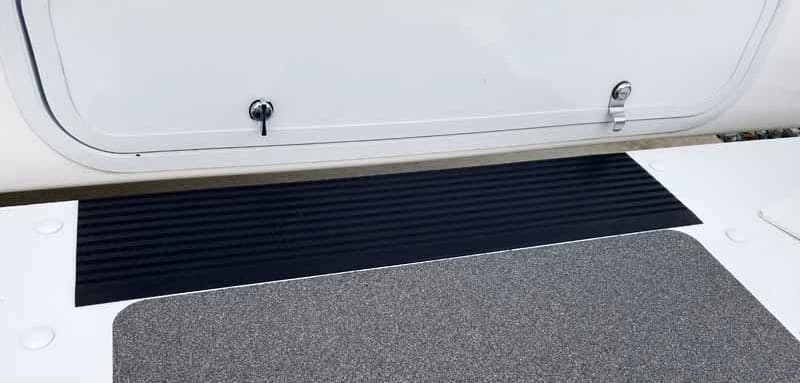
I went to a local hardware store and bought a thin rubber piece that is designed to be placed on a wooden step coming into the house from the garage. I did not want the cans sitting directly on the landing as they would rub the paint off over time.
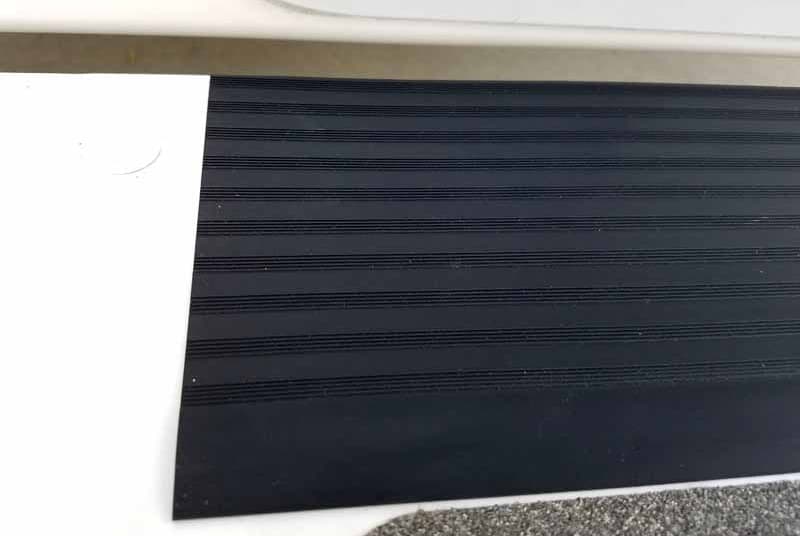
The width of the rubber piece was perfect at 24-inches. I cut it to 5 7/8-inches deep to fit from the back of the landing to the edge of the non-skid tape below the step. I used double-sided outdoor carpet tape to adhere the rubber piece to the top of the landing.
I initially thought about just putting another strip of non-skid tape for the cans to sit on, but realized over time that might wear a hole in the bottom of the plastic gas cans. Plus, the rubber will act as somewhat of a cushion.
The gas cans cannot slide out from under the step because of the front lip on the step. However, I did use two 1/2-inch nylon straps to run over the top of the step and through the gas can handles to hold them more firmly in place.
Before the modification, I had to take the top step off to access the basement storage in our Northern Lite. Now I need to unhook the straps, take off the step, move the cans, and access the basement storage. It is not an inconvenience to do this.
The mod has worked great and the gas cans are out of the way. The great thing is that we can now carry two extra gallons of fuel. While we do not use our generator much, it is nice to know that we have more fuel in addition to what the generator holds.
It took 45 minutes to complete this modification and cost $12 dollars plus the cost of two one-gallon gas cans. In my opinion, the skill level of this modification is easy.
10. Mike Stephan, Cadillac, Michigan
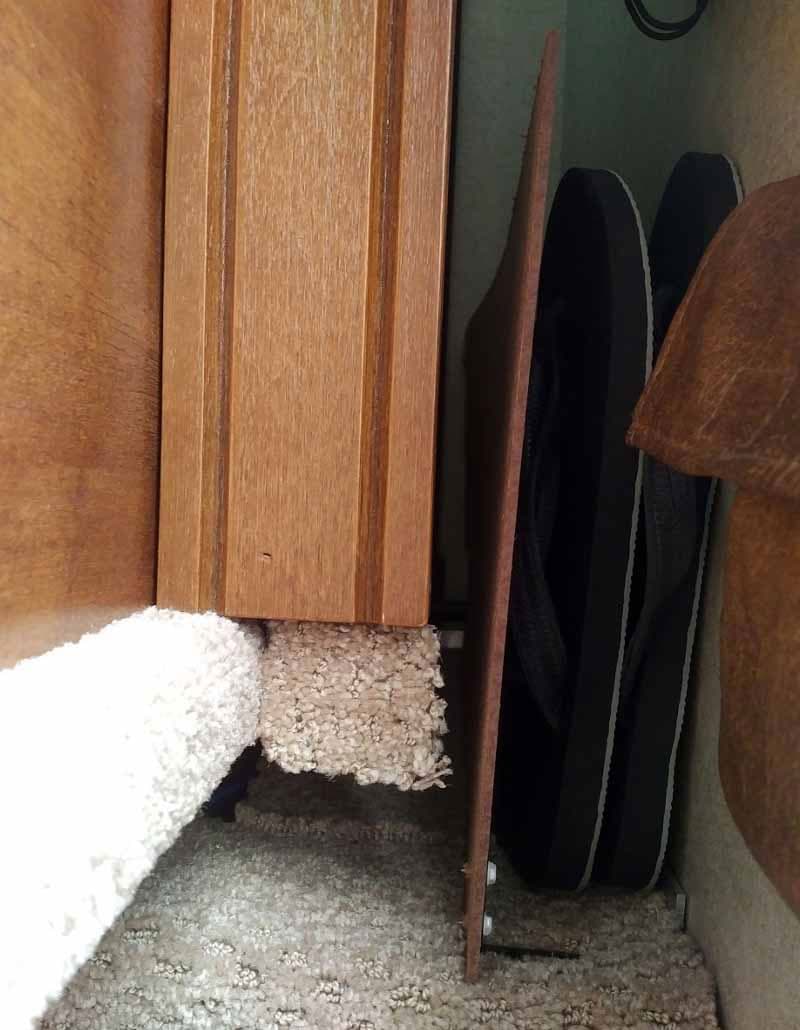
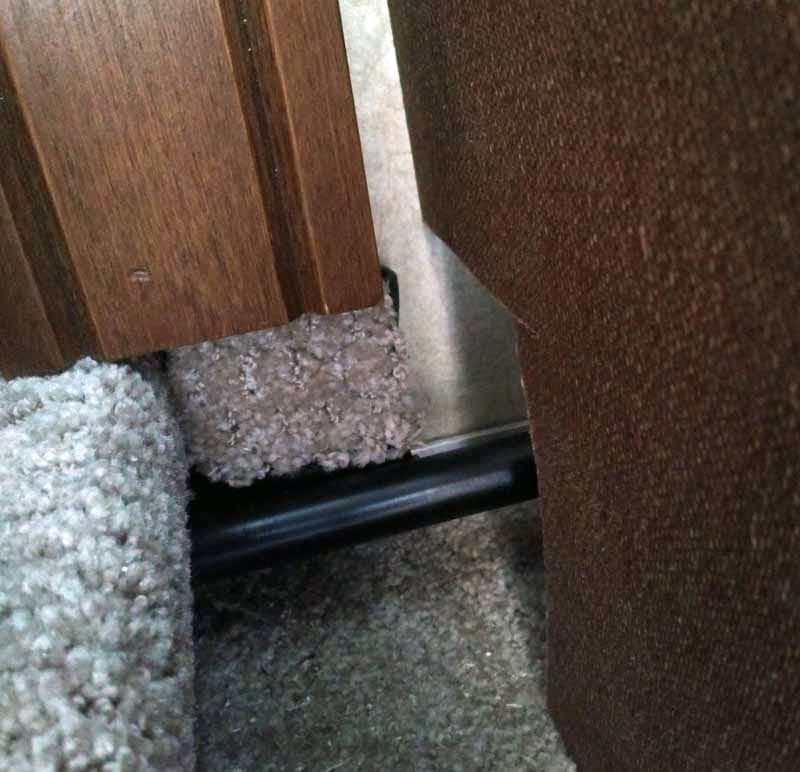
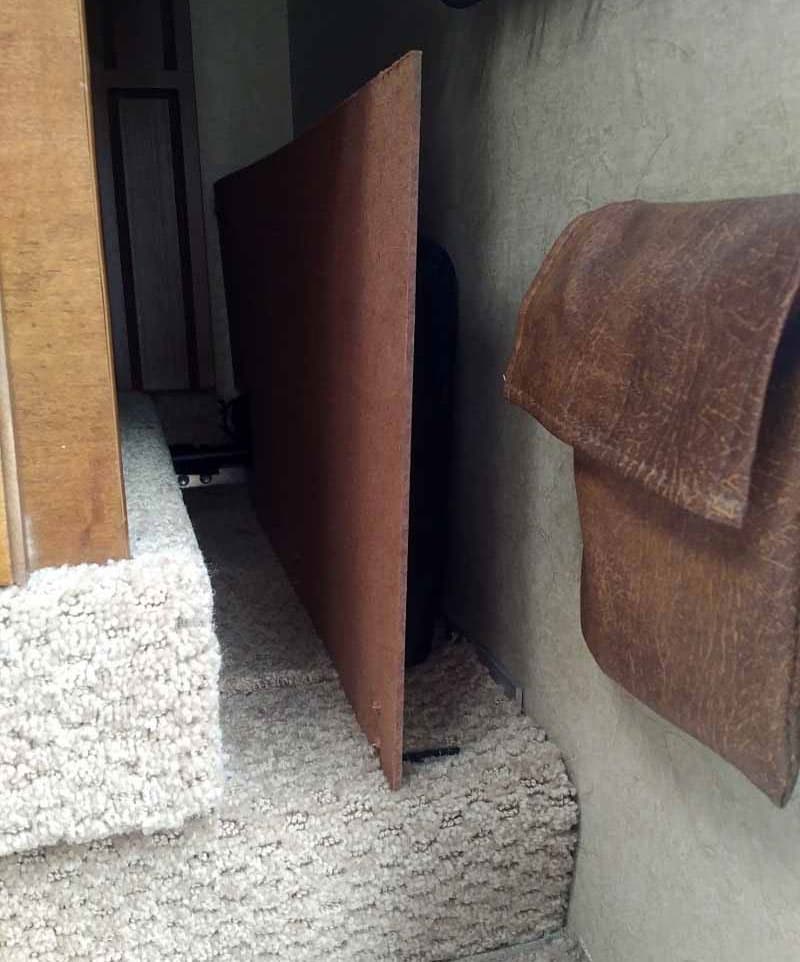
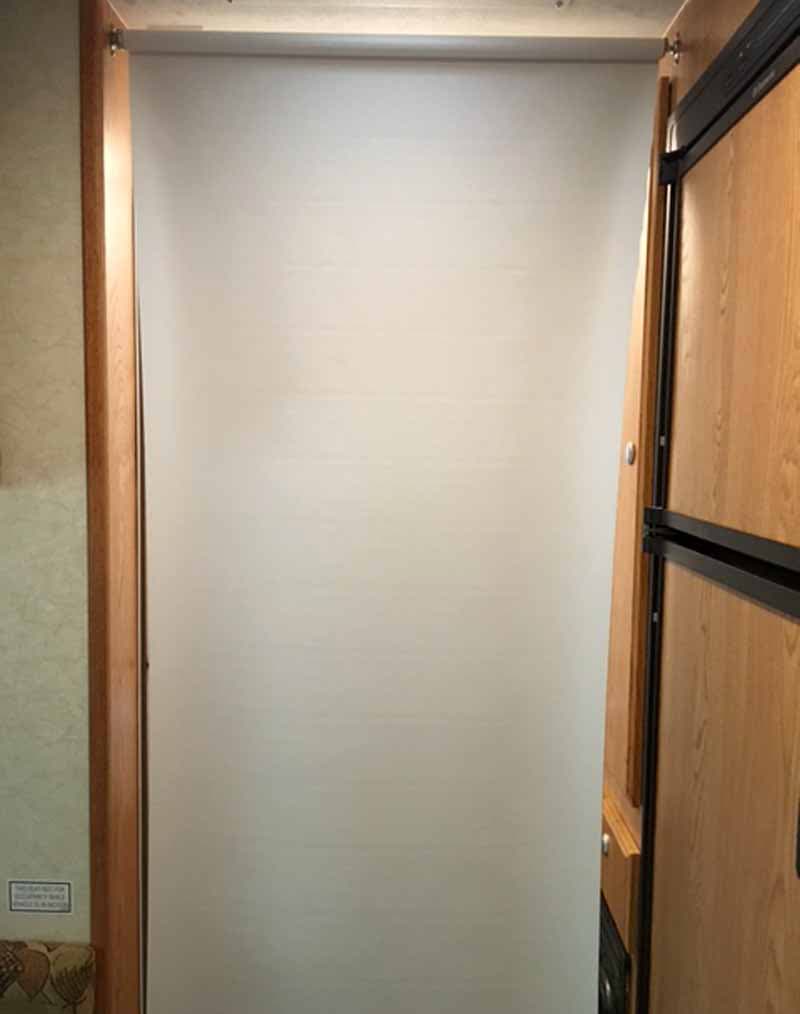
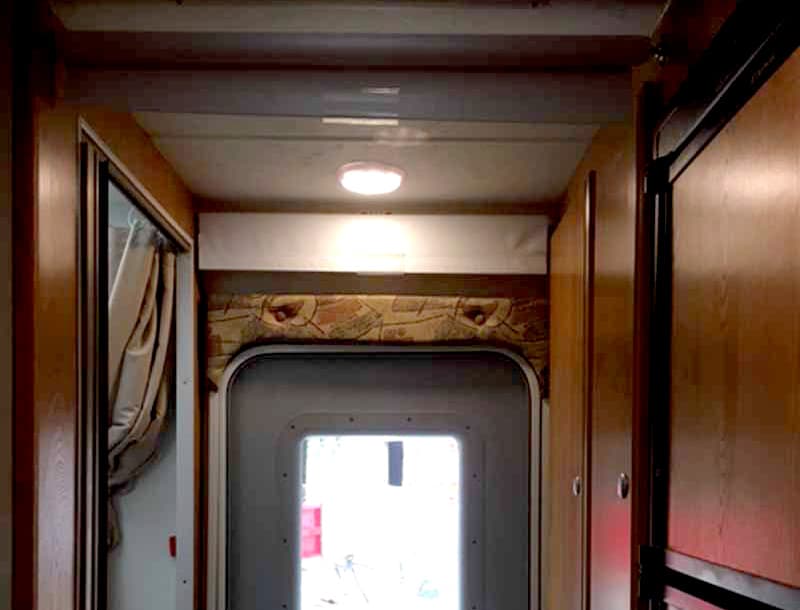
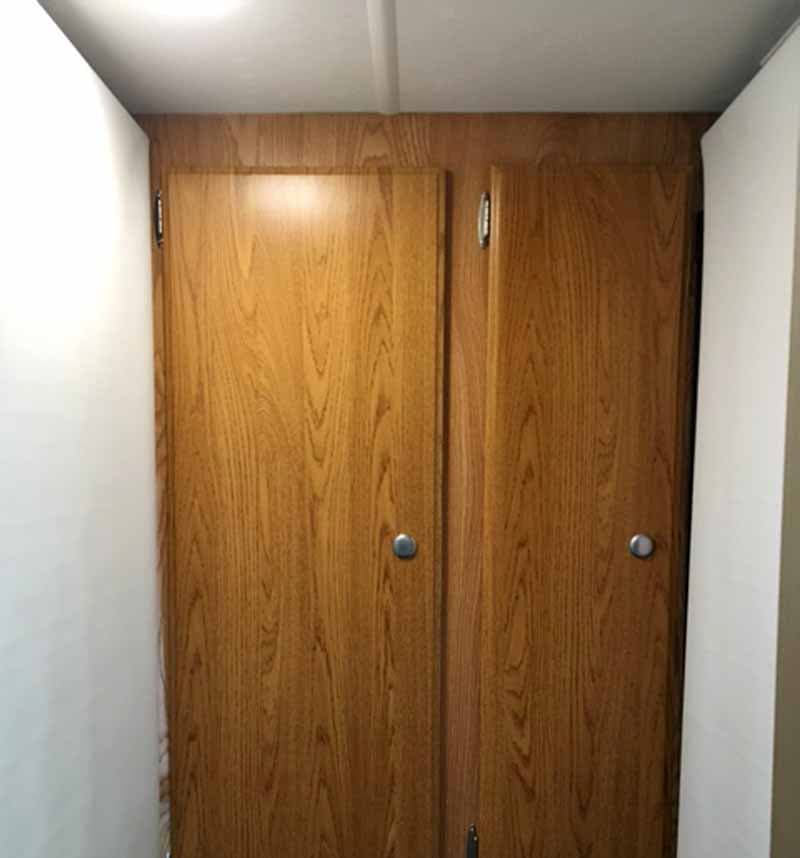
Double Roller Shades For Privacy
2012 Dodge Ram 2500
2015 Northstar Arrow U
![]()
Above: Frosted glass was replaced with clear glass in the door
I replaced the exterior door glass in our truck camper with clear glass and wanted a simple way to provide privacy.
I had some simple roller shades left over from another window installation and used one over the exterior door of the camper, mounting it just below the ceiling.
That led me to think that another roller shade mounted outside the wet bath/shower would provide some privacy while getting out of the shower and provide a little dressing room area.
Above: Two roller shades attached near ceiling
I mounted a second roller shade near the ceiling between the wardrobe and the refrigerator.
Now when we take a shower, we draw both shades. One covers the window while the other can be drawn from the ceiling to the floor, providing a private area for drying off from the shower and for dressing. It has worked out great!
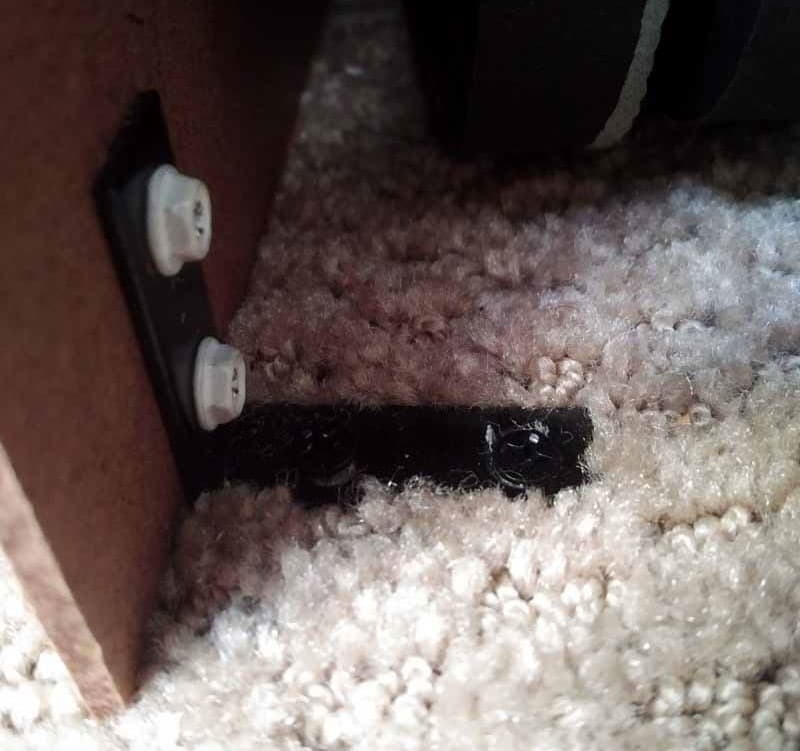
This mod involved getting the existing roller shades cut to measure at Home Depot. They did for free as I had purchased the roller shades there. Then I had to mount the brackets with two small screws in each bracket.
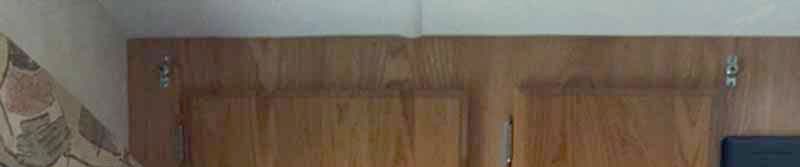
Above: Roller shade attachment points
It took me about fifteen minutes to mount the brackets and place the shades. The mod didn’t cost me anything because I had shades on hand. They are not expensive and are cut to size when purchased. In my opinion, the skill level of this modification is easy.
Disclaimer: The modifications above are submitted by Truck Camper Magazine readers. It is your responsibility to make sure that any do-it-yourself modification project you undertake is safe, effective, and legal for your situation.
Enter Your Mods Now!
If you’d like to enter mods into TCM’s Monthly Mod Contest, click here. You can enter as many mods as you want, at any time. Good luck mod makers!


