Push all that other stuff off your desk and make room for sixteen more mod-rageous camper mods. Can’t hear me now? Get a boost from Wells and Wilson.

Welcome to the third installment of a four part 2013 Top Mod Showdown contest series. The first three parts include runner-up $25 Lowes Gift Card prizes. Later this week, in the fourth and final installment, we will announce the winner of the $100 Fuel Card Grand Prize and crown the Top Truck Camper Modder of 2013.
Runner-Up Winner #3: John Wells, Pennsylvania
2011 Chevy 3500HD
2012 Chalet Ascent S100F
 |
 |
 |
“We dry camp often in areas where cell signals are marginal. “Can you hear me now?” The presence or absence of a signal can simply be the difference between being inside the camper versus being outside.
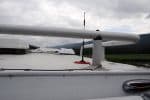
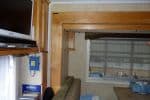
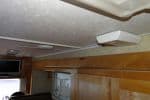
To optimize the cell signal inside the camper, I purchased and installed a Wilson Electronics cell phone booster kit. As the included indoor antenna was only made for a range of three to five feet from the indoor antenna, I upgraded the kit with a Wilson 50 ohm wall mounted antenna to bathe the entire interior of the camper with signal.
The outdoor antenna (communicates with cell tower) is mounted on the roof with adhesive on a plastic disc added by me (no magnetic materials there). Antenna wire in adhesive holders is routed to the nearby rear window.
The indoor antenna (communicates with the cell phone) must be located a minimum distance of several feet from the outdoor antenna or interference will result. There are indicator lights on the main module to indicate and troubleshoot this situation before antennas are permanently fixed.
The main unit is wall mounted just inside the rear window of the camper. Power is supplied through a standard 12V DC socket. I added surface mounted wire molding to clean up the install.
It works like a charm! I can hear me now!
Note: The cell signal booster only brings indoor signal up to best local outdoor levels. It can’t provide a signal where there is none. Wilson also makes WiFi boosters to increase signal strength (not speed).” – John Wells
2013 Top Mod Contest Entries Part 3
Eldon Rhodes, Texas
2008 Chevy Silverado 3500
2011 Lance 1050
 |
 |
 |
 |
 |
 |
 |
 |
 |
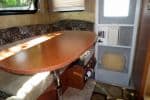
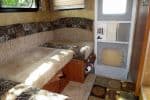
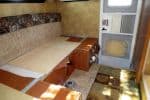
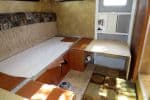
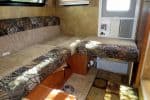
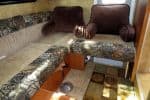
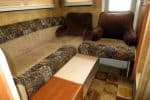
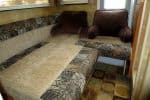
“Everyone wants a sofa in their truck camper, right? Well, I couldn’t quite get a sofa in my Lance 1050, but I got close. This sixty second dinette to sofa conversion allows us to watch television in a greater deal of comfort than just sitting at the dinette.
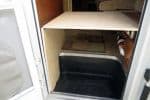
There are a total of three pieces of half inch plywood, two of which are hinged together. The two armchair pillows do double duty when laying in bed reading.
The photos show the progression of converting from a dinette to the sofa. The plywood panels store under the dinette seat cushions and weigh next to nothing. The conversion can stop at photo number six or can be completed through photo number eight to allow both occupants to have their feet up. We have found this arrangement to be very comfortable.” – Eldon Rhodes
Ray and Martha Jordan, Texas
2004 Chevy Silverado 2500
2012 Lance 825
 |
 |
 |
“We bought our first truck camper last year with a goal of dry camping at Padre Island National Seashore south of Corpus Christi, Texas. We like to drive way down the beach about twenty to thirty-five miles to explore the best fishing areas.
This is a four wheel drive area. We were not positive that we could successfully reach the more remote areas without getting stuck in the soft sand. So we bought a light weight camper which translates to limited storage.
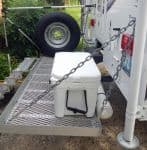
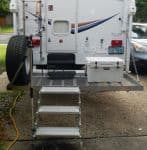
I had a carrier made out of aluminum at a local welding shop at a reasonable cost. It measures eighty inches long and thirty inches wide and only weighs about fifty-five pounds. We wanted it to serve as both a carrier and a back porch to make it easier to get into the camper.
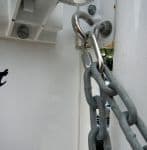
We also needed the platform to be rock solid stable. It is attached to both the camper and truck. The primary attachment is via a heavy duty hitch extension to the truck hitch receiver. Each corner is attached via chain and a turnbuckle to the eye bolts on the camper and the carrier. It works great as a stable platform to access the camper.
I attached a Torklift ladder and handrail system to make getting in and out of the camper easy and safe. It only takes a couple of minutes to attach and remove and can easily be done by one person.
The platform also serves as a large carrier for additional camping and fishing equipment used on trips to the beach and other camping spots. Access to a spare tire under the truck is not easy with the camper in place, so I carry a second spare on the carrier which will be easier to access if needed.
I used a seven foot long four inch piece of PVC pipe with end caps to carry my sewer drain lines. The PVC pipe is attached to the front of the carrier. There is plenty of room for a large cooler, gas grill, fishing gear, portable generator, beach chairs and lot more.
Finally it serves as a great outdoor shower area since the flooring is made of open aluminum grid. Sand gets rinsed off us and through the grid flooring instead of being tracked into the camper. I installed a extra long hose to the shower head that can easily reach the rear platform.
I am very happy with this platform and get lots of questions and compliments from other truck campers who have seen it.” – Ray and Martha Jordan
Randy Andres, California
2009 Ford 350
2006 Bigfoot
 |
 |
 |
 |
 |
 |
 |
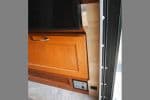 |
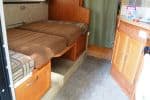
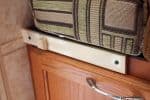
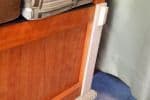
“Like most truck campers, my dinette converts in to a sleeping area. This works well when our guests are small. On occasion, we invite three nephews and the dinette bed is a bit narrow.
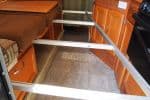
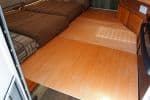
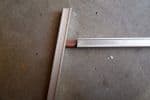
I solved this by widening the bed platform. The dinette bed is only three feet wide. Using aluminum C channel (discarded curtain hardware) I made a platform extension. The end bars are supported on each side by cleats (see photos). The two center bars rest on the table cleat and the cleat bolted to the side bar on the right. I then place three sections of plywood on the frame. When not in use, they are stored under the seat cushions.
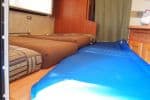
Add a self inflatable pad or you could custom make similar foam pads as dinette cushions. My six foot 155 pound nephew sleeps there.” – Randy Andres
Don Gill, New York
2004 Ford F250
2010 Travel Lite 875
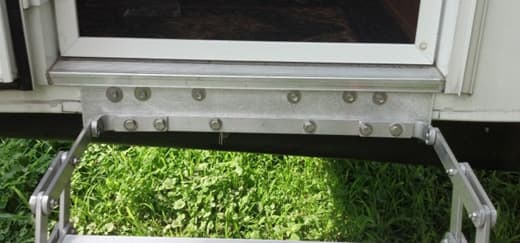
“I had a bracket made to lower the scissor steps. Since this not a basement model, the dealer mounted the stairs too close to the underside of the entry door and, at times, it would rub. This also allowed moving the steps about one and a half inches to the right which is a normal traffic pattern away from the hinge side. We used the same mounting holes in the camper and applied silicone caulk in the holes and the back of the plate.” – Don Gill
Doug Baughman, Iowa
2008 Ford F350
2013 Northstar Arrow 8.5
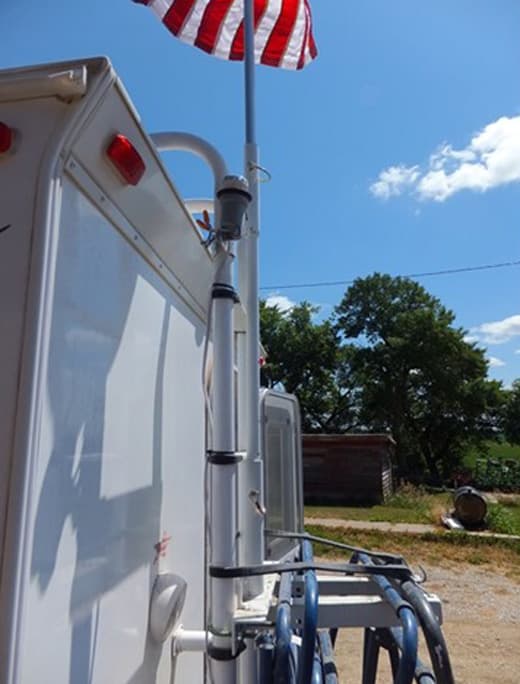
“I built a place to hold our lawn chairs, a place for my flag, and a light on top of the ladder to shine on the flag at night.” – Doug Baughman
Paul Foster, Maryland
2005 Ford F250
2008 Lance 845
 |
 |
 |
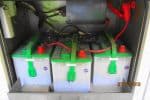
“I installed two solar panels. The results have been outstanding by providing sufficient energy to dry camp for months at a time. The solar energy powers four batteries which handle two computers, two cell phones, a twelve volt television, one Nook, two hot spots, and all the LED interior lights on the rig.
Installing two 85 watt solar panels was aided by Lance providing a schematic of the roof support struts. Knowing where to drill into the roof was important. My dealer gave me further guidance on how to ensure water doesn’t leak through those holes by applying butyl on all the holes.
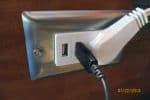
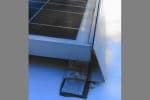
Three unique items with this installation were the outlets into which we plug our devices, the location of the additional batteries, and a front edge shield for the panels providing protection from tree limbs or branches while off-roading.
The outlet came from Lowe’s and provides for a 120 volt outlet and two USB outlets. The two outlets were installed; one outlet on the front left of the cabin, the other on the opposing side and placed to the rear of the cabin.
The removal of the existing propane generator created the space for three additional batteries. The original Onan generator wire now provides a connection from the solar panel system to the three batteries.
On the back wall of the battery compartment is the inverter. On the left wall is the outside weather station which must stay out of the rain in order to continue working.” – Paul Foster
Vinny Berube, Massachusetts
2012 Ford F450
2009 Lance 1191
 |
 |
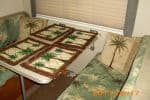 |
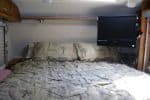
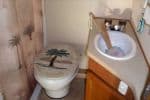
“I took my wife to Florida several years ago and she fell in love with palm trees. So our new Lance is decked out with palm tree rugs, towels, sheets, comforter, shower curtain, place mats on the dinette, and a palm tree clock.” – Vinny Berube
Sue and Don Graf, Maine
2008 Ford F350
2013 Arctic Fox 865
 |
 |
 |
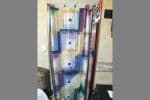
“We bought a new Arctic Fox 865 this year and have been adding shelves. We also deleted a drawer to make room for the kitty litter for our two cats.
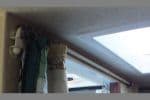
The modification we are entering is for the bathroom. There wasn’t any storage for everyday needs and the medicine cabinet was almost useless. So, Sue made a mesh cloth pocket wall hanging affixed with industrial Velcro, which holds all our everyday needs.
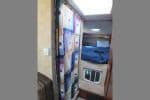
Originally we wanted the kitty litter in the bathroom, but we didn’t like it there. However, we removed the bathroom door, and we liked that. In place of the door, she made a log cabin quilt curtain with tabs which we mounted it on a swing out curtain rod. In the in position it acts as a door to the bath room. When swung out, it provides privacy from the front of the camper and creates a dressing space. After a shower it is nice to have a dry space to step out into.” – Sue and Don Graf
Gary Raymond, Florida
2012 Dodge Ram 3500
2006 Lance 1191
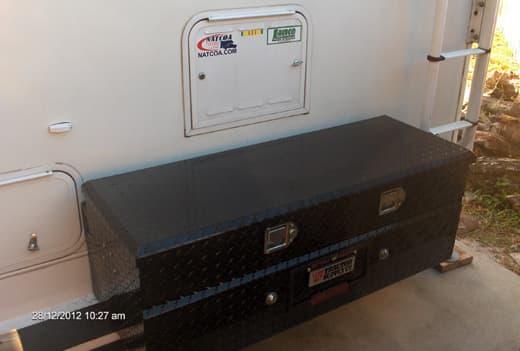
“I installed a dock box on the rear bumper. It works out great for keeping the grill. folding chairs, propane, and basically anything.” – Gary Raymond
Bill Felinski, Texas
2010 Dodge Ram 2500
2008 Lance 971
 |
 |
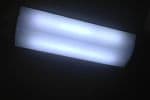 |
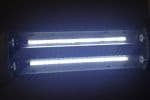
“The fluorescent lights went out and I had strip LED left over. This will greatly reduce power consumption while increasing light. The first picture shows both the replacement LED strips and an existing fluorescent fixture to show the increase in light.” – Bill Felinski
Shelley Pike, Indiana
2009 Ford F350
2006 Lance 9’6″ Sportsman
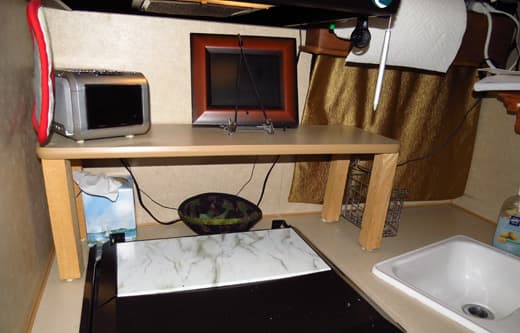
“The shelf installed behind the stovetop holds a myriad of items and still allows the cover to fold up for cooking. It’s approximately six inches deep and twenty-eight inches wide. The height is eight inches but the finished size would be dictated by your camper’s particular layout.
I used a pre-made shelf and cut two by fours into legs one and a half inches square. The legs are screwed in from the top and are fastened to the countertop with tacky putty. It can easily be removed if necessary yet stays put during traveling. In 60,000 miles, it has never come loose.
The clock and digital picture frame are secured to the shelf with adhesive backed Velcro; again, easily removed but solid when moving. There is still much room to lay things top and bottom while we are stopped for the night. I screwed a wire metal basket to the end to hold even more. I love having a place to put items that I need to keep close at hand.” – Shelley Pike
Andy Smith, Michigan
2002 Chevy Silverado HD 2500
1991 Sportsman 9.5
 |
 |
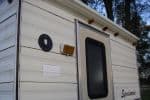 |
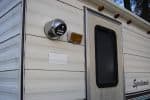
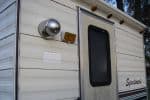
“While out in the sticks deer hunting, I normally start before sunrise, sit until dark, and then find my way back to the camper. After last year, I thought a motion detection light would be nice.
I found one this week at a local store, on sale to boot. It’s a battery operated, LED motion detection light, with a mounting attachment which you can attach and un-attach the light leaving the mount attached to the camper. You can also twist it backwards 180 degrees and it will shut off in time and not come back on until you twist it back out, to save batteries.
Now when I step out into the great white north, or not if the wolves are around, I do not need to worry about the first step. I also will have a home coming light upon returning. America, what a country. Did I say it was on sale?” – Andy Smith
Brent Portschy, Oregon
2005 Dodge Ram 3500
2006 Host Tahoe 10.5
 |
 |
 |
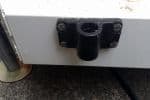
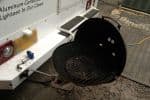
“I’m not sure I have seen this exact mod done before. I mounted a Scotty fishing pole holder mount to the rear bumper of my camper. I use the same Magma barbecue that I use on my boat. This way I only needed one barbecue for either location. I needed the mount and four stainless bolts, nuts, and lock washers. It only took a few minutes to install. The Magma grills are available at any boating, large fishing store, or online.” – Brent Portschy
Jeff Hagberg, North Carolina
2002 Ford F250
2006 Travel Lite 800SBX
 |
 |
 |
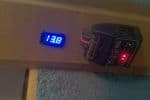
“I installed two twenty watt solar panels connected to a voltage regulator and wired them up to two deep cycle batteries. I do not use the charger in the camper. There is no need in that the batteries are always charged and ready to go. I also have a 2,300 watt inverter that will do everything I need.
The solar panels have been a real nice improvement to my camping and boondocking experiences. I know two twenty watt panels are not enough to maintain power for extended off-the-grid camping, but they help keep my batteries charged.” – Jeff Hagberg
Jim and Anne Beach, Alberta
2009 GMC Sierra 3500
2012 Arctic Fox 865
 |
 |
 |
“The Arctic Fox 865 has a propane outlet installed at the rear right side of the bumper. It is not attached very well from the factory so the first thing was to attach it more securely to the bumper and add a cover for the quick attach. A hydraulic quick coupler cover works well. There is usually a good selection of covers available from any farm supply store.
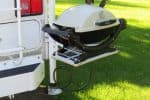
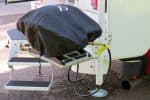
First we built a steel support frame for the Weber 100 BBQ that can be removed from the BBQ by pulling two long SS pins. The base has two tubes mounted above the base so the base is flat on the bottom. It is made from one-half inch ply with a one-eighth inch rubber base glued to the bottom. That is not really necessary, but makes it less likely to slide where ever you store it.
There is a V shaped yoke which has two pins that are installed into the tubes on the BBQ base. One pin is set at ninety degrees to the V bracket which fits into the bracket on the camper jack leg. I happened to have a piece of exhaust tube about six inches long which had the inside diameter closely matching the outside diameter of the jack leg. I split it in two lengthwise and welded a three-quarter inch by one-eighths inch flat bar to the edges to make a clamp. The vertical tube that fits the single pin on the V bracket has a piece of three-quarters inch by three-sixteenths inch flat bar welded to the tube. It is sandwich bolted to the half moon bracket. The inside diameter of the tube has a slip fit on the single pin on the V bracket. The half moon bracket stays attached to the camper jack and can be adjusted up or down to suit your ideal BBQ height. I used SS bolts so it won’t rust. We have ours slightly higher than our at home BBQ and find it just fine. When installed, the BBQ will turn at about a 120 degree range from the back of the camper to the side. I painted the brackets white to match the camper jack legs. The V bracket is removed for storage when the BBQ is not attached to the truck camper.
The propane connection is via a five foot hose with a quick connector from the truck camper to the BBQ. The BBQ was modified by taking off the regulator and installing a male quick connect on the propane inlet. The BBQ regulator needs to be removed because the propane supply is regulated down to operating pressure by the truck camper propane system regulator.
It was is bit of work to make the brackets however if you are handy with steel and a welder, it is good winter project.” – Jim and Anne Beach
Disclaimer: It is your responsibility to make sure that any do-it-yourself modification project you undertake is safe, effective, and legal for your situation.
