Factory satellite radio antennas are almost always blocked by truck campers. Here’s how we solved the problem of our blocked Sirius XM Radio Antenna and nearly froze to death in the process.

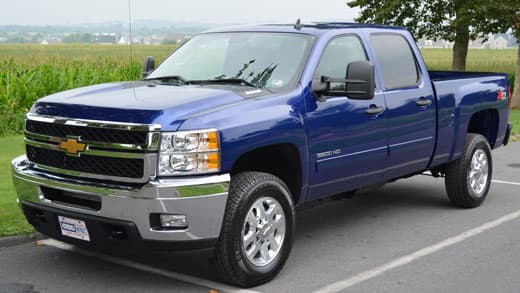
We purchased a 2013 Chevy Silverado 3500 last fall and enjoyed our trial three-month free subscription until it ran out. Since our plans to go south for the winter in our truck camper were dashed by pressing magazine duties, we decided to let the subscription lapse and renew it when we finally get back on the open road.
Our first satellite radio experience was in 2005 when I bought an XM receiver to keep us in the loop during our first cross country truck camping adventure. That particular XM receiver was a portable unit and completely separate from our truck’s factory installed radio. The antenna had a magnetic base and a twenty-foot cable that connected to the portable receiver inside the truck. I was able to place the magnetic antenna base on the metal hood of the truck to clear the otherwise interfering camper cabover. The receiver then broadcast the XM signal via FM to the truck’s radio. That satellite radio system is crude by today’s standards, but it worked.
Getting back to our new truck, the stock radio has a SiriusXM Radio receiver built in with a shark fin shape antenna on top of the truck cab. The integration and functionality of the new radio is in another league compared to the old truck, but the shark fin antenna is almost completely worthless once a truck camper is mounted. Nine times out of ten, the camper overcab completely blocks the satellite radio signal.
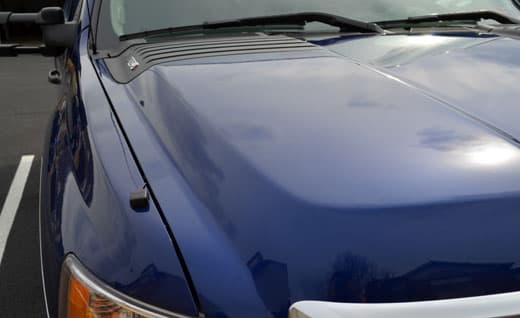
At the Gettysburg Truck Camper Rally last year, John Wells, aka the guy who tows a Civil War cannon behind his truck camper, showed us his work-around to solve the Sirius XM Radio antenna being blocked on his 2011 Chevy Silverado 3500. To make a long story short, John mounted a second GM shark fin antenna on his front hood.
Above: Notice the little shark fin above the driver’s cab area
At first blush, I was intrigued that it was possible to move the antenna, but there was no way I was about to put another shark fin on my new truck’s front hood. Not only would Angela throw me out of the house for hurting our new truck, but I can only imagine what the fellas would say at the rallies. They already give me enough trouble about having a truck with spark plugs because, you know, “Real trucks don’t have spark plugs”. Sometimes it’s Junior High all over again.
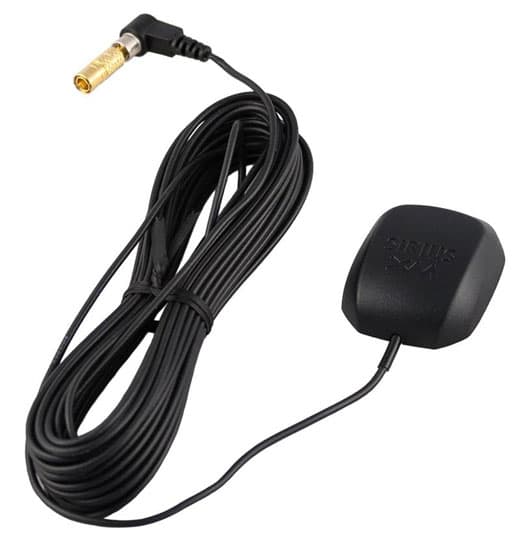
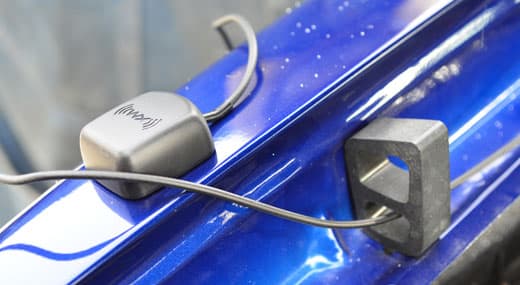
Above: The XM Sirius magnetic antenna base, wire, and adapter
I explained my dilemma to John. He replied, “We could just put a magnetic antenna base on the hood with a twenty-foot wire running into the SiriusXM receiver in the truck”.
Now where had I heard that idea before? Oh yeah, that’s how we used to do it in the early days of satellite radio. You know, eight years and four paragraphs ago.
Since this was a big priority in our lives, we waited about five months before scheduling the antenna install with John. You see, we wanted it to be as painfully cold and windy as possible because this just seemed too darn easy any other way. Anyone can install a Sirius XM radio antenna, but what about if it’s February, fifteen degrees out, with wind speeds that range from “no big deal”, to “this is flat out ridiculous”, to “I’m not sure we’re going to make it if we stay out here much longer”.
Prior to our new radio show, “Sirius XM Antenna Installation, On Ice” we had purchased and assembled a short list of objects John requested to aid in our experience. This list included an SiriusXM magnetic antenna, a FAKRA adapter, pliers, black duct seal clay, and zip-ties.
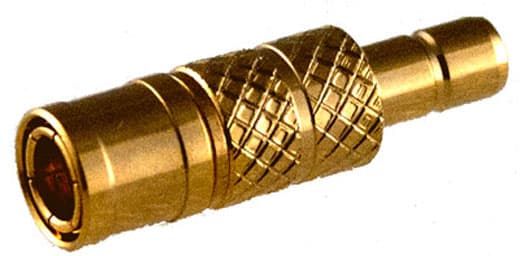
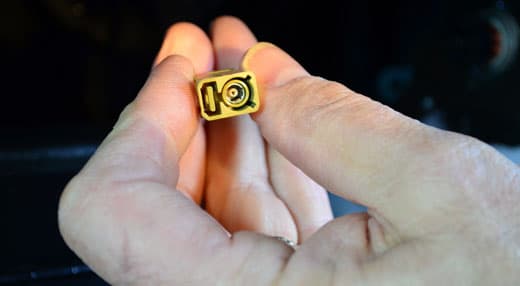
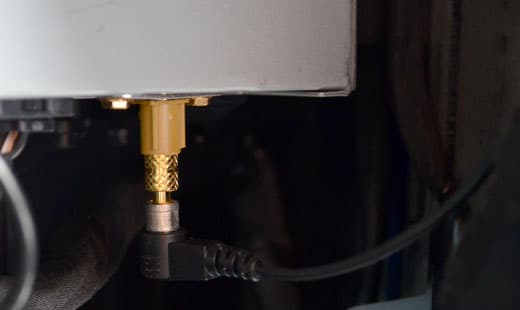
Above: The FAKRA adaptor
“What’s a FAKRA adapter?” you ask. Well, FAKRA is the type of antenna connection some SiriusXM radio receivers use. Our GM receiver happens to use such a FAKRA. It’s critical to find out exactly what type of antenna connection your receiver uses before attempting to change your Sirius XM antenna.
Let’s get to the installation. Since John had already installed an Sirius XM antenna on his truck, he was chief surgeon. All we did is hold parts, hand tools, take pictures, and shiver.
 |
 |
 |
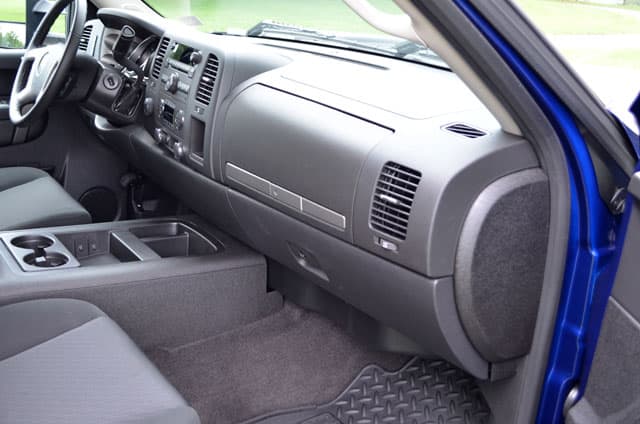
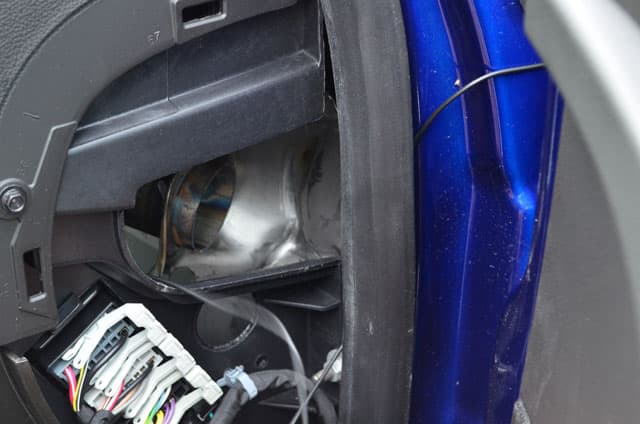
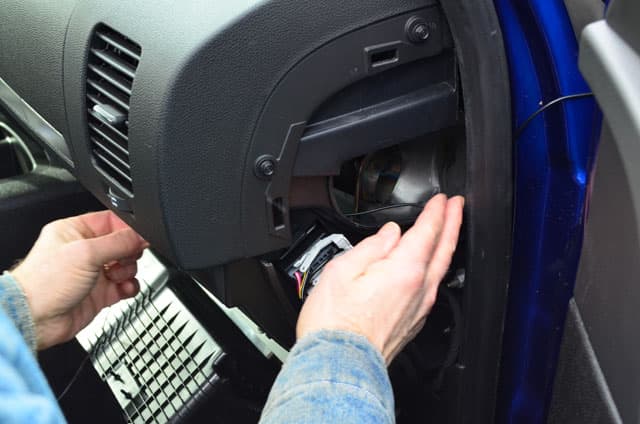
STEP 1: To begin, John carefully popped off the side glove box panel and opened the glove box bottom.
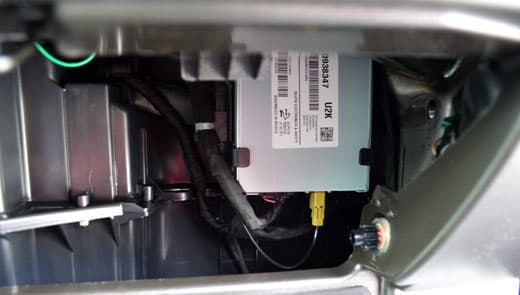
STEP 2: Once John had located the SiriusXM receiver box, he looked for a light olive green plastic connector in the underside of the SiriusXM receiver. This connector had a thin black coaxial cable coming out of it. This cable goes to the OEM shark fin antenna on the roof.
John carefully released the olive colored connector with pliers and connected the new antenna.
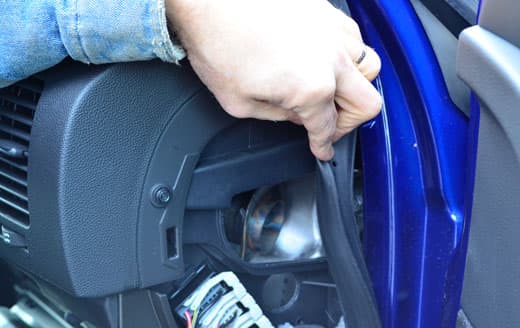
STEP 3: On the passenger’s side of the truck, John popped the door seal free so he could feed the new SiriusXM antenna wire through it. Careful John, this truck is still new. And hurry up, it’s freezing out here.
STEP 4: Before proceeding, John turned on the SiriusXM with the new antenna attached and made sure it worked with the new antenna.

STEP 5: Next, John opened the truck hood and said, “You call that an engine?” Not really, but I was ready.
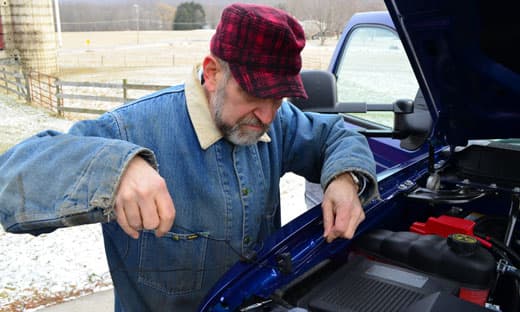
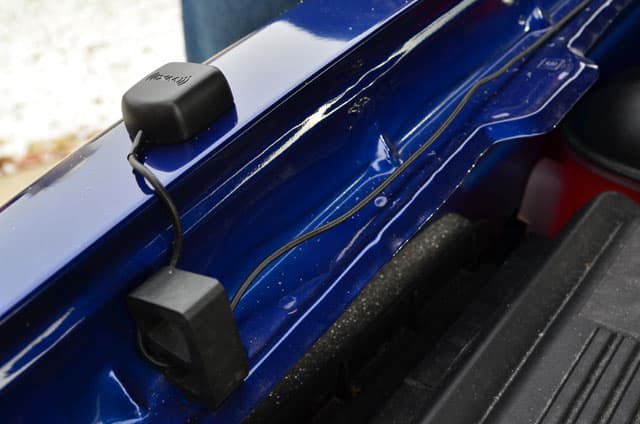
With the hood open, John ran the antenna and wire to the driver’s side front of the truck, and mounted the magnetic base.
He then worked the wire backwards keeping it relatively tight.
STEP 6: At this point, John recommended using the black duct seal clay near the door jam to keep the wire secure, but we were too cold to care. He also said we could use the zip ties to further ensure the wire would not move. All of this will make more sense when it’s not fifteen degrees out.
 |
 |
 |
STEP 7: With the antenna cable threaded to the front of the truck, John pushed the door seal back into position and bundled up the extra wire.
STEP 8: Using the FAKRA adapter, John plugged the new antenna into the Sirius XM receiver.
STEP 9: About ten minutes after we started, it was done. John closed the glove compartment and truck hood and we hurried inside.
Unfortunately, every Sirius XM receiver and installation will require research before embarking on a similar mission. First, you need to determine where your SiriusXM receiver is (start looking in your glove box) and what type of antenna connection it uses.
Once the receiver location and antenna connection have been determined, look for a magnetic antenna with that antenna connection, or an adapter like the FAKRA adapter we used. From that point, it’s simply a matter of careful installation. Another option is having your local truck or car stereo dealer handle the install.
Would you believe that Angela and I went cross country in 2007 with a busted stereo system? We had no radio, no CDs, no iPod input, no music, nothing! Of course that didn’t matter because we couldn’t hear anything over our old truck’s 12-valve Cummins diesel. Honestly, I don’t know why they put stereos in those old Dodge trucks. The engine is your music, and it plays loud.
With our new 2013 Chevy 3500, we have Sirius XM, iPod integration, a CD player, and a very quiet gas engine. Cue up 80s on 8, and drive.
Generic Three-Step Blocked Sirius XM Antenna Solution:The solution in this article is an example and will not be applicable to every year, make, and model of truck. John said the biggest differences will be the type of connection used by the OEM satellite radio module, the installed location of the OEM satellite module, and the antennas. For example, sometimes the OEM satellite modules are mounted under a front seat.Here is John’s generic three step path to solving blocked satellite radios. With some adaptation, this approach should work for most trucks:STEP 1: Locate the OEM satellite radio module on your truck’s year, make, and model. If this isn’t apparent, try contacting your local dealer. Unfortunately, some local dealers are not familiar with this information, so additional research may be necessary including contacting other dealerships and the manufacturer.STEP 2: Correctly identify which type of connection is used on the OEM satellite module and acquire an adapter (if needed). You will also need a Sirius XM magnetic antenna. STEP 3: Proceed with the installation including routing and securing of the cable and magnetic antenna with the sensor as far forward on the body of the vehicle as possible. Make sure you check that the adapter and antenna work with the satellite radio before completing the installation. During the following install, John connected the adaptor and antenna and turned the satellite radio to confirm reception before routing the wire and applying the antenna to our truck hood. If you are an OnStar subscriber, please also check that your OnStar service has not been disrupted by installing the new antenna. On some GM trucks, you will need a splitter to accommodate the satellite radio antenna and OnStar connection. |


