How can you put a nightstand in a drawer or expand a wet bath? Is it possible to silence a refrigerator fan or fill batteries without looking? See these tricks revealed and more from ten talented mod-magicians!

Welcome to the May 2017 Super Cup Monthly Mod Contest. Please review the following ten Medium Mods and vote for your favorite. We will announce the winner next week. For more information about the Monthly Mod Contest, including how to enter, click here.
This mod contest is now complete. Congrats to Charlie Coushaine for winning this month!
1. Kathy Dresbach, White, Georgia
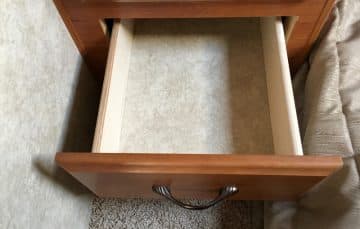
Bedroom Drawer As Drawer and End Table
2015 Ram 3500
2016 Eagle Cap 1165
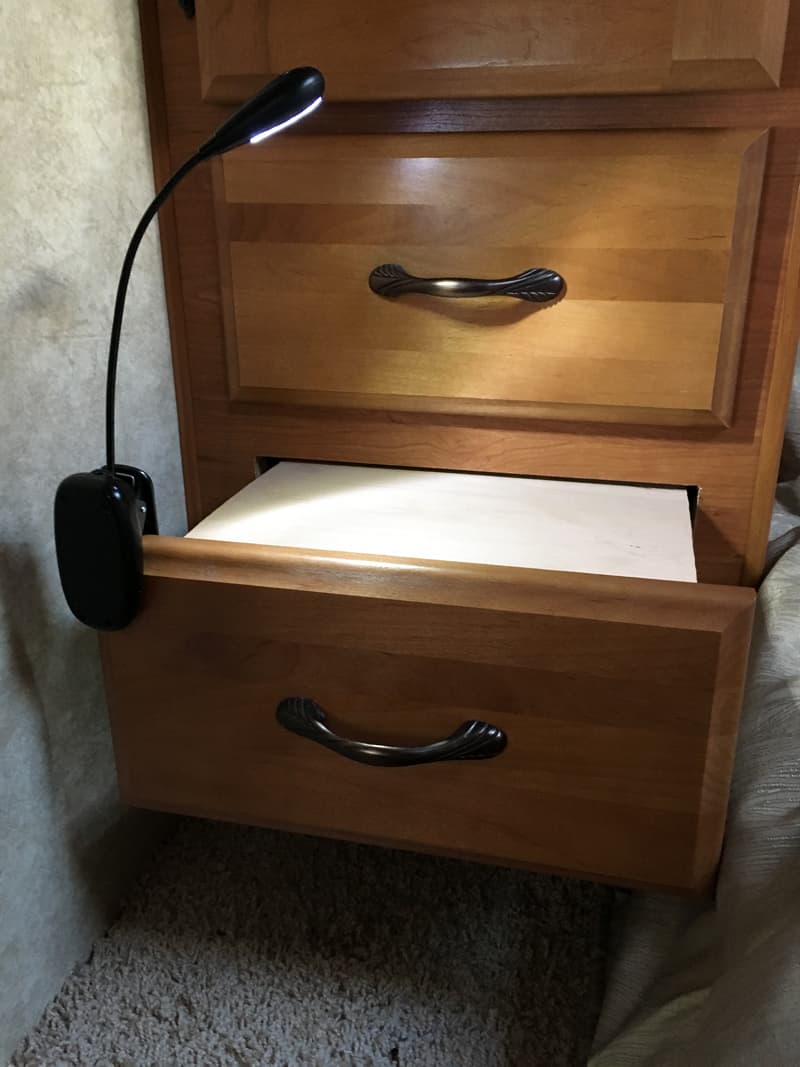
I wanted a nightstand. I didn’t have one, but my husband has one one on his side of the bed.
To make my nightstand, we cut a piece of wood that fits the exactly the width of the drawer. The wood has to be thin enough so that the drawer can still close.
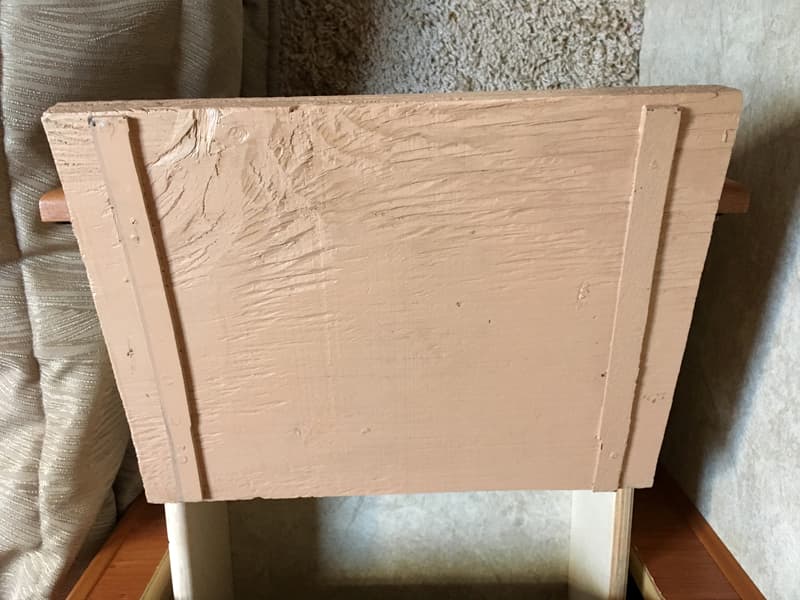
We put a 1/8-inch by 1-inch plastic strip on the bottom side of the shelf. The strip fit on the inside of the sides of the drawer preventing the wood from sliding side to side.
 | 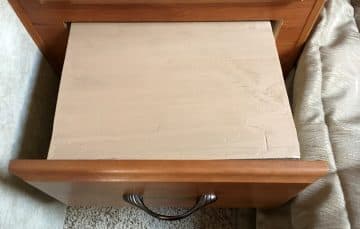 |
You can stain or paint it if you want. We attached a clip-on light to the drawer for light at night. We got the light on Amazon.
The nightstand mod has worked out wonderfully! It took me one hour to complete this modification and cost me $0 because we had all the materials. In my opinion, the skill level of this modification is medium.
2. Eldon Rhodes, San Antonio, Texas
See Level Gauges Installed
2008 Chevy, 3500 HD
2011 Lance, 1050
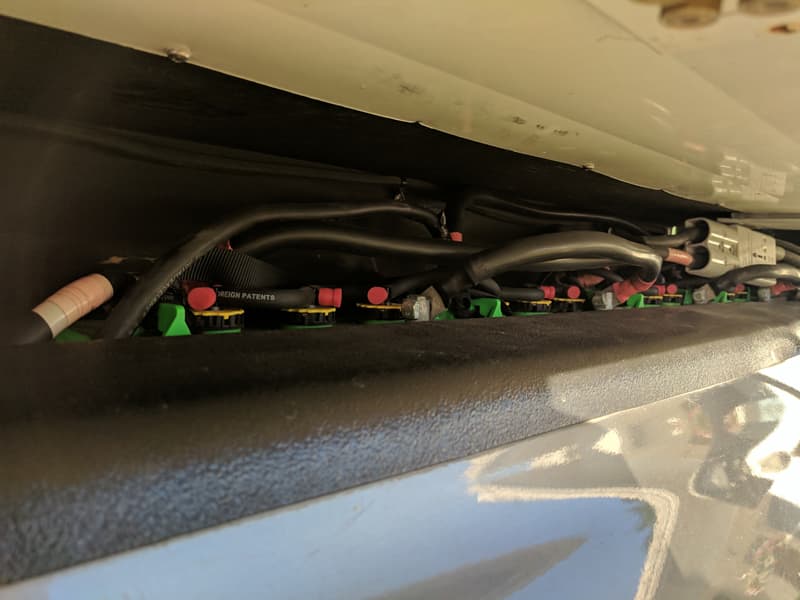
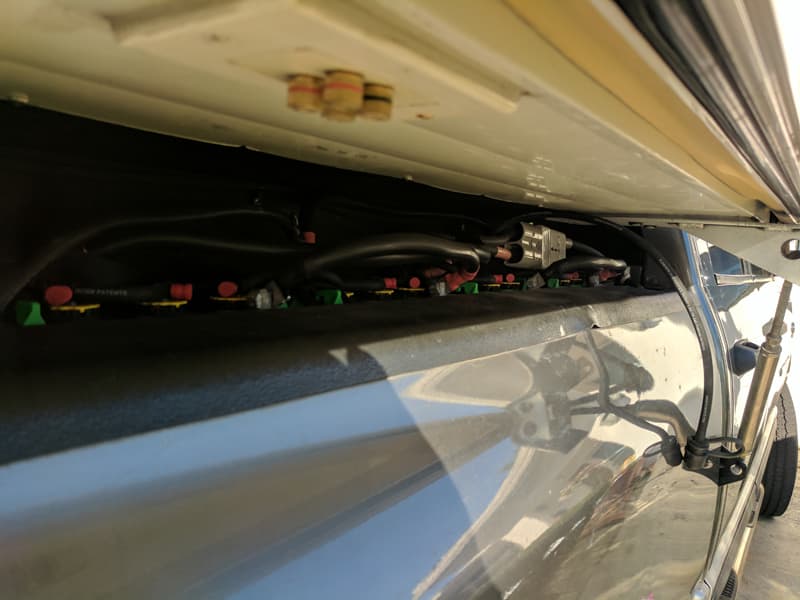
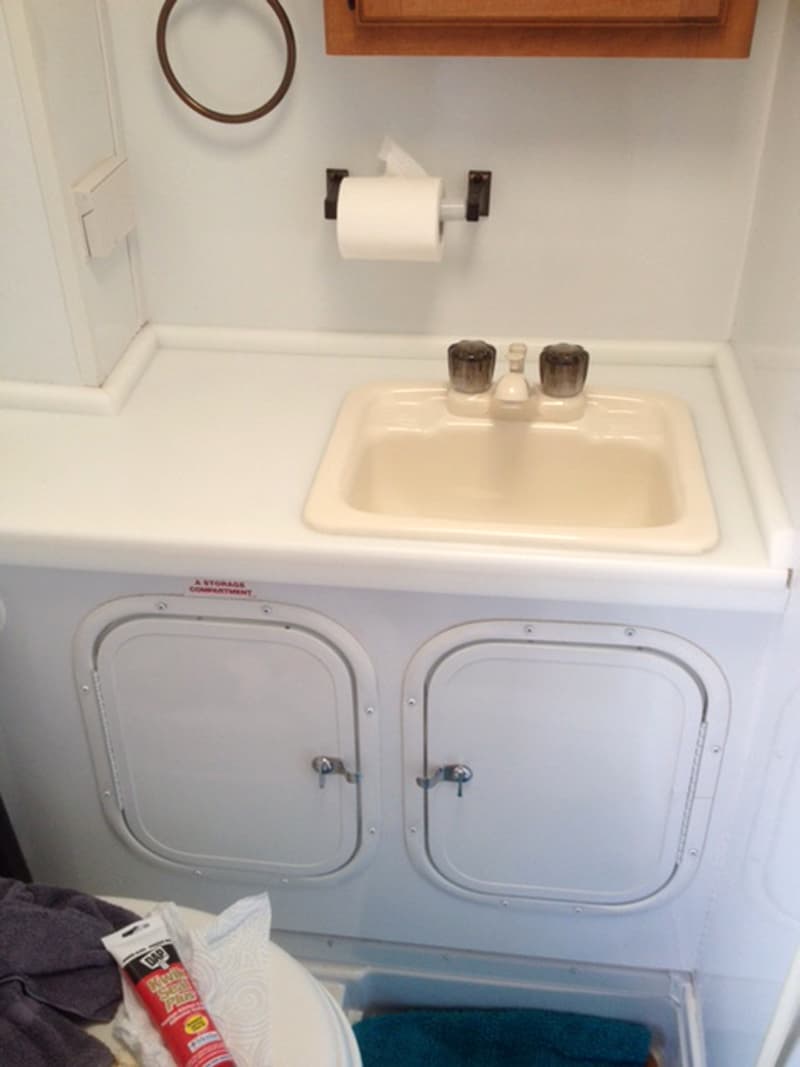
In all of the years I have been RVing I have always been frustrated with the lack of dependable waste tank monitors. I wanted to improve the accuracy of these monitors.
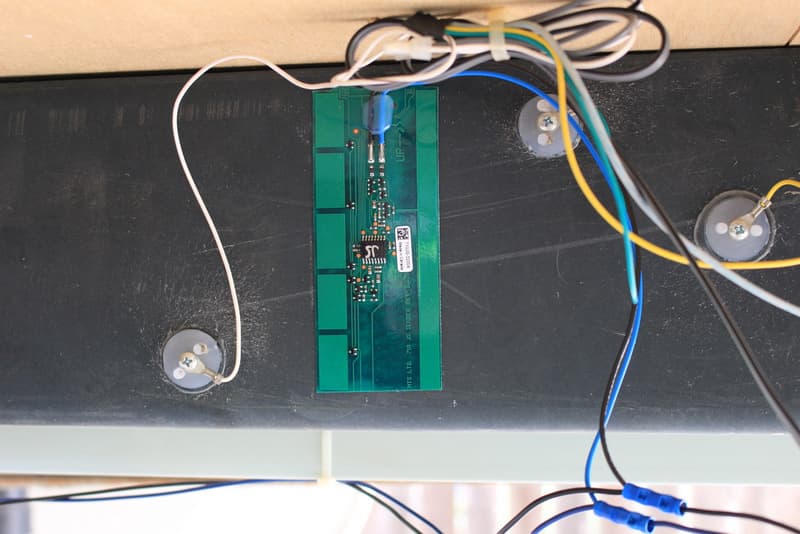
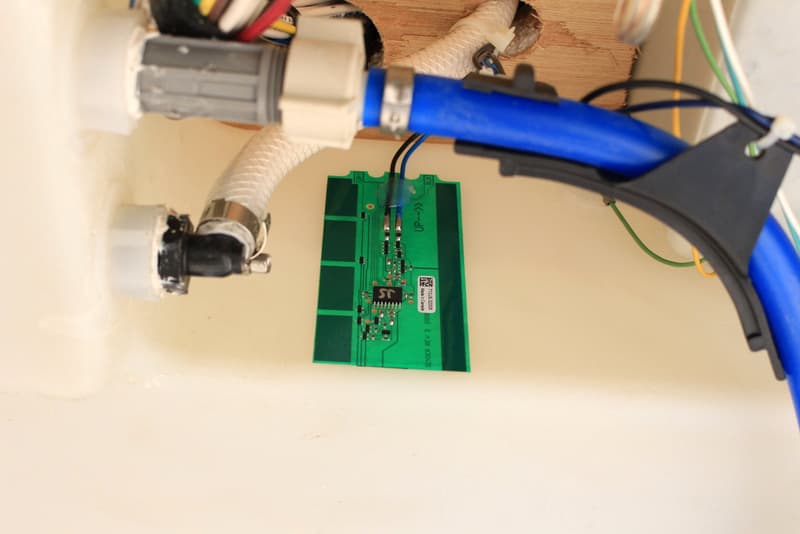
Installing the SeeLevel II waste tank monitoring system was a challenge in that it required removing the panels from the bottom of the truck camper to run the wiring from the waste tanks to the monitor.
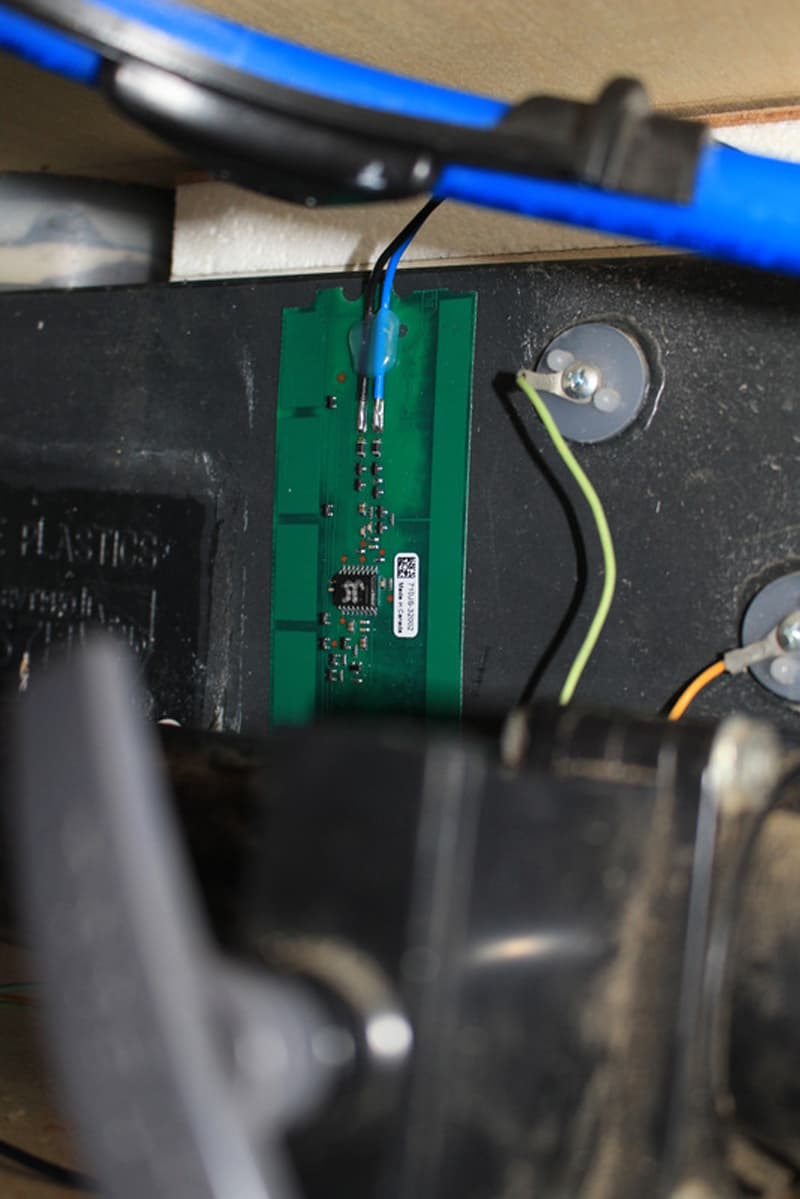
The fresh water tank is not accessible at all without removing the bottom panels. Accessibility to the black water tank is also very limited.
By removing the battery level monitor from the original Lance monitor panel, the new SeeLevel Monitor Panel was almost a perfect size to replace it. It looks almost factory.
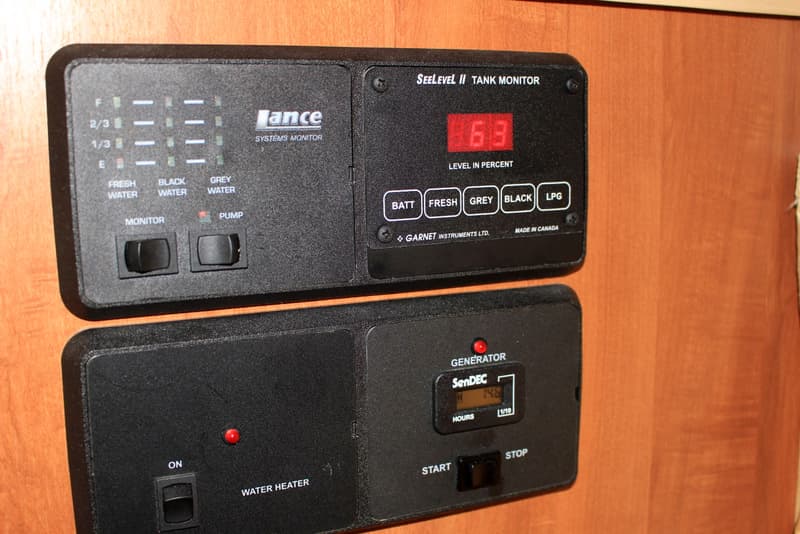
I am very happy with the results I have achieved with this mod. I find it to be very accurate. Instead of guessing based on undependable sensors (is the tank just a little over one-thirds full, or just under two-thirds full), these sensors tell me in percentage how full they are, such as 63% full.
It took me ten hours to complete this modification and cost me $200. In my opinion, the skill level of this modification is hard due to the fact that I had to remove the bottom panels.
3. David Carvalho, South Hadley, Massachusetts
Battery Fill Solution
2006 Ram 3500
2013 Alaskan
I did a modification to make it easier to check the battery’s water level. Like some old die-hards, I still prefer lead acid 6-volt golf cart batteries. Where my batteries are located makes it difficult to check the water level without lifting the camper.
The mod is a kit you can buy to blindly auto-fill your batteries. In my case I have four 6-volt batteries, so I needed two kits at around $75 each and a hand pump for another $30. The kit is simple to install with easy directions.
Once installed, you simply connect the hand pump and put the other end in a distilled water bottle. When you can pump no more, the water level is at the desired level.
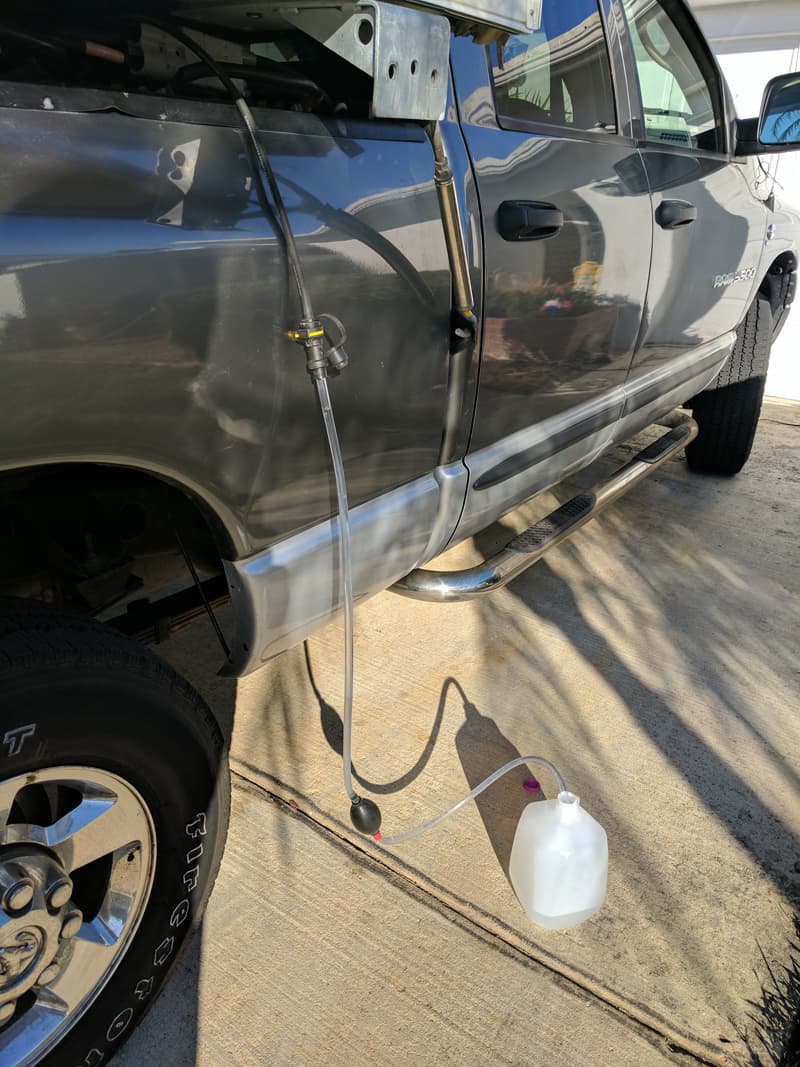
I did this because, on a few occasions, my battery water level went bellow the plates. This isn’t good for the batteries and shortens their lifespan.
It has worked out great so far. When I remember, I hook up the pump with a jug of distilled water and pump until I can pump no more.
It took me two hours to complete this modification and cost me $185. In my opinion, the skill level of this modification is medium.
4. Jeffrey Hartman, Keyser, West Virginia
More Shower Room In Wet Bath
2002 Chevy Silverado 2500 HD
2012 Palomino M8801
We always felt cramped by the close shower curtains. I wanted to provide more elbow room.
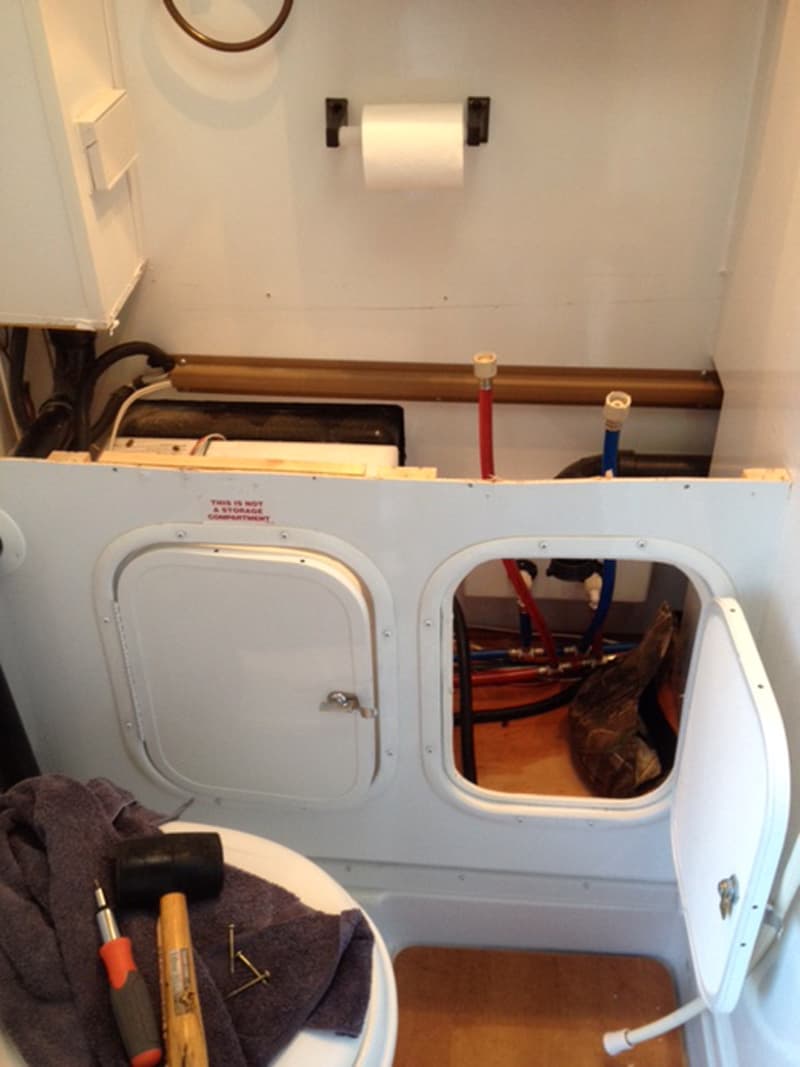
I first removed the bathroom door which allowed some elbow room. Then I removed the particle board vanity top and made a new one from waterproof HDPE (high-density polyethylene).
I used the same HDPE material to make a back splash. This allowed me to move the shower curtain against the medicine cabinet, providing even more room.
This mod has made a much more usable wet bath. We didn’t use the wet bath before the mod, but now we always use the shower instead of campground facilities.
It took me eight hours to complete this modification and cost me $100. In my opinion, the skill level of this modification is medium.
5. Morgan Swisher, Madera, California
Fantastic Fan Cover
2015 Chevy Silverado 3500
2015 Wolf Creek 850
I wanted to block out the light that shines through the Fantastic Fan over the bed for nap time. I also wanted to be able to keep the heat from escaping when I camp on winter bass fishing trips.
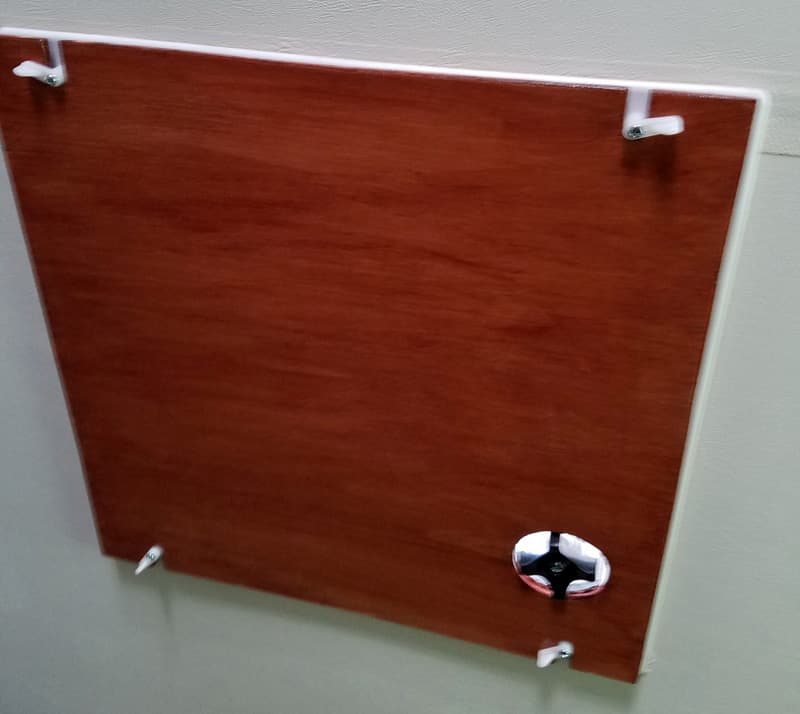
I had some 1/8-inch plywood and cut it to the shape of the Fantastic Fan. I used a jig saw to notch where I wanted to add simple plastic mirror supports. I left them semi-loose so they wouldn’t jiggle loose if I left it on while driving. I also cut the hole where the fan knob is since it sticks out farther than anything else.
I stained and sprayed Varathane on the wood to match the color of the cabinets.
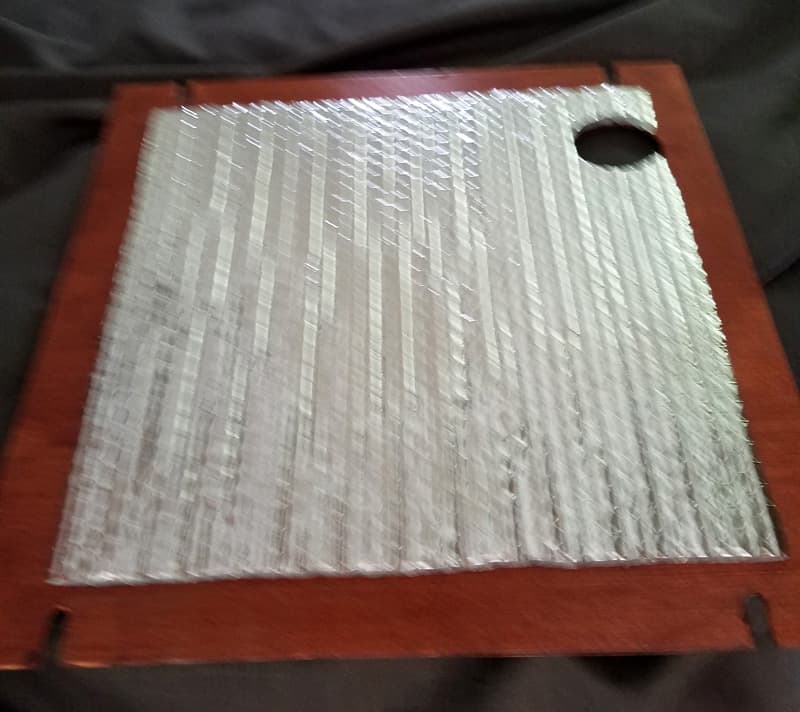
I glued insulated aluminum foil that I had left over from putting it under the mattress and on the windows behind the curtains.
It really works well. I used to feel the cold from the opening during the night, but not anymore. It also blocks out the light.
It took me four hours to complete this modification and cost me $10. In my opinion, the skill level of this modification is medium.
6. Tim Zeh, Greenville, South Carolina
Ramp For Dog To Enter Camper and Stairs To Enter Overcab
2005 Chevrolet Silverado 3500
2007 Arctic Fox 1150
We have a nine year old Chocolate Lab who is having trouble getting up in the camper and into the bed. Lifting up a 60-pound dog was not acceptable. We needed a way to allow her to climb into the camper and the bed.
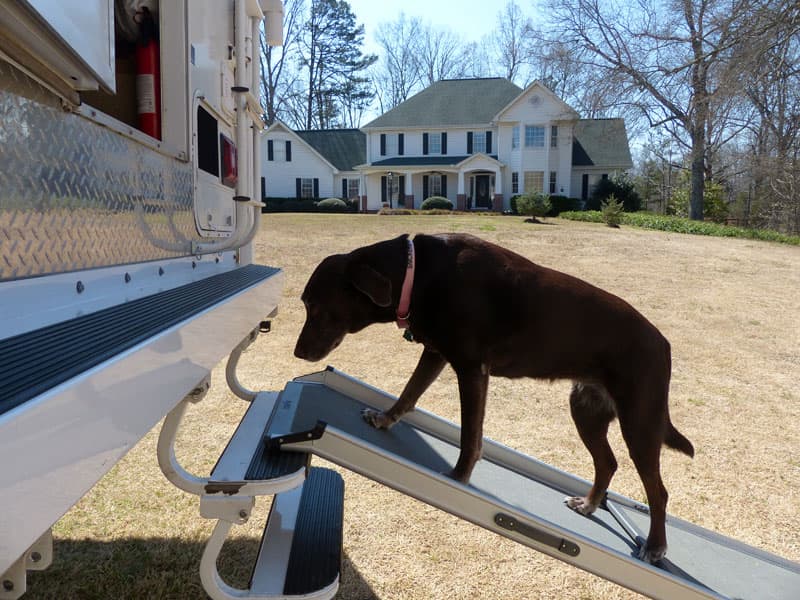
We had a old dog ramp that we had for an older dog who passed several years ago and was able to prop it up on the top step. With coaching, Snickers was able to walk up and down the ramp and into the camper. One problem was solved.
Getting into the bed took a little more thought. She can still go up and down stairs so I decided to make a set of light weight stairs that would attach to the bulkhead below the mattress. Our Arctic Fox 1150 has a removable counter that attaches to the bulkhead. I was able to use that bracket to anchor the stairs to the bulkhead.
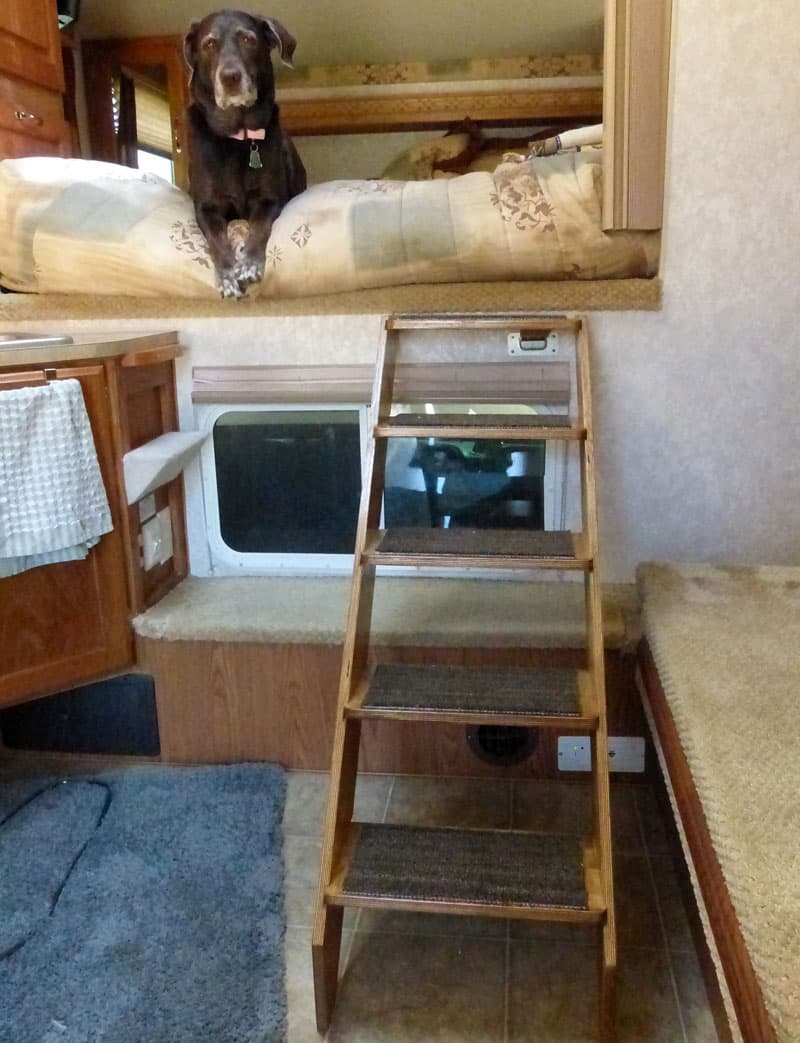
For the interior stairs I wanted a set of steps that were strong and lightweight. They needed to fit by the side of the kitchen area still allowing room to get into the refrigerator. They also needed to be easy to remove when bringing the slide-out in. The steps had to be similar to standard building dimensions. The total rise was 35 inches.
I decided to use a simple 7-inch rise by 7-inch run with five steps. I used 5/8-inch birch plywood and was able to make the stairs out of one 5-foot x 5-foot piece.
I cut out five 7-inch x 14-1/2-inch steps and two side stringers. The risers were dadoed using a dado blade on a table saw to accept the steps and make a stronger joint.
I glued and screwed the steps together, stained and finished them with polyurethane to match the cabinets. I glued on carpet runners with contact cement and added non-skid pads to the bottom of the stairs. The mounting bracket was made from a block of wood and a small angle which fit into the existing counter bracket.
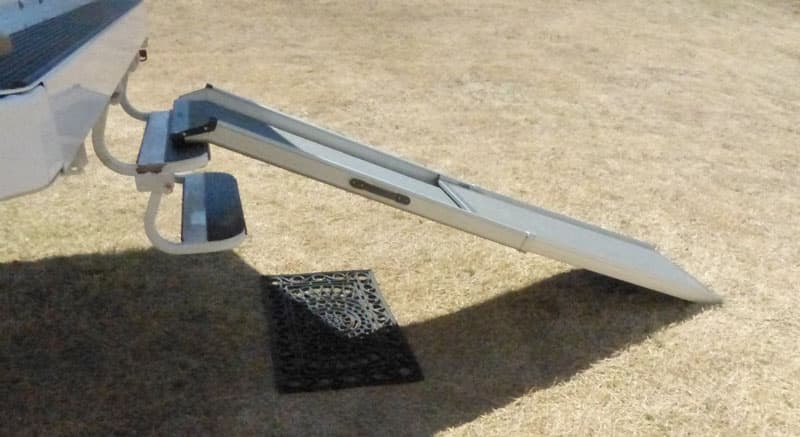
The ramp was a no brainer. Snickers now goes up and down the ramp with ease. We started out with a leash and treats and after a few days she was hooked.
We used the same technique with stairs to the bed. Remember that older dogs can’t jump up and down like a cat, so we need to help our best friends from hurting themselves in their old age.
This was a great improvement to our camper. Next is deciding what to do to make it easier for us to get into the camper. Maybe a porch, landing scissor steps, or combination of all?
It took me eight hours to build and finish the stairs and cost me $75 for the ramp and $40 for the stairs. In my opinion, the skill level of this modification is hard because you need to use woodworking equipment.
7. Eddie Cano, Lehigh Acres, Florida
Adding Extra Insulation To Camper
2012 Silverado 2500
2013 Northstar Igloo 9.5
The number one reason for my modification was to increase the internal warmth when camping in the desert at 20-degrees. Also, I wanted to somewhat limit the furnace thermostat and the blower fan from coming on so frequently, thus saving propane and the battery bank.
Living in southwest Florida part of the year, I also noticed quite of an improvement in keeping the heat out on hot days.
After demounting our Northstar Igloo from our truck, we noticed there were six bays on the bottom that were two inches deep. The bottom already had one-inch of ridged blue insulation.
We cut two 1-inch thick pieces of insulation to fill the space on each bay. When it was done, the bottom was now completely flat. We finished the job by adding an additional 2-inch thick piece of semi-rigid styrofoam to cover the entire bottom, cutting out appropriate drain holes, battery vents, etc.
We also used extra wide Gorilla tape for all seams, and then three pieces of thin strapping to the outside wood frame. Then we added insulation to the sides right up to the truck rails and 2-inches above.
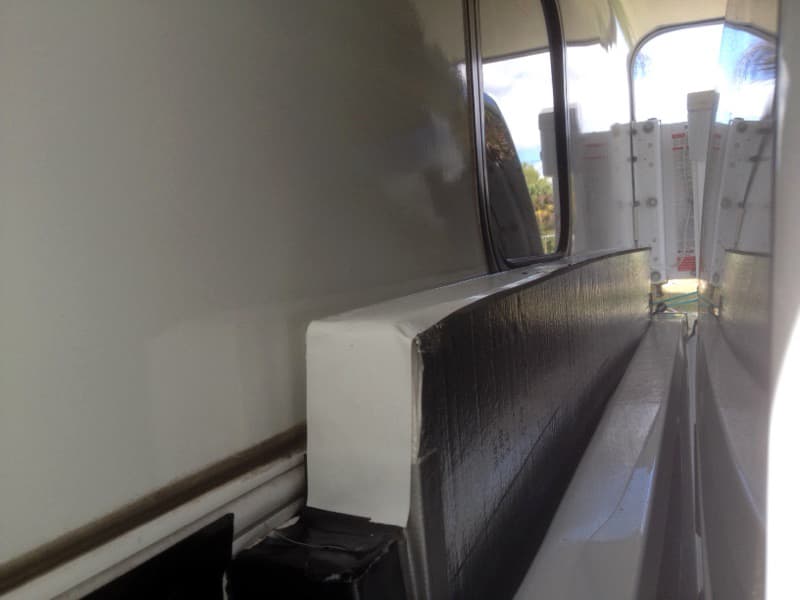
All the insulation we used had a moisture barrier on one side. It was easy to cut and fit. With our finished mod, our camper now has five full inches of insulation.
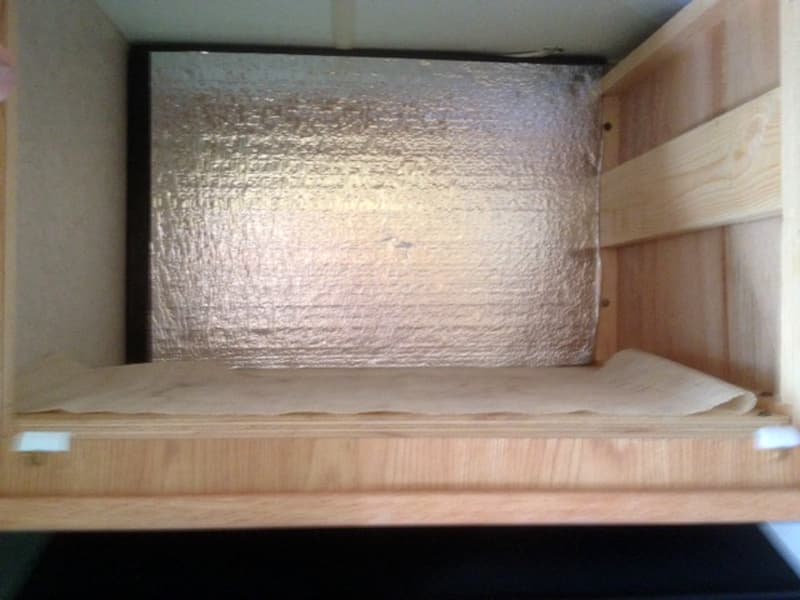
Above: Insulation in microwave area
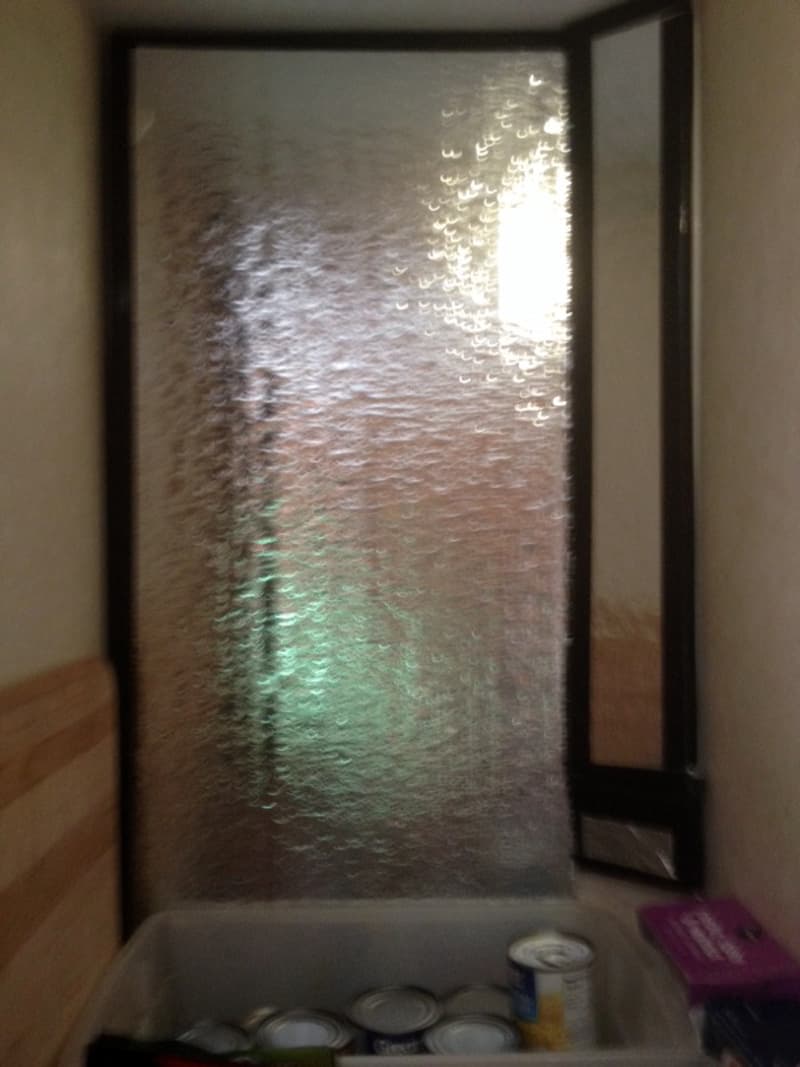
Above: Insulation in pantry
It’s an incredible difference that has to be experienced to be appreciated. It’s warm on cold nights and cool on hot days!
It took me approximately three hours to complete this modification and cost me $100 or less. In my opinion, the skill level of this modification is medium.
8. Charles Coushaine, Punta Gorda, Florida
Refrigerator Cooling Fans Added
2001 Ford F350
2012 Chalet DS116RB
My truck camper has a refrigerator in a slide-out. Refrigerators installed in slide-outs require a side-mounted side fan for ventilation. The factory-installed computer-style fan ran at a high speed creating an annoying high-pitch noise. That noise made it hard to sleep!
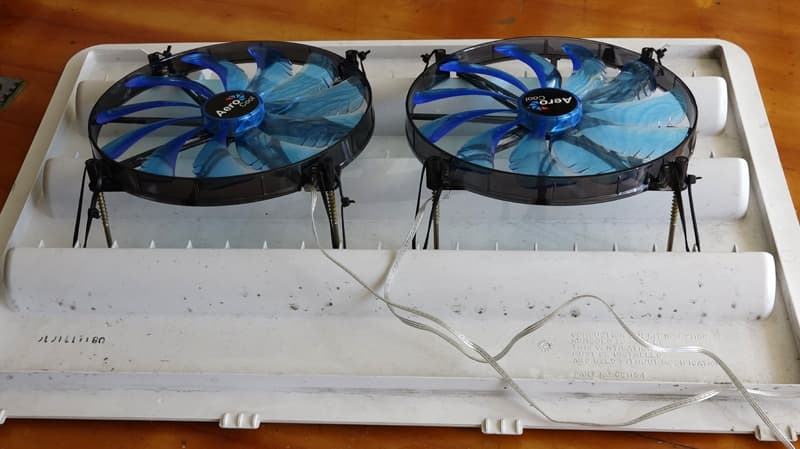
I have replaced the single high speed fan with two larger, slower, fans that achieve the same air flow. These new AeroCool Silent Master 200mm Blue LED Cooling Fans were attached to the inside of the upper exhaust vent cover and angled to maximize air flow out of the refrigerator compartment.
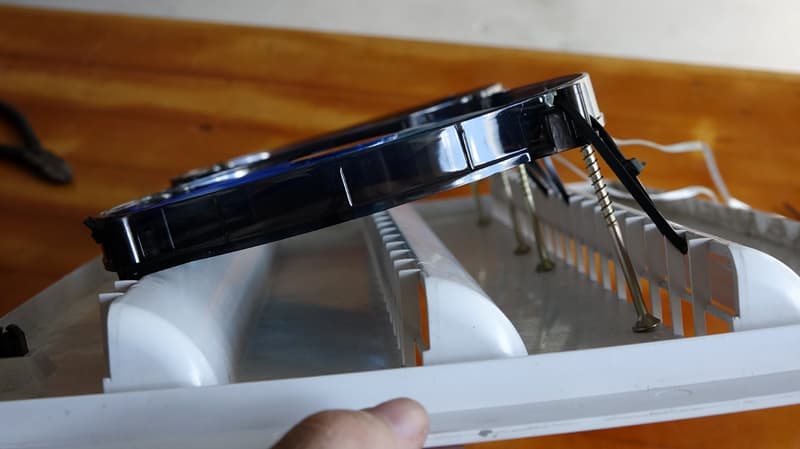
I then took the wiring off the old fan and wired in the new ones allowing the existing temperature switch to turn the fans on when needed.
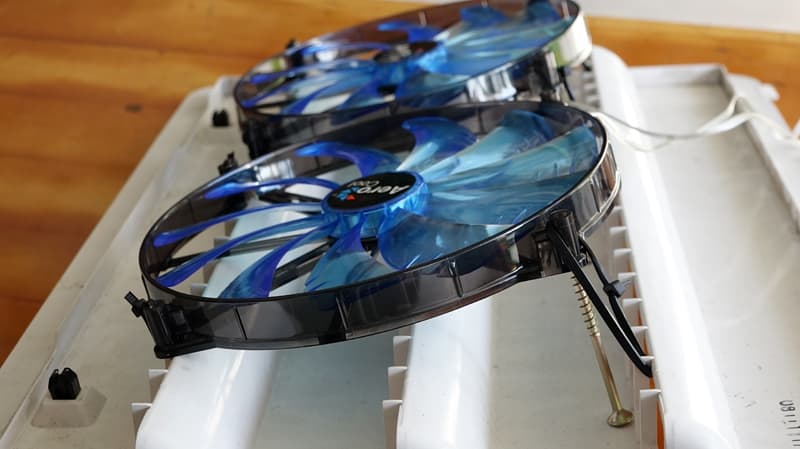
I have been using this new fan modification for multiple months and it has been working great! The fans are so quiet that I cannot tell they are running. The only way I know that they are working is from the glow of blue light coming out of my compartment cover at night (the fans came with blue LEDs).
It took me four hours to complete this modification and cost me $50. In my opinion, the skill level of this modification is medium.
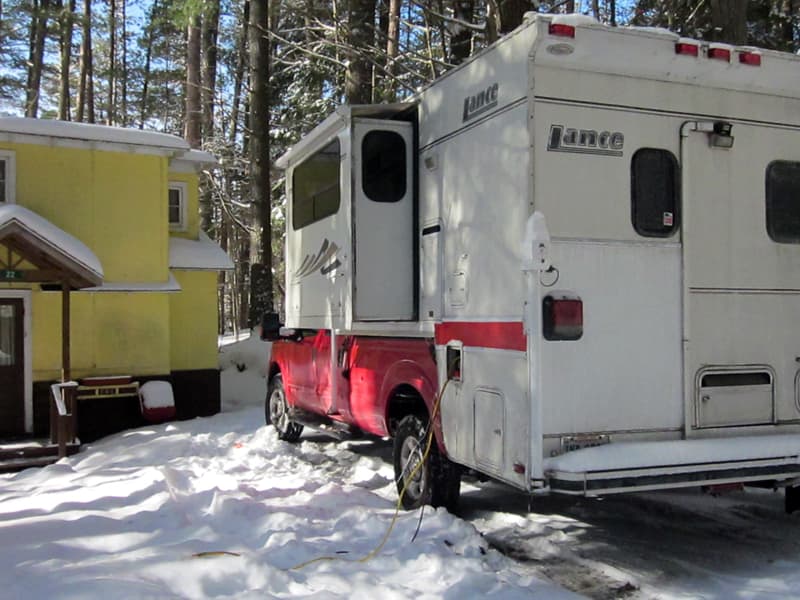
9. Fred Patterson, Fairfax Station, Virginia
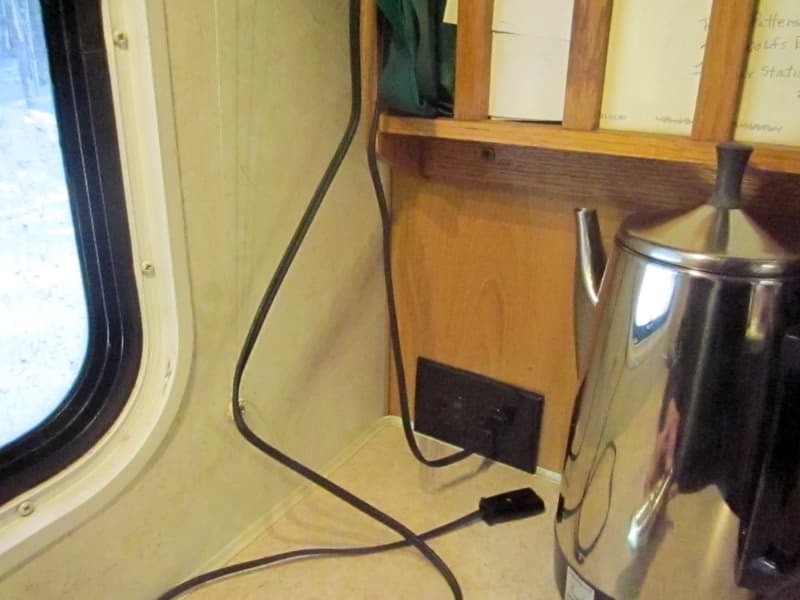
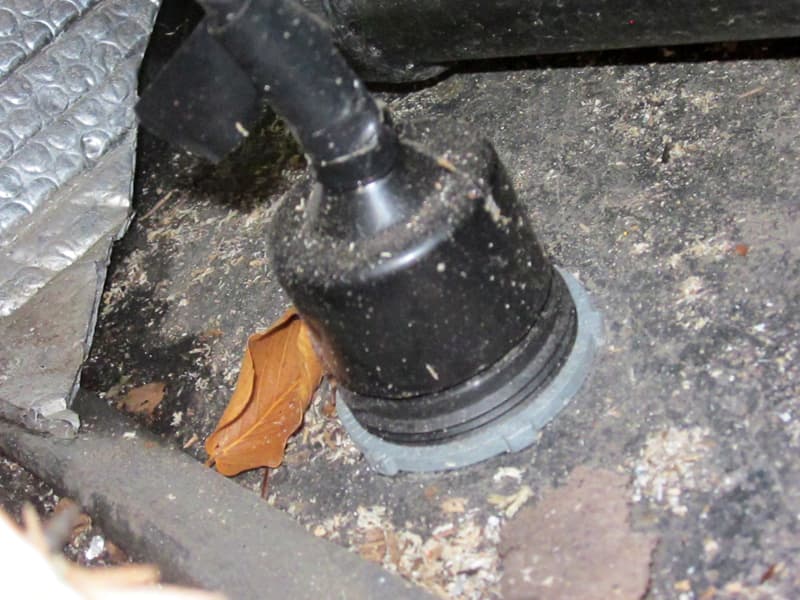
Installation Of A Marinco 20-amp 125V Straight Blade Power Inlet
2013 Ford F350
2002 Lance 1161
Occasionally I visit a location that does not have a 30-amp outlet, but where 20-amp circuits are available like most residences.
Usually 20-amps is enough for an overnight visit, but sometimes it might not be. If I am running the air conditioner or the space heater, and if I wish to also use the microwave and/or brew a pot of coffee and/or toast in the toaster, I very easily could trip a 20-amp circuit breaker and I have done just that.
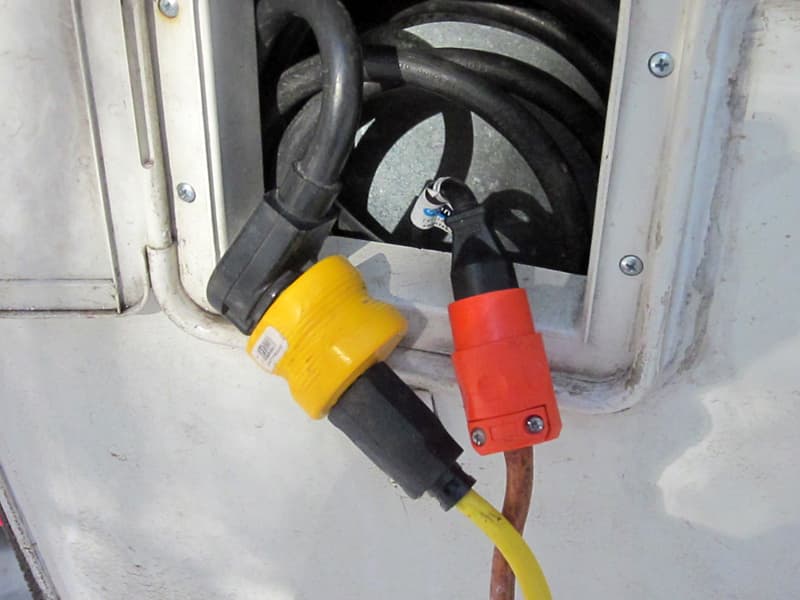
I wanted the ability to run two 20-amp circuits into the camper for occasions like this. I purchased a Marinco (200BBIW.RV) White 20-amp 125V Straight Blade Power Inlet from Amazon. There are different brands and sizes, but they are all similar.
I was able to get access behind the panel where the 30-amp cord is stored and I installed it there. I attached a 1-foot extension cord so that I wouldn’t have to fumble around trying to plug the second line in that tight location. A circular drill bit is needed to drill the hole. You must know which inlet you are using to know which size of drill bit you need. I would not buy the bit until you are sure what size you need.
The inlet is taken apart with one part inserted through the hole from the outside. The other part, with 12-2 wire already secured, is attached from the inside.
Then tighten the attaching ring. The inlet can be installed anywhere on the camper where one can reach in and attach the back half. It also needs to be where one can pull the 12-2 wire to the location inside to the desired outlet location.
I put outlets in two locations for this second circuit. My camper has a basement so I had many placement options, but there would be fewer options without a basement. I recommend installation somewhere near the existing power inlet so it is not overlooked when unplugging power.
The mod has functioned exactly as I planned. When I am at a campground connected to 30-amps, the mod is invisible and not needed.
I spend many days at our extended families 70 year old seasonal cottage in the north country. The temperature gets very cold, so I like to have many heating and cooking options. For anyone who only camps at campgrounds with 30 and 50-amp service, this mod may not be that useful. For everyone else, if you install this you will use it.
It took me approximately four hours to complete this modification and cost me under $50. In my opinion, the skill level of this modification is medium.
10. Lidia Soler, Inverness, Florida
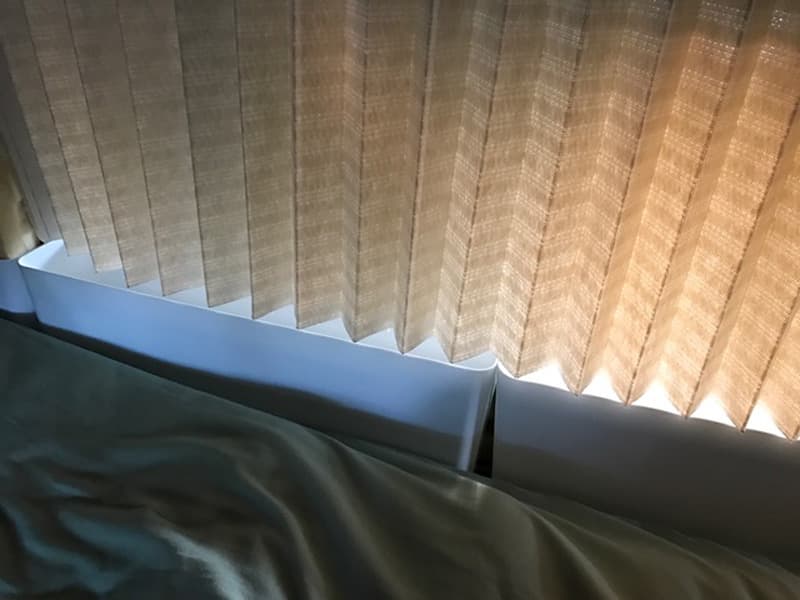
Two Bedrooms In Cabover
2005 Dodge Ram 2500
2008 Lance 845
I turned a one bedroom truck camper into a two bedroom truck camper. I travel solo with my son.
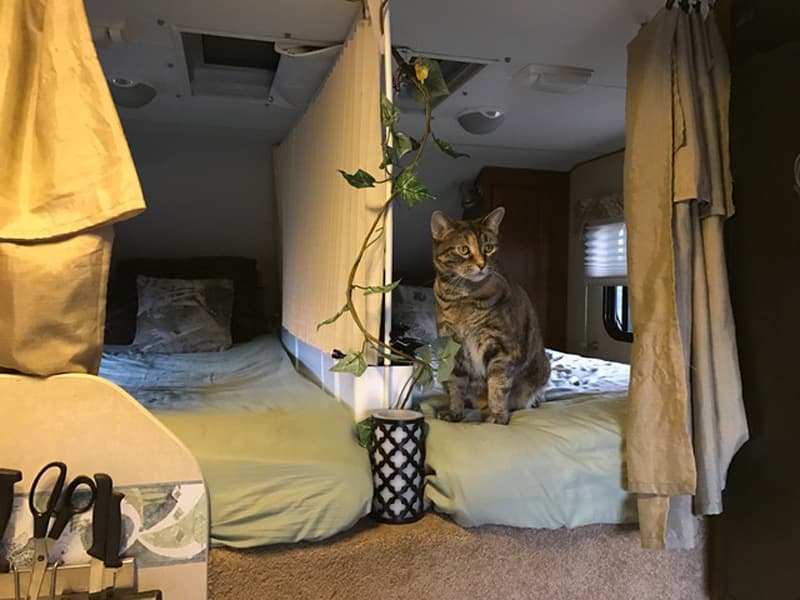
I removed the queen bed and put in two RV bunk size mattresses. Then, I put an accordion divider between the two beds.
I put some storage containers underneath the accordion divider to store cameras and laptops.

This has worked out great for us. We each have our own space and yet the divider can be opened so we can watch TV, which is on my side of the camper. It can also be removed in case of an emergency, since our escape door is above our beds in the roof. I used velcro to put it up.
It took me one hour to complete this modification and cost me $20. In my opinion, the skill level of this modification is easy.
Click here to vote for your favorite three mods from this month’s contest.
Disclaimer: The modifications above are submitted by Truck Camper Magazine readers. It is your responsibility to make sure that any do-it-yourself modification project you undertake is safe, effective, and legal for your situation.
Enter Your Mods Now!
If you’d like to enter mods into TCM’s Monthly Mod Contest, click here. You can enter as many mods as you want, at any time. Good luck mod makers!